Last October, I stood in the cereal aisle of my local grocery store, staring at a box of granola that cost twelve dollars. Twelve dollars. For a box of oats, pumpkin seeds, and a sprinkle of spices that I could have made for three bucks. I felt stupid. I felt cheated. And honestly? I felt hungry for something real.
We’ve all been there. You grab the “artisanal” or “organic” or “gluten-free” (which somehow always costs more) box, convince yourself it’s the healthy choice, and then get home to find it’s basically a sugar cookie disguised as breakfast. The granola was either too soft, too bland, or just… sad. It lacked that essential crunch that makes granola actually enjoyable. It was just sad, chewy oats.
That was the breaking point. I decided then and there that I was done with the overpriced, under-delivering boxes. I was going to make my own. But here’s the thing—I’m not a morning person. I’m not a meal-prep guru who wakes up at 5 AM to whisk things together. I’m a busy mom who needs breakfast to be fast, cheap, and actually good. So I needed a recipe that was foolproof, required minimal effort, and tasted like fall in every single bite.
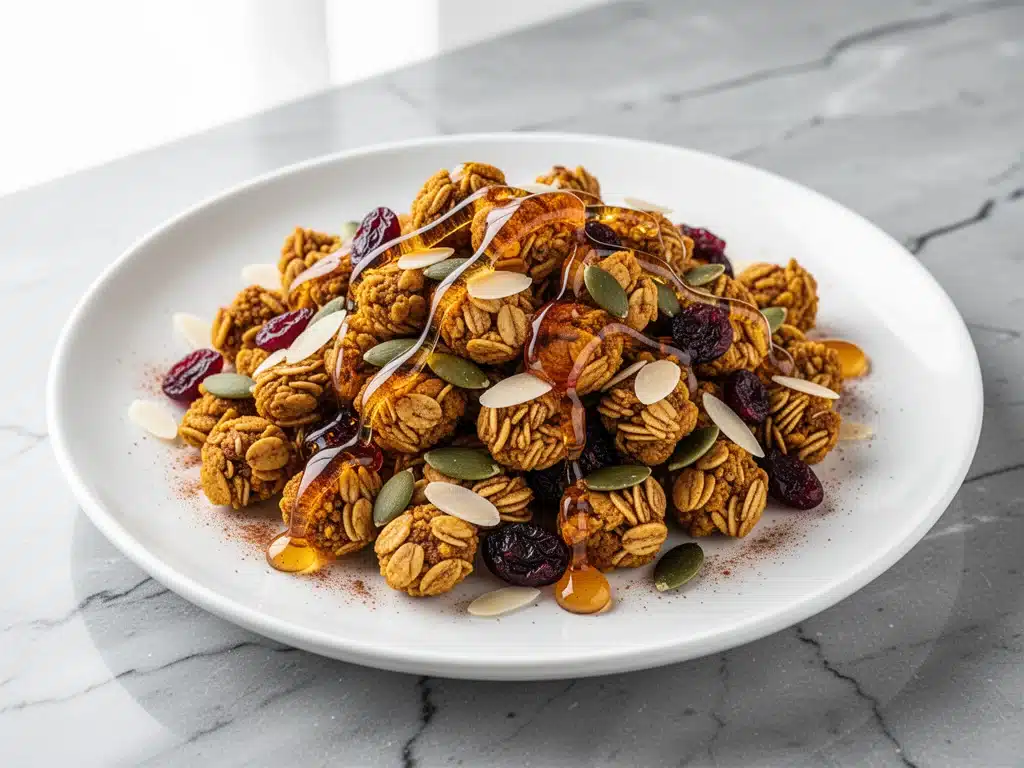
That’s how this Crunchy Homemade Pumpkin Granola with Maple Syrup was born. It started as a desperate attempt to use up a giant can of pumpkin puree I’d bought on sale, but it turned into something way better. It’s sticky, sweet, spiced, and ridiculously crunchy. It’s the kind of granola that makes you want to eat it straight out of the bowl with a spoon while the coffee brews. It’s perfect for busy weeknights because you can make it on Sunday, store it in a jar, and have breakfast ready for five days straight. No cooking required in the morning. Just pour, eat, go.
I’ve made this batch at least twenty times now. I’ve tweaked the spice ratios, tested different sweeteners, and figured out the exact oven temperature that guarantees crunch without burning the edges. This isn’t just a recipe; it’s my solution to the morning rush. And once you try it, I promise you’ll never buy that twelve-dollar box again.
Why You’ll Love This Pumpkin Granola
This isn’t your average oatmeal cluster. This is the good stuff. The sticky, golden, spice-filled kind that sticks to your fingers and makes you happy. Here’s why this recipe has completely taken over my pantry:
- Only 5 Real Ingredients — Seriously. Oats, pumpkin puree, maple syrup, pumpkin pie spice, and salt. That’s it. No weird gums, no unpronounceable additives, no mystery powders. Just simple, whole food ingredients that you probably already have.
- Actually Crunchy — I’ve tried so many homemade granola recipes that come out soft and chewy. This one? Crisp. The key is spreading it thin and letting it dry out in the oven. Once it cools, it shatters. It’s satisfying.
- Busy Weeknight Savior — This is my go-to for those nights when I get home late, the kids are hangry, and I don’t want to cook a real dinner. A bowl of this with yogurt and berries is dinner. It’s fast, it’s filling, and it tastes like a treat.
- Make-Ahead Magic — I make a double batch on Sunday. It keeps in an airtight container for up to two weeks. I literally just scoop it into bowls every morning. No thinking, no heating, no mess.
- Budget-Friendly — This costs about $4 to make. Four dollars. For enough granola to feed my family for a week. Compare that to the $12 box, and you do the math. I’m keeping the change.
- Customizable — Want to add nuts? Go for it. Want to skip the pumpkin spice and do cinnamon instead? Sure. This recipe is a base, and you can make it yours. I’ve added chocolate chips to half the batch for a dessert-like treat.
This granola has saved our mornings. It’s reduced our breakfast stress, saved us money, and honestly, it just tastes better. There’s something comforting about the smell of maple and pumpkin spice filling the house on a cold morning. It feels like a hug in a bowl.
Ingredients You’ll Need
Here’s the best part: you probably have most of this already. This recipe relies on pantry staples, so you don’t need a special trip to the store. I’m particular about three ingredients here, and I’ll tell you exactly why.
For the Base:
Old-fashioned rolled oats (6 cups / 540g) — Do not use instant oats. Do not use steel-cut oats. You need old-fashioned rolled oats. They hold their shape and get crunchy. Instant oats turn to mush. Steel-cut oats stay too hard. I buy the big canisters from Costco—cheapest per ounce.
Pumpkin puree (1 cup / 240g) — Not pumpkin pie filling. Just plain, 100% pure pumpkin puree. I use Libby’s because it’s consistent. Make sure it’s not the canned pie mix with sugar and spices in it. If you roast your own pumpkin, that works too, but you need to drain it really well. Any extra moisture is the enemy of crunch.
Pumpkin pie spice (2 tablespoons) — This is the flavor backbone. It’s usually a blend of cinnamon, ginger, nutmeg, and cloves. I use McCormick because it’s fresh and strong. If you don’t have it, you can make your own blend, but buying it is easier and tastes better.
For the Sweetness & Stick:
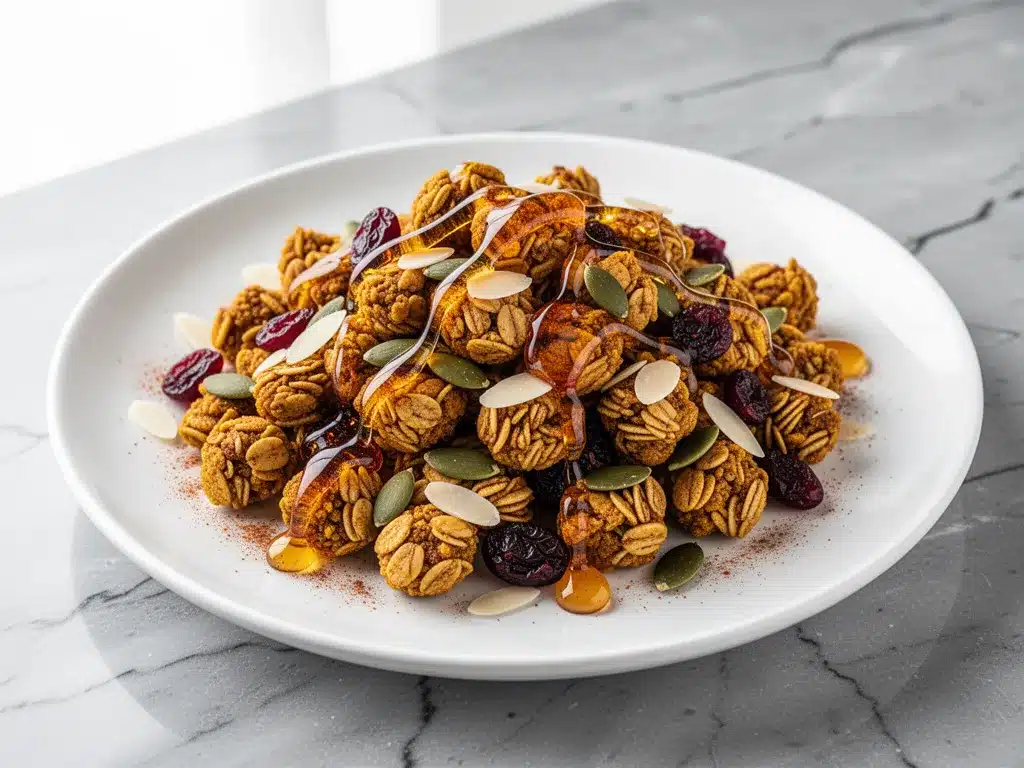
Maple syrup (½ cup / 120ml) — Real maple syrup, grade A or B. Not pancake syrup. Not corn syrup. Real maple syrup gives that distinct, rich flavor. I use grade B because it has a stronger flavor, but grade A works fine too. It’s sweeter than honey and binds the oats better.
Coconut oil (3 tablespoons / 45ml) — Melted. You can use butter, but coconut oil keeps it dairy-free and adds a subtle richness. I like that it helps the granola crisp up. If you don’t have coconut oil, olive oil works, but it changes the flavor profile.
Salt (½ teaspoon) — This is non-negotiable. Salt balances the sweetness and brings out the spices. Don’t skip it. I use kosher salt.
Optional Add-Ins:
Dried cranberries or raisins (½ cup) — I add these after baking. If you add them before, they burn. They add a nice chewy contrast to the crunch.
Chopped pecans or walnuts (1 cup) — Adds texture and healthy fats. I toast them in the oven with the granola for extra flavor. If you have nut allergies, skip this or use pumpkin seeds.
Dark chocolate chips (½ cup) — Stir these in after baking. They melt slightly and create little pockets of chocolate. My kids love this version.
Vanilla extract (1 teaspoon) — A splash of vanilla deepens the flavor. I add it with the wet ingredients. It’s optional, but I recommend it.
Equipment Needed
You don’t need fancy equipment for this. Here’s what I actually use.
Large mixing bowl — I use a 6-quart stainless steel bowl. It needs to be big enough to toss all those oats without spilling. A glass bowl works too, but metal is easier to clean.
Baking sheets — I use two half-sheet pans. You need two because you’re spreading the granola thin. If you use one pan, it’ll be too thick and won’t get crunchy. I line them with parchment paper. It makes cleanup so much easier. No scrubbing sticky baked-on syrup!
Whisk — For mixing the wet ingredients. Any size works. I have a small whisk that’s perfect for this.
Measuring cups and spoons — Standard stuff. I use metal measuring cups for dry ingredients and liquid measuring cups for the syrup and oil.
Spatula — A silicone spatula is best for scraping the bowl and stirring the oats. It doesn’t scratch the bowl and gets all the mixture out.
Cooling rack — Optional, but helpful. I usually just let the pans cool on the counter. It’s fine.
Airtight container — A glass jar or a plastic container with a tight lid. I use a large glass jar with a latch lid. It looks nice on the counter and keeps the granola fresh.
How to Make It: Step-by-Step
Alright, let’s make this! I’m walking you through exactly how I do it, including the little tricks I’ve picked up. This takes about 45 minutes total, but most of that is hands-off baking time.
Step 1: Prep Your Oven and Pans (5 minutes)
Preheat your oven to 300°F (150°C). This is a low temperature. You want to dry out the oats, not burn them. High heat makes the sugar in the maple syrup burn before the oats get crunchy. Line two baking sheets with parchment paper. I can’t stress this enough—parchment paper is your friend. It prevents sticking and makes cleanup a breeze.
Step 2: Mix the Dry Ingredients (5 minutes)
In your large mixing bowl, combine the rolled oats, pumpkin pie spice, and salt. Toss them together with a spoon or your hands. You want the spices distributed evenly so every bite is flavorful. If you’re adding nuts or seeds, add them now too.
Step 3: Mix the Wet Ingredients (2 minutes)
In a smaller bowl or a measuring cup, whisk together the maple syrup, melted coconut oil, and vanilla extract. The mixture should be smooth and well combined. If your coconut oil is solid, microwave it for 10-15 seconds to melt it. It doesn’t need to be hot, just liquid.
Step 4: Combine Everything (3 minutes)
Pour the wet mixture over the dry oats. Use your spatula to fold everything together. Make sure every oat is coated. This is the most important step for even baking. If some oats are dry, they’ll burn. If some are too wet, they’ll be soggy. I use my hands sometimes to make sure everything is covered—it’s messier but more effective.
Step 5: Spread and Bake (30-35 minutes)
Spread the mixture evenly onto the prepared baking sheets. You want it in a thin, even layer. If you pile it up, the inside won’t get crunchy. I usually divide the mixture between the two pans. Bake for 30-35 minutes. Here’s the key: stir the granola every 10 minutes. This ensures even browning. You’ll see the edges start to turn golden. The smell will be amazing—maple and spice everywhere.
Step 6: Cool Completely (30 minutes)
Remove the pans from the oven. The granola will still feel soft. This is normal. It will crisp up as it cools. Do not touch it yet! If you try to break it while it’s hot, it will crumble. Let it cool completely on the pans. This takes about 30 minutes. Patience is key. Once it’s cool, it should be crunchy and shatter when you break it.
Step 7: Add Mix-Ins and Store
Once completely cool, stir in any dried fruits or chocolate chips. Transfer to an airtight container. It will keep for up to two weeks at room temperature.
Total Time: About 45 minutes (10 minutes active, 35 minutes baking and cooling)
Expert Tips & Tricks
Here’s everything I’ve learned from making this dozens of times. These tips will save you from my mistakes.
The Low and Slow Method
300°F is the magic number. I tried 350°F once, and the edges burned while the center was still soft. Low heat dries out the oats without caramelizing the sugar too quickly. It’s the secret to that even, golden crunch.
Stir, Don’t Neglect
Set a timer. Stir every 10 minutes. I know it’s annoying to stand there, but it prevents hot spots. If you don’t stir, one side will burn and the other will be pale. Even browning is the goal.
Cooling is Crucial
I cannot emphasize this enough: let it cool completely. Hot granola is chewy. Cool granola is crunchy. I’ve been guilty of trying to eat it too early and being disappointed. Trust the process. The cooling process is where the magic happens.
Drain Your Pumpkin
If you use canned pumpkin, it’s usually fine. But if you use homemade roasted pumpkin, it can be watery. Spread it on a paper towel and press out excess moisture before adding it to the oats. Too much water = soggy granola.
Storage Secrets
Keep it in an airtight container. Humidity is the enemy. If your kitchen is humid, add a silica gel packet to the container (the kind that comes in shoe boxes) to keep it dry. Or just store it in the fridge if you live in a very humid climate.
Variations & Substitutions
Once you’ve nailed the basic version, here’s how you can mix it up. I’ve tried all of these.
Chocolate Chip Pumpkin Granola
Add ½ cup dark chocolate chips after baking. The residual heat will melt them slightly. My kids go crazy for this version. It’s basically dessert for breakfast.
Nutty Pumpkin Granola
Add 1 cup chopped pecans or walnuts with the oats. Toast them in the oven for extra flavor. This adds healthy fats and a nice crunch. If you have nut allergies, use pumpkin seeds or sunflower seeds.
Coconut Pumpkin Granola
Add 1 cup unsweetened shredded coconut with the oats. It gets toasted in the oven and adds a nice tropical flavor. I love the combination of pumpkin and coconut.
Low-Sugar Version
Reduce the maple syrup to ¼ cup and add a sugar-free sweetener like erythritol or stevia. It won’t be as sticky, but it’s still good. I make this when I’m watching my sugar intake.
Gluten-Free
Use certified gluten-free oats. Everything else is naturally gluten-free. I’ve used Bob’s Red Mill gluten-free oats and they work great. Just make sure your pumpkin pie spice is certified gluten-free too.
Vegan
This recipe is already vegan! Just make sure your maple syrup is vegan (most are) and use coconut oil instead of butter. It’s naturally plant-based.
Serving & Storage
How to Serve:
I usually serve this straight from the jar. It’s perfect over plain Greek yogurt, with almond milk, or just by itself as a snack. It’s also great in smoothie bowls. I like to top it with fresh berries and a drizzle of extra maple syrup for a fancy touch.
Side Dishes:
Pair it with a hot cup of coffee or tea. It’s the perfect breakfast companion. I also like to serve it with scrambled eggs or bacon for a hearty weekend brunch.
Storage Instructions:
Room Temperature: Store in an airtight container for up to two weeks. Keep it in a cool, dry place.
Fridge: If your kitchen is humid, store it in the fridge for up to a month. Let it come to room temperature before eating for best texture.
Freezing: You can freeze granola, but it’s not necessary. If you do, store it in a freezer-safe bag for up to three months. Thaw at room temperature.
Reheating: If your granola loses its crunch, spread it on a baking sheet and bake at 300°F for 5-10 minutes. It will crisp right back up.
Nutrition Information
I’m not a nutritionist, but here’s the breakdown if you’re tracking.
| Nutrient | Per Serving (1/2 cup) |
|---|---|
| Calories | 280 |
| Protein | 6g |
| Carbs | 42g |
| Fiber | 5g |
| Sugar | 18g |
| Fat | 10g |
| Sodium | 120mg |
What’s Good:
- High in fiber from the oats
- Good source of iron and magnesium
- Whole food ingredients
- No refined sugars (just maple syrup)
What to Know:
- Calorie-dense due to oats and nuts
- Contains natural sugars from maple syrup and pumpkin
- Can be high in sodium if you don’t control the salt
My Take:
Look, this is granola. It’s oats and syrup. It’s not a diet food. But it’s way better than store-bought because you control the ingredients. When I want to make it lighter, I use less maple syrup and more oats. But usually? I just eat a reasonable portion and enjoy it. It’s a treat, and that’s okay.
Final Thoughts
So that’s my Crunchy Homemade Pumpkin Granola with Maple Syrup! I’ve probably talked your ear off at this point, but when you make a recipe this often, you have a lot to say about it.
This has saved our mornings more times than I can count. It’s my answer to “what’s for breakfast” when I’m tired, don’t want to cook, and still want something that tastes really good. My kids are happy, my husband’s happy, and I’m happy because I’m not stressed about cooking.
Make it yours! Try different add-ins, swap in your favorite spices, adjust the sweetness. The best recipes are the ones you adapt to your family’s tastes.
If you make this, drop a comment and let me know what you think! I love hearing how recipes turn out in your kitchen. And if something doesn’t work, tell me that too—I’m here to help troubleshoot.
Happy cooking! And I hope your kitchen smells half as good as mine does right now.
Frequently Asked Questions
Can I use instant oats instead of rolled oats?
No, I don’t recommend it. Instant oats are too thin and will turn to mush. They won’t get crunchy. You need old-fashioned rolled oats for the right texture. Steel-cut oats are also too hard. Stick with rolled oats.
Why is my granola still soft after cooling?
It probably didn’t bake long enough, or it wasn’t spread thin enough. Make sure you’re baking at 300°F and stirring every 10 minutes. Also, let it cool completely. It will crisp up as it cools. If it’s still soft after cooling, bake it for another 5-10 minutes.
Can I make this ahead of time?
Yes! This is perfect for meal prep. Make it on Sunday and store it in an airtight container. It will keep for up to two weeks. I make a double batch and freeze half for later.
Can I use honey instead of maple syrup?
You can, but maple syrup has a distinct flavor that pairs better with pumpkin spice. Honey is sweeter and thinner, so you might need to adjust the amount. I prefer maple syrup for this recipe.
How do I store the granola?
Store it in an airtight container at room temperature. Keep it in a cool, dry place. If your kitchen is humid, store it in the fridge. It will keep for up to two weeks.
Can I add fresh fruit to the granola?
No, don’t add fresh fruit before baking. It will release moisture and make the granola soggy. Add fresh fruit when you serve it. Dried fruit is fine to add after baking.
Is this granola healthy?
It’s healthier than store-bought granola because it’s made with whole food ingredients and no refined sugars. But it’s still calorie-dense. Enjoy it in moderation as part of a balanced diet.
Pin This Recipe!
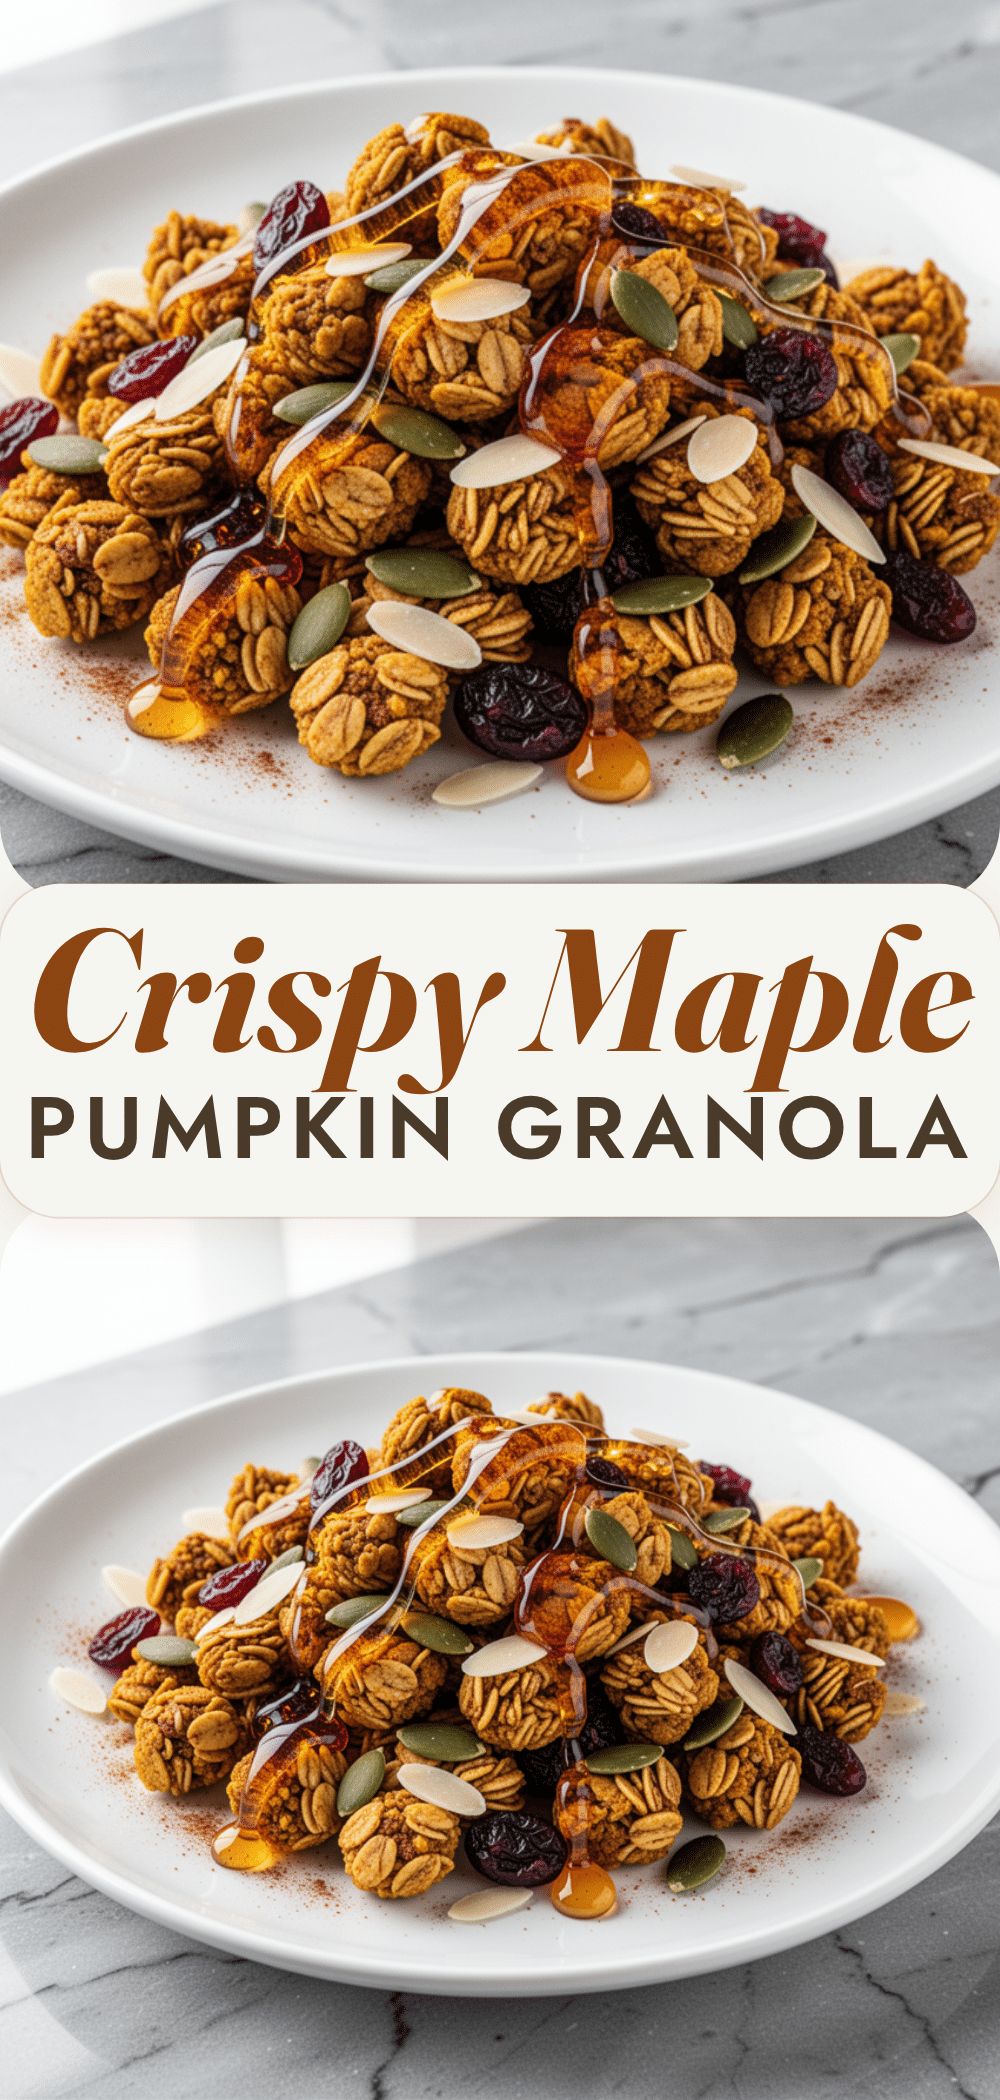
Crunchy Pumpkin Granola: Easy 5-Ingredient Maple Recipe
- Total Time: 45 minutes
- Yield: 8 servings 1x
Description
A simple, crunchy homemade pumpkin granola made with just five core ingredients. This budget-friendly, make-ahead breakfast is perfect for busy mornings and tastes like fall in every bite.
Ingredients
- 6 cups old-fashioned rolled oats
- 1 cup pumpkin puree (100% pure, not pie filling)
- ½ cup real maple syrup (Grade A or B)
- 3 tablespoons coconut oil, melted
- 2 tablespoons pumpkin pie spice
- ½ teaspoon salt
- 1 teaspoon vanilla extract (optional)
- 1 cup chopped pecans or walnuts (optional)
- ½ cup dried cranberries or raisins (optional)
- ½ cup dark chocolate chips (optional)
Instructions
- Preheat oven to 300°F (150°C). Line two half-sheet baking pans with parchment paper.
- In a large mixing bowl, combine the rolled oats, pumpkin pie spice, and salt. Toss to distribute spices evenly.
- In a separate small bowl or measuring cup, whisk together the maple syrup, melted coconut oil, and vanilla extract until smooth.
- Pour the wet mixture over the dry oats. Use a spatula or hands to fold everything together, ensuring every oat is coated.
- Spread the mixture evenly onto the prepared baking sheets in a thin layer. Divide between two pans if necessary.
- Bake for 30-35 minutes, stirring the granola every 10 minutes to ensure even browning.
- Remove from oven. The granola will feel soft but will crisp up as it cools. Let it cool completely on the pans (about 30 minutes).
- Once completely cool, stir in any optional add-ins like dried fruit, nuts, or chocolate chips.
- Transfer to an airtight container and store at room temperature for up to two weeks.
Notes
Do not use instant or steel-cut oats; they will not get crunchy. Ensure pumpkin puree is drained well if homemade to avoid soggy granola. Stirring every 10 minutes is crucial for even browning. The granola must cool completely to achieve the desired crunch. If your kitchen is humid, store in the fridge.
- Prep Time: 10 minutes
- Cook Time: 35 minutes
- Category: Breakfast
- Cuisine: American
Nutrition
- Serving Size: 1/2 cup
- Calories: 280
- Sugar: 18
- Sodium: 120
- Fat: 10
- Saturated Fat: 3
- Carbohydrates: 42
- Fiber: 5
- Protein: 6
Keywords: pumpkin granola, homemade granola, maple granola, healthy breakfast, meal prep, gluten-free option, vegan granola, fall recipes, crunchy granola


