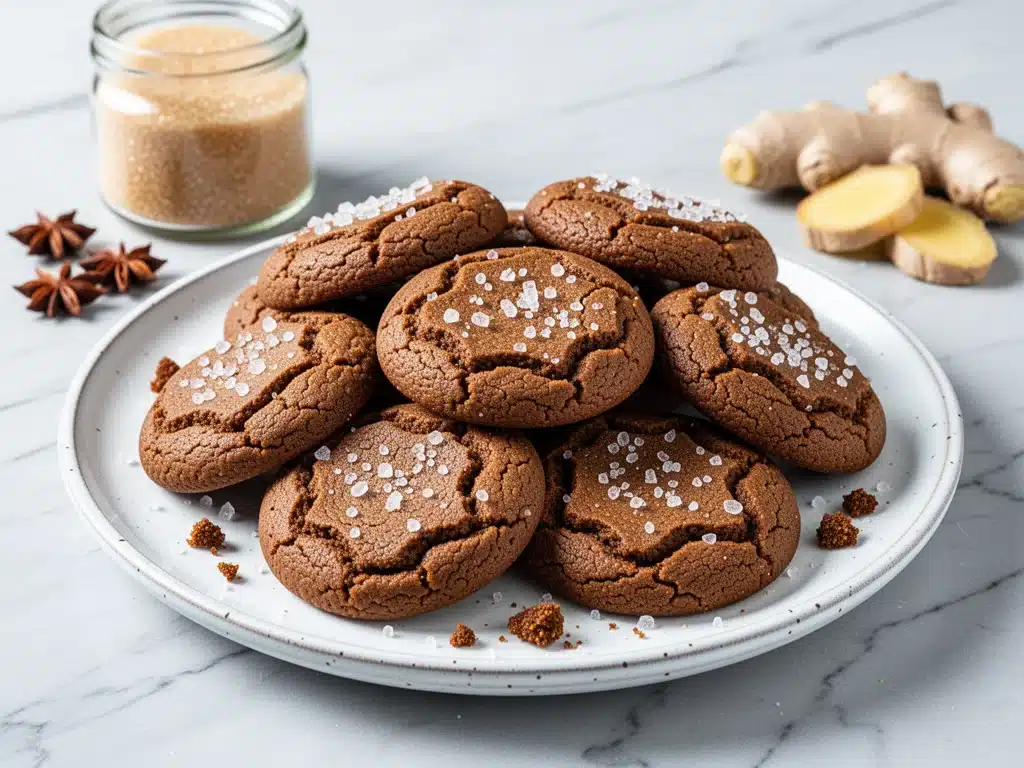
There is a specific kind of magic that happens in my kitchen every December when the smell of molasses starts drifting through the house. It’s not just the scent, though that warm, spicy sweetness is enough to make anyone stop what they’re doing and sniff the air. It’s the memory. I can almost hear my grandmother’s voice humming in the background, watching me try not to eat half the dough before it even hits the oven. She made these cookies every holiday season, and they were always the first thing to disappear from the tin, leaving behind only crumbs and disappointed looks.
I’ve spent the last few years trying to recreate that exact taste, and let me be honest: I’ve failed. A lot. I’ve made batches that were too cakey, batches that spread into flat discs of sadness, and batches that were so spicy I couldn’t finish one. But last week, after what felt like my twenty-fourth attempt, I finally nailed it. These Chewy Molasses Ginger Cookies with Crystallized Sugar are the real deal. They’re soft in the center, crisp at the edges, and coated in that gorgeous sparkly sugar that catches the light (and makes them absolutely perfect for Pinterest). I’ve already made this batch three times in ten days, and my family hasn’t stopped asking when I’m making the next one.
This isn’t just a cookie; it’s my go-to holiday treat. It’s the kind of recipe you’ll want to keep on repeat because it’s easy, forgiving, and tastes like comfort. Whether you’re baking for a Christmas market, packing a lunchbox, or just need a reason to eat dessert for breakfast, these cookies deliver. I’ve tested them with different flours, different sugars, and even different ovens, and this method is the winner. It’s the one that works every single time, guaranteed.
Why You’ll Love This Recipe
There are about a dozen reasons I keep coming back to this molasses ginger cookie recipe, but if I had to pick the big ones, they’re these:
- That Perfect Chew — Seriously, the texture is everything. These aren’t crunchy, brittle cookies. They’re pillowy soft in the middle with a slight crisp on the outside. I’ve made cakey ginger snaps before, and they just don’t compare. This recipe uses a higher ratio of brown sugar to butter, which keeps the moisture locked in. My kids call them “cloud cookies” because they’re so soft. I’ll take that over “crunchy” any day.
- Spice That Actually Hits — A lot of ginger cookie recipes are mild. You taste the sugar, maybe a hint of cinnamon, but where’s the ginger? These have enough fresh-ground ginger and warm spices to give you that classic “ginger snap” kick without burning your tongue. It’s balanced perfectly with the deep, earthy sweetness of molasses. If you love the flavor of a gingerbread house, you’ll love this.
- The Sugar Coating — Rolling the dough balls in coarse sugar before baking isn’t just for looks (though they look amazing). It creates a crackled, crystallized top that adds a tiny bit of crunch and sweetness to every bite. It’s the difference between a good cookie and a bakery-quality one. Plus, it looks festive and special, which is perfect for gifting.
- One-Bowl Wonder — You don’t need a stand mixer for this. You can mix the whole thing in one large bowl with a wooden spoon. This means less cleanup and less mental load. I make these on weeknights when I’m tired, and the fact that I can have them ready in 20 minutes (including cooling time) is a lifesaver. It’s as easy as my fluffy Japanese souffle pancakes but with way more spice and less fuss.
- Freezes Like a Dream — I love making a double batch and freezing half the dough balls. When I want a fresh cookie, I just pop a few in the oven. They thaw and bake up just like new. This is my secret to always having cookies on hand for unexpected guests or last-minute party platters.
So basically, these cookies are the ultimate holiday win. They’re easy to make, impressive to look at, and taste like home. I’ve served them to my picky eater husband, my spice-hating friend, and my sweet-tooth niece, and everyone loved them. That’s rare.
Ingredients You’ll Need
Here’s the best part: you probably have most of these ingredients already. This isn’t a recipe that requires a trip to three different specialty stores. It’s pantry-friendly, with just a few key items that do the heavy lifting.
For the Dough:
Unsalted butter (1 cup / 226g) — I use room temperature butter. If it’s too cold, it won’t cream properly. If it’s melted, the cookies will spread too much. I take mine out of the fridge about an hour before I start. You want it soft enough that you can press a finger into it without leaving a hole, but still holding its shape.
Granulated sugar (1 cup / 200g) — This provides the structure and helps with the spread. Don’t skip this. I’ve tried using all brown sugar, and the cookies come out too cakey. You need that bit of white sugar for the right texture.
Brown sugar (1 cup / 220g, packed) — This is where the moisture and chewiness come from. I use dark brown sugar for a deeper molasses flavor, but light brown works too. Make sure it’s packed tightly into the cup. If it’s loose, you’ll get more sugar than the recipe intends.
Molasses (1/2 cup / 120ml) — This is the star. Use unsulphured blackstrap or standard blackstrap molasses. I don’t recommend light or “treacle” molasses for this recipe; you need that robust, bittersweet flavor. If you’ve never used molasses before, don’t be scared of the taste. It’s strong but balances perfectly with the ginger and cinnamon. I keep a bottle of berry trifle ingredients on hand for summer, but molasses is my winter staple.
Eggs (2 large, room temperature) — Room temp eggs emulsify better with the butter and sugar. If you’re in a hurry, just drop them in a bowl of warm water for 5 minutes. Don’t use cold eggs from the fridge; it can cause the butter to seize up.
All-purpose flour (2 1/2 cups / 315g) — I spoon the flour into the measuring cup and level it off. Don’t scoop directly from the bag, or you’ll pack too much flour in and get dry cookies. If you’re gluten-free, I’ve tested this with a 1:1 gluten-free flour blend, and it works well, though the texture is slightly more delicate.
Baking soda (1 teaspoon) — This helps the cookies spread and brown. Make sure it’s fresh. If your baking soda is more than six months old, test it with vinegar. If it doesn’t fizz, throw it out and buy new.
Baking powder (1/2 teaspoon) — This gives them a little lift. Don’t skip it; it balances the baking soda.
Ginger (2 teaspoons ground) — I use ground ginger because it’s consistent. If you have fresh ginger, you can use 1 tablespoon grated, but the flavor profile will be different. I stick to ground for that classic holiday taste.
Cinnamon (1 teaspoon ground) — Just a hint. You don’t want it to taste like pumpkin pie. It’s there to support the ginger.
Nutmeg (1/2 teaspoon ground) — Freshly grated nutmeg is best, but ground is fine. It adds warmth and depth.
Cloves (1/4 teaspoon ground) — This is the secret weapon. A little bit goes a long way. It adds that spicy, aromatic kick that makes ginger cookies smell like Christmas. Don’t skip it, but don’t overdo it, or it’ll taste medicinal.
Salt (1/2 teaspoon) — Salt enhances all the flavors. Don’t skip it, even if you’re watching sodium. It makes the sweet taste sweeter.
For the Coating:
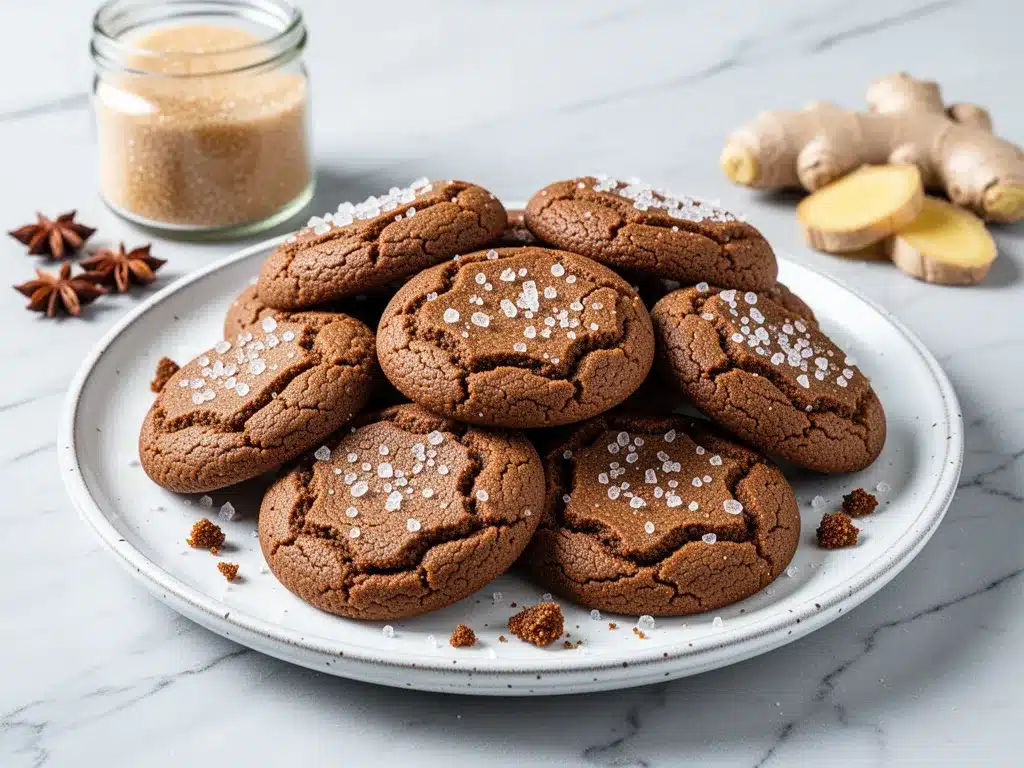
Coarse sugar (1/2 cup / 100g) — This is the crystallized sugar that makes the cookies look fancy. I use turbinado sugar or demerara sugar. You can use granulated sugar, but the coarse crystals give that beautiful crackled effect. It’s worth the extra step.
Optional: Extra ginger — Some people like to roll the dough balls in ground ginger instead of sugar for a spicier kick. I like the sugar for the contrast, but you can do either, or both.
Equipment Needed
You don’t need fancy equipment for this. Here’s what I actually use:
Large mixing bowl — I use a 4-quart glass bowl. It’s big enough to mix everything without splattering. Plastic works too, but glass is easier to clean.
Whisk or wooden spoon — I prefer a wooden spoon for the initial mixing because it’s sturdy. A whisk works too, but you want to be gentle with the flour later.
Measuring cups and spoons — I’m particular about this. I use metal measuring cups for dry ingredients and glass measuring cups for wet. It’s just a habit, but it helps me be accurate.
Baking sheets — I use half-sheet pans (18×13 inches). I have two, so I can bake two batches at once. If you have smaller sheets, just adjust the spacing. Make sure they’re light-colored; dark pans can burn the bottoms.
Parchment paper — I line my baking sheets with parchment. It prevents sticking and makes cleanup a breeze. I’ve tried silicone mats, but parchment is cheaper and works just as well for this recipe.
Cooling rack — Essential. You need to transfer the cookies here so they don’t continue cooking on the hot pan. I use a wire rack that sits on my counter.
Dough scoop or spoon — I use a 1.5-tablespoon cookie scoop. It ensures all the cookies are the same size, which means they bake evenly. If you don’t have one, a tablespoon works, but just be consistent.
Optional: Electric mixer — You can mix this by hand, but an electric mixer makes the creaming step faster. I usually use my hand mixer for the butter and sugar, then switch to a spoon for the flour. It’s a good balance of effort and results.
How to Make It: Step-by-Step
Alright, let’s make this! I’m walking you through exactly how I do it, including the little tricks I’ve picked up over the years.
Step 1: Cream the Butter and Sugars (3-5 minutes)
Start by beating the room temperature butter, granulated sugar, and brown sugar together. If you’re using a hand mixer, beat on medium-high for about 3 minutes. If you’re using a wooden spoon, this will take about 5-7 minutes of arm work. You want the mixture to be light, fluffy, and pale. This step incorporates air, which helps the cookies rise slightly and get that chewy texture. Don’t rush this. If the mixture looks dense, keep beating. It’s the foundation of the cookie.
Step 2: Add Wet Ingredients (1-2 minutes)
Add the eggs one at a time, beating well after each addition. Then add the molasses. The mixture might look a little curdled at first—that’s normal. The molasses can sometimes separate slightly, but it will come back together. Beat until everything is smooth and combined. The mixture should be glossy and dark, thanks to the molasses.
Step 3: Mix Dry Ingredients (1 minute)
In a separate bowl (or just in the same bowl if you’re lazy, which I am), whisk together the flour, baking soda, baking powder, ginger, cinnamon, nutmeg, cloves, and salt. Whisking ensures the spices are evenly distributed, so you don’t get a mouthful of pure ginger. I always whisk my spices first because it’s faster than trying to stir them into the flour later.
Step 4: Combine Wet and Dry (2-3 minutes)
Gradually add the dry ingredients to the wet mixture. If you’re using a mixer, switch to low speed. If you’re using a spoon, stir gently. Mix just until the flour disappears. Do not overmix. Overmixing develops gluten, which makes the cookies tough and chewy in a bad way. You want tender, soft cookies. The dough will be thick and sticky. This is correct.
Step 5: Chill the Dough (30-60 minutes)
This is the step most people skip, but I highly recommend it. Cover the bowl with plastic wrap and refrigerate the dough for at least 30 minutes, or up to 24 hours. Chilling solidifies the butter, which prevents the cookies from spreading too much in the oven. It also allows the flavors to meld, resulting in a deeper, more complex ginger flavor. I often make the dough the night before, so I can bake fresh cookies in the morning. If you’re short on time, 30 minutes is enough. If you can chill it longer, do it. The cookies will be better.
Step 6: Preheat and Prepare Sheets (5 minutes)
Preheat your oven to 350°F (175°C). Line two baking sheets with parchment paper. Make sure the parchment is flat and smooth; wrinkles can cause uneven baking.
Step 7: Roll and Coat (5-10 minutes)
Scoop the dough into balls (about 1.5 tablespoons each) and roll them in your hands to smooth them out. Then, roll each ball in the coarse sugar, making sure it’s fully coated. The sugar will create that beautiful crackled top as the cookies bake. Place the balls on the baking sheets, leaving about 2 inches between them. They will spread, so give them room.
Step 8: Bake (10-12 minutes)
Bake for 10-12 minutes. The cookies are done when the edges are set and slightly crisp, but the centers still look soft and puffy. They will continue to cook on the hot pan after you take them out. If you bake them until they look firm in the oven, they’ll be dry and hard when cooled. Under-baking is better than over-baking here. I usually rotate the pans halfway through baking for even browning.
Step 9: Cool (10 minutes)
Let the cookies sit on the baking sheet for 5 minutes. This allows them to set. Then, transfer them to a cooling rack to cool completely. If you try to move them too soon, they might break. Be patient. The cooling rack is your friend.
Total Time: About 45 minutes (including chilling)
Expert Tips & Tricks
Here’s everything I’ve learned from making this dozens of times. These tips will save you from my mistakes.
Don’t Skip the Chill
I know it’s tempting to bake right away, but the chill is crucial. It prevents spreading and enhances flavor. If you forget, put the dough in the freezer for 15 minutes as a quick fix. It works almost as well.
Measure Flour Correctly
I’ve said it before, but I’ll say it again: spoon and level. If you scoop the flour, you’ll get too much, and the cookies will be dry and crumbly. This is the most common mistake I see.
Use Blackstrap Molasses
Light molasses is too sweet and mild. You need the robust, slightly bitter flavor of blackstrap. It’s what gives these cookies their signature taste. If you can’t find blackstrap, use the darkest molasses you can find.
Under-Bake Slightly
The cookies should look soft in the center when you take them out. They will firm up as they cool. If you bake them until they look done, they’ll be hard. Trust me. I’ve made this mistake, and I never will again.
Store Properly
Store cookies in an airtight container at room temperature. They’ll stay soft for up to a week. If they start to dry out, add a slice of bread to the container. The cookies will absorb the moisture from the bread and stay soft. It’s an old trick, but it works.
Freeze the Dough
I love freezing the dough balls. Just scoop them, freeze them on a tray, then transfer to a bag. Bake from frozen, adding 1-2 minutes to the bake time. This is my go-to for last-minute guests.
Variations & Substitutions
Once you’ve nailed the basic version, here’s how you can mix it up. I’ve tried all of these.
White Chocolate Chip
Stir in 1 cup of white chocolate chips to the dough. The sweetness of the white chocolate pairs beautifully with the spice. This is a crowd-pleaser, especially for kids.
Red and Green
Add 1/2 cup of chopped dried cranberries and 1/2 cup of chopped pistachios. This adds color and texture, and makes the cookies feel more festive. It’s like a holiday salad in cookie form.
Dark Chocolate
Use dark chocolate chips instead of white. The bitterness of the dark chocolate balances the sweetness of the molasses. It’s a more sophisticated flavor profile.
Gluten-Free
Use a 1:1 gluten-free flour blend. I’ve tested this with Bob’s Red Mill and Cup4Cup, and both work well. The texture is slightly more delicate, but the flavor is the same.
Dairy-Free
Replace the butter with a vegan butter stick. I’ve used Earth Balance, and it works. The cookies might spread a bit more, so chill the dough longer.
Spice It Up
Add 1/2 teaspoon of cardamom or allspice for a different twist. It’s subtle, but it adds complexity. I like to experiment with spices during the holidays.
Serving & Storage
How to Serve:
I usually serve these warm, straight from the oven, with a glass of cold milk. But they’re also great at room temperature. I pack them in tins for gifts, and they hold up well. Just make sure they’re completely cool before packing, or the steam will make them soggy.
Side Dishes:
These cookies are a standalone treat, but they pair well with hot cocoa, coffee, or tea. I also like to serve them alongside a simple watermelon mint cooler for a refreshing contrast to the rich spices.
Storage:
Refrigerator: Store in an airtight container for up to 4 days. They stay soft.
Freezer: Store in an airtight container for up to 3 months. Thaw at room temperature.
Reheating: Warm in the microwave for 10-15 seconds for a fresh-baked taste.
Pro tip: If you’re making these for a party, make the dough a day ahead. It saves time and tastes better.
Nutrition Information
I’m not a nutritionist, but here’s the breakdown if you’re tracking. This is per cookie (makes about 24 cookies).
- Calories: 180
- Protein: 2g
- Carbs: 28g
- Fiber: 1g
- Sugar: 18g
- Fat: 7g
- Saturated Fat: 4g
- Cholesterol: 20mg
- Sodium: 120mg
What’s Good: It’s a treat, but not overly heavy. The ginger has some anti-inflammatory properties, and the molasses has some minerals.
What to Know: It’s high in sugar and carbs, as expected for a cookie. Enjoy in moderation.
My Take: Look, this is a cookie with molasses and sugar. It’s not a diet food. But it’s homemade, which means you control the ingredients. When I want to make it lighter, I use less sugar in the coating, but usually? I just enjoy one or two and savor it.
Final Thoughts
So that’s my Chewy Molasses Ginger Cookies with Crystallized Sugar! I’ve probably talked your ear off at this point, but when you make a recipe this often, you have a lot to say about it. These cookies have saved my holiday parties more times than I can count. They’re my answer to “what should I bring?” when I’m tired and don’t want to stress. My family is happy, my friends are happy, and I’m happy because I’m not stressed about cooking.
Make it yours! Try different add-ins, swap in your favorite spices, or adjust the sugar. The best recipes are the ones you adapt to your family’s tastes. If you make this, drop a comment and let me know what you think! I love hearing how recipes turn out in your kitchen. And if something doesn’t work, tell me that too—I’m here to help troubleshoot.
Happy baking! And I hope your kitchen smells half as good as mine does right now.
Frequently Asked Questions
Q: Can I use light molasses instead of blackstrap?
A: You can, but the flavor will be milder and sweeter. Blackstrap has that deep, robust taste that defines a ginger cookie. If you only have light molasses, you might need to add a bit more ginger or cinnamon to compensate. I recommend blackstrap for the best result.
Q: Why did my cookies spread too much?
A: This usually happens if the butter was too warm, or if you didn’t chill the dough. Make sure your butter is room temperature, not melted. Also, chill the dough for at least 30 minutes. If you skip this step, the cookies will spread into flat discs. Another reason could be old baking soda. Make sure it’s fresh.
Q: Can I freeze the dough?
A: Absolutely! Scoop the dough into balls, freeze them on a baking sheet, then transfer to a bag. They’ll keep for up to 3 months. Bake from frozen, adding 1-2 minutes to the bake time. This is my favorite way to have cookies ready to go.
Q: Why did my cookies come out hard?
A: You probably overbaked them. These cookies should look soft in the center when you take them out. They will firm up as they cool. If you bake them until they look done, they’ll be hard. Also, check your flour measurement. Too much flour can make them dry and hard.
Q: Can I use brown sugar instead of white sugar?
A: You can, but the cookies will be more cakey and less chewy. The white sugar helps with the spread and the crisp edges. I recommend using both for the best texture. If you must use only brown sugar, reduce the baking soda slightly.
Q: How do I store these cookies?
A: Store them in an airtight container at room temperature for up to a week. If they start to dry out, add a slice of bread to the container. They’ll absorb the moisture and stay soft. For longer storage, freeze them in an airtight container for up to 3 months.
Pin This Recipe!
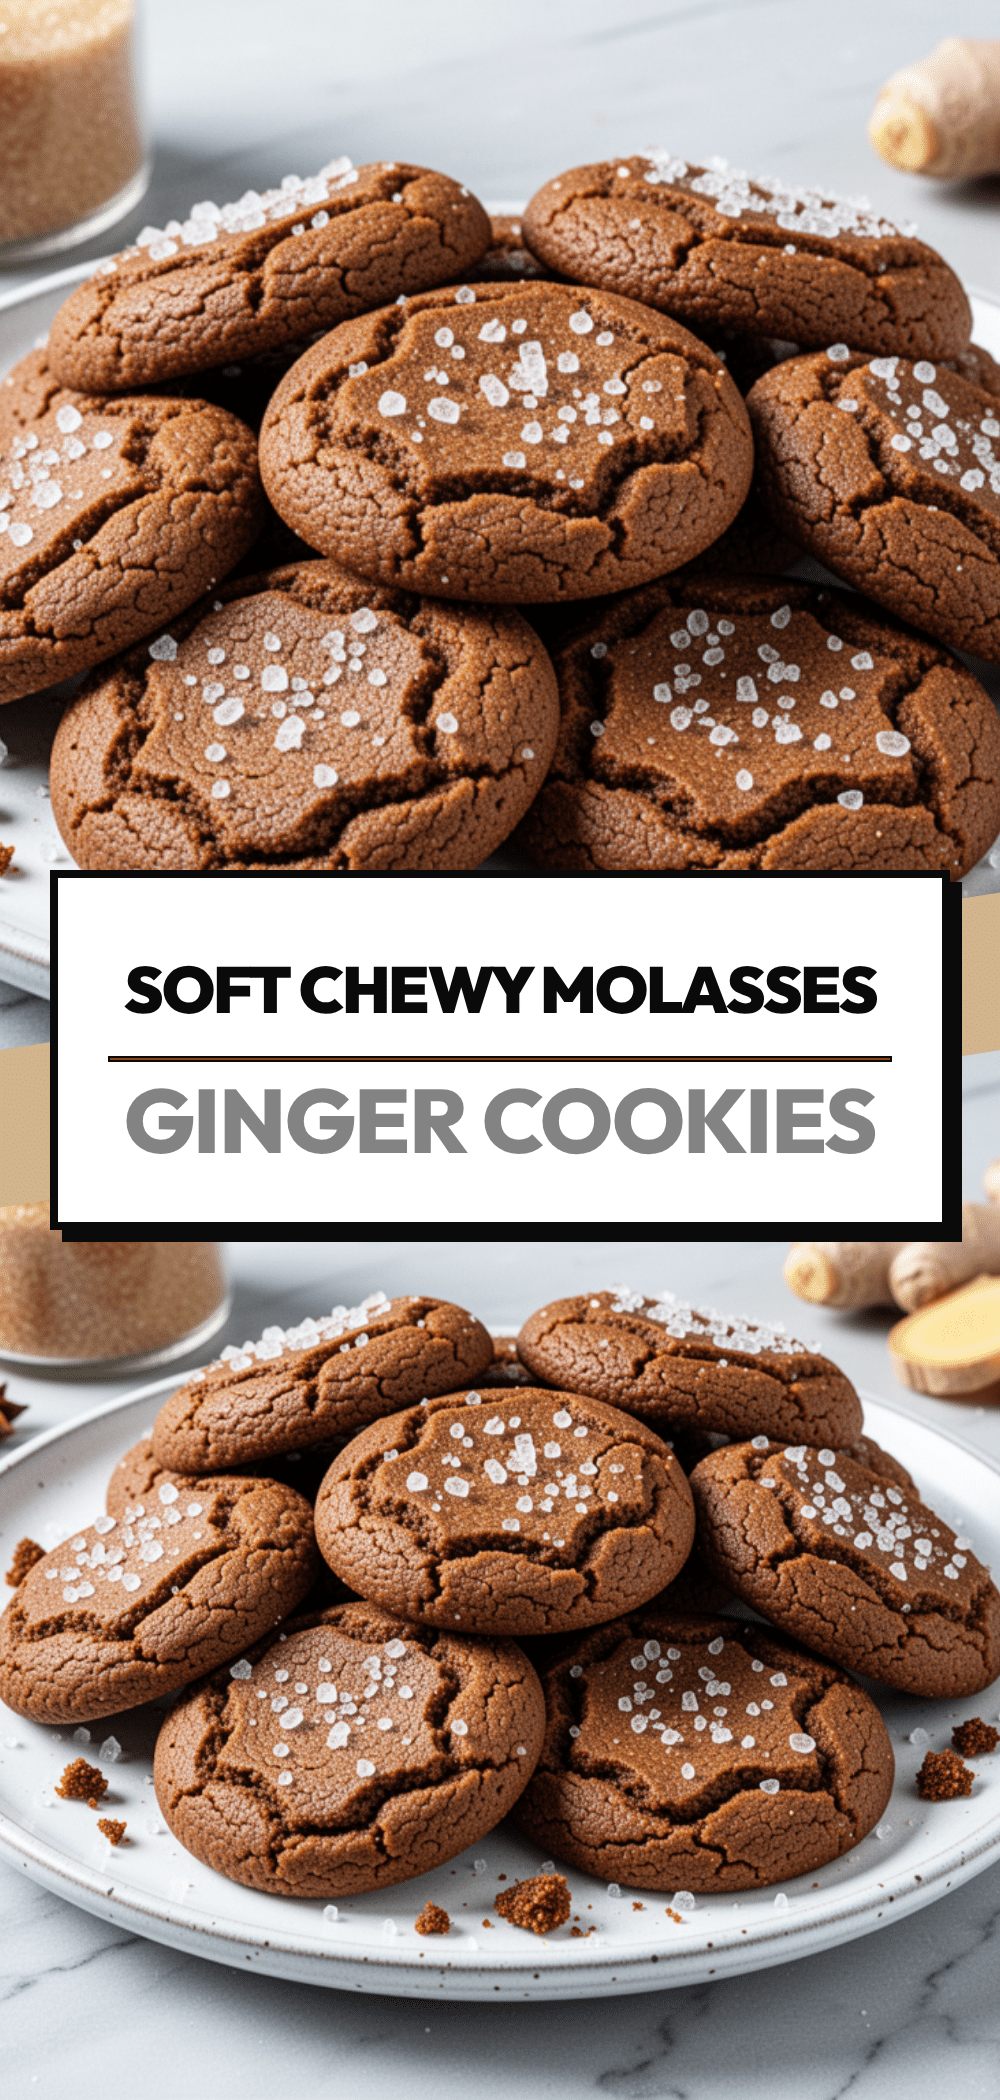
Chewy Molasses Ginger Cookies with Crystallized Sugar
- Total Time: 45 minutes
- Yield: 24 cookies 1x
Description
Soft, chewy holiday cookies with a crisp edge, coated in sparkling coarse sugar. This easy one-bowl recipe delivers the perfect balance of spicy ginger and deep molasses flavor.
Ingredients
- 1 cup (226g) unsalted butter, room temperature
- 1 cup (200g) granulated sugar
- 1 cup (220g) packed dark brown sugar
- 1/2 cup (120ml) unsulphured blackstrap molasses
- 2 large eggs, room temperature
- 2 1/2 cups (315g) all-purpose flour
- 1 teaspoon baking soda
- 1/2 teaspoon baking powder
- 2 teaspoons ground ginger
- 1 teaspoon ground cinnamon
- 1/2 teaspoon ground nutmeg
- 1/4 teaspoon ground cloves
- 1/2 teaspoon salt
- 1/2 cup (100g) coarse sugar (turbinado or demerara) for coating
Instructions
- Cream the room temperature butter, granulated sugar, and brown sugar together in a large bowl until light and fluffy (3-5 minutes with mixer, 5-7 minutes by hand).
- Add eggs one at a time, beating well after each addition, then mix in the molasses until smooth.
- In a separate bowl, whisk together the flour, baking soda, baking powder, ginger, cinnamon, nutmeg, cloves, and salt.
- Gradually add the dry ingredients to the wet mixture and mix just until the flour disappears. Do not overmix.
- Cover the dough and refrigerate for at least 30 minutes (or up to 24 hours) to prevent spreading and enhance flavor.
- Preheat oven to 350°F (175°C) and line baking sheets with parchment paper.
- Scoop dough into 1.5-tablespoon balls, roll in hands to smooth, and coat thoroughly in coarse sugar.
- Place dough balls on baking sheets, spacing them about 2 inches apart.
- Bake for 10-12 minutes, or until edges are set but centers still look soft. Rotate pans halfway through for even browning.
- Let cookies cool on the baking sheet for 5 minutes, then transfer to a wire rack to cool completely.
Notes
Chilling the dough is crucial to prevent spreading. If short on time, freeze for 15 minutes. Store in an airtight container at room temperature for up to a week. To keep soft, add a slice of bread to the container. Dough can be frozen for up to 3 months.
- Prep Time: 20 minutes
- Cook Time: 12 minutes
- Category: Dessert
- Cuisine: American
Nutrition
- Serving Size: 1 cookie
- Calories: 180
- Sugar: 18
- Sodium: 120
- Fat: 7
- Saturated Fat: 4
- Carbohydrates: 28
- Fiber: 1
- Protein: 2
Keywords: molasses cookies, ginger cookies, holiday baking, chewy cookies, easy cookie recipe, Christmas treats, one-bowl cookies


