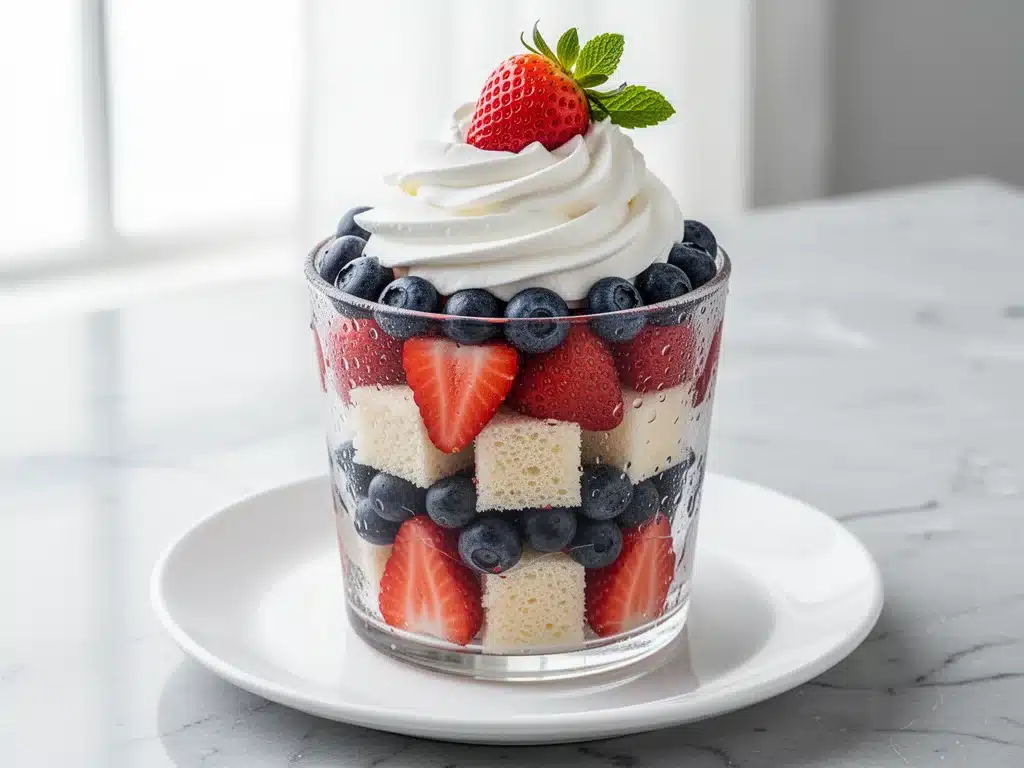
My uncle Frank always said that Labor Day isn’t just a holiday—it’s the unofficial end of summer. And if you know my family, you know that means one thing: we gather to eat until we can’t move, usually outdoors, with sunscreen melting into our hair and ice cubes clinking in our glasses. For years, my cousin Sarah brought the same green bean casserole. It was fine. Safe. But it wasn’t celebratory.
Then, three years ago, I decided enough was enough. I wanted something that screamed “party” without requiring me to stand over a grill for four hours. I wanted something that looked like it came from a fancy caterer but actually cost less than a takeout order. That’s when I created this Red White and Blue Berry Trifle. It’s been the centerpiece of every Labor Day since. Every. Single. One.
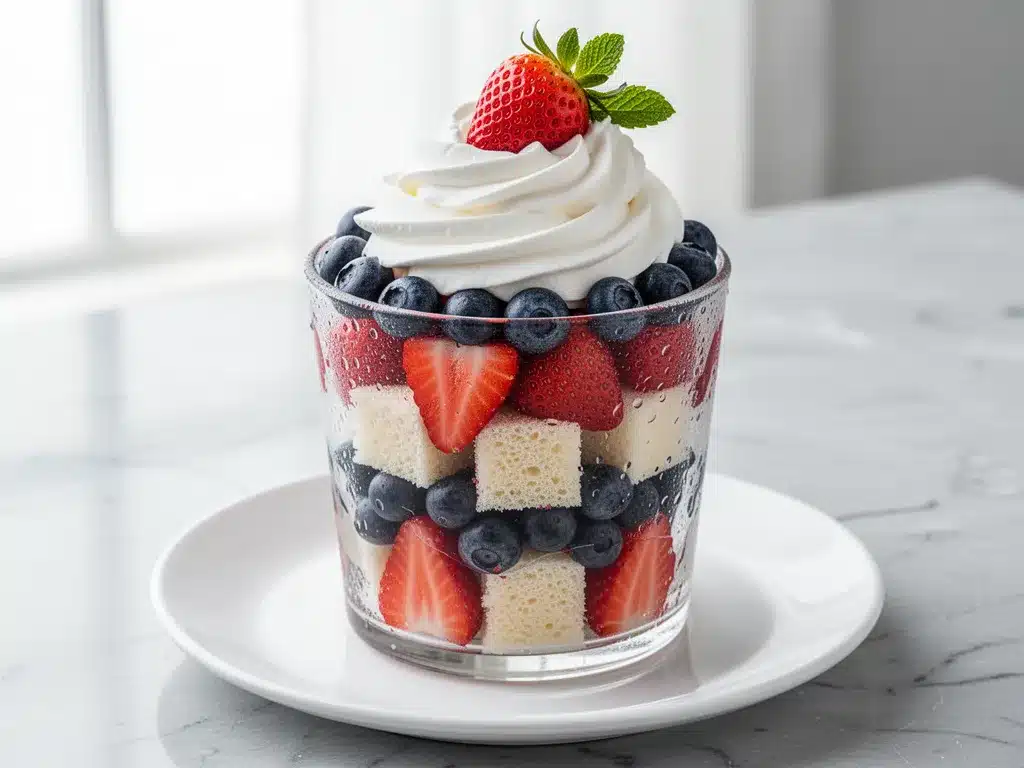
People stop mid-bite to take photos. Kids fight over the whipped cream topping. Even my uncle Frank asked for the recipe (though he still claims he could have made it better). The truth is, this dessert is a hack. It’s layers of store-bought or homemade pound cake, a creamy vanilla pudding mixture, and a mountain of fresh berries arranged in those perfect patriotic stripes. It’s beautiful, it’s easy, and it’s the perfect way to close out summer with a bang.
I’ve tested this trifle at least a dozen times now—some with blueberries, some with raspberries, some with a mix. The version below is my favorite because the color contrast is insane, and the flavor balance is spot-on. It’s sweet but not cloying, creamy but not heavy. It’s the kind of dessert that makes people say, “Wait, you made this? It looks like it took all day!” Spoiler: It takes about 30 minutes of active work. The rest is just chilling.
Why You’ll Love This Red White and Blue Berry Trifle
Look, I’m not going to lie to you. Most holiday desserts are either too complicated or too boring. This trifle sits in that perfect sweet spot. Here’s why it’s become my go-to for every summer gathering:
It Looks Impossible, But It’s Not — Seriously. The striped effect looks like something you’d see on a food magazine cover. But it’s just alternating layers of white cream and red/blue berries. I’ve walked my teenage nephew through this recipe over FaceTime, and he pulled it off perfectly. If he can do it, so can you.
Make-Ahead Friendly — This is the #1 reason I love it. You can assemble the entire trifle the night before. Actually, it’s better the next day because the cake soaks up the pudding and gets all cozy and soft. I usually make it Sunday morning for Monday’s party, so I can actually enjoy the holiday instead of stressing in the kitchen.
Crowd-Pleaser Guaranteed — I’ve served this to picky eaters, food snobs, and kids who usually only eat chicken nuggets. Everyone loves it. The colors make it fun, the taste is familiar (vanilla, cake, berries), and it feels fancy. It’s a win-win-win.
Budget-Smart — Fresh berries can be pricey, but you don’t need much. And pound cake is cheap. This feeds 12-15 people for under $25. Compare that to ordering a custom dessert from a bakery, and you’re saving big.
Visually Stunning — This is Pinterest gold. Literally. I’ve had people ask me for the recipe just because they saw a photo of it. The clear glass trifle bowl lets everyone see those gorgeous layers. It’s a conversation starter before you even take a bite.
This trifle is my answer to “what’s for dessert?” when I want to impress but don’t want to work. It’s reliable, it’s beautiful, and it tastes like summer.
Ingredients You’ll Need
Here’s the best part: you don’t need any fancy ingredients. Most of this is pantry staples or common fridge items. I’m particular about three things here (fresh berries, real vanilla, and good cake), but everything else is simple.
For the Cake Base
Pound cake (1 store-bought loaf or homemade / about 12 inches) — I use a store-bought loaf for convenience, but homemade is great if you have time. Look for a dense, moist cake. Biscuit-style cake won’t hold up as well. I always buy the plain vanilla flavor; you can add flavor later.
Simple syrup (½ cup / 120ml) — This is just sugar and water. It keeps the cake moist and adds a tiny bit of sweetness. You can skip it if you’re in a rush, but the cake will be drier. Trust me, make the syrup.
For the Cream Layer
Heavy whipping cream (2 cups / 480ml) — Must be cold. If your cream isn’t cold, it won’t whip. I keep it in the fridge until the last minute. Don’t use light cream; you need the fat for stability.
Confectioners’ sugar (¼ cup / 30g) — Adds sweetness and helps stabilize the whipped cream slightly. Sift it if it’s clumpy.
Vanilla extract (2 teaspoons) — Use real vanilla, not imitation. It makes a huge difference in flavor. I use Nielsen-Massey, but any good quality vanilla works.
Instant vanilla pudding mix (1 small box / 3.4 oz) — This is the secret weapon. It thickens the cream and adds vanilla flavor without making it too heavy. Don’t skip this. It’s what gives the trifle that professional texture.
Milk (2 cups / 480ml) — Whole milk works best. Skim milk will make the pudding too thin.
For the Berry Layers
Strawberries (2 cups, hulled and sliced / about 300g) — The red layer. Use ripe, red strawberries. If they’re white on top, they’re not ready. Slice them thin for nice layers.
Blueberries (2 cups / about 240g) — The blue layer. Fresh is best, but frozen works if you thaw and drain them well. I rinse frozen berries to remove ice crystals.
Raspberries (1 cup / about 150g) — Optional, but I love the pinkish-red hue they add. They’re delicate, so handle gently. If you can’t find fresh raspberries, skip them or use more strawberries.
Simple syrup (for berries) (2 tablespoons / 30ml) — Tossing the berries in a little syrup makes them shiny and adds a pop of sweetness. It also helps them stick to the cake.
For Garnish
Mint leaves (1 small bunch) — Adds a fresh green contrast to the red, white, and blue. Looks professional.
Extra berries (a handful) — For topping the final layer.
Edible flowers (optional) — If you want to go extra fancy, a few pansies or violets look amazing. I usually skip this unless I have guests coming.
Equipment Needed
You don’t need fancy gear for this. Here’s what I actually use:
Large glass trifle bowl — 4-quart size is perfect. I have a vintage one from a thrift store, but any clear glass bowl works. The clear glass is key so people can see the layers.
Mixing bowls — One large bowl for whipping cream, one medium for pudding. I use stainless steel bowls because they’re easy to clean.
Electric mixer — Handheld or stand mixer. Whipping cream by hand is possible but tiring. I use my handheld mixer; it’s quick and efficient.
Spatula — For folding the whipped cream and pudding together. Silicone spatulas are best because they scrape the bowl clean.
Knife and cutting board — For slicing the pound cake and strawberries. A serrated knife works best for cake.
Measuring cups and spoons — Standard stuff. Dollar store versions work fine.
Sieve or strainer — For sifting confectioners’ sugar. Skip if you’re feeling lazy, but clumpy sugar is annoying.
Small saucepan — For making simple syrup. Or just microwave the sugar and water in a mug.
Plastic wrap — To cover the trifle while it chills.
How to Make It: Step-by-Step
Alright, let’s make this! I’m walking you through exactly how I do it, including the little tricks I’ve picked up over the years.
Step 1: Make the Simple Syrup (5 minutes)
Combine ¼ cup sugar and ¼ cup water in a small saucepan. Heat over medium heat, stirring until the sugar dissolves. Let it cool completely. You’ll use half of this for the cake and half for the berries. If you’re in a rush, you can skip this, but the cake will be drier.
Step 2: Prep the Cake (10 minutes)
Slice the pound cake into ½-inch thick slices. Then, cut each slice into cubes or triangles, whatever shape you prefer. I like triangles because they look nice in the bowl. Arrange the cake pieces in a single layer at the bottom of your trifle bowl. Brush lightly with simple syrup. This keeps the cake moist and adds flavor.
Step 3: Make the Cream Pudding (10 minutes)
In a large bowl, whisk together the instant vanilla pudding mix and milk according to package directions. Let it sit for 5 minutes to thicken. In another large bowl, whip the heavy cream and confectioners’ sugar until stiff peaks form. Gently fold the pudding into the whipped cream until just combined. Don’t overmix, or you’ll deflate the cream. It should be thick, fluffy, and vanilla-y.
Step 4: Layer the First Berry Layer (5 minutes)
Toss the strawberries with 1 tablespoon of simple syrup. Arrange a layer of strawberries over the cake. Then, add a layer of the cream pudding mixture. Spread it evenly, but don’t press down. Just smooth it out with a spatula. Repeat with blueberries and another layer of cream.
Step 5: Repeat Layers (10 minutes)
Continue layering: cake, syrup, cream, berries. Alternate red (strawberries) and blue (blueberries) layers. End with a final layer of cream. If you have raspberries, add them with the strawberries for a pinkish hue. The goal is to have visible stripes of color through the clear bowl.
Step 6: Chill and Set (At least 4 hours, overnight best)
Cover the trifle with plastic wrap and refrigerate for at least 4 hours. Overnight is even better. The cake will soften and absorb the cream, and the flavors will meld together. This step is crucial. Don’t skip it.
Step 7: Garnish and Serve
Just before serving, garnish with fresh mint leaves and extra berries on top. Slice with a large spoon or ladle. Serve immediately.
Total Time: About 30 minutes active, plus 4+ hours chilling.
Expert Tips & Tricks
Here’s everything I’ve learned from making this dozens of times. These tips will save you from my mistakes.
Keep Everything Cold — Cold cream whips better. Cold bowls help too. I put my mixing bowl in the fridge for 15 minutes before whipping. If your kitchen is hot, work quickly.
Don’t Overmix the Cream — Once you see stiff peaks, stop. Overwhipping turns cream into butter. It’s not pretty, and it’s not what you want.
Use Ripe Berries — Underripe berries are tart and hard. Ripe berries are sweet and soft. Taste a few before you buy. If they’re not ready, wait a day or use frozen.
Layer Evenly — Try to keep your layers even. It looks better and makes serving easier. Use a ruler if you’re being obsessive (I do).
Make It Ahead — This trifle improves with time. Make it the night before. The cake soaks up the cream and gets all cozy. It’s better than fresh.
Common Mistakes:
- Soggy cake: Don’t oversaturate with syrup. Just a light brush is enough.
- Flat cream: Your cream wasn’t cold enough, or you overmixed. Start over.
- Brown berries: Use fresh, not overripe. Rinse frozen berries well and drain thoroughly.
Variations & Substitutions
Once you’ve nailed the basic version, here’s how you can mix it up. I’ve tried all of these.
White Chocolate Version — Add ½ cup melted white chocolate to the whipped cream. Richer and sweeter.
Lemon Berry Version — Add zest of 1 lemon to the cream. Bright and refreshing.
Chocolate Chip Version — Add a layer of chocolate chips between the cake and cream. For the kids.
Gluten-Free — Use gluten-free pound cake. Everything else is naturally gluten-free.
Dairy-Free — Use coconut cream and dairy-free pudding mix. It’s different but still tasty.
Other Berries — Blackberries, cranberries, or mixed berries work too. Just adjust the colors.
Serving & Storage
How to Serve: I usually serve this straight from the bowl with a large spoon. But here are other ways I’ve enjoyed it:
- With a scoop of vanilla ice cream on the side
- With a drizzle of chocolate sauce for dessert lovers
- With a splash of prosecco for adults
Storage: Store in the fridge for up to 3 days. Cover with plastic wrap. The cake will get softer over time, which is fine.
Freezing: Don’t freeze this. The cream and berries don’t thaw well. Make it fresh or store in the fridge.
Nutrition Information
I’m not a nutritionist, but here’s the breakdown if you’re tracking.
Per Serving (based on 12 servings):
- Calories: 320
- Protein: 4g
- Carbs: 45g
- Fiber: 3g
- Sugar: 30g
- Fat: 14g
Look, this is a dessert with cream, cake, and sugar. It’s not a diet recipe. But it’s way better than store-bought, and you control the ingredients. When I want to make it lighter, I use less sugar and more berries. But usually? I just enjoy it.
Final Thoughts
So that’s my go-to Red White and Blue Berry Trifle! I’ve probably talked your ear off at this point, but when you make a recipe this often, you have a lot to say about it.
This has saved Labor Day dinners more times than I can count. It’s my answer to “what’s for dessert?” when I want to impress but don’t want to work. My family is happy, my guests are happy, and I’m happy because I’m not stressed about cooking.
Make it yours! Try different berries, swap in your favorite cake, adjust the sweetness. The best recipes are the ones you adapt to your family’s tastes.
If you make this, drop a comment and let me know what you think! I love hearing how recipes turn out in your kitchen. And if something doesn’t work, tell me that too—I’m here to help troubleshoot.
Happy cooking! And I hope your kitchen smells half as good as mine does right now.
Frequently Asked Questions
Can I use frozen berries?
Yes, but thaw them first and drain well. Excess water will make the trifle soggy. I rinse frozen berries to remove ice crystals, then pat them dry with paper towels. Fresh is better, but frozen works in a pinch.
Can I make this ahead?
Absolutely. This is actually better made ahead. Assemble it the night before and refrigerate overnight. The cake will soften and absorb the cream, making it even more delicious. Just add garnishes right before serving.
Why did my cream turn out grainy?
Probably overwhipped. Once you see stiff peaks, stop. If it’s already grainy, you can try folding in a little more cold cream to smooth it out, but it’s hard to fix. Next time, whip slower and stop earlier.
Can I use a different cake?
Yes! Sponge cake, angel food cake, or even pound cake work well. Just make sure it’s moist enough to soak up the syrup. Dense cakes hold up better than light, airy ones.
How long does this last?
Up to 3 days in the fridge. After that, the cake gets too soggy and the berries start to break down. Make it fresh if possible, or store it properly.
Can I double this recipe?
Yes! Double everything and use a larger trifle bowl. The cooking times stay the same. I do this when I’m feeding a crowd. Just make sure your bowl is big enough.
What wine goes with this?
A light, sweet wine like Moscato or Riesling works well. Or skip the wine and serve with coffee or tea. It’s flexible.
Pin This Recipe!
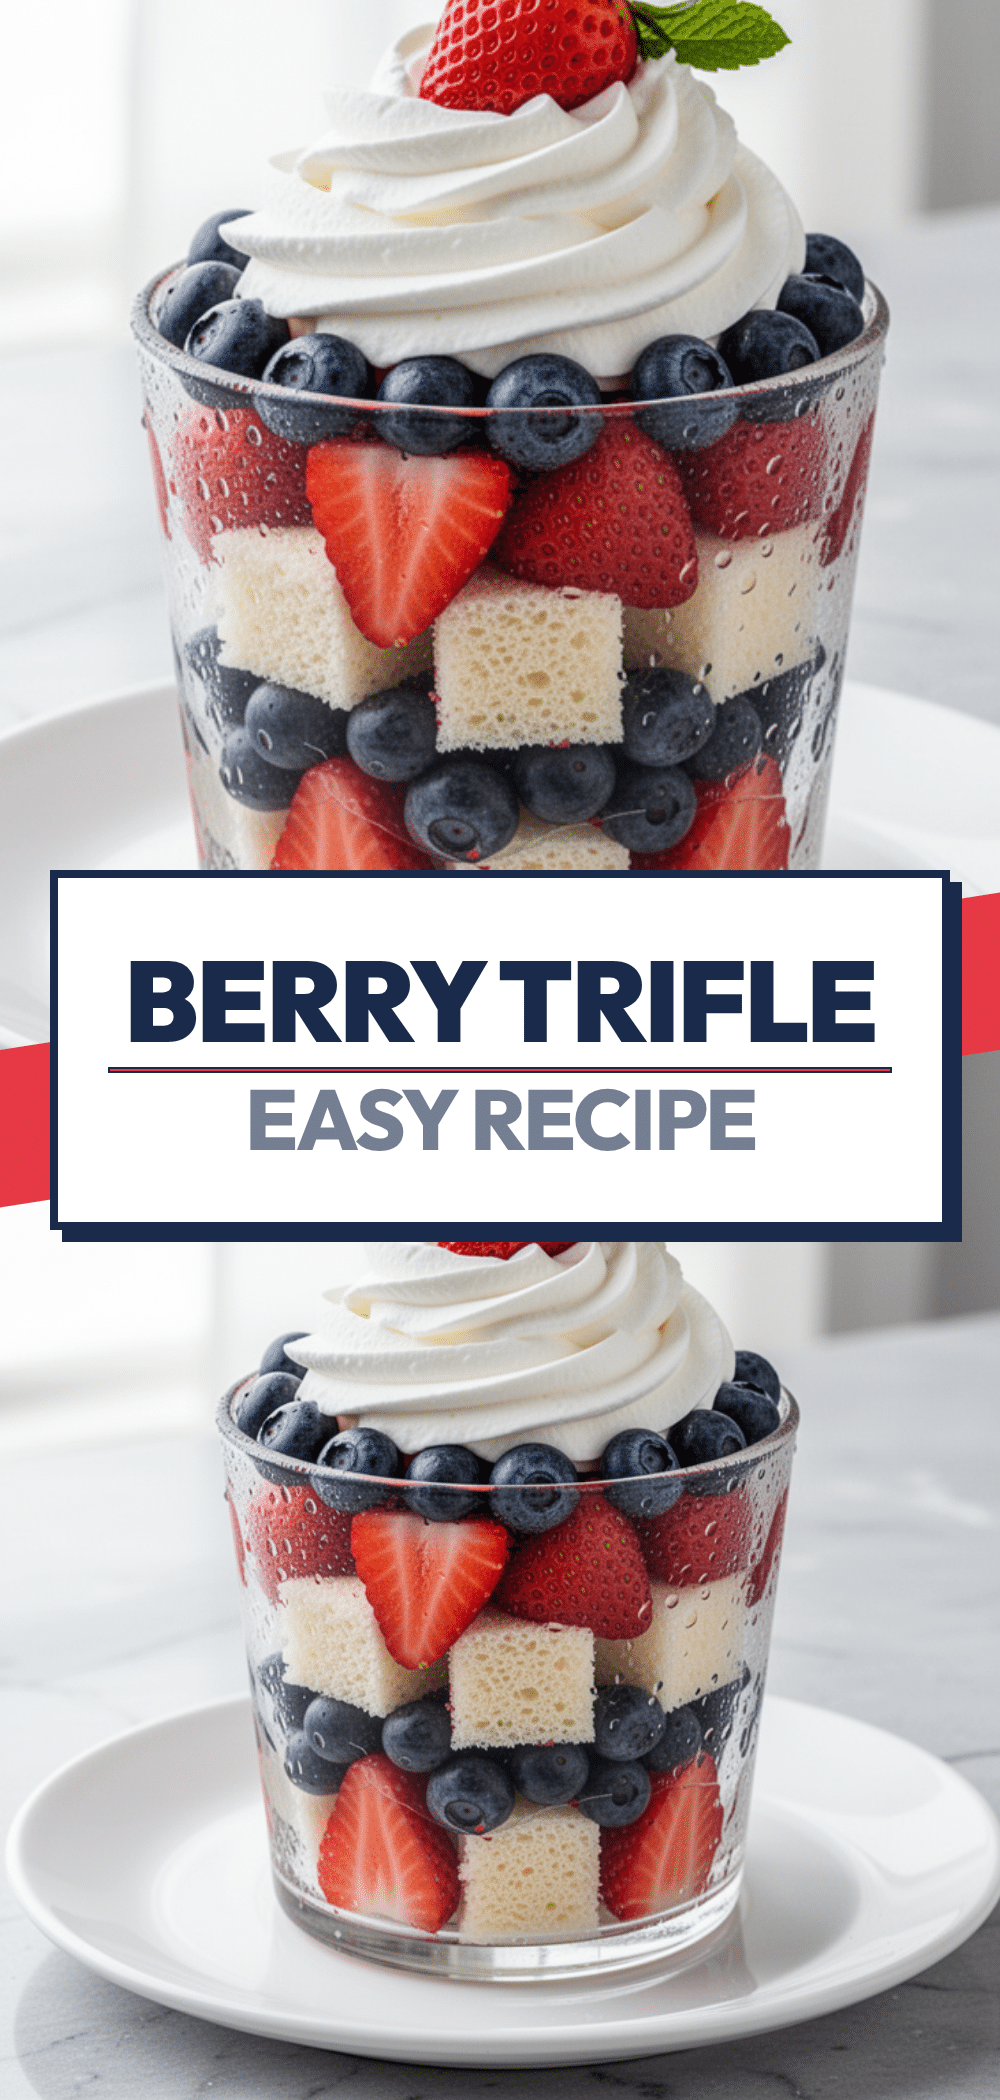
Red White and Blue Berry Trifle: Easy Labor Day Party Recipe
- Total Time: 4 hours 30 minutes
- Yield: 12 servings 1x
Description
A visually stunning, make-ahead dessert featuring layers of pound cake, vanilla cream pudding, and fresh red, white, and blue berries. Perfect for Labor Day parties and summer gatherings.
Ingredients
- 1 store-bought pound cake loaf (about 12 inches)
- 1/2 cup simple syrup (divided: 1/4 cup for cake, 2 tbsp for berries)
- 2 cups heavy whipping cream, cold
- 1/4 cup confectioners’ sugar
- 2 teaspoons vanilla extract
- 1 small box (3.4 oz) instant vanilla pudding mix
- 2 cups whole milk
- 2 cups strawberries, hulled and sliced
- 2 cups blueberries
- 1 cup raspberries (optional)
- 1 small bunch mint leaves
- Extra berries for garnish
Instructions
- Make simple syrup by combining 1/4 cup sugar and 1/4 cup water in a saucepan over medium heat until dissolved. Let cool completely.
- Slice pound cake into 1/2-inch thick slices, then cut into cubes or triangles.
- Arrange a single layer of cake pieces at the bottom of a large glass trifle bowl and brush lightly with simple syrup.
- Whisk instant vanilla pudding mix and milk in a large bowl according to package directions. Let sit for 5 minutes to thicken.
- In a separate large bowl, whip heavy cream and confectioners’ sugar until stiff peaks form.
- Gently fold the thickened pudding into the whipped cream until just combined.
- Toss strawberries with 1 tablespoon of simple syrup.
- Layer strawberries over the cake, followed by a layer of the cream pudding mixture. Repeat with blueberries and cream.
- Continue layering cake, syrup, cream, and alternating berries until ingredients are used, ending with a final layer of cream.
- Cover with plastic wrap and refrigerate for at least 4 hours or overnight.
- Garnish with fresh mint leaves and extra berries before serving.
Notes
Keep all ingredients cold, especially the cream, for best whipping results. Do not overmix the cream to avoid turning it into butter. The trifle improves with time, so making it the night before is recommended. Do not freeze this dessert as the cream and berries do not thaw well.
- Prep Time: 30 minutes
- Cook Time: 0 minutes
- Category: Dessert
- Cuisine: American
Nutrition
- Serving Size: 1 slice
- Calories: 320
- Sugar: 30
- Sodium: 150
- Fat: 14
- Saturated Fat: 8
- Carbohydrates: 45
- Fiber: 3
- Protein: 4
Keywords: Labor Day dessert, berry trifle, patriotic dessert, make-ahead dessert, summer party recipe, red white and blue dessert


