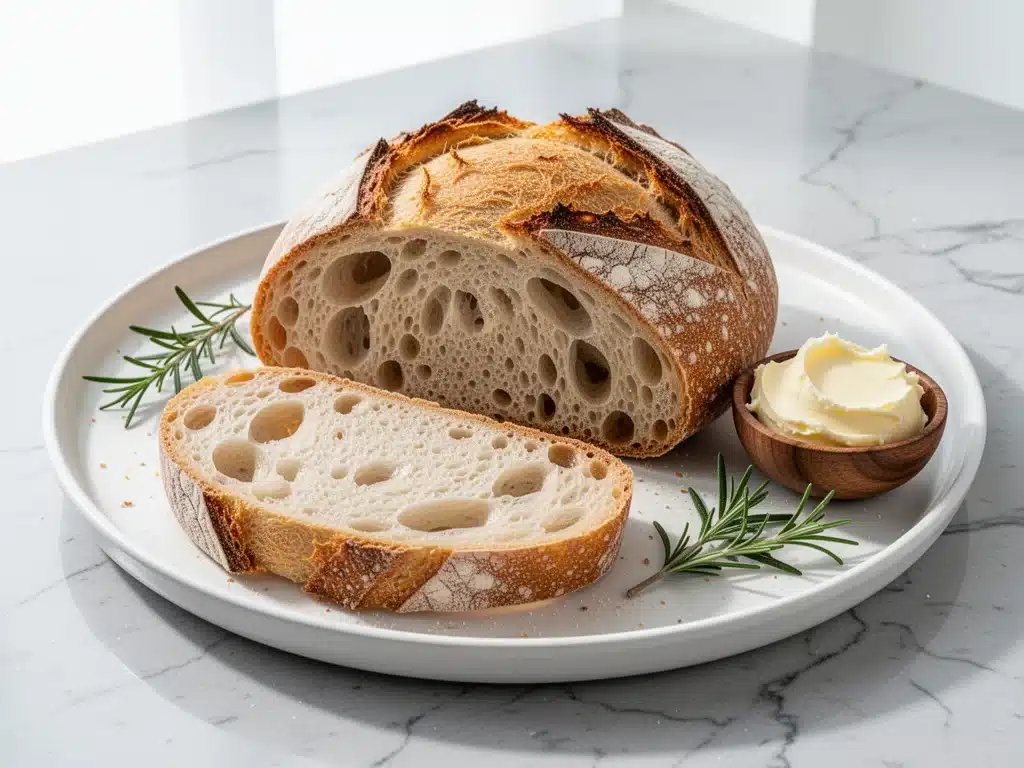
Last Thursday, I stood in my kitchen at 11 PM, staring at a loaf of store-bought sandwich bread that tasted like cardboard and regret. My husband had just come home from a double shift, and we were both too tired to cook. I wanted something warm, something crusty, something that felt like a hug. So, I did something I never thought I’d do: I made sourdough bread without a starter.
I know, I know. The sourdough purists are probably clutching their pearl necklaces right now. “Sourdough without a starter? That’s not real sourdough!” But here’s the thing—I don’t care about the purists. I care about feeding my family delicious, tangy, crusty bread that doesn’t require a month-long fermentation project or a jar of mysterious slime on my counter. This beginner-friendly sourdough bread recipe is the real deal. It uses buttermilk and baking soda to create that signature tang and rise, mimicking the flavor profile of traditional sourdough without the hassle.
I’ve tested this recipe about a dozen times over the last six months. Sometimes I used whole wheat flour, sometimes I added seeds, sometimes I baked it in a Dutch oven and sometimes on a baking sheet. The result? A loaf that tastes better than takeout, costs pennies to make, and smells so good it wakes up the neighbors. If you’ve been intimidated by sourdough because of the starter maintenance, this is your entry point. It’s forgiving, it’s fast, and it’s genuinely delicious. Let’s get baking.
Why You’ll Love This No-Starter Sourdough
There are a few reasons this loaf has earned a permanent spot in my weekly rotation. It’s not just about convenience; it’s about the result. This bread delivers on all the things you love about artisan sourdough, minus the headache.
- Zero Starter Maintenance — Seriously. No feeding it every day. No discarding cups of dough. If you have buttermilk and baking soda, you have everything you need. I keep buttermilk in the fridge specifically for this, and it lasts for weeks.
- Real Tangy Flavor — Some people think “no starter” means “no flavor.” They’re wrong. The combination of acidic buttermilk and baking soda creates a chemical reaction that produces that distinct sourdough tang. It’s subtle but noticeable, and it pairs perfectly with butter or soup.
- Fast Rise Time — Traditional sourdough can take 12-24 hours. This bread is mixed, shaped, and baked in under 4 hours. I can start making it at breakfast and have warm bread for dinner. It’s perfect for weeknights.
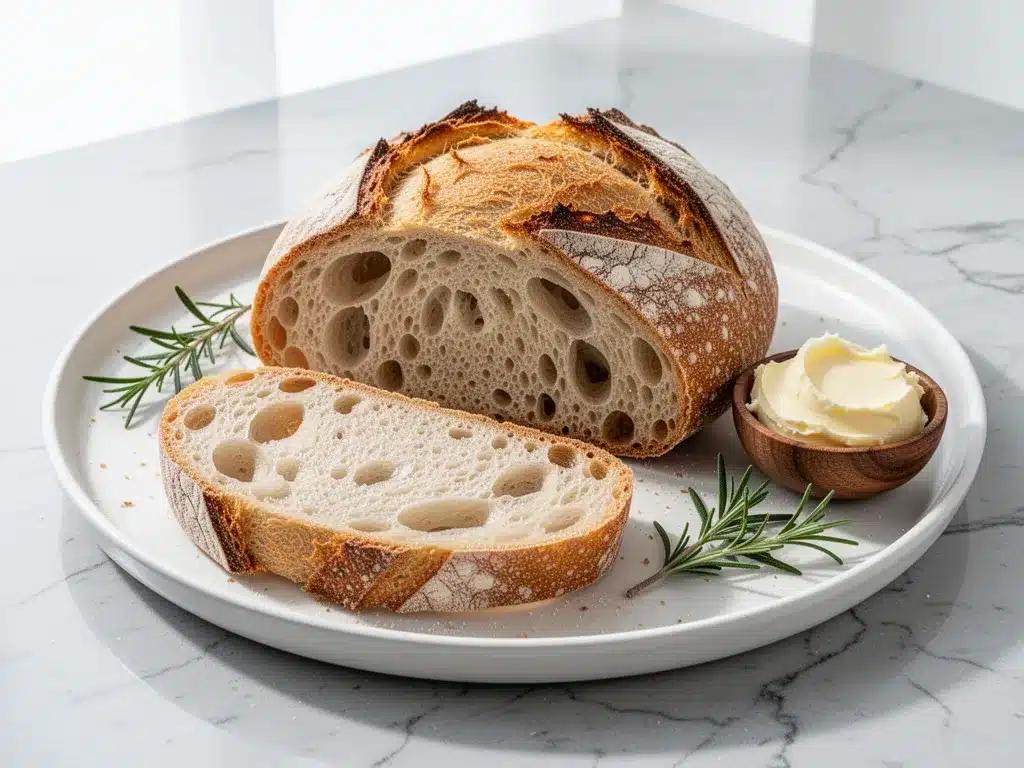
- Crusty and Chewy — This isn’t soft sandwich bread. It has a shatteringly crisp crust and a chewy, open crumb. I’ve served this to friends who swear they’re sourdough experts, and they haven’t once guessed it was made without a starter.
- Budget-Friendly — Flour, buttermilk, butter, salt. You probably have most of this already. A loaf of artisan sourdough at the bakery costs $8-10. This costs about $1.50 to make. Do the math.
This bread has saved me on nights when I’m exhausted but still want to eat well. It’s my answer to “what if I just baked something?” without needing a PhD in fermentation science.
Ingredients You’ll Need
Here’s the best part: the ingredient list is shorter than most cookie recipes. I’m particular about three things here—flour, buttermilk, and salt—and I’ll tell you exactly why they matter.
For the Dough
All-Purpose Flour (4 cups / 500g) — I use King Arthur or Gold Medal. You can use bread flour for a chewier crust, but all-purpose gives a nice tender crumb that’s easier for beginners. Don’t use self-rising flour; it has too much leavening already.
Buttermilk (1 ½ cups / 360ml) — This is the secret weapon. It provides the acidity for the tang and the moisture for the dough. If you can’t find buttermilk, make your own by adding 1 tablespoon of white vinegar or lemon juice to 1 cup of milk, letting it sit for 5 minutes, then adding another ½ cup of milk. It works perfectly.
Unsalted Butter (2 tablespoons / 30g, melted) — Adds richness and helps with browning. I use salted butter if that’s all I have, but I reduce the added salt slightly. Real butter makes a difference here.
Baking Soda (1 teaspoon / 5g) — This is your leavening agent. It reacts with the acidic buttermilk to create bubbles. Make sure it’s fresh! Old baking soda won’t rise properly. I replace mine every three months.
Salt (1 ½ teaspoons / 9g) — Essential for flavor. Use kosher salt if you have it; it’s easier to measure. If using table salt, reduce to 1 teaspoon because it’s finer and saltier.
Honey or Sugar (1 tablespoon / 15g) — Just a little bit to feed the reaction and help with browning. It doesn’t make the bread sweet; it just balances the tang.
For the Crust
Extra Flour (for dusting) — Use whatever flour you have. I keep a small bowl of flour near my workspace for shaping.
Butter or Olive Oil (for brushing) — Optional, but brushing the top with melted butter before baking gives it a softer, more golden crust. Olive oil gives a more rustic, Mediterranean feel.
Equipment Needed
You don’t need fancy equipment for this. Here’s what I actually use:
Large Mixing Bowl — Any bowl that’s big enough to hold 4 cups of flour plus liquids. I use a 5-quart ceramic bowl. Plastic works fine too.
Measuring Cups and Spoons — Standard stuff. Dollar store versions work fine. If you want precision, use a kitchen scale, but this recipe is forgiving enough for volume measurements.
Wooden Spoon or Spatula — For mixing. I prefer a wooden spoon because it’s sturdy and doesn’t scratch my bowl.
Baking Sheet or Loaf Pan — I use a standard 9×5 loaf pan for a classic shape, or a baking sheet for a rustic round loaf. Line it with parchment paper for easy cleanup.
Parchment Paper — Highly recommended. It prevents sticking and makes cleanup a breeze. I use it every time.
Sharp Knife or Razor Blade — For scoring the top before baking. This helps the bread expand evenly. A dull knife will drag the dough; a sharp one cuts clean.
Wire Cooling Rack — Essential for letting the bread cool properly. If you cut into it too soon, the inside will be gummy.
How to Make It: Step-by-Step
Alright, let’s make this! I’m walking you through exactly how I do it, including the little tricks I’ve picked up along the way.
Step 1: Mix the Wet Ingredients (2 minutes)
In your large bowl, whisk together the buttermilk, melted butter, honey, and salt until the butter is fully incorporated and the mixture is smooth. It should look creamy and slightly thick. If your butter was cold, it might have solidified a bit—just whisk vigorously until it’s emulsified.
Step 2: Add the Dry Ingredients (3 minutes)
Add the flour and baking soda to the wet mixture. Stir with a wooden spoon or spatula until a shaggy dough forms. It will look messy and sticky at first. That’s okay. Don’t add more flour yet. The dough should be soft and slightly tacky, like Play-Doh. If it’s too dry to hold together, add 1 tablespoon of buttermilk. If it’s too wet to handle, add 1 tablespoon of flour.
Step 3: Knead the Dough (5-7 minutes)
Turn the dough out onto a lightly floured surface. Knead gently for 5-7 minutes. You don’t need to develop gluten like you would for pizza dough, but you do need to make it smooth and elastic. Fold it over itself, push it away, rotate, repeat. If it sticks to your hands, dust with a little more flour, but don’t overdo it. The dough is ready when it’s smooth and springs back slightly when you poke it.
Step 4: Shape the Loaf (2 minutes)
Shape the dough into a round ball or oval, depending on your pan. If using a loaf pan, place it seam-side down in the pan. If using a baking sheet, place it on a parchment-lined sheet. Tuck the edges under to create tension on the top. This helps it rise upward instead of spreading out.
Step 5: Let It Rise (1-2 hours)
Cover the dough loosely with a damp kitchen towel or plastic wrap. Let it rise in a warm spot for 1-2 hours. It doesn’t need to double in size like yeast bread, but it should puff up noticeably and feel jiggly when you shake the pan. This is the second rise, and it’s crucial for texture. If your kitchen is cold, put the oven on the lowest setting for 5 minutes, then turn it off and put the dough inside.
Step 6: Preheat and Score (5 minutes)
Preheat your oven to 425°F (220°C). If using a loaf pan, place it in the oven to preheat. If using a baking sheet, leave it out. Once the oven is hot, take the dough out. Use a sharp knife or razor blade to score the top. Cut a deep slash across the center, about ½ inch deep. This is called “scoring” and it controls where the bread expands. If you don’t score it, it might burst open randomly.
Step 7: Bake (30-35 minutes)
Place the dough in the oven. Bake for 30-35 minutes. The bread is done when the crust is deep golden brown and sounds hollow when you tap the bottom. If you’re unsure, insert a thermometer into the center—it should read 190-200°F (88-93°C). The crust should be firm and crackly.
Step 8: Cool (30 minutes)
Remove the bread from the oven and let it cool on a wire rack for at least 30 minutes. I know this is hard, but cutting into it while it’s hot will make the inside gummy and undercooked. Trust me. The smell will drive you crazy, but wait it out.
Expert Tips & Tricks
Here’s everything I’ve learned from making this dozens of times. These tips will save you from my mistakes.
Don’t Overbake — The biggest mistake beginners make is baking too long. Sourdough (even this version) should be golden, not dark brown. If the top is browning too fast, tent it with foil for the last 10 minutes.
Buttermilk Temperature Matters — Cold buttermilk can shock the baking soda. Let it sit out for 15 minutes before mixing, or microwave it for 15 seconds. Room temperature ingredients mix more evenly.
Scoring Technique — Hold the knife at a 45-degree angle and make one confident cut. Hesitation leads to dragging. A clean cut means a clean rise.
Steam for Crispier Crust — If you want a super crispy crust, place a pan of hot water on the bottom rack of the oven while it preheats. When you put the bread in, the steam will help the crust crisp up. Remove the pan after 10 minutes.
Common Mistakes
- Dense loaf: You over-kneaded or used old baking soda. Make sure your leavening is fresh.
- Flat bread: You didn’t let it rise long enough. Patience is key.
- Burnt bottom: Your oven runs hot or the pan is too dark. Use a light-colored pan or lower the rack position.
Variations & Substitutions
Once you’ve nailed the basic version, here’s how you can mix it up. I’ve tried all of these.
Whole Wheat Version — Swap 1-2 cups of all-purpose flour for whole wheat. It’s heartier and nuttier. You may need an extra 2 tablespoons of buttermilk because whole wheat absorbs more liquid.
Seeded Loaf — Add ¼ cup of sunflower seeds, pumpkin seeds, or flaxseeds to the dry ingredients. Adds crunch and nutrition.
Garlic & Herb — Mix 2 teaspoons of dried rosemary and 1 teaspoon of garlic powder into the flour. Amazing with roasted vegetables.
Rolls — Divide the dough into 8-10 pieces and shape into rolls. Bake for 20-25 minutes. Perfect for sandwiches.
Dairy-Free — Use coconut milk yogurt mixed with lemon juice instead of buttermilk, and use coconut oil instead of butter. It changes the flavor slightly but works in a pinch.
Serving & Storage
How to Serve: I usually serve this warm, sliced thick, with a slab of salted butter. It’s also incredible with soups, stews, or just a drizzle of olive oil and balsamic vinegar. I’ve served it to dinner guests, and it’s always the first thing to disappear.
Side Dishes: This pairs perfectly with tomato soup, chili, or a simple green salad. It’s versatile enough for breakfast with jam or lunch with turkey.
Storage: Store leftovers in an airtight container or plastic bag at room temperature for up to 3 days. The crust will soften, but the inside stays moist. For longer storage, slice and freeze. It freezes beautifully for up to 3 months. Thaw at room temperature or toast directly from frozen.
Reheating: To restore the crust, wrap the loaf in foil and warm it in a 350°F oven for 10 minutes. Or, slice and toast. Never microwave whole loaves—it makes them rubbery.
Nutrition Information
I’m not a nutritionist, but here’s the breakdown if you’re tracking. This is per slice (1/12 of the loaf).
| Nutrient | Amount |
|---|---|
| Calories | 180 |
| Protein | 5g |
| Carbs | 30g |
| Fiber | 1g |
| Sugar | 2g |
| Fat | 4g |
| Sodium | 320mg |
Look, this is bread. It’s not a diet food. But it’s way better than store-bought, and you control the ingredients. When I want to make it lighter, I use whole wheat flour and reduce the butter. But usually? I just eat a reasonable portion and enjoy it. It’s comfort food.
Final Thoughts
So that’s my go-to beginner-friendly sourdough bread! I’ve probably talked your ear off at this point, but when you make a recipe this often, you have a lot to say about it. This loaf has saved me on lazy nights, impressed dinner guests, and even won over my sourdough-purist sister (she was shocked).
This bread is proof that you don’t need a starter to get that amazing tangy flavor. It’s accessible, forgiving, and delicious. Make it yours! Try different seeds, herbs, or flours. The best recipes are the ones you adapt to your family’s tastes.
If you make this, drop a comment and let me know what you think! I love hearing how recipes turn out in your kitchen. And if something doesn’t work, tell me that too—I’m here to help troubleshoot. Happy cooking! And I hope your kitchen smells half as good as mine does right now.
Frequently Asked Questions
Can I use regular milk instead of buttermilk?
You can, but you’ll lose that signature tang. If you must, add 1 tablespoon of white vinegar or lemon juice to 1 cup of milk and let it sit for 5 minutes. This creates a buttermilk substitute that works well in this recipe. The acid is necessary for the chemical reaction with the baking soda.
Why did my bread turn out dense?
Usually, this means your baking soda was old or you didn’t let it rise long enough. Check the expiration date on your baking soda. Also, make sure you’re not over-kneading the dough. This isn’t yeast bread; it doesn’t need gluten development. Just mix until combined and smooth.
Can I make this ahead of time?
Not really. This is a quick-bread style loaf that’s best fresh. You can mix the dough and let it rise in the fridge overnight, then bake it in the morning. This actually improves the flavor! Just let it come to room temperature for 30 minutes before baking.
Why did my bread not rise?
Three reasons: old baking soda, cold ingredients, or not enough rise time. Make sure your baking soda is fresh (test it by dropping a little in vinegar—it should fizz vigorously). Let the buttermilk warm up. And give it enough time to puff up. It doesn’t need to double, but it should look noticeably larger.
Can I freeze this bread?
Yes! Slice it first, then wrap tightly in plastic wrap and foil. Freeze for up to 3 months. Thaw at room temperature or toast directly from frozen. It reheats beautifully.
Is this recipe gluten-free?
No, it uses all-purpose or bread flour. You can use a gluten-free 1-to-1 flour blend, but the texture will be different. You may need to add a binding agent like xanthan gum if your blend doesn’t have it. I haven’t tested this extensively, so proceed with caution.
How do I store leftovers?
Keep it in an airtight container at room temperature for up to 3 days. For longer storage, freeze it. Don’t refrigerate—it stales bread faster. If the crust softens, warm it in the oven for 5 minutes to crisp it back up.
Pin This Recipe!
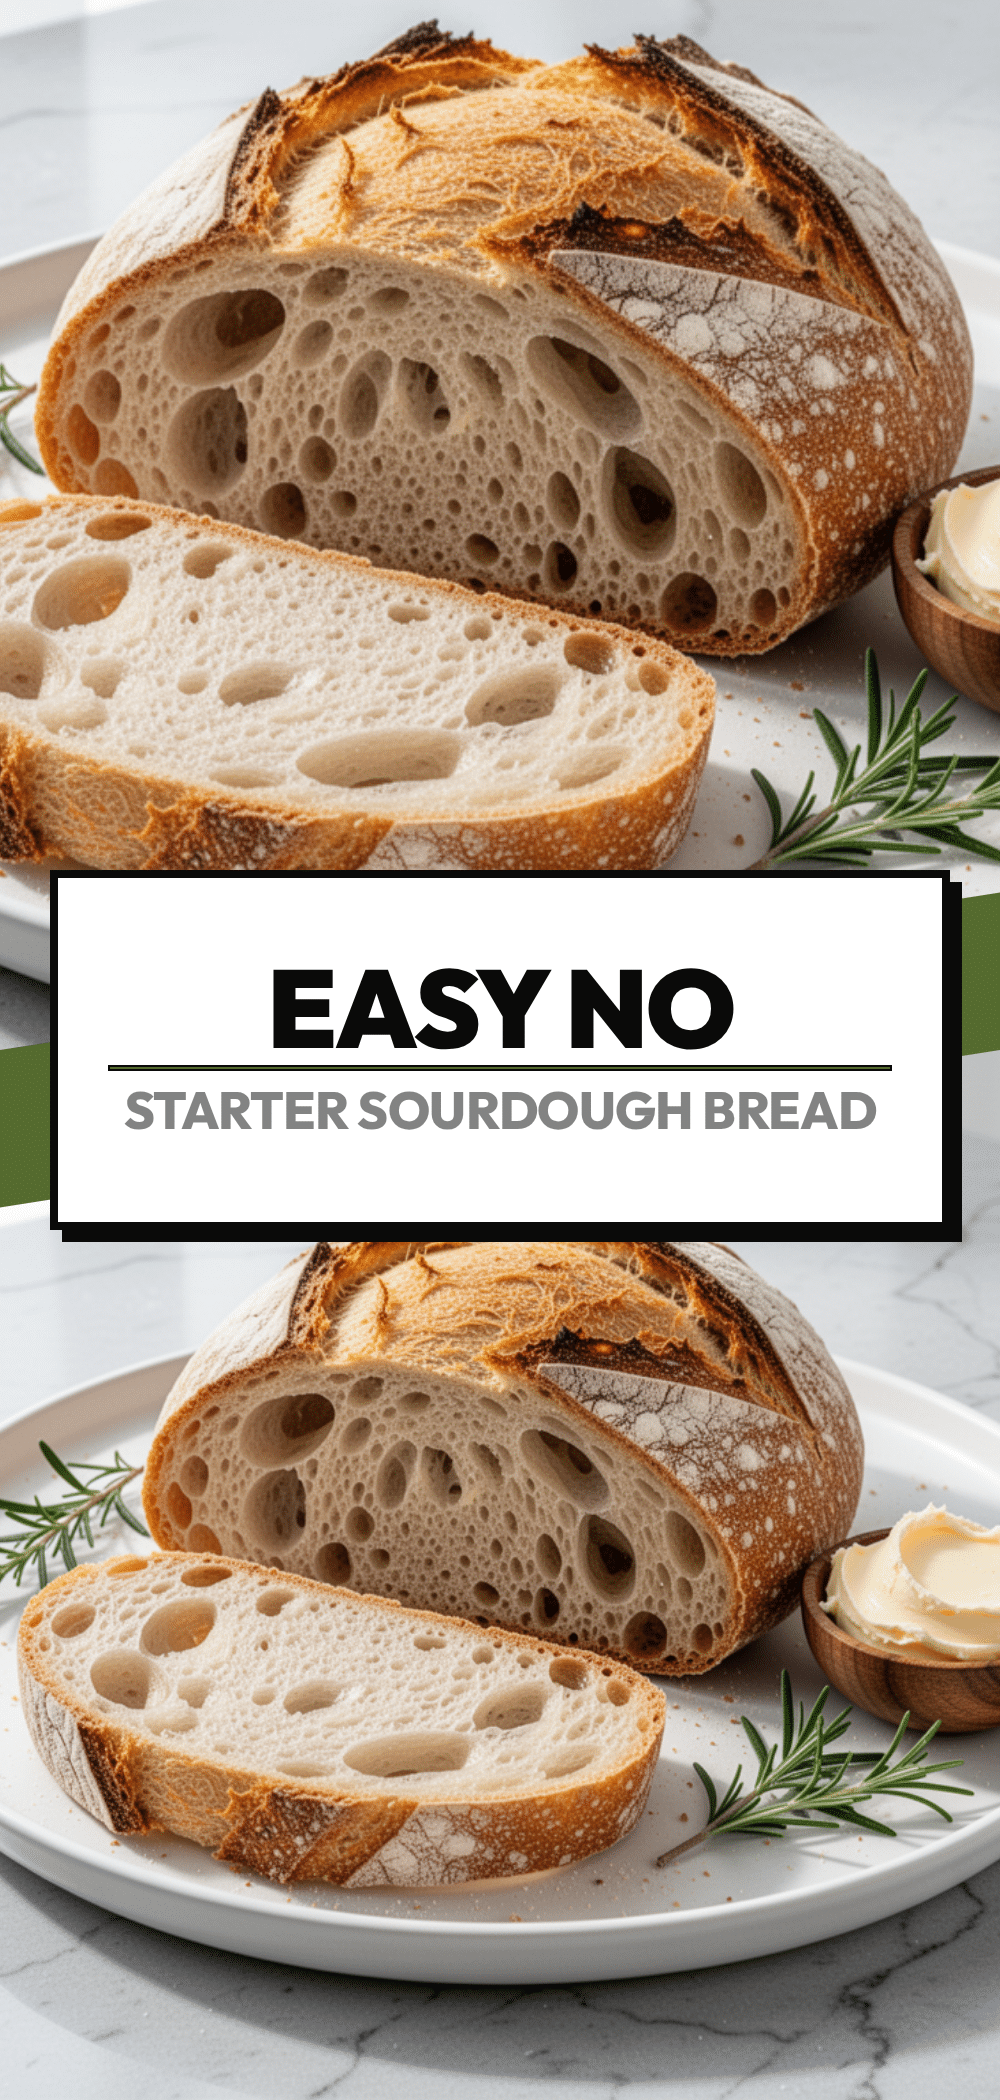

Beginner-Friendly Sourdough Bread: No Starter Needed
- Total Time: 4 hours
- Yield: 1 loaf (12 slices) 1x
Description
A forgiving, fast-rise sourdough bread that uses buttermilk and baking soda to create a tangy flavor and crusty texture without the need for a traditional starter.
Ingredients
- 4 cups (500g) All-Purpose Flour
- 1 ½ cups (360ml) Buttermilk
- 2 tablespoons (30g) Unsalted Butter, melted
- 1 teaspoon (5g) Baking Soda
- 1 ½ teaspoons (9g) Salt
- 1 tablespoon (15g) Honey or Sugar
- Extra Flour for dusting
- Butter or Olive Oil for brushing
Instructions
- In a large bowl, whisk together the buttermilk, melted butter, honey, and salt until smooth and emulsified.
- Add the flour and baking soda to the wet mixture. Stir with a wooden spoon or spatula until a shaggy, soft, and slightly tacky dough forms.
- Turn the dough out onto a lightly floured surface and knead gently for 5-7 minutes until smooth and elastic.
- Shape the dough into a round ball or oval. Place seam-side down in a loaf pan or on a parchment-lined baking sheet, tucking edges under to create tension.
- Cover loosely with a damp towel or plastic wrap and let rise in a warm spot for 1-2 hours until puffed and jiggly.
- Preheat oven to 425°F (220°C). Score the top of the dough with a sharp knife or razor blade, cutting a deep slash about ½ inch deep.
- Bake for 30-35 minutes until the crust is deep golden brown and sounds hollow when tapped, or until internal temperature reaches 190-200°F (88-93°C).
- Remove from oven and let cool on a wire rack for at least 30 minutes before slicing.
Notes
Ensure baking soda is fresh for proper rise. If using table salt, reduce amount to 1 teaspoon. For a crispier crust, place a pan of hot water in the oven during preheating. Do not refrigerate leftovers as it stales the bread faster; store at room temperature or freeze.
- Prep Time: 20 minutes
- Cook Time: 30-35 minutes
- Category: Bread
- Cuisine: American
Nutrition
- Serving Size: 1 slice (1/12 of the
- Calories: 180
- Sugar: 2
- Sodium: 320
- Fat: 4
- Saturated Fat: 2
- Carbohydrates: 30
- Fiber: 1
- Protein: 5
Keywords: sourdough bread, no starter sourdough, beginner bread recipe, quick sourdough, buttermilk bread, homemade bread, crusty bread


