It was 2014, and I was standing in my mother-in-law’s kitchen, staring at a pie crust that had shattered into twelve distinct pieces on the counter. It was Thanksgiving. The turkey was in the oven. The gravy was lumpy. And I, the self-appointed dessert master, had just committed the ultimate sin: I’d baked a pumpkin pie so dry it could have been used as a coaster.
My mother-in-law didn’t say a word. She just gently took the pie pan from my trembling hands, walked it to the trash, and pointed at the empty counter. “Sit down,” she said. “We’re making bars.”
That was the day I discovered Ultra-Creamy Pumpkin Pie Bars. I had always been intimidated by the idea of pie. The rolling pin felt like a weapon, the crimping edges looked like a test of character, and the dreaded soggy bottom was a real threat. But bars? Bars were forgiving. Bars were manageable. And if they were slightly underbaked in the center? That wasn’t a failure; that was just extra fudgy texture.
Since that fateful Thanksgiving, I’ve made these pumpkin bars every single fall. Not just for holidays, but for random Tuesdays in October when I need a hit of comfort without the effort. They are the ultimate “make on repeat” dessert. You get all the spiced, creamy, nostalgic flavor of pumpkin pie, but with a shortbread crust that actually stays crisp (yes, really) and a filling so rich it feels like you’re cheating on a diet. I’ve tested this recipe at least twenty times—some with store-bought crusts, some with homemade, some with different sugars. This is the version that works. The one that makes people ask for the recipe before they’ve even finished the first square.
If you’re tired of dry pies and complicated desserts that require five different bowls and a PhD in pastry, this is your answer. These bars are easy, they’re beautiful, and they taste like autumn in a bite. Let’s get baking.
Why You’ll Love These Pumpkin Pie Bars
I’ve said it before, but I’ll say it again: these bars have completely changed my relationship with fall desserts. There are about ten reasons I keep coming back to this recipe, but here are the big ones that keep me in the kitchen every October.
Stupid Simple Shortbread Crust
Seriously, if you can cream butter and sugar, you can make this crust. I’ve walked my teenage son through it over FaceTime while he was at college. No rolling pins, no chilling time (well, minimal chilling), and no fear of cracking. It’s a pressed-in crust that bakes up buttery and crisp, providing the perfect contrast to the soft filling. It’s the best of both worlds without the hassle.
Lightning Fast Prep
Most pumpkin pies take at least 45 minutes of prep plus an hour of baking and cooling. These bars? You can have them in the oven in 20 minutes. The baking time is shorter because the layer is thinner, and you don’t have to wait for a giant pie to cool at room temperature for hours. I can make these on a busy weeknight after work and have dessert ready by the time my husband gets home. It’s a weeknight hero.
Texture Heaven
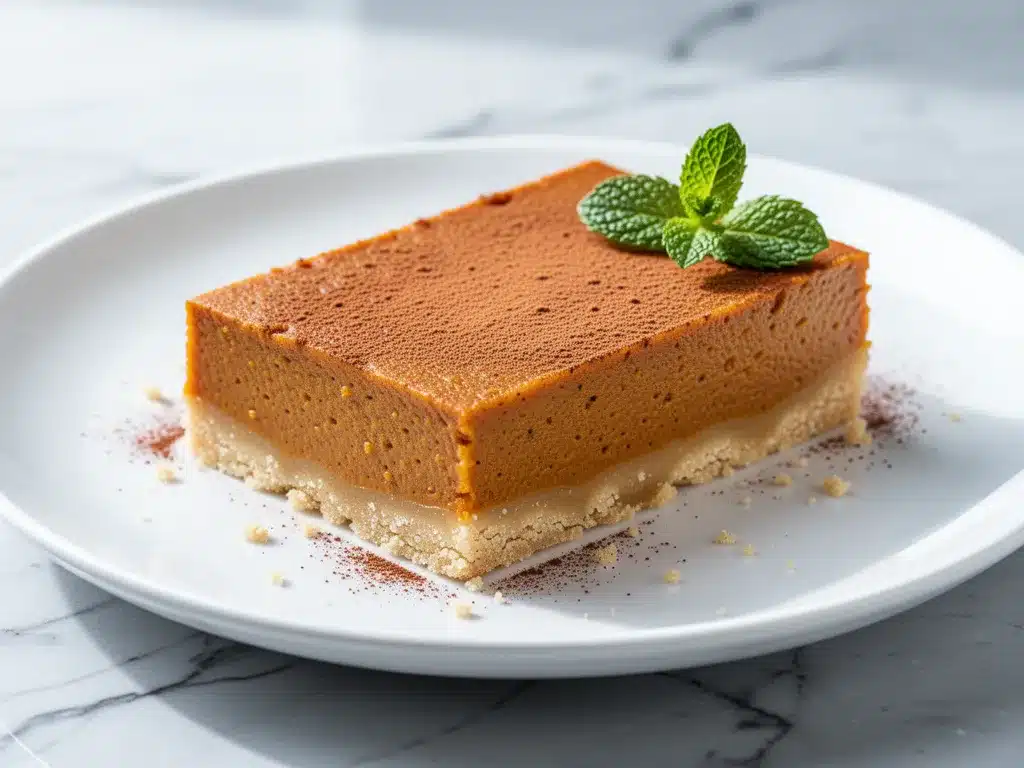
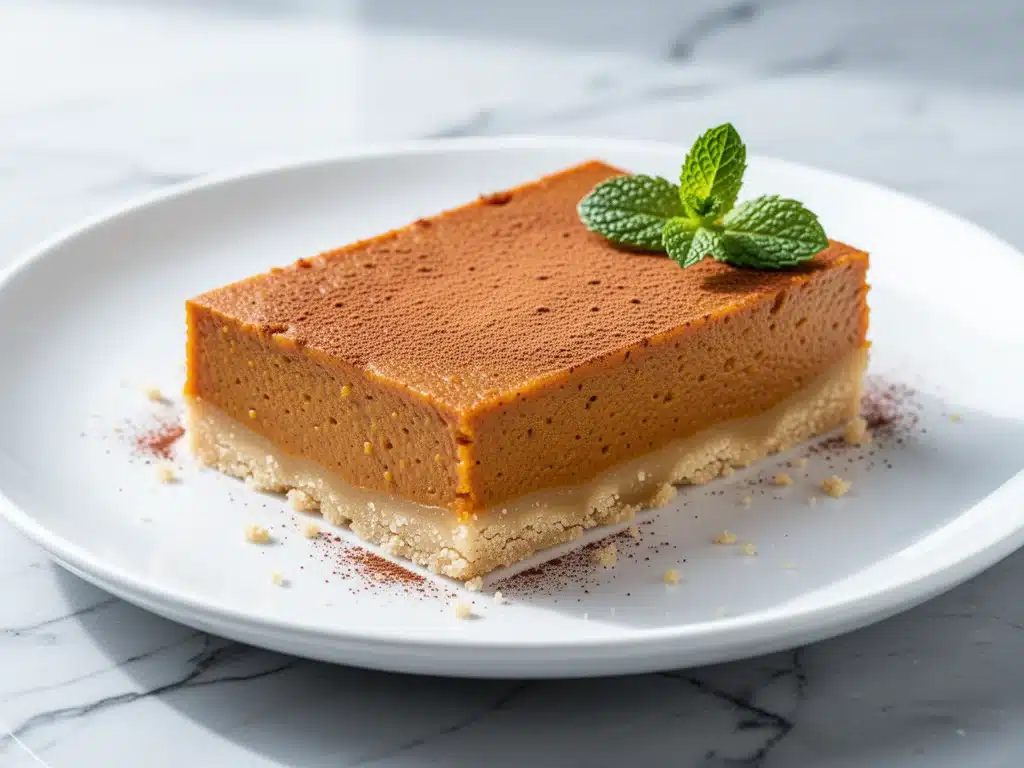
This is the main event. The filling is incredibly creamy—like cheesecake meets pumpkin pie. It’s not airy or fluffy; it’s dense, smooth, and luxurious. And that shortbread crust? It doesn’t get soggy. I’ve left these out overnight, and the crust stayed tender but firm. That textural contrast is what makes these bars addictive. You get the crunch, then the cream, then the spice.
Makes Amazing Leftovers
Actually tastes better the next day. I deliberately make a full pan for lunch throughout the week. The flavors meld together overnight, and by day two, the pumpkin spice flavor is more pronounced and balanced. I keep a Tupperware of these in the fridge, and they disappear faster than fresh cookies.
Crowd-Pleaser Guaranteed
I’ve served these to my picky eater dad (who usually hates “soft” desserts), my gluten-free neighbor (with a slight modification), and my food-snob friend who claims she only eats professional bakery goods. They all loved them. The shortbread crust feels sophisticated, but the ease of eating a bar makes it approachable. It’s perfect for potlucks because you don’t need a pie server, just a knife and a fork.
So basically, if you want a dessert that looks impressive but is actually low-stress, this is it. It’s my go-to when I need dinner to just work, and I still want something sweet to end the meal.
Ingredients You’ll Need
Here’s the best part: you probably have most of this already in your pantry and fridge. The ingredient list is short, but each one plays a specific role. I’m particular about three things here, and I’ll tell you exactly why.
For the Shortbread Crust
Unsalted butter (½ cup / 113g, softened) — This is non-negotiable. Softened butter creams easily with sugar. If you use salted butter, reduce the added salt in the recipe. I use Kerrygold or Land O’Lakes. It makes a difference in flavor.
Granulated sugar (¼ cup / 50g) — Just a little bit. This sweetens the crust subtly without making it candy-like. It helps the crust hold together.
All-purpose flour (1 cup / 120g) — The base of the shortbread. Don’t use self-rising flour; it will change the texture. Spoon and level your flour for accuracy.
Salt (¼ teaspoon) — Essential to balance the sweetness. Shortbread is bland without salt. Trust me.
For the Ultra-Creamy Filling
Full-fat cream cheese (8 oz / 225g, softened) — This is the secret weapon. It adds tang and structure, making the filling cheesecake-like. Don’t use light cream cheese; it won’t set properly and will be too watery.
Pumpkin puree (1 can / 15 oz) — Make sure it’s 100% pure pumpkin, not pumpkin pie mix. The mix already has sugar and spices, which will throw off the balance. Look for the red can, not the green one.
Granulated sugar (¾ cup / 150g) — This gives the filling its sweetness. If you prefer less sweet, reduce to ½ cup, but I find ¾ cup balances the tang of the cream cheese best.
Large eggs (2) — Room temperature is best. Cold eggs can cause the cream cheese to curdle when mixed. Just leave them on the counter for 30 minutes before you start.
Heavy cream (2 tablespoons / 30ml) — Adds extra richness and ensures that ultra-creamy texture. Don’t skip this. It helps emulsify the filling.
Pumpkin pie spice (1½ teaspoons) — Or make your own (1 tsp cinnamon, ½ tsp ginger, ¼ tsp nutmeg, ¼ tsp allspice). I buy a jar because I use it for everything from oatmeal to latte art. Freshly ground spices are better, but pre-mixed is convenient.
Vanilla extract (1 teaspoon) — Pure vanilla, please. Artificial vanilla tastes chemical. It rounds out the spices.
Optional: Brown Sugar (2 tablespoons) — I sometimes swap half the granulated sugar for brown sugar for a deeper, caramel-like flavor. It’s delicious, but not necessary.
Pro Tip: I always buy a block of cream cheese and grate it myself if I’m in a rush. It softens faster than waiting for it to sit out. Also, keep your pumpkin puree cold until you’re ready to mix it. Warm pumpkin can melt the cream cheese.
Equipment Needed
You don’t need fancy equipment for this. Here’s what I actually use.
8×8 inch baking pan — I use an 8×8 glass Pyrex dish. It heats evenly and I can see the bottom browning. Metal pans work too, but glass is safer for beginners. Grease it well with butter or cooking spray.
Mixer — A hand mixer or stand mixer makes creaming the butter and sugar easy. I use my KitchenAid. If you’re doing it by hand, you’ll need strong arms, but it’s possible.
Fork or Pastry Cutter — For mixing the crust. I just use a fork. It’s quick and effective.
Whisk — For the filling. A whisk incorporates the eggs and cream better than a spoon, preventing lumps.
Spatula — For spreading the filling smoothly over the crust. A silicone spatula is best because it scrapes the bowl clean.
Cooling rack — Essential. Letting the bars cool completely is the hardest part, but it’s necessary for clean cuts.
Sharp knife — For cutting. I use a chef’s knife. Wipe it clean between cuts for neat squares. Or use a pizza cutter for super clean lines.
How to Make It: Step-by-Step
Alright, let’s make this! I’m walking you through exactly how I do it, including the little tricks I’ve picked up over the years.
Step 1: Prep Your Oven and Pan (5 minutes)
Preheat your oven to 350°F (175°C). Grease your 8×8 inch baking pan with butter or non-stick spray. I like to line the pan with parchment paper, leaving an overhang on the sides. This makes it easy to lift the bars out later for cooling. It’s a small step that saves you from fighting with stuck bars.
Step 2: Make the Shortbread Crust (5 minutes)
In a medium bowl, mix the softened butter and ¼ cup sugar until combined. Stir in the flour and salt until a crumbly dough forms. It should look like wet sand. Press this mixture firmly and evenly into the bottom of your prepared pan. Use your fingers or the bottom of a measuring cup to pack it down. You want it tight, or it’ll crumble apart. Bake for 12-15 minutes until the edges are lightly golden. Remove from the oven and let it cool slightly while you make the filling. Don’t turn off the oven.
Step 3: Mix the Cream Cheese Base (5 minutes)
In a large bowl, beat the softened cream cheese until smooth and creamy. Add the ¾ cup sugar and beat until fully incorporated. Scrape down the sides of the bowl. This step is crucial for a lump-free filling. If you rush this, you’ll get little white chunks of cream cheese in your final bars.
Step 4: Add the Pumpkin and Spices (5 minutes)
Add the pumpkin puree, heavy cream, pumpkin pie spice, and vanilla extract to the cream cheese mixture. Whisk until smooth and uniform. The mixture should be a bright orange color. Taste it now if you want—adjust spices if needed. I usually add a pinch more cinnamon if I’m a spice lover.
Step 5: Incorporate the Eggs (3 minutes)
Beat in the eggs one at a time, mixing on low speed just until combined. Do not overmix! Once the eggs are added, stop mixing. Overmixing incorporates air, which can cause the bars to rise and then crack in the center. We want a dense, fudgy texture, not a fluffy cake texture.
Step 6: Bake the Bars (25-30 minutes)
Pour the filling over the pre-baked crust. Spread it evenly with a spatula. Bake at 350°F for 25-30 minutes. The bars are done when the edges are set and the center is just slightly jiggly. It should wobble like Jell-O, not splash like water. If the center is liquidy, bake for another 5 minutes. If it’s firm, it’s overbaked. Trust your eyes.
Step 7: Cool Completely (Critical Step)
Remove the pan from the oven and place it on a cooling rack. Let it cool at room temperature for 30 minutes. Then, refrigerate for at least 2 hours, preferably overnight. This is the hardest part, I know. But cutting warm pumpkin bars is a disaster—they’ll be mushy and slide off the fork. Chilling sets the filling and makes the crust crisp. Patience pays off.
Step 8: Slice and Serve
Once fully chilled, lift the bars out of the pan using the parchment paper. Use a sharp knife to cut into squares. I usually cut them into 12-16 pieces. Dust with powdered sugar or top with whipped cream if you’re feeling fancy.
Expert Tips & Tricks
Here’s everything I’ve learned from making these dozens of times. These tips will save you from my mistakes.
Room Temperature Ingredients Are Key
I cannot stress this enough. Your cream cheese and eggs need to be room temperature. Cold ingredients lead to lumpy batter, which leads to an uneven bake. If you forget, microwave the cream cheese in 5-second bursts until soft. Put the eggs in a bowl of warm water for 5 minutes.
Don’t Overmix the Batter
Once you add the eggs, mix only until combined. Overmixing creates air bubbles. When the bars bake, those bubbles expand and then collapse, causing cracks. Cracks aren’t the end of the world, but a smooth top looks more professional. I mix on low speed and stop as soon as the batter is uniform.
The Jiggle Test
Don’t rely solely on the timer. Ovens vary. The bars are done when the edges are set but the center still has a slight jiggle. They will continue to cook as they cool in the pan. If you wait until the center is firm in the oven, they’ll be dry and crumbly when cooled.
Chill, Chill, Chill
I know you want to eat them now. But you must chill them. The filling needs time to set. If you cut them warm, you’ll get a mess. If you chill them for 2 hours, they’re good. If you chill them overnight, they’re perfect. The flavors deepen, and the texture becomes incredibly creamy.
Common Mistakes (and how to avoid them)
Mistake: Soggy crust. Fix: Make sure you pre-bake the crust for the full 12-15 minutes. Don’t skip this step. It creates a barrier between the wet filling and the dough.
Mistake: Cracked top. Fix: You overmixed the batter or overbaked the bars. Mix less and remove from the oven when it’s still jiggly.
Mistake: Bland flavor. Fix: Your spices are old. Pumpkin spice loses potency after 6 months. Buy fresh spices or make your own blend. Also, add a pinch of salt to the filling if you didn’t add enough.
Variations & Substitutions
Once you’ve nailed the basic version, here’s how you can mix it up. I’ve tried all of these.
Maple Walnut Bars
Swap the granulated sugar in the filling for maple sugar or add 2 tablespoons of pure maple syrup. Sprinkle chopped walnuts on top before baking. The nuttiness pairs beautifully with the pumpkin.
Cinnamon Roll Bars
Add 1 teaspoon of cinnamon to the crust. Swirl 2 tablespoons of brown sugar mixed with 1 teaspoon of cinnamon into the filling before baking. It looks like marble cake and tastes like a cinnamon roll.
White Chocolate Pumpkin
Stir ½ cup of white chocolate chips into the filling after mixing. It adds sweetness and a fun marbled effect. Great for kids who find pumpkin spice too “adult.”
Gluten-Free Version
Use a 1:1 gluten-free flour blend in the crust. The rest of the ingredients are naturally gluten-free. I’ve used Bob’s Red Mill blend, and it works perfectly. The texture is slightly more tender, but delicious.
Dairy-Free Option
Use vegan cream cheese (like Kite Hill) and dairy-free butter. The texture might be slightly different, but it’s still creamy and tasty. My lactose-intolerant friend loves these when made this way.
Spice Variations
Instead of pumpkin pie spice, try using just cinnamon and nutmeg for a simpler flavor. Or add a pinch of cardamom for a floral note. I’ve also added a dash of ginger for extra zing.
Serving & Storage
How to serve these bars to impress your guests.
How to Serve:
I usually serve these straight from the fridge. The cold, creamy texture is the best. But here are other ways I’ve enjoyed them:
Side Dishes:
– A dollop of whipped cream (homemade is best)
– A drizzle of caramel sauce
– A sprinkle of sea salt on top for contrast
– A side of vanilla ice cream for a “pumpkin pie sundae” vibe
Toppings Bar:
When I have guests, I put out: powdered sugar, chopped pecans, whipped cream, and a little extra pumpkin spice. Everyone customizes their square.
Wine Pairing:
Not a wine expert, but my wine-snob friend says a late-harvest Riesling or a Moscato d’Asti works great with this. The sweetness balances the spice.
Storage Instructions:
Refrigerator:
Store in an airtight container for up to 5 days. They actually taste better on day 2 and 3. The flavors meld and intensify. Keep them in the fridge, not on the counter, because of the cream cheese.
Freezing:
Yes, you can freeze these! Cut them into squares, wrap each one tightly in plastic wrap, and then put them in a freezer bag. They’ll last for up to 3 months. Thaw in the fridge overnight. The texture remains creamy after thawing. I make a batch every year to freeze for Christmas.
Reheating:
Don’t reheat these. They are best served cold or at room temperature. Heating them can make the crust soggy and the filling runny. If you must, warm them in the microwave for 10 seconds, but it’s not ideal.
Nutrition Information
I’m not a nutritionist, but here’s the breakdown if you’re tracking.
Per Serving (based on 12 bars):
| Nutrient | Amount |
|---|---|
| Calories | 280 |
| Protein | 4g |
| Carbs | 32g |
| Fiber | 1g |
| Sugar | 24g |
| Fat | 15g |
| Saturated Fat | 9g |
| Cholesterol | 50mg |
| Sodium | 180mg |
What’s Good:
– Good source of Vitamin A from the pumpkin
– Contains calcium from the cream cheese
– Lower in carbs than traditional pie (no large crust)
What to Know:
– Higher in calories from the butter and cream cheese
– Contains dairy and gluten (unless modified)
– Moderate sugar content
My Take:
Look, this is dessert. It’s sweet, rich, and indulgent. It’s not a health food. But it’s way better than store-bought cake, costs less, and I know exactly what’s in it. When I want to make it lighter, I use low-fat cream cheese (though the texture suffers) and reduce the sugar. But usually? I just eat one square and enjoy it. Moderation is key.
Final Thoughts
So that’s my go-to Ultra-Creamy Pumpkin Pie Bars! I’ve probably talked your ear off at this point, but when you make a recipe this often, you have a lot to say about it.
This has saved my dessert game more times than I can count. It’s my answer to “what’s for dessert” when I’m tired, don’t want to bake a whole pie, and still want something that tastes really good. My kids are happy, my husband’s happy, and I’m happy because I’m not stressed about cooking.
Make it yours! Try different add-ins, swap in your favorite spices, or adjust the sweetness to your taste. The best recipes are the ones you adapt to your family’s tastes. And if you make these, I hope they become a staple in your home just like they have in mine.
If you make this, drop a comment and let me know what you think! I love hearing how recipes turn out in your kitchen. And if something doesn’t work, tell me that too—I’m here to help troubleshoot.
Happy baking! And I hope your kitchen smells half as good as mine does right now.
Frequently Asked Questions
Can I use pie filling instead of pumpkin puree?
No, please don’t. Pie filling is pre-sweetened and pre-spiced, which will throw off the balance of the recipe. You’ll end up with a overly sweet, cloying bar. Stick to 100% pure pumpkin puree from the can. It’s unsweetened and has a neutral flavor that lets the spices shine.
Why did my bars crack on top?
Cracking usually happens for two reasons: overmixing the batter or overbaking. When you mix too much, you incorporate air, which expands in the oven and then collapses. Also, if you bake them until the center is completely firm, they will crack as they cool. Remember, remove them when the center is still slightly jiggly.
Can I make these ahead of time?
Absolutely. In fact, they are better made ahead. You can make the bars up to 3 days in advance. Store them in the fridge in an airtight container. They also freeze well for up to 3 months. This makes them perfect for meal-prepping your desserts for the holiday season.
Can I use a 9×13 pan instead of 8×8?
You can, but the bars will be thinner. You’ll need to reduce the baking time by about 5-10 minutes. Keep a close eye on them. They might be done in 20 minutes. The texture might be slightly less creamy because there’s less depth, but they’ll still be delicious.
What if I don’t have pumpkin pie spice?
Make your own! Mix 1 teaspoon cinnamon, ½ teaspoon ginger, ¼ teaspoon nutmeg, and ¼ teaspoon allspice. It takes 30 seconds and tastes fresher than the store-bought version. You can also just use extra cinnamon and a pinch of nutmeg if that’s all you have.
How do I store leftovers?
Store in an airtight container in the refrigerator for up to 5 days. Do not leave them out at room temperature for more than 2 hours due to the cream cheese. They taste best cold, but you can let them sit out for 10 minutes before eating if you prefer a softer texture.
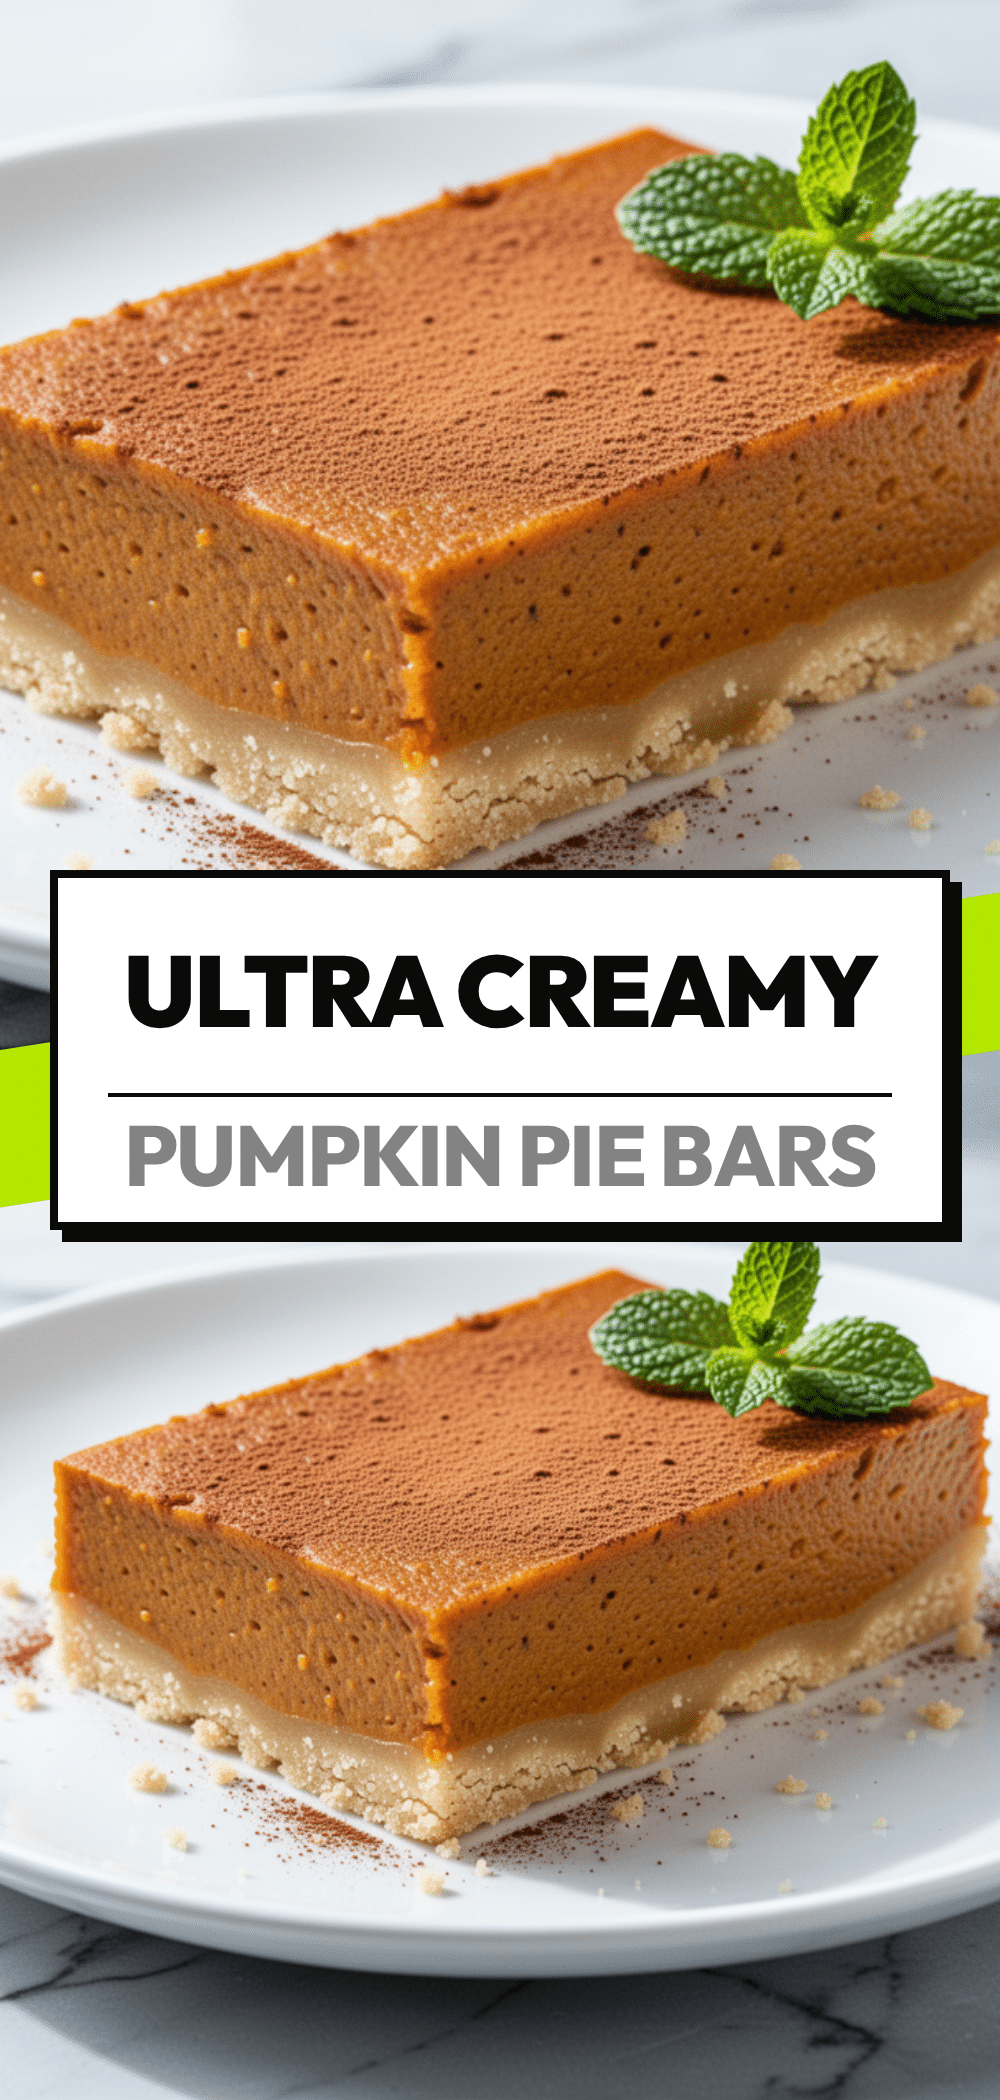
Pin This Recipe!
Ultra-Creamy Pumpkin Pie Bars: Easy Shortbread Dessert
- Total Time: 1 hour 40 minutes
- Yield: 12-16 servings 1x
Description
These ultra-creamy pumpkin pie bars feature a buttery shortbread crust and a rich, cheesecake-like pumpkin filling. They are easy to make, forgiving for beginners, and offer the nostalgic flavor of pumpkin pie without the hassle of a traditional crust.
Ingredients
- For the Shortbread Crust:
- ½ cup (113g) unsalted butter, softened
- ¼ cup (50g) granulated sugar
- 1 cup (120g) all-purpose flour
- ¼ teaspoon salt
- For the Ultra-Creamy Filling:
- 8 oz (225g) full-fat cream cheese, softened
- 1 can (15 oz) 100% pure pumpkin puree
- ¾ cup (150g) granulated sugar
- 2 large eggs, room temperature
- 2 tablespoons (30ml) heavy cream
- 1½ teaspoons pumpkin pie spice
- 1 teaspoon vanilla extract
- Optional: 2 tablespoons brown sugar
Instructions
- Preheat oven to 350°F (175°C). Grease an 8×8 inch baking pan and line with parchment paper for easy removal.
- In a medium bowl, mix softened butter and ¼ cup sugar until combined. Stir in flour and salt until a crumbly dough forms. Press firmly into the bottom of the prepared pan.
- Bake the crust for 12-15 minutes until edges are lightly golden. Remove from oven and let cool slightly while making the filling.
- In a large bowl, beat softened cream cheese until smooth. Add ¾ cup sugar and beat until fully incorporated.
- Add pumpkin puree, heavy cream, pumpkin pie spice, and vanilla extract to the cream cheese mixture. Whisk until smooth and uniform.
- Beat in eggs one at a time on low speed, mixing only until combined. Do not overmix.
- Pour filling over the pre-baked crust and spread evenly.
- Bake at 350°F for 25-30 minutes. Bars are done when edges are set and the center is slightly jiggly.
- Cool at room temperature for 30 minutes, then refrigerate for at least 2 hours (preferably overnight) to set.
- Lift bars out of the pan using parchment paper. Cut into squares and serve chilled.
Notes
Ensure cream cheese and eggs are at room temperature to prevent lumps. Do not overmix the batter after adding eggs to avoid cracks. The bars must be chilled completely before cutting for clean slices. They taste better the next day as flavors meld.
- Prep Time: 20 minutes
- Cook Time: 40 minutes
- Category: Dessert
- Cuisine: American
Nutrition
- Serving Size: 1 bar
- Calories: 280
- Sugar: 24
- Sodium: 180
- Fat: 15
- Saturated Fat: 9
- Carbohydrates: 32
- Fiber: 1
- Protein: 4
Keywords: pumpkin pie bars, shortbread crust, pumpkin dessert, fall baking, easy pumpkin recipe, cream cheese pumpkin bars, holiday dessert


