I still remember the summer I turned thirty, sitting on my back porch with a spoonful of ice cream that tasted like pure regret. I had spent three hours churning a batch of salted caramel in my old ice cream maker, only to end up with icy, grainy sludge that stuck to the roof of my mouth. I was frustrated, sticky, and ready to give up on homemade dessert entirely. That night, I ordered takeout, but the next weekend, I swore I’d never use an ice cream machine again if I didn’t find a better way.
That frustration led me straight to the no-churn method, and honestly? It was a revelation. I stumbled upon a recipe that used just three main ingredients—sweetened condensed milk, heavy cream, and caramel—and it was so simple it felt almost like a trick. I made it on a whim, threw it in the freezer, and waited. When I dug into it four hours later, the texture was impossibly smooth, rich, and creamy without a single ice crystal in sight. No machine, no churning, no fuss. Just pure, salty-sweet bliss.
This ultra-creamy no-churn salted caramel ice cream has been my secret weapon for over a decade. It’s the dessert I pull out when I want to impress guests but don’t want to spend my entire evening in the kitchen. It’s the treat I make for myself on rainy Sundays. And it’s the only ice cream recipe I ever share with friends who complain that homemade is “too hard.” I’ve tested this version dozens of times, tweaking the salt levels and the caramel thickness, and I’m finally confident enough to say this is the one. It’s simple, it’s reliable, and it tastes like you spent all day making it (even though it takes less than 20 minutes of active work).
Why You’ll Love This 3-Ingredient Dessert
Let’s be real: most homemade ice cream recipes are a lot of work for a lot of mediocre results. This no-churn salted caramel ice cream flips the script. It’s not just “good for no-churn”; it’s genuinely better than most store-bought brands I’ve tried. Here’s why it’s earned a permanent spot in my freezer and why it will likely earn one in yours too.
- Zero Equipment Needed — Seriously. If you have a mixing bowl and a whisk (or an electric mixer), you’re good to go. No ice cream machine, no special attachments, no weird gadgets gathering dust in your drawer. I make this in my biggest mixing bowl, and it’s foolproof.
- Stupid Simple Ingredients — You probably have half of this already. Sweetened condensed milk, heavy cream, caramel sauce, and salt. That’s it. No exotic dairy, no tempering chocolate, no hard-to-find spices. It’s pantry-friendly perfection.
- Incredible Creaminess — The magic is in the ratio. Sweetened condensed milk adds sugar and dairy solids that prevent ice crystals from forming, while the whipped heavy cream folds in air to create that light, fluffy texture. The result? Creamy, dense, and luxurious without being heavy.
- Fast and Flexible — You can make this on a Tuesday night for a Thursday treat. It’s ready to eat in 4-6 hours, though it’s best after 24 hours. If you’re in a rush, you can scoop it a bit softer, but patience pays off with better texture.
- Perfect for Any Occasion — Whether it’s a Labor Day barbecue, a last-minute dinner party, or just a Tuesday craving, this ice cream fits. It’s elegant enough to serve with fresh berries but casual enough to eat straight from the container with a spoon.
I’ve served this to picky eaters, ice cream snobs, and kids who usually only want vanilla. Everyone goes back for seconds. It’s my go-to when I need a dessert that just works, and I hope it becomes yours too.
Ingredients You’ll Need
Here’s the best part: you don’t need a specialty grocery store for this. I’m particular about three things here, and I’ll tell you exactly why, but otherwise, this is about as simple as it gets.
For the Caramel Base
Sweetened Condensed Milk (1 can, 14 oz / 397g) — This is the backbone of no-churn ice cream. It provides sweetness, dairy solids, and that thick, creamy texture. Do not substitute with evaporated milk; they are completely different. I use Eagle Brand or any store brand, but make sure it’s the sweetened kind.
Heavy Cream (2 cups / 480ml) — You need full-fat heavy whipping cream with at least 35% fat content. Light cream or half-and-half won’t whip up properly, and your ice cream will be icy. Cold cream whips best, so keep it in the fridge until the last minute.
Homemade or Store-Bought Caramel Sauce (1 cup / 240ml) — This is where you can flex. I love homemade salted caramel because you control the salt level, but high-quality store-bought caramel works fine too. Look for a sauce that’s thick and pourable, not syrupy. Salted caramel is essential for balancing the sweetness.
Salt (½ teaspoon fine sea salt) — Even if your caramel is already salted, add this. Salt enhances the flavor and cuts through the richness. I use Maldon or any fine sea salt. If you’re using unsalted caramel, you might need a bit more.
Vanilla Extract (1 teaspoon pure vanilla) — Don’t skip this. It adds depth and rounds out the flavor. Use real vanilla extract, not imitation. A little goes a long way.
Optional Mix-Ins
Toffee Bits (½ cup) — I love adding a handful of toffee bits for crunch. It breaks up the creaminess and adds a buttery texture. You can buy them or chop up a Butterfinger bar.
Sea Salt Flakes — For garnish on top. Adds a nice visual touch and a burst of salty flavor with each bite.
Equipment Needed
You don’t need fancy gear for this. Here’s what I actually use, and what works just as well.
Large Mixing Bowl — I use a 6-quart stainless steel bowl. It needs to be big enough to hold 2 cups of whipped cream plus the condensed milk mixture without spilling. Glass works too, but metal stays colder.
Electric Hand Mixer or Stand Mixer — While you *can* whip cream by hand, it takes forever and your arm hurts. An electric mixer takes 2 minutes and gives you better peaks. I use a hand mixer because it’s easier to clean.
Spatula — A silicone spatula is essential for folding the mixture gently. You want to keep the air in the whipped cream, so gentle folds are key. A rubber scraper works too.
Loaf Pan or Freezer-Safe Container — I use an 8×4-inch loaf pan because it’s the perfect size for this amount of ice cream. It freezes in a nice rectangular block that’s easy to scoop. Any airtight container works, but loaf pans give that classic ice cream look.
Parchment Paper — I line the loaf pan with parchment paper, leaving an overhang on the sides. This makes it super easy to lift the ice cream out once it’s frozen, so you can slice it neatly if you want to.
How to Make It: Step-by-Step
Alright, let’s make this! I’m walking you through exactly how I do it, including the little tricks I’ve picked up over the years. It’s straightforward, but there are a few nuances that make all the difference.
Step 1: Prep Your Pan and Caramel (5 minutes)
Line your loaf pan with parchment paper, leaving a bit of overhang on the long sides. This is crucial for easy removal later. If you don’t have parchment, you can grease the pan lightly with butter, but parchment is foolproof. Set aside.
If you’re making your own caramel sauce, do it now and let it cool completely to room temperature. You don’t want hot caramel melting the whipped cream. Store-bought caramel should also be at room temperature. If it’s too thick, warm it slightly in the microwave for 10-15 seconds to make it pourable.
Step 2: Whip the Heavy Cream (3-5 minutes)
Pour the cold heavy cream into your large mixing bowl. Using an electric mixer on medium-high speed, whip the cream until you form stiff peaks. This means when you lift the beaters, the cream stands up straight and doesn’t droop. Be careful not to over-whip! If you whip it too long, it’ll start to turn into butter. You’ll know it’s ready when the peaks hold their shape firmly.
Step 3: Mix the Condensed Milk and Caramel (2 minutes)
In a separate medium bowl, whisk together the sweetened condensed milk, cooled caramel sauce, salt, and vanilla extract. Whisk until smooth and well combined. The mixture should be uniform in color and texture. If your caramel is chunky, make sure it’s fully incorporated.
Step 4: Fold It All Together (2-3 minutes)
This is the most important step. Gently fold the condensed milk mixture into the whipped cream. Use your spatula to cut down through the center, scrape along the bottom, and fold over the top. Rotate the bowl and repeat. You want to combine everything without deflating the air you whipped into the cream. It should take about 1-2 minutes. Stop when you see no white streaks of cream or milk, but don’t overmix. The mixture should look light and airy.
Pro Tip: If you’re adding toffee bits or other mix-ins, fold them in now. Be gentle so you don’t crush them.
Step 5: Freeze (4-6 hours, preferably overnight)
Pour the ice cream mixture into your prepared loaf pan. Smooth the top with your spatula. If you’re adding sea salt flakes on top, do it now. Cover the pan tightly with plastic wrap or a lid. Place it in the freezer.
Let it freeze for at least 4-6 hours, but overnight is best. The longer it freezes, the firmer and creamier it gets. After 4 hours, it will be scoopable but softer. After 24 hours, it’s at its peak texture.
Step 6: Serve
When you’re ready to serve, lift the ice cream out of the pan using the parchment paper overhang. Let it sit at room temperature for 5-10 minutes to soften slightly for easier scooping. Serve with fresh berries, a drizzle of extra caramel, or just as is. Enjoy!
Expert Tips & Tricks
Here’s everything I’ve learned from making this dozens of times. These tips will save you from my mistakes.
Keep Everything Cold — The colder your cream is, the better it whips. If your kitchen is warm, chill your mixing bowl and beaters in the freezer for 15 minutes before starting. This is a game-changer for stiff peaks.
Don’t Skip the Salt — Even if your caramel is “salted,” add the extra salt. It balances the intense sweetness of the condensed milk and caramel. It’s what makes it “salted caramel” and not just “sweet caramel.”
Fold, Don’t Stir — When combining the cream and milk, use a folding motion. Stirring vigorously will knock out the air, and your ice cream will be dense and icy. Gentle folds preserve the texture.
Choose the Right Caramel — If you use store-bought caramel, check the consistency. It should be pourable but thick. If it’s too runny, your ice cream might be icy. If it’s too thick, it won’t mix well. Warm it slightly if needed.
Freeze in a Single Layer — Using a loaf pan ensures the ice cream freezes in a single, even layer. This promotes uniform freezing and prevents icy spots. If you use a deeper container, the center might not freeze as evenly.
Common Mistakes and Fixes:
- Mistake: Ice cream is icy. Fix: You probably under-whipped the cream or overmixed when folding. Ensure stiff peaks and gentle folds. Also, make sure your freezer is cold enough (0°F / -18°C).
- Mistake: Ice cream is too soft. Fix: It might not have frozen long enough. Let it sit for another 2-4 hours. Or, you might have added too much liquid (like thin caramel). Next time, use less caramel or freeze longer.
- Mistake: Caramel didn’t mix in. Fix: Make sure the caramel is at room temperature and pourable. If it’s cold and thick, it will clump. Warm it slightly and whisk it into the condensed milk first.
Variations & Substitutions
Once you’ve nailed the basic version, here’s how you can mix it up. I’ve tried all of these.
Chocolate Swirl — Add ½ cup chocolate sauce or melted chocolate to the mixture before freezing. Swirl it in with a knife for a marbled effect.
Cookie Dough — Fold in 1 cup of edible cookie dough bits. This is a huge hit with kids and adults alike.
Strawberry Swirl — Blend 1 cup fresh strawberries with 1 tablespoon sugar and swirl into the ice cream. Fresh fruit adds brightness and color.
Peanut Butter — Swirl in ½ cup peanut butter before freezing. Or fold in ½ cup crushed peanuts for crunch.
Gluten-Free — This recipe is naturally gluten-free! Just make sure your caramel and any mix-ins (like toffee) are certified gluten-free.
Dairy-Free — This is trickier. You can use coconut cream (whip the solid part) and dairy-free condensed milk (made from coconut milk and sugar). The texture will be different but still creamy.
Lower Sugar — Use unsweetened condensed milk (hard to find) and reduce the caramel amount. Or use a sugar-free caramel sauce. The sweetness will be less, but the creaminess remains.
Serving & Storage
How to Serve: I usually serve this straight from the loaf pan, letting it soften for 5-10 minutes. It looks rustic and stays cold. But here are other ways I’ve enjoyed it:
- With fresh strawberries or raspberries
- Drizzled with extra salted caramel sauce
- With a sprinkle of sea salt flakes
- With crushed toffee or pretzels
- As a sundae with chocolate syrup
Storage Instructions: Store in an airtight container or the loaf pan (covered tightly with plastic wrap) for up to 2 weeks. The texture may soften slightly after the first week, but it’s still delicious. Do not freeze for longer than 2 months, as the flavor may degrade.
Reheating: You don’t need to reheat no-churn ice cream. Just let it sit at room temperature for 5-10 minutes to soften for easier scooping. If it’s too hard to scoop, let it sit for 15-20 minutes.
Pro Tip: If you’re serving a crowd, make two loaves. One to serve, one to keep in the freezer. It freezes beautifully and thaws quickly.
Nutrition Information
I’m not a nutritionist, but here’s the breakdown if you’re tracking. Keep in mind that this is a rich, indulgent dessert, so portion control is key.
Per Serving (based on 8 servings from a loaf pan):
- Calories: 380
- Protein: 5g
- Carbs: 42g
- Fiber: 0g
- Sugar: 38g
- Fat: 22g
- Saturated Fat: 14g
- Cholesterol: 75mg
- Sodium: 120mg
What’s Good: It’s relatively low in protein and fiber, but the fat content is satisfying. The caramel adds natural sugars, so be mindful of portion sizes.
What to Know: This is a high-calorie, high-sugar treat. It’s not a diet food, but it’s homemade, so you know exactly what’s in it. When I want to make it lighter, I use less caramel and add more fruit. But usually? I just eat a reasonable portion and enjoy it.
Final Thoughts
So that’s my ultra-creamy no-churn salted caramel ice cream! I’ve probably talked your ear off at this point, but when you make a recipe this often, you have a lot to say about it. This has saved my dessert game more times than I can count. It’s my answer to “what’s for dessert” when I’m tired, don’t want to bake, and still want something that tastes really good. My kids are happy, my husband’s happy, and I’m happy because I’m not stressed about cooking.
Make it yours! Try different mix-ins, swap in your favorite caramel, or adjust the salt to your taste. The best recipes are the ones you adapt to your family’s tastes. If you make this, drop a comment and let me know what you think! I love hearing how recipes turn out in your kitchen. And if something doesn’t work, tell me that too—I’m here to help troubleshoot.
Happy freezing! And I hope your kitchen smells half as good as mine does right now (with all that caramel).
Frequently Asked Questions
Can I use milk instead of heavy cream?
You can, but the texture will be very different. Heavy cream provides the air and fat that make no-churn ice cream creamy. Milk won’t whip, so your ice cream will be icy and dense. If you must use milk, consider using a different no-churn method that relies more on condensed milk and less on whipping.
My ice cream came out icy—what happened?
Usually means you didn’t whip the cream enough, or you overmixed when folding. Ensure you get stiff peaks with the cream, and fold gently to keep the air in. Also, make sure your freezer is cold enough (0°F / -18°C). If your freezer is weak, the ice cream might not freeze evenly.
Can I make this ahead for a party?
Absolutely! This is perfect for make-ahead. Make it 1-2 days before your party and store it in the freezer. Let it sit at room temperature for 10-15 minutes before serving. It will be scoopable and delicious. I often make it the night before to ensure it’s fully set.
Why did my caramel clump in the ice cream?
The caramel was probably too cold or too thick. Warm it slightly in the microwave for 10-15 seconds to make it pourable, and whisk it into the condensed milk first. This ensures it mixes evenly. If it’s still clumpy, you can pulse it in a blender briefly before folding.
Can I use homemade caramel sauce?
Yes! Homemade caramel is fantastic. Just make sure it’s cooled to room temperature before mixing. Hot caramel will melt the whipped cream. If your homemade caramel is too thick, add a teaspoon of heavy cream or butter to thin it out.
How do I store leftovers?
Store in an airtight container or the loaf pan (covered tightly with plastic wrap) for up to 2 weeks. Press plastic wrap directly onto the surface of the ice cream to prevent ice crystals. It will stay fresh and creamy.
Can I double this recipe?
Yes! Double all ingredients and use a larger mixing bowl and loaf pan (or two smaller ones). The process is the same. Just make sure your bowl is big enough to fold the mixture without spilling.
Pin This Recipe!
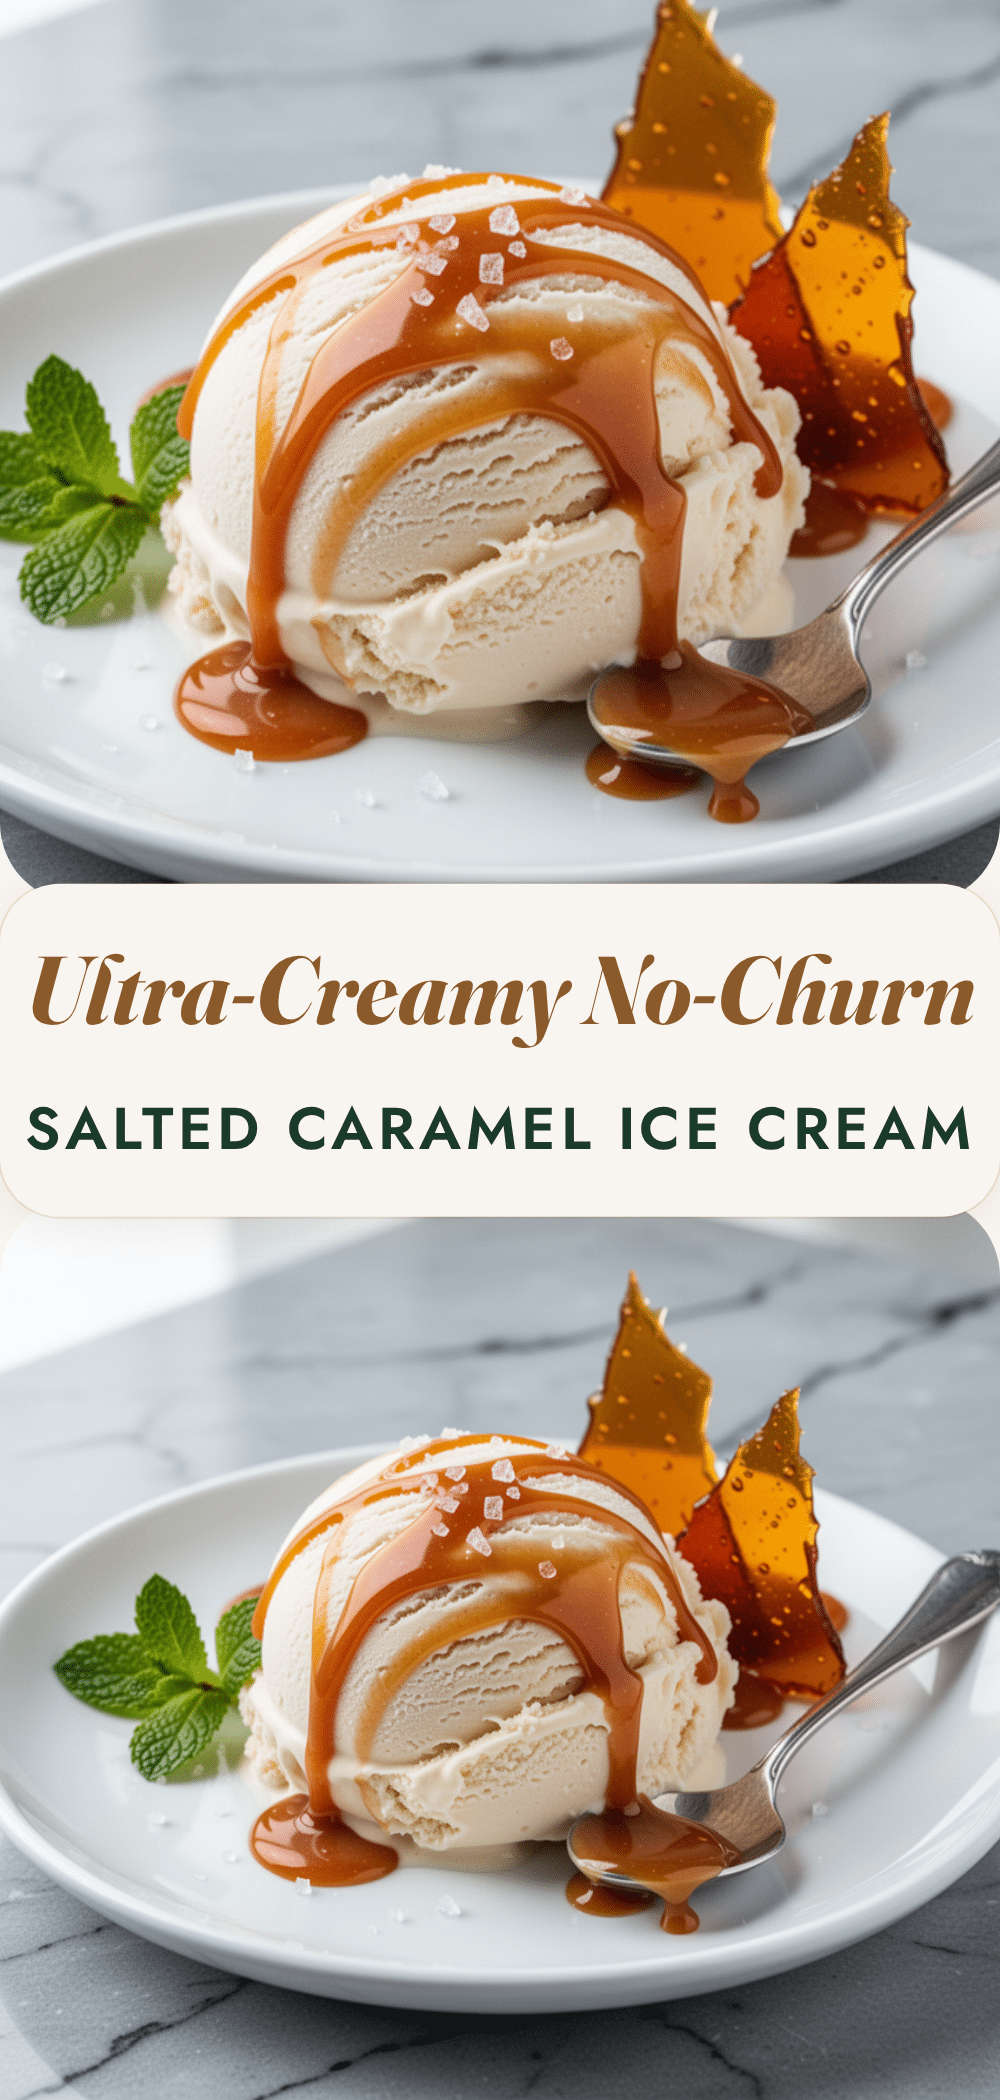

Ultra-Creamy No-Churn Salted Caramel Ice Cream: 3-Ingredient Dessert
- Total Time: 4 hours 10 minutes
- Yield: 8 servings 1x
Description
A simple, no-churn salted caramel ice cream made with just sweetened condensed milk, heavy cream, and caramel sauce. It requires no ice cream machine and results in an impossibly smooth, rich, and creamy dessert.
Ingredients
- 1 can (14 oz / 397g) sweetened condensed milk
- 2 cups (480ml) heavy whipping cream (cold, at least 35% fat)
- 1 cup (240ml) salted caramel sauce (homemade or store-bought, room temperature)
- ½ teaspoon fine sea salt
- 1 teaspoon pure vanilla extract
- Optional: ½ cup toffee bits
- Optional: Sea salt flakes for garnish
Instructions
- Line an 8×4-inch loaf pan with parchment paper, leaving an overhang on the long sides for easy removal.
- Ensure caramel sauce is at room temperature and pourable; warm slightly if necessary.
- Pour cold heavy cream into a large mixing bowl.
- Using an electric mixer on medium-high speed, whip the cream until stiff peaks form (be careful not to over-whip).
- In a separate medium bowl, whisk together sweetened condensed milk, caramel sauce, salt, and vanilla extract until smooth.
- Gently fold the condensed milk mixture into the whipped cream using a spatula. Cut down through the center, scrape the bottom, and fold over. Rotate the bowl and repeat until no white streaks remain. Do not overmix.
- If using toffee bits, fold them in gently now.
- Pour the mixture into the prepared loaf pan and smooth the top.
- Sprinkle with sea salt flakes if desired.
- Cover tightly with plastic wrap or a lid and freeze for at least 4-6 hours, preferably overnight (24 hours for best texture).
- To serve, lift the ice cream out of the pan using the parchment overhang. Let sit at room temperature for 5-10 minutes to soften before scooping.
Notes
Keep all ingredients cold, especially the cream, for best whipping results. Ensure caramel is at room temperature to prevent melting the whipped cream. Fold gently to maintain airiness. This recipe is naturally gluten-free if using certified gluten-free caramel and mix-ins.
- Prep Time: 10 minutes
- Cook Time: 0 minutes
- Category: Dessert
- Cuisine: American
Nutrition
- Serving Size: 1 slice or scoop fro
- Calories: 380
- Sugar: 38
- Sodium: 120
- Fat: 22
- Saturated Fat: 14
- Carbohydrates: 42
- Protein: 5
Keywords: no-churn ice cream, salted caramel ice cream, homemade ice cream, easy dessert, 3 ingredient dessert, summer dessert, gluten-free dessert


