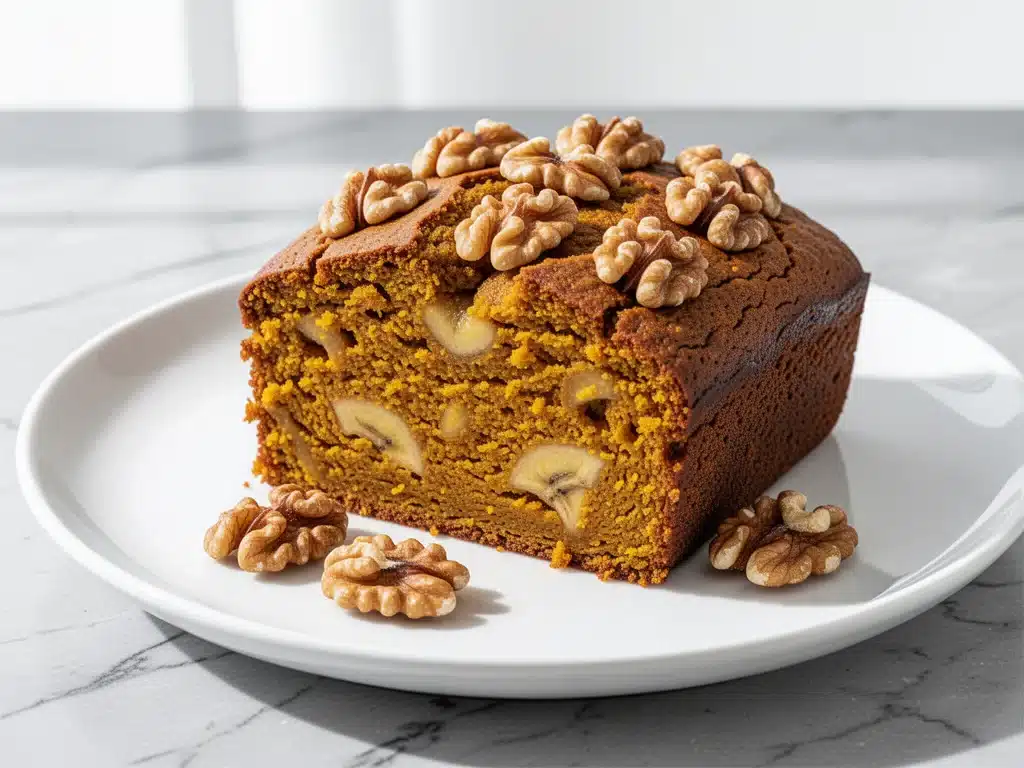
It was 6 AM on a rainy Saturday in October, and I was staring at three overripe bananas that had gone from “yellow with brown spots” to “black and squishy.” You know the ones. They’ve passed the point of being edible for a snack and entered the realm of freezer stash or, if you’re lucky, baked goods. But here’s the thing: I didn’t have the energy for a complicated baking project. I didn’t want to wash a dozen bowls. I just wanted something warm, something that smelled like autumn, and something that would make my kids stop complaining about school.
So, I dumped everything into one bowl. Just one. Flour, sugar, eggs, mashed bananas, pumpkin puree, spices, and a handful of walnuts I’d toasted until they smelled like heaven. I mixed it, poured it in, and walked away. When the timer went off an hour later, my kitchen smelled like a cozy cabin in Vermont, and my husband actually asked me to make it again the next day. That was three years ago. This One-Bowl Banana Pumpkin Bread has since become my absolute go-to for rainy mornings, office potlucks, and when I just need a win in the kitchen.
I’ve tested this recipe more times than I care to admit (probably 20+ times, honestly). I’ve played with the ratios, swapped the nuts, tried different flours, and argued with my oven about temperature accuracy. And through all that experimentation, one truth has emerged: this is the best banana bread you will ever eat, and it’s ridiculously easy to make. It’s moist, it’s spiced, it’s perfectly sweet, and it keeps well for days (which is a problem, because it disappears so fast).
If you’re tired of dry, crumbly banana bread or recipes that require a stand mixer and a degree in culinary arts, you need to try this. It’s the kind of recipe that makes you feel like a baking genius with minimal effort. Let me show you exactly how to do it.
Why You’ll Love This One-Bowl Banana Pumpkin Bread
There are about ten reasons I keep coming back to this recipe, but here are the big ones that actually matter when you’re tired after work or trying to feed a hungry family on a weekend.
One Bowl, Zero Excuses — Seriously. You don’t need a mixer. You don’t need a dozen small bowls. You need one large mixing bowl and a wooden spoon. I’ve made this while holding a toddler, while watching TV, and while my dog was barking at the door. It just works. The simplicity is the secret weapon here.
Moisture Guaranteed — Banana bread often dries out by day three. Not this one. The combination of ripe bananas and pumpkin puree creates a texture that is tender, cake-like, and incredibly moist. I’ve had leftovers five days later, and they still tasted fresh. (Though, I rarely make it last that long.)
Perfectly Spiced — This isn’t just banana bread with pumpkin thrown in. It’s a harmonious blend of cinnamon, nutmeg, ginger, and cloves that smells like fall. The spices are balanced so you taste the pumpkin, but the banana still shines through. It’s complex without being overpowering.
Toasted Walnuts Add Crunch — This is non-negotiable. Raw walnuts are fine, but toasted walnuts? That’s game-changing. The toasting brings out an oil-rich, nutty flavor that contrasts beautifully with the soft bread. I toast them in the oven while the bread bakes, and it’s worth the extra 10 minutes.
Uses Up Those Ugly Fruits — The riper the bananas, the better. This recipe is your best friend for those black, mushy bananas you’ve been meaning to freeze. They add natural sweetness and moisture, meaning you can often reduce the added sugar slightly without sacrificing flavor.
Makes Amazing Leftovers — This bread freezes beautifully. I slice the cooled loaf, wrap it tightly in plastic wrap, and freeze it for up to three months. When I want a quick breakfast, I just pop a slice in the toaster or microwave it for 30 seconds. It’s like fresh bread every time.
This is my go-to when I need comfort food that comes together fast. No fancy techniques, no weird ingredients, just reliable, delicious food that makes everyone happy. Whether you’re a seasoned baker or a complete novice, this recipe will give you confidence in the kitchen.
Ingredients You’ll Need
Here’s the best part: you probably have most of this already. This isn’t a recipe that requires a special trip to a specialty store. Here’s what you need, and why each ingredient matters.
For the Wet Base
Ripe Bananas (3 large, about 1 ½ cups mashed / 350g) — This is the most important ingredient. Look for bananas that are heavily spotted or even black. They need to be soft enough to mash easily with a fork. If they’re yellow, they won’t add enough sweetness or moisture. I usually buy bananas specifically for baking when they’re still yellow, then let them sit on the counter for 3-4 days until they’re perfect.
Pumpkin Puree (1 cup / 240g) — Not pumpkin pie filling! Make sure it’s 100% pure pumpkin. This adds moisture, flavor, and that beautiful orange hue. Canned works perfectly fine; I don’t bother roasting my own pumpkin for this because the canned stuff is consistent and convenient. Libby’s is my go-to brand.
Granulated Sugar (¾ cup / 150g) — This recipe isn’t overly sweet, but you need enough sugar to balance the spices and moisture. If you prefer less sweet, you can reduce to ⅔ cup, but don’t go lower than that, or the bread might be dense. Brown sugar adds a nice caramel note, so feel free to substitute half of the granulated sugar with light brown sugar if you have it.
Vegetable Oil (½ cup / 120ml) — Oil keeps banana bread moister than butter does. Butter tastes great, but oil ensures that cake-like tenderness. I use vegetable or canola oil because it’s neutral. Melted butter works too, but the texture will be slightly denser. Olive oil? Skip it. It’s too strong for this flavor profile.
Eggs (2 large / ~100g) — Room temperature eggs incorporate better into the batter. If you forget, just drop them in warm water for 5 minutes. They act as the binder that holds everything together.
Vanilla Extract (1 teaspoon / 5ml) — Pure vanilla makes a huge difference. I use McCormick or Nielsen-Massey. If you run out, it’s okay, but don’t skip it entirely. It rounds out the flavors.
For the Dry Mix
All-Purpose Flour (1 ½ cups / 190g) — Standard AP flour works perfectly. Don’t use cake flour; it’ll be too delicate. If you want to make this gluten-free, use a 1:1 gluten-free flour blend that includes xanthan gum. I’ve tested King Arthur Measure for Measure, and it works great.
Baking Soda (1 teaspoon / 5g) — This reacts with the acidic pumpkin and bananas to create lift. Make sure it’s fresh! If your baking soda is old, your bread will be flat. Test it by dropping a little in vinegar—it should fizz vigorously.
Baking Powder (½ teaspoon / 2g) — Just a little bit for extra rise. Don’t skip this.
Salt (½ teaspoon / 3g) — Essential for balancing the sweetness. Never skip salt in baking.
Spices (1 teaspoon cinnamon, ½ teaspoon nutmeg, ¼ teaspoon ginger, ¼ teaspoon cloves) — This spice blend is classic pumpkin pie flavor. If you don’t have individual spices, use 2 teaspoons of pumpkin pie spice instead. But fresh-ground cinnamon tastes way better than old jarred stuff. I grind mine fresh if I can.
The Star: Toasted Walnuts
Walnuts (1 cup / 100g, chopped) — These add crunch and richness. I chop them roughly—some big chunks, some small pieces. Uniformity isn’t necessary. Toasting them before adding is key. It enhances their flavor and prevents them from getting soggy in the bread.
Equipment Needed
You don’t need fancy equipment for this. Here’s what I actually use.
One Large Mixing Bowl — I use a 4-quart stainless steel bowl. It needs to be big enough to mix the batter without splattering. A glass bowl works too, but I prefer metal for durability.
Fork or Potato Masher — For mashing the bananas. I like a fork because it gives me control over the texture. If you like big banana chunks, mash lightly. If you want a smooth batter, mash thoroughly.
Wooden Spoon — For mixing. A silicone spatula works too, but a wooden spoon feels more nostalgic. Just make sure it’s clean!
9×5 Inch Loaf Pan — Standard size. Dark metal pans bake faster and can cause the top to burn, so I usually line my dark pan with parchment paper. Light-colored aluminum pans are safer for beginners. Grease the pan well, even if you use parchment.
Parchment Paper — I love using parchment. It makes cleanup a breeze and helps the bread release easily. Just cut a strip long enough to hang over the edges of the pan like handles.
Baking Sheet — For toasting the walnuts. Any sheet pan works.
Cooling Rack — Essential for cooling the bread so it doesn’t get soggy from steam.
How to Make It: Step-by-Step
Alright, let’s make this! I’m walking you through exactly how I do it, including the little tricks I’ve picked up over the years. This takes about 10 minutes of active prep and 60 minutes of baking.
Step 1: Prep the Oven and Pan (5 minutes)
Preheat your oven to 350°F (175°C). This is the most critical step—make sure your oven is fully preheated before you put the bread in. An underheated oven leads to dense bread. While it heats, line your 9×5 loaf pan with parchment paper. Grease the parchment lightly with butter or oil. This ensures the bread doesn’t stick and makes removal easy.
Step 2: Toast the Walnuts (5-7 minutes)
While the oven preheats, chop your walnuts. Spread them in a single layer on a small baking sheet. Toast them in the oven for 5-7 minutes, watching closely. They’re done when they smell nutty and fragrant. Remove them and let them cool completely. If you add warm walnuts to the batter, they’ll release moisture and make the bread soggy. Trust me on this.
Step 3: Mash the Bananas (2 minutes)
In your large mixing bowl, peel and mash the ripe bananas. You want about 1 ½ cups of mashed banana. If you like chunks, leave some small pieces. If you prefer a smoother texture, mash them until they’re almost liquid. Add the pumpkin puree, sugar, oil, eggs, and vanilla extract to the bowl. Whisk everything together until smooth and well combined. The batter will look a bit weird at this stage—lumpy and separated. That’s okay. It will come together.
Step 4: Mix the Dry Ingredients (2 minutes)
Add the flour, baking soda, baking powder, salt, and spices to the wet mixture. Stir gently with a wooden spoon or spatula. Mix until just combined. Do not overmix! Overmixing develops gluten, which makes the bread tough and dense. You’ll still see some flour streaks. That’s fine. Stop stirring as soon as the flour disappears.
Step 5: Fold in the Walnuts (1 minute)
Gently fold in the cooled, toasted walnuts. Use a folding motion—go from bottom to top, turning the bowl. This keeps the air in the batter. Spread the batter evenly into the prepared loaf pan. It should be about ¾ full. Don’t overfill it, or it’ll spill over.
Step 6: Bake (55-65 minutes)
Place the pan in the center of the oven. Bake for 55-65 minutes. After 45 minutes, check the bread. If the top is browning too quickly, loosely tent it with aluminum foil. This prevents burning while the inside finishes cooking. The bread is done when a toothpick inserted into the center comes out clean or with just a few moist crumbs. If it’s wet with batter, bake for another 5-10 minutes.
Step 7: Cool (30 minutes)
Let the bread cool in the pan for 10 minutes. Then, lift it out using the parchment handles and transfer it to a cooling rack. Let it cool completely before slicing. This is the hardest part, but slicing warm banana bread makes it mushy and hard to slice neatly. Patience pays off.
Expert Tips & Tricks
Here’s everything I’ve learned from making this dozens of times. These tips will save you from my mistakes.
The Riper, The Better
I cannot stress this enough. The bananas must be very ripe. Black peels, soft flesh. If your bananas are yellow, put them in a brown paper bag with an apple for 2-3 days to speed up ripening. Yellow bananas result in bland, less sweet bread.
Don’t Overmix
Once you add the flour, mix gently. Overmixing is the #1 reason banana bread turns out dense and rubbery. A few lumps are okay. The goal is just to hydrate the flour, not to create a smooth, elastic dough.
Toast Your Nuts
Raw walnuts are fine, but toasted walnuts are superior. The toasting process releases oils and intensifies the flavor. It’s a small step that makes a big difference. I toast them while the oven preheats—it’s seamless.
Check for Doneness Early
Ovens vary wildly. Start checking at 50 minutes. If the toothpick comes out clean, pull it. If it’s wet, check again in 5 minutes. Don’t wait until the end of the 65 minutes, or you might overbake it.
Store Properly
Wrap the cooled loaf tightly in plastic wrap, then foil. Store at room temperature for up to 3 days, or in the fridge for up to a week. For longer storage, freeze slices individually. This bread freezes beautifully.
Common Mistakes (and how to avoid them):
Mistake: Bread is soggy in the middle
Fix: Your oven might be too hot, or you didn’t bake it long enough. Use an oven thermometer to check accuracy. If the top browns too fast, tent with foil.
Mistake: Bread is dry and crumbly
Fix: You overmixed the batter, or you used underripe bananas. Next time, mash the bananas more thoroughly and mix less.
Mistake: Bread didn’t rise
Fix: Your baking soda or powder might be old. Test them with vinegar. Also, make sure you didn’t pack the flour down when measuring.
Variations & Substitutions
Once you’ve nailed the basic version, here’s how you can mix it up. I’ve tried all of these.
Chocolate Chip Banana Bread
Add 1 cup chocolate chips when you fold in the walnuts. Skip the walnuts if you prefer. This is a crowd-pleaser, especially with kids.
Pecan Swap
Walnuts are traditional, but pecans work just as well. They’re sweeter and softer. Toast them the same way.
Gluten-Free
Use a 1:1 gluten-free flour blend. Ensure it contains xanthan gum. The texture will be slightly different but still delicious. I use King Arthur Measure for Measure.
Vegan Version
Replace eggs with 2 flax eggs (2 tbsp ground flaxseed + 5 tbsp water, rested 5 minutes). Use maple syrup instead of sugar if desired, though granulated sugar works fine. Use coconut oil instead of vegetable oil.
Spice It Up
Add a pinch of cardamom or allspice for a unique twist. Or add ½ teaspoon of black pepper for a subtle heat.
Less Sugar
Reduce sugar to ½ cup. The bananas and pumpkin provide enough sweetness for most palates. It’s still moist and flavorful.
Serving & Storage
How to Serve:
I usually serve this plain, but here are other ways I’ve enjoyed it:
- With Butter: A thin slice of salted butter on warm bread is heaven.
- With Cream Cheese: Spread a layer of cream cheese on top for a richer treat.
- With Coffee: This is the perfect companion to a morning cup of coffee.
- As a Gift: Wrap a whole loaf in cellophane with a ribbon. It’s a thoughtful, homemade gift.
Storage Instructions:
Room Temperature: Store in an airtight container or wrapped tightly in plastic wrap for up to 3 days. It stays moist this way.
Refrigerator: Store for up to 1 week. The bread will firm up slightly, so let it come to room temperature before eating.
Freezer: Slice the cooled bread, wrap each slice in plastic wrap, then place in a freezer bag. Freeze for up to 3 months. Thaw at room temperature or toast from frozen.
Reheating: Microwave a slice for 20-30 seconds. Or toast it like bread for a crispy edge and warm center.
Nutrition Information
I’m not a nutritionist, but here’s the breakdown if you’re tracking. This is per slice (based on 10 slices).
– Calories: 280
– Protein: 5g
– Carbs: 42g
– Fiber: 3g
– Sugar: 22g
– Fat: 12g
– Saturated Fat: 1g
– Cholesterol: 25mg
– Sodium: 250mg
What’s Good:
– Good source of fiber from bananas and walnuts
– Contains healthy fats from walnuts
– Natural sugars from fruit
What to Know:
– Moderately high in sugar
– Contains gluten and nuts
– Can be modified for dietary restrictions
Look, this is comfort food. It’s not a diet recipe. But it’s way better than store-bought, and I know exactly what’s in it. When I want to make it lighter, I reduce the sugar and add more walnuts. But usually? I just enjoy a slice and move on.
Final Thoughts
So that’s my one-bowl banana pumpkin bread! I’ve probably talked your ear off at this point, but when you make a recipe this often, you have a lot to say about it. This has saved my mornings more times than I can count. It’s my answer to “what’s for breakfast” when I’m tired, don’t want to cook, but still want something delicious. My kids are happy, my husband’s happy, and I’m happy because I’m not stressed about baking.
Make it yours! Try different nuts, add chocolate chips, or adjust the spices. The best recipes are the ones you adapt to your family’s tastes. If you make this, drop a comment and let me know what you think! I love hearing how recipes turn out in your kitchen. And if something doesn’t work, tell me that too—I’m here to help troubleshoot.
Happy baking! And I hope your kitchen smells half as good as mine does right now.
Frequently Asked Questions
Can I use canned pumpkin pie filling instead of pure pumpkin?
No, please don’t. Pumpkin pie filling has added sugar and spices that will throw off the balance of the recipe. You need 100% pure pumpkin puree. It’s usually found in the same aisle as canned vegetables, not near the pie filling. If you can’t find canned, you can roast your own pumpkin, but puree is easiest.
Why did my bread turn out dense?
Usually, this happens because of overmixing. Once you add the flour, mix until just combined. Lumps are okay. Also, check your baking soda and powder. If they’re old, they won’t leaven the bread properly. And make sure your bananas are very ripe—they add moisture that helps with texture.
Can I freeze this bread?
Yes! This bread freezes beautifully. Let it cool completely, then slice it. Wrap each slice individually in plastic wrap, then place them in a freezer bag. It will keep for up to 3 months. Thaw at room temperature or toast from frozen.
Can I use butter instead of oil?
You can, but the texture will be slightly denser. Oil keeps banana bread moist for longer. If you use butter, melt it and let it cool slightly before adding. I prefer oil for this specific recipe, but butter tastes great too if you’re eating it fresh.
How do I know when the bread is done?
Insert a toothpick into the center. If it comes out clean or with a few moist crumbs, it’s done. If it has wet batter on it, bake for another 5-10 minutes. Also, the top should be golden brown and spring back when lightly pressed.
Can I make this in a muffin tin?
Yes! Divide the batter among 12 muffin cups. Bake at 350°F for 20-25 minutes. Check with a toothpick. These make great portable snacks or gifts.
Pin This Recipe!
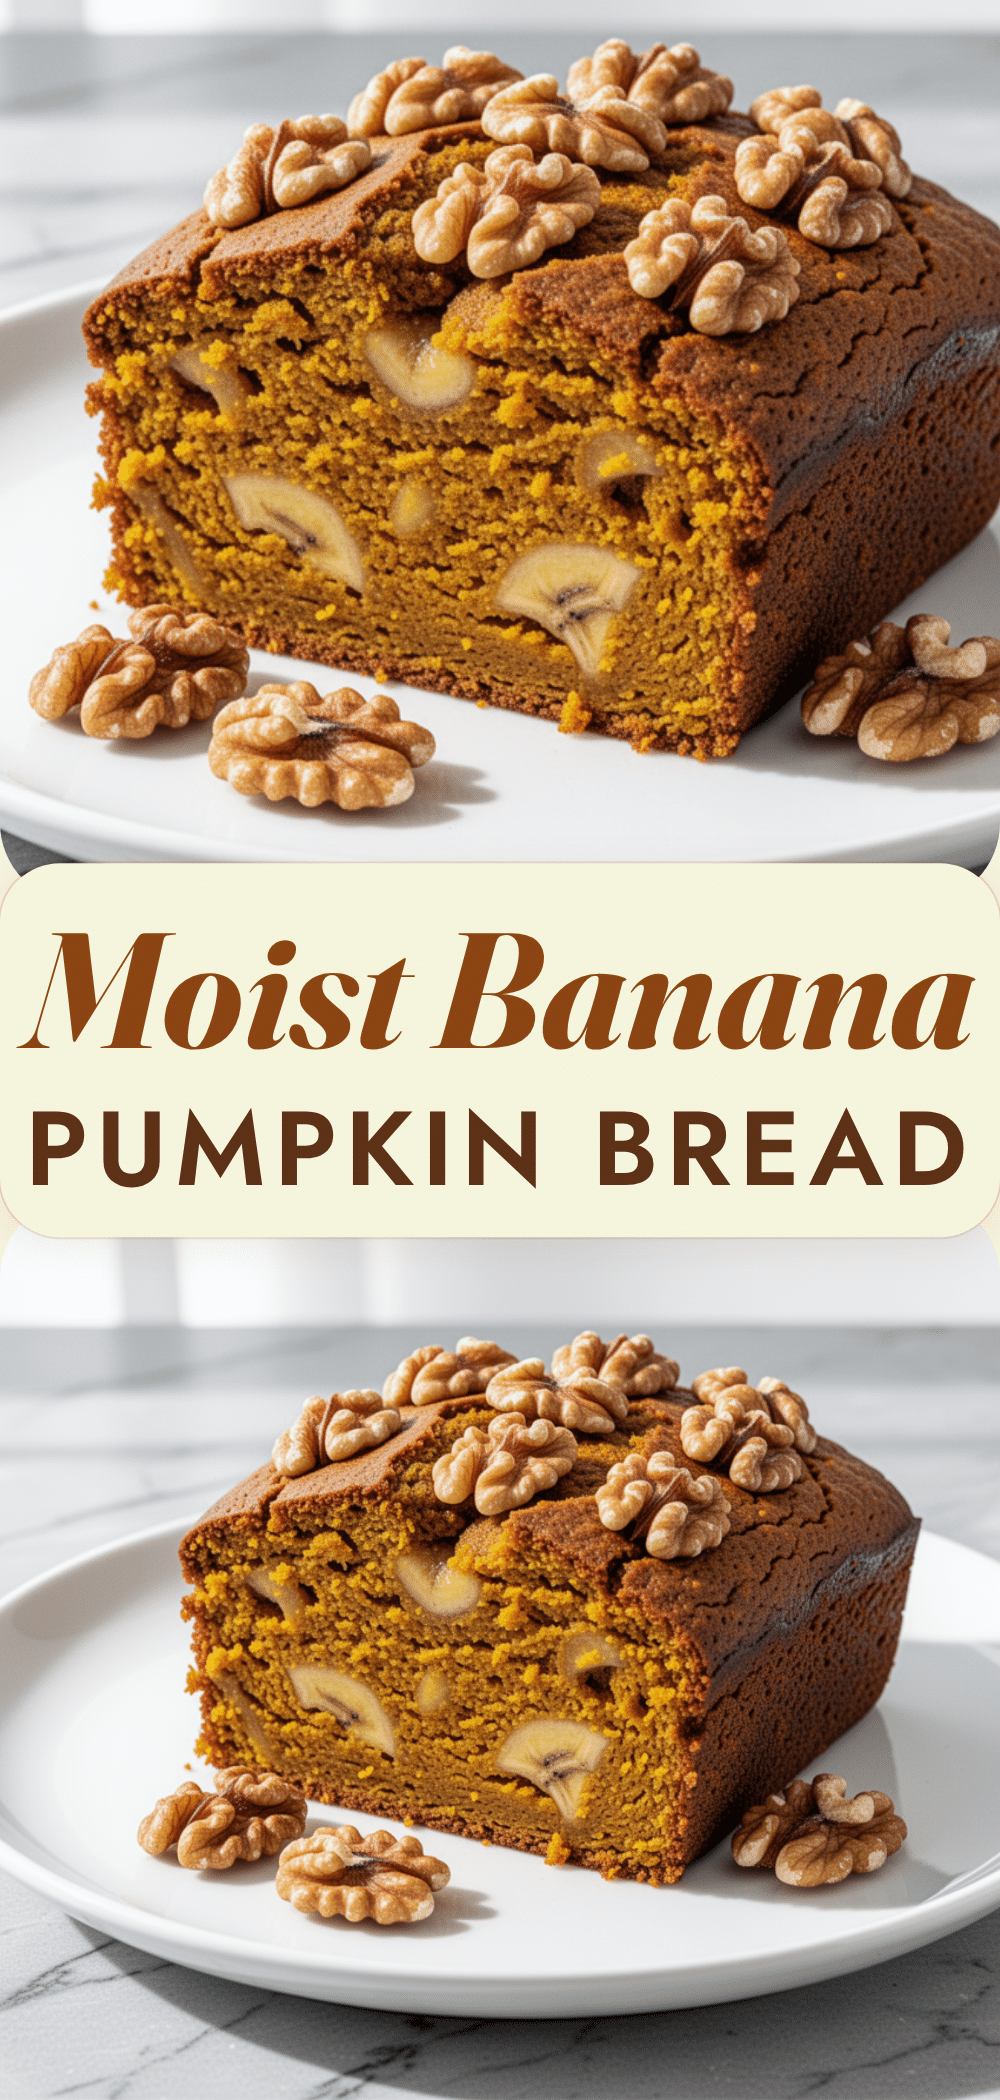
One-Bowl Banana Pumpkin Bread
- Total Time: 70 minutes
- Yield: 10 servings 1x
Description
A moist, spiced banana bread made with pumpkin puree and toasted walnuts, requiring only one bowl and minimal effort for a perfect fall treat.
Ingredients
- 3 large ripe bananas (about 1 ½ cups mashed)
- 1 cup pumpkin puree (100% pure, not pie filling)
- ¾ cup granulated sugar
- ½ cup vegetable oil
- 2 large eggs
- 1 teaspoon vanilla extract
- 1 ½ cups all-purpose flour
- 1 teaspoon baking soda
- ½ teaspoon baking powder
- ½ teaspoon salt
- 1 teaspoon cinnamon
- ½ teaspoon nutmeg
- ¼ teaspoon ginger
- ¼ teaspoon cloves
- 1 cup walnuts, chopped and toasted
Instructions
- Preheat oven to 350°F (175°C). Line a 9×5 inch loaf pan with parchment paper and grease lightly.
- Spread chopped walnuts on a baking sheet and toast in the oven for 5-7 minutes until fragrant. Remove and let cool completely.
- In a large mixing bowl, mash the ripe bananas. Add pumpkin puree, sugar, oil, eggs, and vanilla extract. Whisk until smooth.
- Add flour, baking soda, baking powder, salt, and spices to the wet mixture. Stir gently until just combined; do not overmix.
- Gently fold in the cooled, toasted walnuts.
- Pour batter into the prepared loaf pan, filling it about ¾ full.
- Bake for 55-65 minutes. If the top browns too quickly, tent with aluminum foil after 45 minutes. The bread is done when a toothpick inserted in the center comes out clean.
- Let the bread cool in the pan for 10 minutes, then transfer to a cooling rack to cool completely before slicing.
Notes
Ensure bananas are very ripe (black spots) for maximum sweetness and moisture. Do not overmix the batter once flour is added to avoid dense bread. Toasting walnuts enhances flavor and prevents sogginess. Store wrapped tightly at room temperature for 3 days, or freeze slices for up to 3 months.
- Prep Time: 10 minutes
- Cook Time: 60 minutes
- Category: Dessert
- Cuisine: American
Nutrition
- Serving Size: 1 slice
- Calories: 280
- Sugar: 22
- Sodium: 250
- Fat: 12
- Saturated Fat: 1
- Carbohydrates: 42
- Fiber: 3
- Protein: 5
Keywords: banana bread, pumpkin bread, fall recipe, one bowl, easy baking, moist banana bread, walnut bread


