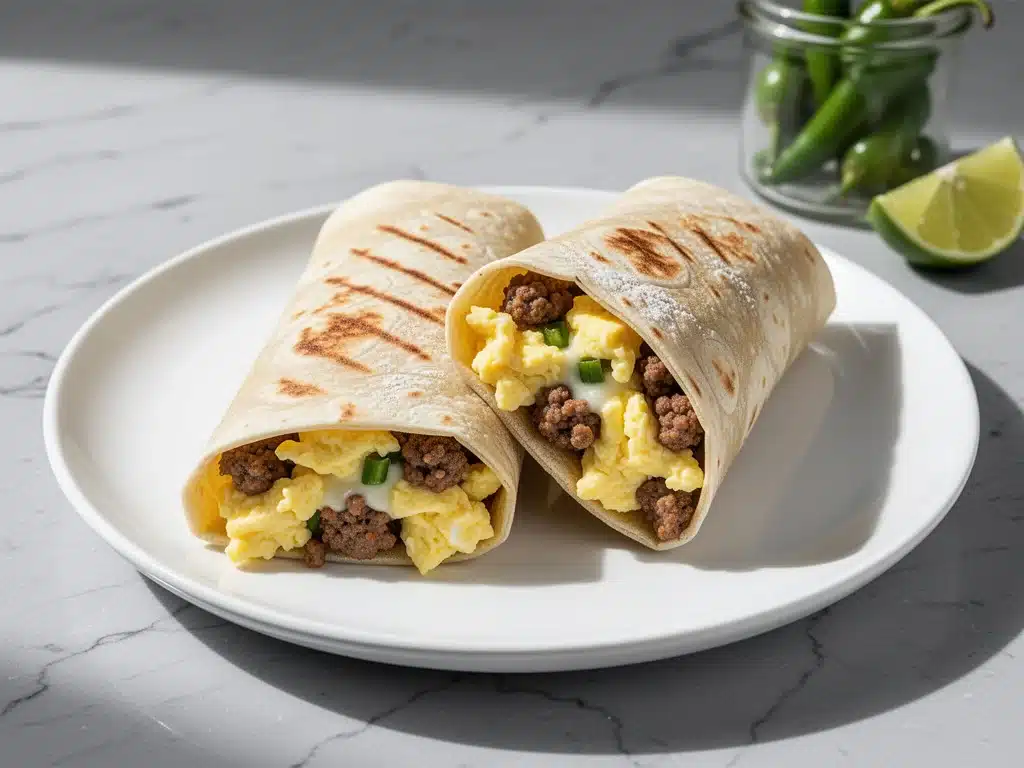
It was 6:15 AM on a Tuesday, and I was staring into the abyss of my open refrigerator. The light flickered. Inside sat a half-empty carton of milk, a sad-looking apple, and a block of cheese that had been there since last week. My kids were already arguing in the hallway. My husband was hunting for his keys. And I had exactly twelve minutes before I needed to be out the door.
Usually, this is the part where I panic. I’d scramble to toast bread, burn my fingers on a hot skillet, and somehow end up with a breakfast that tasted like stress and burnt toast. But this time, I opened the freezer. There, sitting in a ziplock bag like a little frozen treasure, was a breakfast burrito I’d made on Sunday night.
I didn’t even have to think. I just pulled it out, wrapped it in a damp paper towel, and popped it in the microwave for 90 seconds. The smell of sausage and eggs filled the kitchen before I even had my coffee. My kids stopped arguing. My husband grabbed it and ran out the door without saying a word (which, as a parent, is basically a compliment).
That moment was the turning point. I realized I wasn’t just making breakfast; I was buying myself peace of mind. These make-ahead breakfast burritos aren’t just food. They’re a shield against the morning chaos. They’re the difference between starting your day in a panic or starting it with a hot, delicious meal in your hand.
I’ve tested this recipe dozens of times—over different schedules, with different fillings, and for different families. Some mornings I add hot sauce. Some mornings I keep it simple. But the core method? It’s always the same. It’s reliable. It’s fast. And it’s going to change how you approach your busiest mornings.
Why You’ll Love This Recipe
Look, I get it. You’re busy. You have a job, kids, a social life, and maybe a plant you’re trying to keep alive. You don’t have time for complicated cooking techniques. You need food that works as hard as you do. Here’s why these breakfast burritos have become my Sunday night ritual:
- Zero Morning Stress — Seriously. The cooking happens on Sunday. The eating happens on Tuesday. By the time your alarm goes off, breakfast is already done. You’re just reheating it. It’s that simple.
- Freezer-Friendly — These burritos freeze beautifully. I keep a stash of 10-12 in my freezer at all times. If I run low, I make another batch. It’s like having a pantry full of emergency comfort food.
- Customizable — Picky eaters? No problem. I make a batch with just eggs and cheese for my daughter, and a spicy sausage and pepper version for me. Everyone gets what they want.
- Actually Tastes Good — Let’s be honest. Freezer food usually tastes like freezer food. These don’t. The eggs stay fluffy, the sausage stays crispy, and the tortilla doesn’t get soggy. I’ve tried every trick in the book to keep them from turning into a mushy mess, and this method works.
- Budget-Smart — Buying breakfast sandwiches at the coffee shop adds up fast. $4 a day is $120 a month. Making these at home costs you about $1.50 per burrito. That’s a huge difference over a year.
This is my go-to when I know the week is going to be crazy. It’s my answer to “what’s for breakfast?” when I don’t want to think about it. No complicated techniques, no weird ingredients, just reliable, delicious food that makes everyone happy.
Ingredients You’ll Need
Here’s the best part: you probably have most of this already. I’m particular about three ingredients here, and I’ll tell you exactly why. The rest is just pantry staples.
For the Filling
Large eggs (12 count) — I use large eggs because they give the best ratio of white to yolk. I buy organic pasture-raised when they’re on sale, but regular large eggs work fine too. The key is to beat them well before cooking.
Breakfast sausage (1 pound / 450g) — I prefer pork sausage links or patties, removed from the casing if they’re links. It has more flavor than turkey or chicken. If you’re watching your fat intake, turkey sausage works, but you’ll need to add a little extra oil to the pan because it’s leaner.
Cheddar cheese (2 cups / 200g, shredded) — Buy the block and shred it yourself. Pre-shredded cheese has cellulose in it to prevent clumping, and that cellulose stops it from melting smoothly. I use sharp cheddar for the best flavor, but mild works if you’re serving kids.
Red bell pepper (1 medium, diced) — Adds a nice crunch and sweetness. I dice it small so it cooks evenly and doesn’t tear the tortilla. You can skip this if you’re not a fan, but it adds color.
Onion (1 small, diced) — Yellow or white onion works. I cook it with the peppers until it’s soft and sweet. It adds depth to the eggs.
Butter (2 tablespoons) — For sautéing the veggies. Olive oil works too, but butter just tastes better in eggs.
For the Wrap
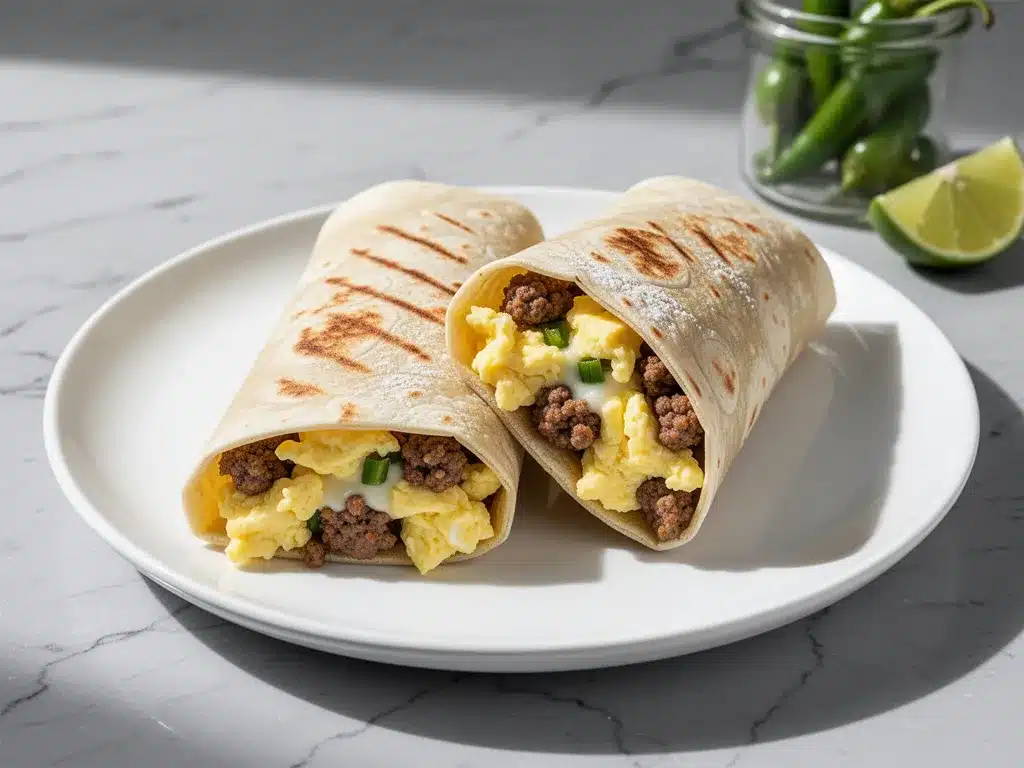
Flour tortillas (12 count, 10-inch) — This is crucial. Do not use small 6-inch tortillas. They’re too small for this amount of filling and will burst. Do not use spinach or whole wheat if you’re freezing; they get brittle and crack. Use standard large flour tortillas. I like Mission brand because they’re pliable and sturdy.
Non-stick cooking spray — Optional, but I spray the tortillas lightly before rolling. It helps them stay sealed and adds a tiny bit of crispness.
Optional Add-ins
Hot sauce — I drizzle this on before rolling. It adds flavor without making the burrito wet.
Fresh cilantro — Chopped up and mixed into the eggs. It’s fresh and bright.
Salsa — I keep this separate and add it when reheating. Putting salsa in the freezer makes the tortilla soggy.
Equipment Needed
You don’t need fancy equipment for this. Here’s what I actually use.
Large non-stick skillet — I use a 12-inch skillet. It needs to be big enough to cook all the eggs at once without overcrowding. If you overcrowd the pan, the eggs steam instead of scramble. I prefer non-stick because it makes cleanup easier.
Large mixing bowl — For beating the eggs. A wide bowl is easier to whisk in.
Cutting board and sharp knife — For dicing the peppers and onions. Sharp knives are safer and make dicing faster.
Wooden spoon or silicone spatula — For stirring the eggs. You want to break them up into small curds.
Parchment paper and plastic wrap — For wrapping the burritos. Parchment paper is essential for the freezer. Plastic wrap goes on the outside to keep air out.
Ziplock freezer bags — To store the wrapped burritos. I use gallon-sized bags. I squeeze out as much air as possible before sealing.
Microwave — For reheating. You can use an oven or toaster oven, but the microwave is fastest for busy mornings.
How to Make It: Step-by-Step
Alright, let’s make this! I’m walking you through exactly how I do it, including the little tricks I’ve picked up over the years. This will take about 45 minutes on Sunday, but it saves you hours during the week.
Step 1: Cook the Veggies (5 minutes)
Heat the butter in your large skillet over medium heat. Add the diced onions and red peppers. Sauté them for 3-4 minutes until they’re soft and the onions are translucent. You want them cooked through, not raw, because you won’t be cooking them again later. If you leave them raw, they’ll be crunchy in the burrito. Drain any excess liquid from the pan. You don’t want a soggy burrito.
Step 2: Cook the Sausage (5 minutes)
Push the veggies to the side of the pan (or remove them to a bowl if your pan is small). Add the sausage to the empty space. Break it up with your wooden spoon as it cooks. Cook for 5-6 minutes until it’s browned and crispy. Crispy sausage is key! Soft sausage makes the burrito feel heavy. Once it’s done, drain it on a paper towel to remove excess grease. Grease = soggy tortilla. We don’t want that.
Step 3: Scramble the Eggs (5 minutes)
In your mixing bowl, beat 12 eggs with a pinch of salt and pepper. Whisk them until they’re uniform in color. Pour them into the same skillet (you don’t need to wash it). Add the cooked sausage and veggies back in. Let the eggs sit for 10 seconds, then gently push them from the edges to the center. You want large, fluffy curds, not tiny scrambled bits. Cook until they’re just barely set. They should look slightly wet. They’ll keep cooking a little bit when you wrap them, so don’t overcook them. If they’re dry now, they’ll be rubbery later.
Step 4: Assemble the Burritos (10 minutes)
This is the assembly line part. Lay out your tortillas on the counter. I like to warm them up for 10 seconds in the microwave first. Cold tortillas crack when you roll them. Warm tortillas bend. Place a spoonful of the egg mixture in the center of each tortilla. Add a sprinkle of cheese. Don’t overfill! If you put too much in, it’s going to burst out the sides when you roll it. Leave a 1-inch border on all sides.
Step 5: Roll and Wrap (15 minutes)
Here’s the rolling technique that matters: Fold the bottom of the tortilla up over the filling. Fold in the left and right sides. Then roll it up tightly from the bottom. It should be a tight cylinder, not a loose bag. Once it’s rolled, wrap it tightly in parchment paper. The parchment paper is non-negotiable. It prevents freezer burn and keeps the burritos from sticking together. Then, wrap that in plastic wrap for an extra layer of protection.
Step 6: Freeze or Store (5 minutes)
Place the wrapped burritos in a gallon-sized freezer bag. Squeeze out all the air. Label the bag with the date. They’ll last in the freezer for up to 3 months. If you’re eating them within a week, you can store them in the fridge, but the freezer is better for texture.
Expert Tips & Tricks
Here’s everything I’ve learned from making these dozens of times. These tips will save you from my mistakes.
Let the Filling Cool Completely — This is the #1 mistake people make. If you wrap hot burritos, the steam gets trapped. The tortilla gets soggy and falls apart. I always let the egg mixture cool for 10-15 minutes before assembling. You can speed this up by spreading it on a baking sheet, but patience pays off.
Drain the Grease — I cannot stress this enough. Sausage releases fat. If you don’t drain it, that fat soaks into the tortilla. Use paper towels. It’s an extra step, but it keeps the burrito from becoming a grease bomb.
Don’t Skimp on the Cheese — The cheese acts as a glue. It helps hold the burrito together and adds moisture. If you use too little, the burrito falls apart. If you use too much, it’s just a cheese ball. Two cups for 12 burritos is the sweet spot.
Roll Tight — A loose burrito is a leaking burrito. When you roll it, use your thumbs to press the filling down and keep the roll tight. It should feel like a firm cylinder in your hand.
Use Parchment Paper — Plastic wrap alone isn’t enough. Air gets in through the seams of the plastic wrap, causing freezer burn. Parchment paper creates a barrier that keeps the tortilla soft and prevents ice crystals from forming.
Variations & Substitutions
Once you’ve nailed the basic version, here’s how you can mix it up. I’ve tried all of these.
Veggie-Loaded — Swap the sausage for extra veggies. Add spinach, mushrooms, and zucchini. Sauté them until all the moisture is gone. This is my lighter version, though it’s not low-calorie because of the cheese and eggs.
BBQ Chicken — Use shredded rotisserie chicken instead of sausage. Toss it with BBQ sauce before adding to the eggs. It’s sweet and savory. My kids love this version.
Breakfast Potato — Add diced potatoes to the pan with the onions and peppers. Cook them until they’re crispy. It’s like a hash brown burrito. I use frozen diced potatoes to save time—they cook faster and get crispy better than fresh.
Spicy Jalapeño — Add diced jalapeños to the egg mixture. Use pepper jack cheese instead of cheddar. It’s for when you want a kick.
Egg White Only — For a lower-calorie option, use egg whites instead of whole eggs. You’ll need about 8 egg whites for this recipe. The texture will be slightly different, but it’s still good.
Serving & Storage
How to Reheat — Take the burrito out of the freezer. Remove the plastic wrap, but leave the parchment paper on. Place it on a microwave-safe plate. Microwave on high for 90 seconds to 2 minutes. The time depends on your microwave’s power. If it’s still cold in the middle, heat in 30-second intervals. The parchment paper protects the tortilla from getting tough.
Alternative Reheating — You can also reheat these in the oven. Preheat to 350°F. Place the burrito (still in parchment) on a baking sheet. Heat for 15-20 minutes. This gives you a crispier exterior. I prefer the microwave for speed, but the oven is better for texture.
Storage Life — In the freezer, these burritos last for 3 months. After that, they’re still safe to eat, but the quality degrades. The tortilla might get dry, and the flavor might fade. In the fridge, they last 4 days. But I usually eat them all within a week.
Side Dishes — I usually eat these on the go. But if I’m sitting down, I add a side of fresh fruit or a small salad. Sometimes I have a cup of coffee and a piece of toast. But mostly, this is a one-and-done meal.
Nutrition Information
I’m not a nutritionist, but here’s the breakdown if you’re tracking. This is based on one burrito with sausage, cheddar, and peppers.
Per Serving:
- Calories: 320
- Protein: 18g
- Carbs: 28g
- Fiber: 2g
- Sugar: 2g
- Fat: 16g
- Saturated Fat: 7g
- Cholesterol: 180mg
- Sodium: 520mg
What’s Good:
- High protein from eggs and sausage
- Calcium from the cheese
- Convenient and balanced
What to Know:
- Higher in sodium due to sausage and cheese
- Contains dairy and gluten
- Calorie count can vary based on cheese amount
My Take:
Look, this is comfort food. It’s not a diet recipe. But it’s way better than a gas station breakfast sandwich, it costs less, and I know exactly what’s in it. When I want to make it lighter, I use turkey sausage and less cheese. But usually? I just enjoy it.
Final Thoughts
So that’s my go-to make-ahead breakfast burritos recipe! I’ve probably talked your ear off at this point, but when you make a recipe this often, you have a lot to say about it.
This has saved mornings more times than I can count. It’s my answer to “what’s for breakfast?” when I’m tired, don’t want takeout, and still want something that tastes really good. My kids are happy, my husband’s happy, and I’m happy because I’m not stressed about cooking.
Make it yours! Try different add-ins, swap in your favorite vegetables, adjust the spice level. The best recipes are the ones you adapt to your family’s tastes.
If you make this, drop a comment and let me know what you think! I love hearing how recipes turn out in your kitchen. And if something doesn’t work, tell me that too—I’m here to help troubleshoot.
Happy cooking! And I hope your kitchen smells half as good as mine does right now.
Frequently Asked Questions
Can I use gluten-free tortillas?
You can, but they’re tricky. Gluten-free tortillas are more brittle and prone to cracking when frozen and reheated. If you use them, warm them up very thoroughly before rolling, and don’t overfill them. I recommend using corn tortillas if you’re gluten-free—they hold up better to freezing, though the taste is different.
Why did my burritos leak in the microwave?
Usually means they weren’t rolled tight enough, or the filling was too hot when you wrapped them. Steam expands and pushes the filling out. Always let the filling cool completely, and roll the tortillas tightly. Also, make sure you’re not overfilling. Leave a border!
Can I freeze these without the parchment paper?
I don’t recommend it. Without the parchment paper, the burritos will stick together in the bag. When you try to separate them, you’ll tear the tortillas. The parchment paper is cheap and makes a huge difference in usability.
How do I reheat without a microwave?
Use an oven or toaster oven. Preheat to 350°F. Place the burrito (in parchment paper) on a baking sheet. Heat for 15-20 minutes. This takes longer, but it gives you a crispier exterior and heats the filling evenly. You can also use an air fryer at 350°F for 10-12 minutes.
Can I make these ahead and freeze them for more than 3 months?
They’re safe to eat, but the quality will drop. The tortilla will get dry and crumbly, and the flavor might fade. For best results, eat them within 3 months. If you have a deep freezer, they might last longer, but I usually don’t keep them that long.
Can I use turkey sausage?
Yes! Turkey sausage is a bit leaner, so it won’t release as much grease. You might need to add a little oil to the pan to prevent sticking. The flavor is milder, so you might want to add some extra spices like paprika or cumin to give it more depth.
What’s the best way to thaw these?
You don’t need to thaw them! Just pop them in the microwave from frozen. Thawing them in the fridge takes hours and can make the tortilla soggy. Reheating from frozen is the best method. Just add an extra 30 seconds to the cooking time.
Pin This Recipe!
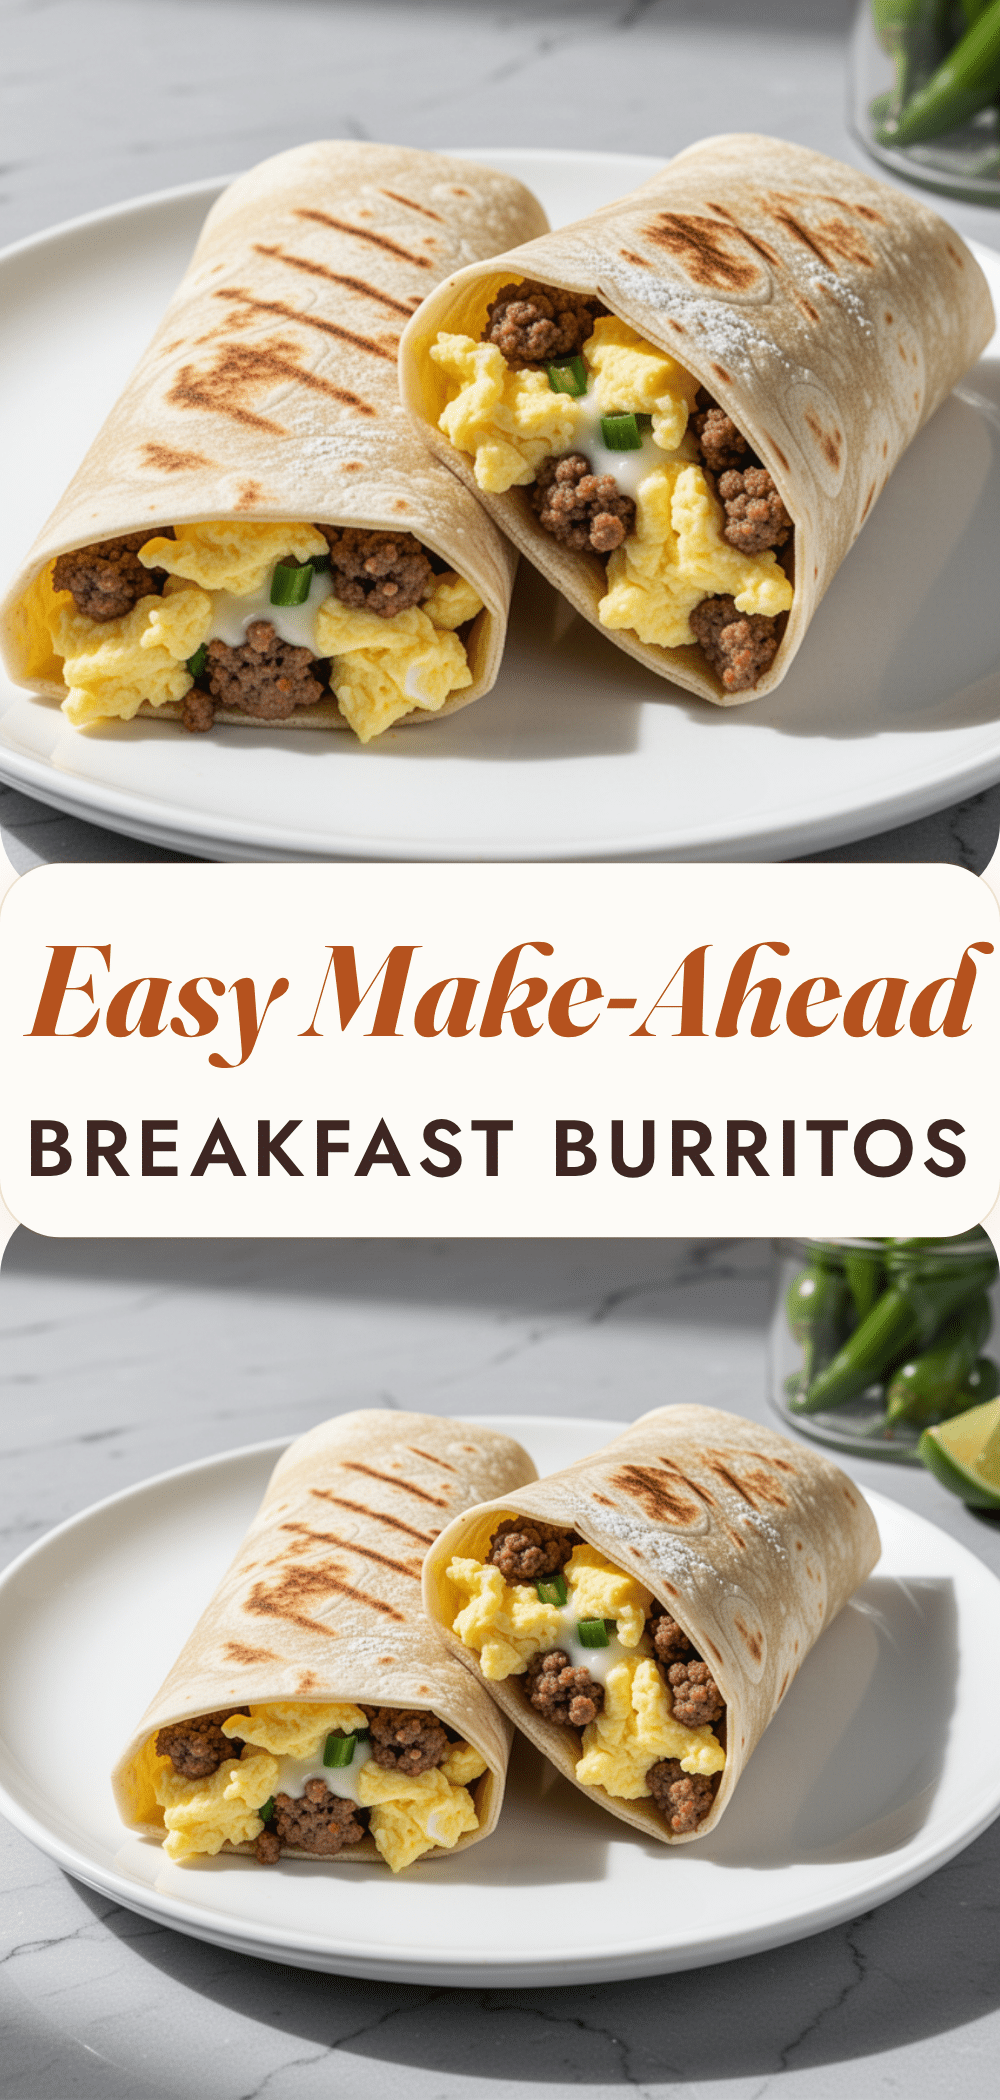
Make-Ahead Breakfast Burritos: 5-Step Easy Meal Prep
- Total Time: 45 minutes
- Yield: 12 servings 1x
Description
These freezer-friendly breakfast burritos are the ultimate meal prep solution for busy mornings. Packed with fluffy eggs, crispy sausage, and melted cheese, they can be made ahead, frozen, and reheated in minutes for a stress-free start to your day.
Ingredients
- 12 large eggs
- 1 pound breakfast sausage (pork or turkey)
- 2 cups sharp cheddar cheese, shredded
- 1 medium red bell pepper, diced
- 1 small onion, diced
- 2 tablespoons butter
- 12 large flour tortillas (10-inch)
- Non-stick cooking spray (optional)
- Salt and pepper to taste
- Hot sauce (optional)
- Fresh cilantro, chopped (optional)
- Salsa (optional, add when reheating)
Instructions
- Heat butter in a large non-stick skillet over medium heat. Add diced onions and red peppers, sautéing for 3-4 minutes until soft and translucent. Drain any excess liquid.
- Push veggies to the side or remove to a bowl. Add sausage to the pan, breaking it up with a wooden spoon. Cook for 5-6 minutes until browned and crispy. Drain excess grease on paper towels.
- In a mixing bowl, beat 12 eggs with salt and pepper. Pour into the skillet with the sausage and veggies. Let sit for 10 seconds, then gently push eggs from edges to center to form large curds. Cook until just barely set (slightly wet). Remove from heat and let cool completely.
- Lay out tortillas and warm them briefly in the microwave to make them pliable. Place a spoonful of the egg mixture in the center of each tortilla, leaving a 1-inch border. Sprinkle with cheese.
- Fold the bottom of the tortilla up over the filling, fold in the left and right sides, and roll tightly into a cylinder.
- Wrap each burrito tightly in parchment paper, then wrap again in plastic wrap to prevent freezer burn.
- Place wrapped burritos in gallon-sized freezer bags, squeezing out excess air. Label with the date and freeze for up to 3 months.
Notes
Ensure the egg mixture cools completely before assembling to prevent soggy tortillas. Drain all grease from the sausage to avoid a greasy burrito. Roll the burritos tightly to prevent leaking during reheating. Use parchment paper to prevent freezer burn and sticking. Do not use small tortillas or whole wheat/spinach tortillas as they crack when frozen.
- Prep Time: 30 minutes
- Cook Time: 15 minutes
- Category: Breakfast
- Cuisine: American
Nutrition
- Serving Size: 1 burrito
- Calories: 320
- Sugar: 2
- Sodium: 520
- Fat: 16
- Saturated Fat: 7
- Carbohydrates: 28
- Fiber: 2
- Protein: 18
Keywords: breakfast burritos, meal prep, freezer breakfast, make ahead breakfast, easy breakfast, egg burritos, sausage burritos, quick breakfast


