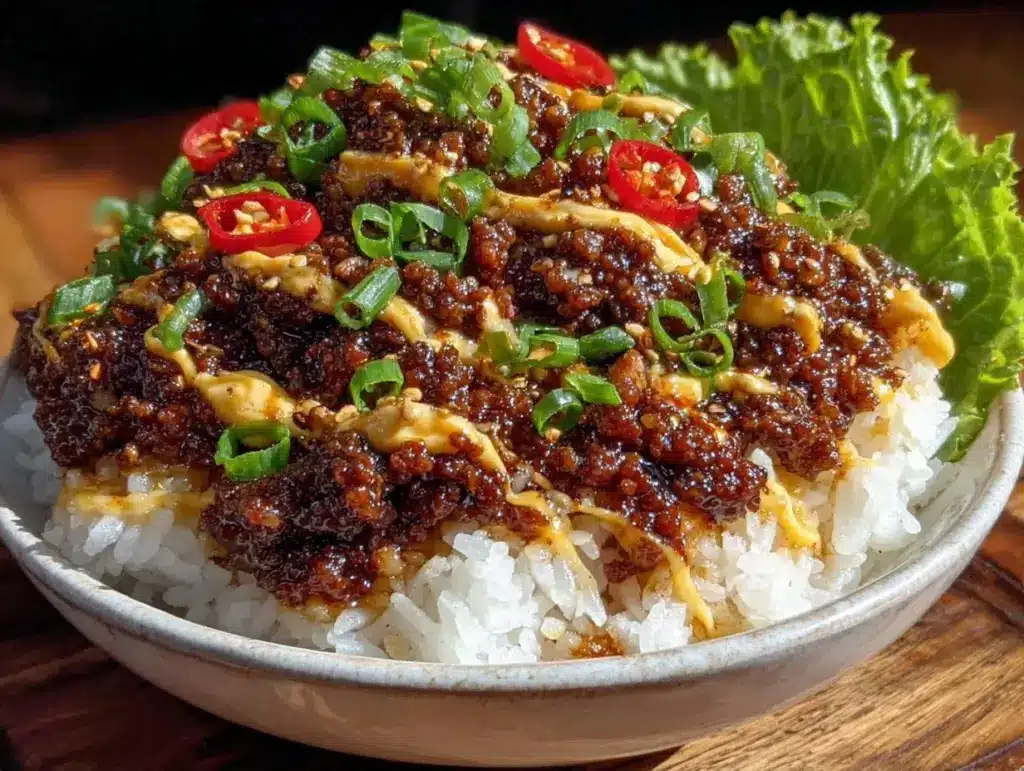
I still remember the smell of my grandmother’s kitchen on weeknights in Seoul. It wasn’t the complex, slow-simmering scent of a weekend *jjim* (braised dish). It was sharper. Pungent. Sweet. The air would fill with the aroma of garlic, ginger, and soy sauce hitting hot oil. She didn’t have time for fancy cuts of meat after a long day of teaching school. She used what was practical, what cooked fast, and what tasted like home.
That practicality became my favorite memory. While other kids were waiting for hours for dinner, I was sitting at the low table, watching her toss ground beef into a wok. Twenty minutes. That’s all it took from start to finish. She called it *Yukke Bap* style, though hers was always a bit sweeter, with a touch more honey than I see in modern recipes today. She believed that if you took the time to caramelize the onions and brown the meat properly, you didn’t need anything else.
I’ve made this Korean ground beef bowl recipe dozens of times since moving across the ocean. It’s my anchor when I’m tired, when the grocery store is closed, or when I just need comfort food that doesn’t require a chef’s degree. It’s not just “fast food” because it’s quick. It’s fast because it respects your time while still delivering that deep, savory flavor profile that makes you close your eyes and sigh.
This isn’t a frozen dinner hack. It’s a real meal, built on fresh aromatics and a sauce that sticks to the meat. If you’ve been looking for a weeknight dinner that actually tastes like it came from a restaurant, this is it. It’s the Korean ground beef bowl recipe my grandmother perfected, adapted for my modern kitchen but keeping her soul intact.
Why You’ll Love This Korean Ground Beef Bowl Recipe
There are a lot of reasons to keep this on your rotation, but let’s be honest: it’s mostly about the flavor-to-time ratio. Here’s what makes this version different from the bland takeout versions you might be used to.
It Actually Takes 20 Minutes — Not 45. Not “prep plus cook.” I time this every time. From chopping the green onions to plating the rice, it is twenty minutes. I make this on Tuesdays when I’m exhausted. It’s the only thing that saves me from ordering pizza.
The Sauce is Balanced, Not Just Salty — Many quick beef recipes rely solely on soy sauce, leaving you with a metallic aftertaste. My grandmother’s trick was balancing the salt with sesame oil and a touch of sweetness. The result is glossy, sticky, and deeply savory without being overwhelming.
It’s Versatile Comfort Food — You can serve this over steamed white rice for the classic experience. But I also love it with cauliflower rice if I’m watching carbs, or even spooned over a baked potato for a fusion twist. It pairs beautifully with my crispy air fryer chicken thighs if you’re feeding a crowd who wants variety.
Pantry Staples Only — You likely have 90% of the ingredients already. Soy sauce, sesame oil, garlic, ginger, brown sugar. You don’t need to go to a specialty Asian market for this. It’s accessible, which means you can make it on a whim.
It Freezes Well for Busy Days — I often double the batch. The beef mixture freezes beautifully for up to three months. Just thaw it in the fridge and reheat it in a pan with a splash of water. It’s my secret weapon for those “I forgot to defrost dinner” nights.
This is my go-to when dinner needs to just work. It’s reliable, delicious, and deeply satisfying.
Key Ingredients for the Best Korean Ground Beef
Don’t cut corners on the aromatics. The difference between good and great is in the details. Here is what you need and why I insist on using the real thing.
Ground Beef (1 lb / 450g) — Use 80/20 fat ratio. Lean beef dries out too fast in this high-heat method. The fat renders out and mixes with the sauce, creating that rich, glossy coating. If you must use lean, add a teaspoon of oil to the pan.
Soy Sauce (3 tbsp / 45 ml) — I use regular Kikkoman. Low-sodium works too, but you’ll need to adjust the salt. Avoid “light” soy sauce as it can be too thin. You want that deep umami punch.
Sesame Oil (1 tbsp / 15 ml) — This is non-negotiable. Toasted sesame oil gives it that distinct nutty aroma. Do not use untoasted oil. If your bottle is old and smells flat, buy a new one. It makes all the difference.
Brown Sugar (2 tbsp / 30g) — My grandmother used white sugar, but I prefer brown for the molasses notes. It helps caramelize the beef. Pack it lightly into the measuring cup.
Garlic (4 cloves / 2 tbsp minced) — Fresh only. Jarred garlic has a sulfurous taste that clashes with the delicate sesame oil. Mince it finely so it cooks evenly and doesn’t burn.
Fresh Ginger (1 tbsp / 5g grated) — Peel a small knob and grate it. Fresh ginger adds a bright, spicy warmth that powder never can. It cuts through the richness of the beef.
Green Onions (3 stalks / sliced) — Use both the white and green parts. The whites go in early for flavor; the greens go on top for freshness. They add a crucial crunch and color contrast.
Sesame Seeds (1 tsp / 5g) — Toasted white sesame seeds. Sprinkle on top right before serving. They add texture and that final nutty hit.
Vegetable Oil (1 tbsp / 15 ml) — For frying. I use canola or vegetable oil. You need a neutral oil with a decent smoke point.
Tools Needed
You don’t need fancy equipment. Here’s what I use.
Large Skillet or Wok — I use a 12-inch non-stick skillet. A wok is ideal if you have one, as the sloped sides help toss the beef, but a heavy-bottomed skillet works perfectly. You need space for the meat to brown, not steam.
Rice Cooker — I’m biased, but a good rice cooker is a game-changer. It ensures fluffy, perfect rice every time without supervision. If you don’t have one, a medium pot with a tight lid works fine.
Microplane or Fine Grater — For the ginger. A microplane turns the ginger into a paste that disperses evenly. A knife works, but it takes longer and you get chunkier pieces.
Wooden Spoon or Spatula — Something sturdy to break up the meat. I prefer silicone spatulas now as they don’t scratch my non-stick pans.
How to Make Korean Ground Beef Bowls
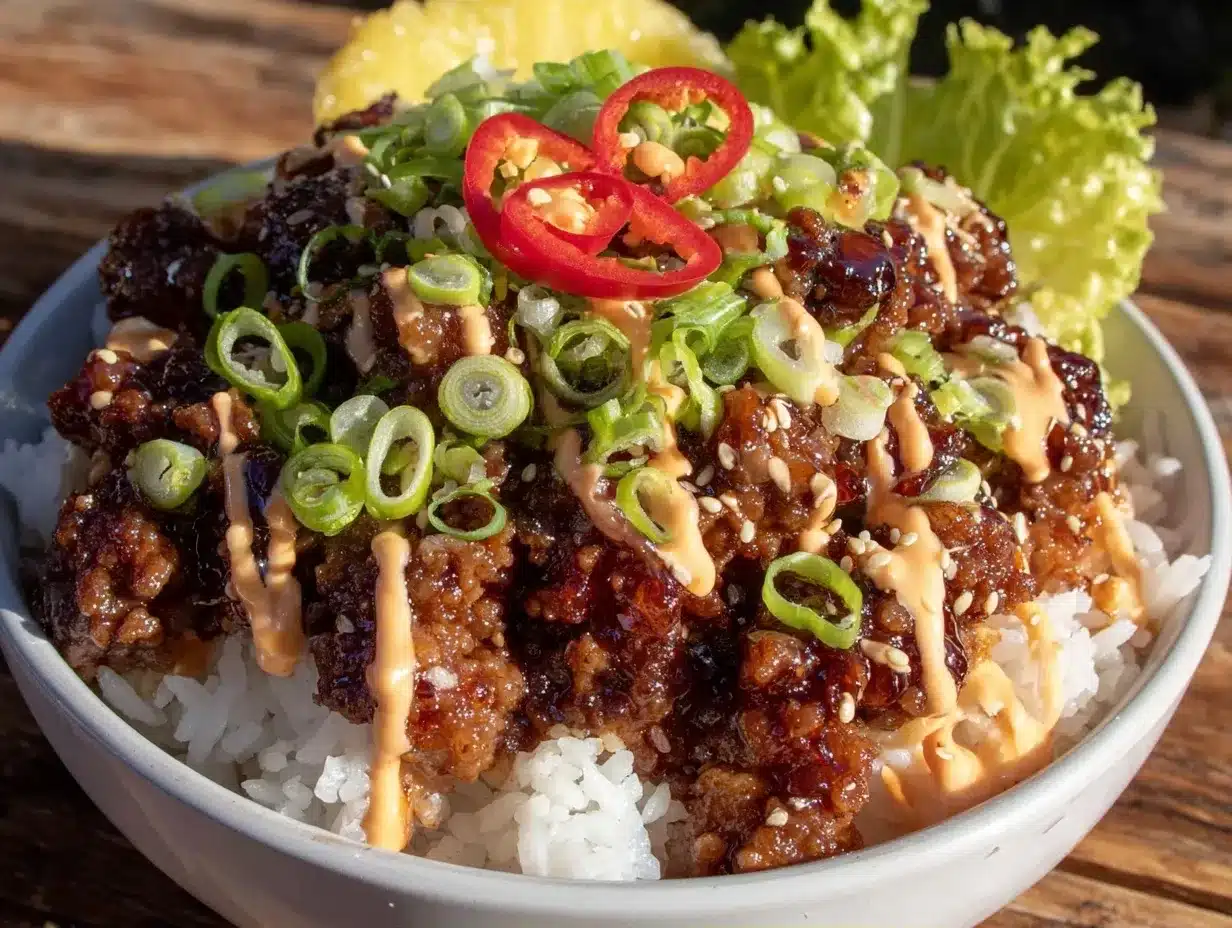
Let’s get cooking. This moves fast, so have everything prepped before you turn on the heat. This is called *mise en place*, but I just call it “not burning dinner.”
Step 1: Prep the Aromatics (5 minutes)
Start your rice if you aren’t using a rice cooker. While that’s going, mince your garlic and grate your ginger. Slice the green onions, keeping the whites and greens separate. In a small bowl, whisk together the soy sauce, sesame oil, brown sugar, and a tablespoon of water. Set this sauce aside. Having it ready means you won’t be scrambling later.
Step 2: Brown the Beef (8 minutes)
Heat your large skillet or wok over medium-high heat. Add the vegetable oil. Once it shimmers, add the ground beef. Break it up with your spatula immediately. You want small crumbles, not large chunks. Cook for 6-8 minutes, stirring occasionally. You’re looking for the meat to lose its pink color and start to brown slightly at the edges. If there’s excessive grease, drain it off, but leave a little for flavor.
Step 3: Add the Flavor Base (2 minutes)
Push the beef to the side of the pan (or just mix it in if you’re confident). Add the minced garlic and grated ginger to the center of the pan. Cook for 30-60 seconds until fragrant. Don’t let the garlic burn—it turns bitter instantly. Once you smell that garlic aroma, mix it into the beef.
Step 4: Sauce and Simmer (3 minutes)
Pour your prepared sauce over the beef. Stir well to coat every piece. Let it bubble and simmer for 2-3 minutes. The sauce will reduce and thicken, clinging to the meat. This is where the magic happens. The sugar caramelizes, and the flavors meld. If it looks too dry, add a splash more water. If it’s too watery, cook for another minute.
Step 5: Finish and Serve (2 minutes)
Turn off the heat. Stir in the white parts of the green onions. Taste it. Does it need more salt? More sugar? Adjust now. Spoon the beef over hot steamed rice. Top with the green onion tops and a sprinkle of sesame seeds. Serve immediately while it’s hot and glossy.
Total Time Breakdown: Prep: 5 mins. Cook: 15 mins. Total: 20 minutes.
Expert Tips from My Kitchen
Here’s everything I learned from making this too many times. Some of these are hard-learned lessons.
Don’t Crowd the Pan
This is the #1 mistake. If you use a small pan, the beef steams instead of browns. It turns gray and mushy. Use a large pan. Give the meat space. Browning creates flavor (the Maillard reaction). Steaming creates sadness.
Sweetness is Subjective
My grandmother’s recipe was sweeter than most modern versions. If you prefer a savory profile, reduce the brown sugar to 1 tablespoon. If you like it sticky and sweet like takeout, keep it at 2 tablespoons. Adjust to your palate.
Add Veggies for Bulk
If you’re feeding a hungry family, add diced carrots or bell peppers when you add the garlic. They’ll soften in the sauce and add nutrition. I often add shredded zucchini too—it soaks up the sauce beautifully.
The Rice Matters
Don’t skimp on the rice. Short-grain Japanese rice is best because it’s sticky and holds the sauce well. Long-grain rice is too fluffy and the sauce slides off. I use a rice cooker for consistency, but stovetop works if you let it rest for 10 minutes after cooking.
Common Problems & Solutions
*Beef is too greasy:* Drain half the fat after browning, before adding the sauce.
*Sauce is too salty:* Add a splash of vinegar or more sugar to balance it.
*Meat is dry:* You overcooked it. Next time, remove from heat as soon as it’s browned, then add sauce to finish cooking.
Recipe Variations
Once you’ve nailed the basic version, here’s how to mix it up. This recipe is a canvas.
Spicy Korean Ground Beef
Add 1 tablespoon of Gochujang (Korean chili paste) to the sauce. This adds heat and depth. It’s my favorite version for spice lovers. It pairs well with my game day honey garlic chicken wings if you’re making a spread.
Vegetable Loaded Bowl
Add 1 cup of finely chopped spinach or bok choy in the last minute of cooking. It wilts instantly and adds color. Great for sneaking veggies into picky eaters’ diets.
Beef and Broccoli Style
Sauté broccoli florets in the pan before adding the beef. Then proceed with the recipe. The broccoli absorbs the sauce like a sponge.
Dairy-Free Option
This recipe is naturally dairy-free. Just ensure your soy sauce is certified gluten-free if you have sensitivities, though most soy sauces are dairy-free anyway.
Gluten-Free Option
Swap regular soy sauce for Tamari. Everything else remains the same. The flavor is nearly identical.
Pork Variation
You can use ground pork instead of beef. It’s richer and slightly sweeter. My grandmother actually used pork often because it was cheaper. It works beautifully with the ginger-garlic profile.
Serving & Storage
Serving Suggestions:
Serve over steamed white rice. Garnish with sesame seeds and sliced green onions. I love adding a fried egg on top—the runny yolk mixes with the beef and rice for a creamy sauce. It’s indulgent and perfect. Pair it with a simple cucumber salad or pickled radishes to cut the richness.
Storage:
Let the beef cool completely before storing. It keeps in an airtight container in the refrigerator for up to 4 days. The flavors actually get better on day 2 as they meld.
Freezing:
This freezes perfectly for up to 3 months. Portion it into meal-prep containers. Thaw in the fridge overnight and reheat in a pan with a splash of water to loosen the sauce. It reheats much better than most ground beef dishes.
Reheating:
Microwave works, but the pan is better. It restores the texture. Add a teaspoon of water when reheating to prevent drying out.
Nutrition Information
I’m not a nutritionist, but here’s the breakdown per serving (assuming 4 servings with rice).
| Nutrient | Amount |
|---|---|
| Calories | ~450 kcal |
| Protein | 25g |
| Carbs | 40g |
| Fiber | 1g |
| Fat | 18g |
| Sodium | 900mg |
My Take: This is comfort food. It’s higher in sodium due to the soy sauce, but the protein content is great. If you’re watching sodium, use low-sodium soy sauce and reduce the amount. It’s a balanced meal if you add veggies. Better than takeout, and you control the ingredients.
Final Thoughts
This Korean ground beef bowl recipe is more than just a quick dinner. It’s a connection to my grandmother’s kitchen, to those weeknights in Seoul, and to the idea that good food doesn’t have to be complicated. It’s honest, it’s flavorful, and it’s real.
If you make this, I’d love to hear how it turns out. Did you add extra spice? Did you use pork? Drop a comment below. I love reading about your adaptations. And if you need more weeknight inspiration, check out my smoked sausage pepper skewers for another quick protein-packed meal.
Happy cooking!
FAQs
Can I make this ahead of time?
Yes! The beef mixture can be made up to 3 days in advance. Just reheat it in a pan. The rice is best made fresh, but you can microwave leftover rice with a splash of water to revive it.
What can I substitute for brown sugar?
White sugar, honey, or maple syrup all work. Honey adds a floral note, maple syrup adds depth. I prefer brown sugar for the molasses flavor, but any sweetener will balance the saltiness of the soy sauce.
Is this recipe spicy?
No, the base recipe is not spicy. It’s savory and sweet. If you like heat, add red pepper flakes, sriracha, or Gochujang. Start with 1/2 teaspoon and adjust to your taste.
Can I use lean ground beef?
You can, but the dish will be drier. If you use 90/10 or 95/5 lean beef, add a tablespoon of oil to the pan and be careful not to overcook it. The fat in 80/20 beef helps keep the meat moist and flavorful.
Why did my beef turn out watery?
You likely didn’t cook the beef long enough to brown it, or you didn’t let the sauce reduce. Make sure to cook the beef until it’s deeply browned, and let the sauce simmer for 2-3 minutes after adding it to evaporate excess liquid.
Can I freeze this with the rice?
I don’t recommend freezing the rice. It becomes mushy when thawed and reheated. Freeze the beef only. Cook fresh rice when you’re ready to eat.
Pin This Recipe!
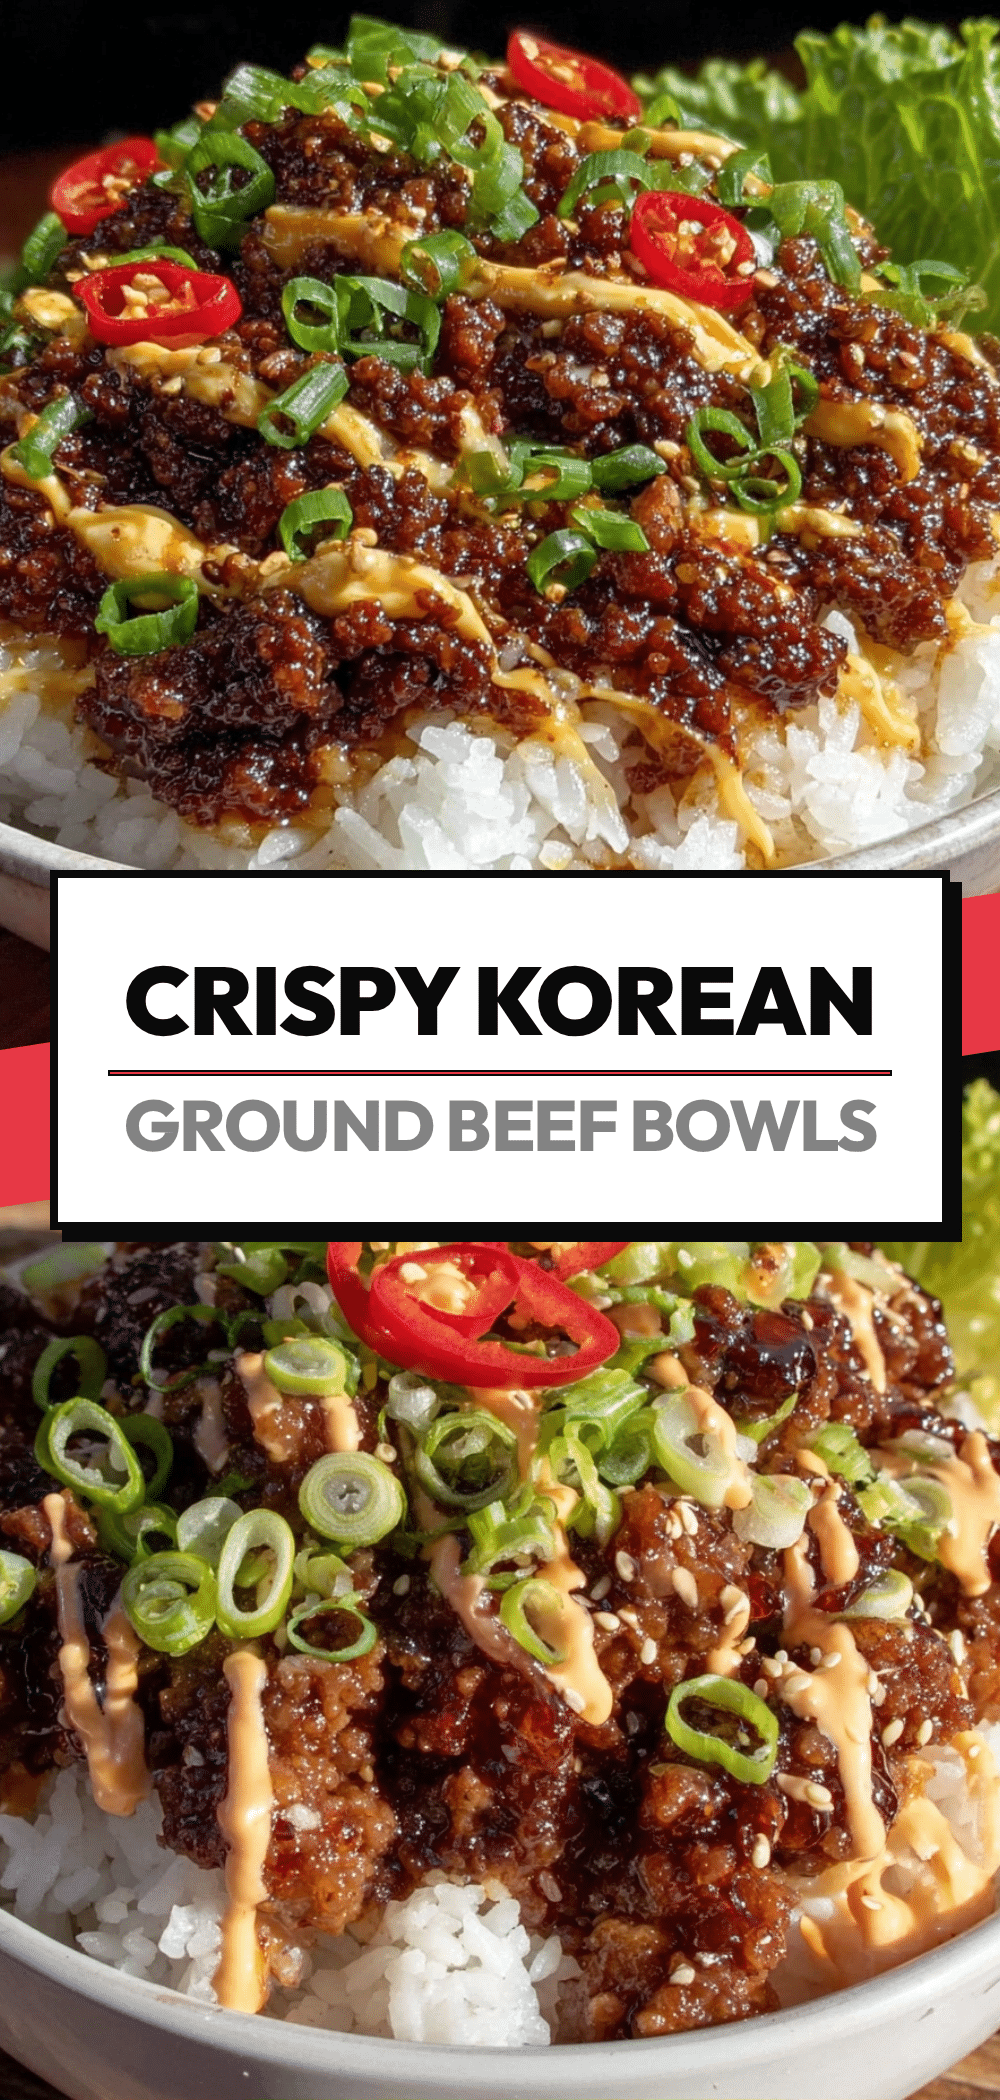

Korean Ground Beef: Grandmother’s Real 20-Minute Bowl
- Total Time: 20 minutes
- Yield: 4 servings 1x
Description
A quick, savory, and sweet Korean ground beef bowl recipe inspired by the author’s grandmother. This dish uses pantry staples to create a glossy, sticky sauce that coats the beef, ready in just 20 minutes.
Ingredients
- 1 lb (450g) ground beef (80/20 fat ratio)
- 3 tbsp soy sauce
- 1 tbsp sesame oil (toasted)
- 2 tbsp brown sugar
- 4 cloves garlic (minced)
- 1 tbsp fresh ginger (grated)
- 3 stalks green onions (sliced, whites and greens separated)
- 1 tsp toasted white sesame seeds
- 1 tbsp vegetable oil (for frying)
- 1 tbsp water (for sauce)
Instructions
- Prep the aromatics: Mince garlic, grate ginger, and slice green onions. In a small bowl, whisk together soy sauce, sesame oil, brown sugar, and 1 tablespoon of water. Set aside.
- Brown the beef: Heat vegetable oil in a large skillet or wok over medium-high heat. Add ground beef and break it into small crumbles. Cook for 6-8 minutes until browned and pink is gone. Drain excess grease if necessary, leaving a little for flavor.
- Add flavor base: Push beef to the side or mix in. Add minced garlic and grated ginger to the pan. Cook for 30-60 seconds until fragrant, being careful not to burn the garlic. Mix into the beef.
- Sauce and simmer: Pour the prepared sauce over the beef. Stir to coat and let it bubble and simmer for 2-3 minutes until the sauce thickens and clings to the meat. Add a splash of water if too dry.
- Finish and serve: Turn off heat. Stir in the white parts of the green onions. Taste and adjust seasoning if needed. Spoon beef over hot steamed rice, top with green onion tops and sesame seeds, and serve immediately.
Notes
[‘Use 80/20 ground beef for best moisture and flavor; lean beef may dry out.’, ‘Do not crowd the pan to ensure the beef browns rather than steams.’, ‘Adjust sweetness based on preference; reduce brown sugar for a savory profile.’, ‘Add diced carrots, bell peppers, or zucchini for extra vegetables.’, ‘Use short-grain Japanese rice for the best texture to hold the sauce.’, ‘Freezes well for up to 3 months; thaw in fridge and reheat with a splash of water.’]
- Prep Time: 5 minutes
- Cook Time: 15 minutes
- Category: Main Course
- Cuisine: Korean
Nutrition
- Serving Size: 1 bowl with rice
- Calories: 450
- Sugar: 18
- Sodium: 900
- Fat: 18
- Saturated Fat: 7
- Carbohydrates: 40
- Fiber: 1
- Protein: 25
Keywords: Korean ground beef, quick dinner, weeknight meal, beef bowl, 20 minute recipe, comfort food, Asian-inspired


