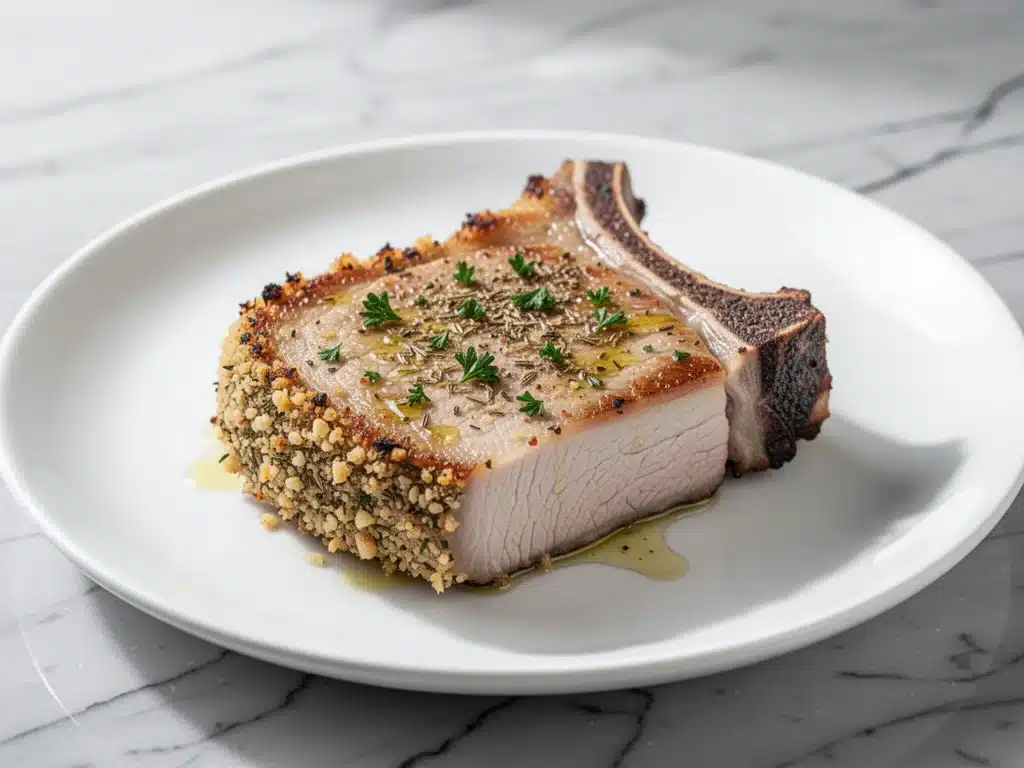
It was last Thursday, the kind of evening where you’re exhausted from work but still expected to whip up something that doesn’t taste like cardboard, when I realized I was staring at four thick-cut pork chops in the fridge like they were a riddle I couldn’t solve. I had two choices: order takeout (again) or figure out how to make these chops taste like they came from a steakhouse without standing over a hot stove for an hour. I chose the stove, but then I regretted it when the breading stuck to the pan and the oil splattered everywhere. So, I did what any desperate home cook does: I put them in the oven. And honestly? It was a game-changer.
I’ve made this recipe for crispy oven-fried pork chops with garlic herb breadcrumbs dozens of times since that night. What started as a lazy Tuesday dinner hack has become the go-to meal for my family. The secret isn’t just the oven; it’s the specific blend of garlic-infused breadcrumbs and the technique that ensures the coating stays shatteringly crisp while the meat stays juicy. If you’ve ever struggled with dry pork chops or soggy breading, this method fixes both problems. It’s foolproof, it’s impressive, and it’s ready in about 30 minutes. I’m not exaggerating when I say this is the best way to cook pork chops if you want restaurant-quality results without the restaurant price tag.
Why You’ll Love This Recipe
There are a lot of reasons I keep coming back to this crispy oven-fried pork chop recipe, but let’s be real—it’s mostly because it actually works. Here’s what makes it a staple in our weekly rotation:
- Actually Crispy Coating — Most “baked” breadings turn soggy within minutes. Not this one. The double-dip technique with the egg wash and the specific breadcrumb blend keeps it crunchy until the last bite. I’ve tested this with my picky eater, and he couldn’t tell the difference between this and deep-fried.
- Juicy Inside, Every Time — The biggest fear with pork chops is drying them out. This recipe uses a simple brine trick (just salt and water) that keeps the meat tender even if you overcook them by a minute. I’ve served these to guests who swear I’ve been hiding a deep fryer in the pantry.
- Garlic Herb Powerhouse — The breadcrumbs aren’t just plain crumbs. They’re tossed with fresh garlic, parsley, and a touch of parmesan. It adds so much flavor that you don’t even need a heavy sauce. It’s savory, aromatic, and addictive.
- Easy Cleanup — No splattering oil, no greasy stovetop to scrub. Just a sheet pan that goes in the dishwasher. This is crucial for weeknights when I’m too tired to fight with pots and pans.
- Impressive Presentation — They look like something you’d order at a nice bistro. Golden brown, crispy edges, and that irresistible garlic aroma. It feels fancy, but it’s totally approachable for a Tuesday night.
This recipe has saved me from takeout so many times. It’s reliable, delicious, and makes you feel like a culinary genius without any of the stress. If you want a meal that gets rave reviews every single time, this is it.
Ingredients You’ll Need
Here’s the best part: you probably have most of these ingredients already. I’m particular about three things here—the pork chops, the breadcrumbs, and the garlic—but everything else is basic pantry stuff. Let’s break it down.
For the Pork Chops
Pork Chops (4 large, bone-in or boneless) — I prefer bone-in, center-cut chops because they stay juicier. If you use boneless, just reduce the cook time by 2-3 minutes. Look for chops that are about 1-inch thick. Thin chops dry out too fast.
Coarse Kosher Salt (1 teaspoon) — Essential for seasoning the meat and helping the breading stick. Iodized salt works too, but kosher adheres better and has a cleaner taste. I use Diamond Crystal.
Black Pepper (½ teaspoon, freshly cracked) — Adds a little heat and depth. Don’t skip the fresh crack; pre-ground pepper loses its punch.
For the Breading Station
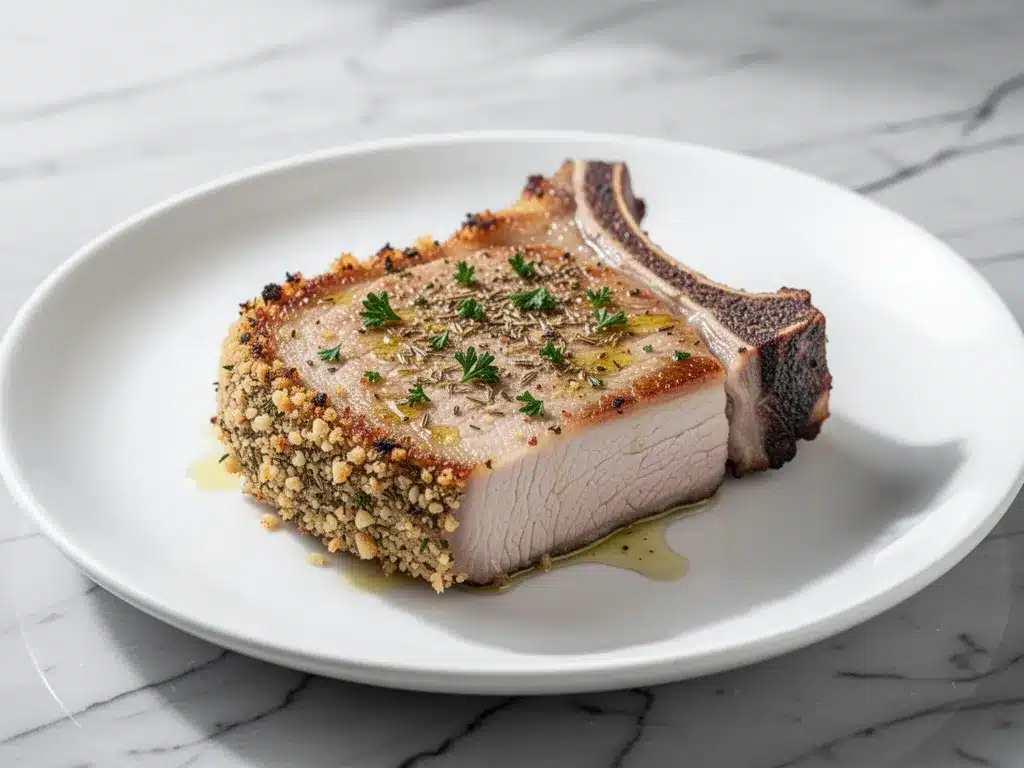
All-Purpose Flour (½ cup / 65g) — This creates the base layer that helps the egg wash stick to the meat. It’s a classic technique for a reason.
Eggs (2 large) — Beaten with a fork until smooth. I add a splash of milk here (about 1 tablespoon) to make the egg wash looser, which helps it coat evenly.
Panko Breadcrumbs (1 cup / 80g) — This is the secret weapon. Regular breadcrumbs are too dense and turn soggy. Panko creates those big, airy, crispy shards that are irresistible. I buy the Japanese-style Panko for best results.
Garlic (3 cloves, minced finely) — Fresh garlic only. No jarred stuff. Minced as fine as you can get it so it distributes evenly in the crumbs.
Dried Parsley (1 tablespoon) — Adds color and a fresh herbal note. If you have fresh parsley, chop it fine and use 2 tablespoons.
Garlic Powder (1 teaspoon) — Double garlic flavor. It’s not too much; it’s perfect. If you’re garlic-averse, reduce to ½ teaspoon.
Onion Powder (½ teaspoon) — Adds savory depth without chunks of onion in the crust.
Grated Parmesan Cheese (¼ cup / 25g) — This is my little secret. It helps the breadcrumbs brown and adds a salty, umami kick. Use freshly grated if possible.
Butter (2 tablespoons, melted) — Brushing the tops with melted butter before baking ensures that golden-brown color and extra crispiness. Olive oil works too, but butter tastes better.
For the Pan
Vegetable Oil or Avocado Oil (1 tablespoon) — Just enough to lightly grease the baking sheet. This prevents sticking and helps conduct heat.
Equipment Needed
You don’t need fancy gadgets for this. Here’s what I actually use:
Baking Sheet — A standard half-sheet pan. I prefer non-stick, but any metal pan works. Avoid glass pans; they don’t conduct heat as well for crisping.
Three Shallow Dishes — Plates or pie tins work great for the flour, egg, and breadcrumb stations. I use three rectangular pie tins because they’re wide and shallow.
Whisk — For beating the eggs. A fork works, but a whisk incorporates air and makes it easier.
Pastry Brush — For brushing the melted butter on top. Silicone brushes are easy to clean.
Tongs — For flipping the chops. Metal tongs are sturdy and won’t tear the breading.
Cooking Spray or Oil — To grease the pan. I use a spray bottle with avocado oil for even coverage.
How to Make It: Step-by-Step
Alright, let’s make this! I’m walking you through exactly how I do it, including the little tricks I’ve picked up over the years. This process takes about 10 minutes of prep and 20 minutes of cooking.
Step 1: Prep the Pork Chops (5 minutes)
Pat the pork chops completely dry with paper towels. This sounds obvious, but removing moisture is key for the breading to stick. Season both sides generously with kosher salt and black pepper. Let them sit while you set up your breading station. This dry brine starts the tenderizing process.
Step 2: Set Up the Breading Station (3 minutes)
Arrange three shallow dishes in a row. In the first, place the flour. In the second, whisk the eggs with the splash of milk. In the third, combine the Panko breadcrumbs, minced garlic, dried parsley, garlic powder, onion powder, and grated Parmesan. Mix the dry ingredients thoroughly with a fork so the garlic and herbs are evenly distributed.
Step 3: Dredge the Chops (5 minutes)
This is the critical part. Take a chop and dredge it in the flour, shaking off any excess. Dip it into the egg wash, letting the excess drip off. Finally, press it firmly into the breadcrumb mixture. Use your hands to press the crumbs onto the chop—don’t just sprinkle them. You want a thick, even coat. Place the breaded chop on a clean plate. Repeat with the remaining chops.
Step 4: Bake the Chops (20 minutes)
Preheat your oven to 400°F (200°C). Lightly grease the baking sheet with oil. Place the breaded chops on the sheet, leaving space between them for air circulation. Brush the tops generously with melted butter. Bake for 12 minutes. Then, carefully flip each chop using tongs. Brush the other side with a little more butter if you have it. Bake for another 8-10 minutes, or until the internal temperature reaches 145°F (63°C). The coating should be golden brown and crispy.
Step 5: Rest and Serve (5 minutes)
Remove the chops from the oven and let them rest on a wire rack for 5 minutes. This allows the juices to redistribute. If you cut into them immediately, the juices will run out, and the meat will be drier. Serve hot, garnished with fresh parsley if you have it.
Expert Tips & Tricks
Here’s everything I’ve learned from making this dozens of times. These tips will save you from my mistakes.
Don’t Skip the Dry Pat
Moisture is the enemy of crispiness. If the pork chops are wet, the flour won’t stick, and the breading will slide off. Pat them dry until the paper towel comes away clean. This simple step makes a huge difference.
Press the Breadcrumbs
When you coat the chops, press the breadcrumbs into the meat. I use my fingers to pack them on. If you’re too gentle, the coating will fall off in the oven. You want it to feel like a little armor around the chop.
Use a Wire Rack (Optional but Recommended)
If you have a wire rack that fits inside your baking sheet, use it. This allows air to circulate underneath the chops, preventing the bottom from getting soggy. I usually just use the sheet, but if I’m feeling fancy, I use the rack.
Check the Temperature
Pork is safe at 145°F, but many people overcook it. Use an instant-read thermometer. Pull them out when they hit 140°F, and they’ll finish cooking while resting. This ensures they’re juicy, not dry.
Don’t Crowd the Pan
Leave space between the chops. If they’re touching, they’ll steam instead of bake, and the coating will get soggy. If you have more chops than fit, bake in two batches. Trust me, it’s worth it.
Variations & Substitutions
Once you’ve nailed the basic version, here’s how you can mix it up. I’ve tried all of these, and they’re all winners.
Spicy Kick
Add 1 teaspoon of cayenne pepper or red pepper flakes to the breadcrumb mixture. This adds a nice heat that cuts through the richness of the pork. My kids love this version with a side of ranch.
Herb Garden
Swap the parsley for dried thyme or rosemary. Or use a mix of both. Thyme pairs beautifully with garlic and pork. It feels more rustic and elegant.
Dairy-Free Option
Skip the Parmesan in the breadcrumbs and use olive oil instead of butter for brushing. The texture will be slightly different, but the flavor is still great.
Gluten-Free
Use gluten-free Panko breadcrumbs and gluten-free flour. Many brands now make great GF Panko that crisps up just as well. I’ve used Nature’s Path and it works perfectly.
Side Dish Pairings
These chops go with almost anything. I often serve them with grilled peach and burrata salad for a light, fresh contrast. Or pair them with roasted potatoes and green beans for a hearty meal. For a fun twist, try them with honey mustard chicken skewers style sides like honey-glazed carrots.
Serving & Storage
I usually serve these straight from the wire rack. They look rustic and stay warm longer that way. Here are some ideas for serving:
- With Mashed Potatoes — The crispy chop dipped in creamy mashed potatoes is heaven.
- With Roasted Vegetables — Broccoli, asparagus, or Brussels sprouts work great.
- With a Simple Salad — A vinaigrette-based salad cuts the richness of the fried coating.
Storage: Store leftovers in an airtight container in the fridge for up to 3 days. The breading will soften, but the flavor remains good.
Reheating: To keep them crispy, reheat in the oven at 375°F for 10 minutes. Avoid the microwave, as it will make the breading chewy. If you must use the microwave, do it for short bursts and finish in a toaster oven.
Freezing: You can freeze the breaded chops before baking. Place them on a baking sheet and freeze until solid, then transfer to a freezer bag. Bake from frozen, adding 5-10 minutes to the cook time. They won’t be quite as crispy as fresh, but still delicious.
Nutrition Information
I’m not a nutritionist, but here’s the breakdown if you’re tracking. These are estimates based on 4 servings.
Per Serving:
- Calories: 450
- Protein: 35g
- Carbs: 25g
- Fat: 22g
- Fiber: 2g
This is a high-protein meal, which is great for keeping you full. The carbs come from the breadcrumbs, so if you’re watching carbs, you can reduce the breadcrumb amount or use almond flour. But honestly, the crispy coating is the best part, so I don’t recommend skipping it entirely.
Final Thoughts
So that’s my go-to crispy oven-fried pork chop recipe! I’ve probably talked your ear off at this point, but when you make a recipe this often, you have a lot to say about it. This has saved weeknight dinners more times than I can count. It’s my answer to “what’s for dinner” when I’m tired, don’t want takeout, and still want something that tastes really good. My kids are happy, my husband’s happy, and I’m happy because I’m not stressed about cooking.
Make it yours! Try different herbs, add some spice, or serve it with your favorite sides. The best recipes are the ones you adapt to your family’s tastes. If you make this, drop a comment and let me know what you think! I love hearing how recipes turn out in your kitchen. And if something doesn’t work, tell me that too—I’m here to help troubleshoot.
Happy cooking! And I hope your kitchen smells half as good as mine does right now.
Frequently Asked Questions
Can I use boneless pork chops?
Yes! Boneless chops cook faster. Start checking the temperature at 12 minutes total cook time. They can dry out quicker than bone-in, so be careful not to overcook them.
Why did my breading fall off?
This usually happens if the chops weren’t dry enough before dredging, or if you didn’t press the breadcrumbs on firmly enough. Make sure to pat them dry and pack the crumbs onto the meat.
Can I air fry these?
Absolutely! These work great in an air fryer. Cook at 375°F for 10-12 minutes, flipping halfway through. They might get even crispier than in the oven. Check my dinner recipes for more air fryer ideas if you love that method.
What temperature should pork chops be cooked to?
The USDA recommends 145°F for pork. Pull them out of the oven when they hit 140°F, as they will continue to cook while resting. This ensures they’re juicy and safe to eat.
Can I make this ahead of time?
You can bread the chops and store them in the fridge for up to 4 hours before baking. Cover them loosely with plastic wrap. Just bring them to room temperature for 15 minutes before baking for even cooking.
What if I don’t have Panko?
You can use regular breadcrumbs, but the texture won’t be as crispy. You might need to add a little more butter to help them brown. Panko is worth the trip to the store, though!
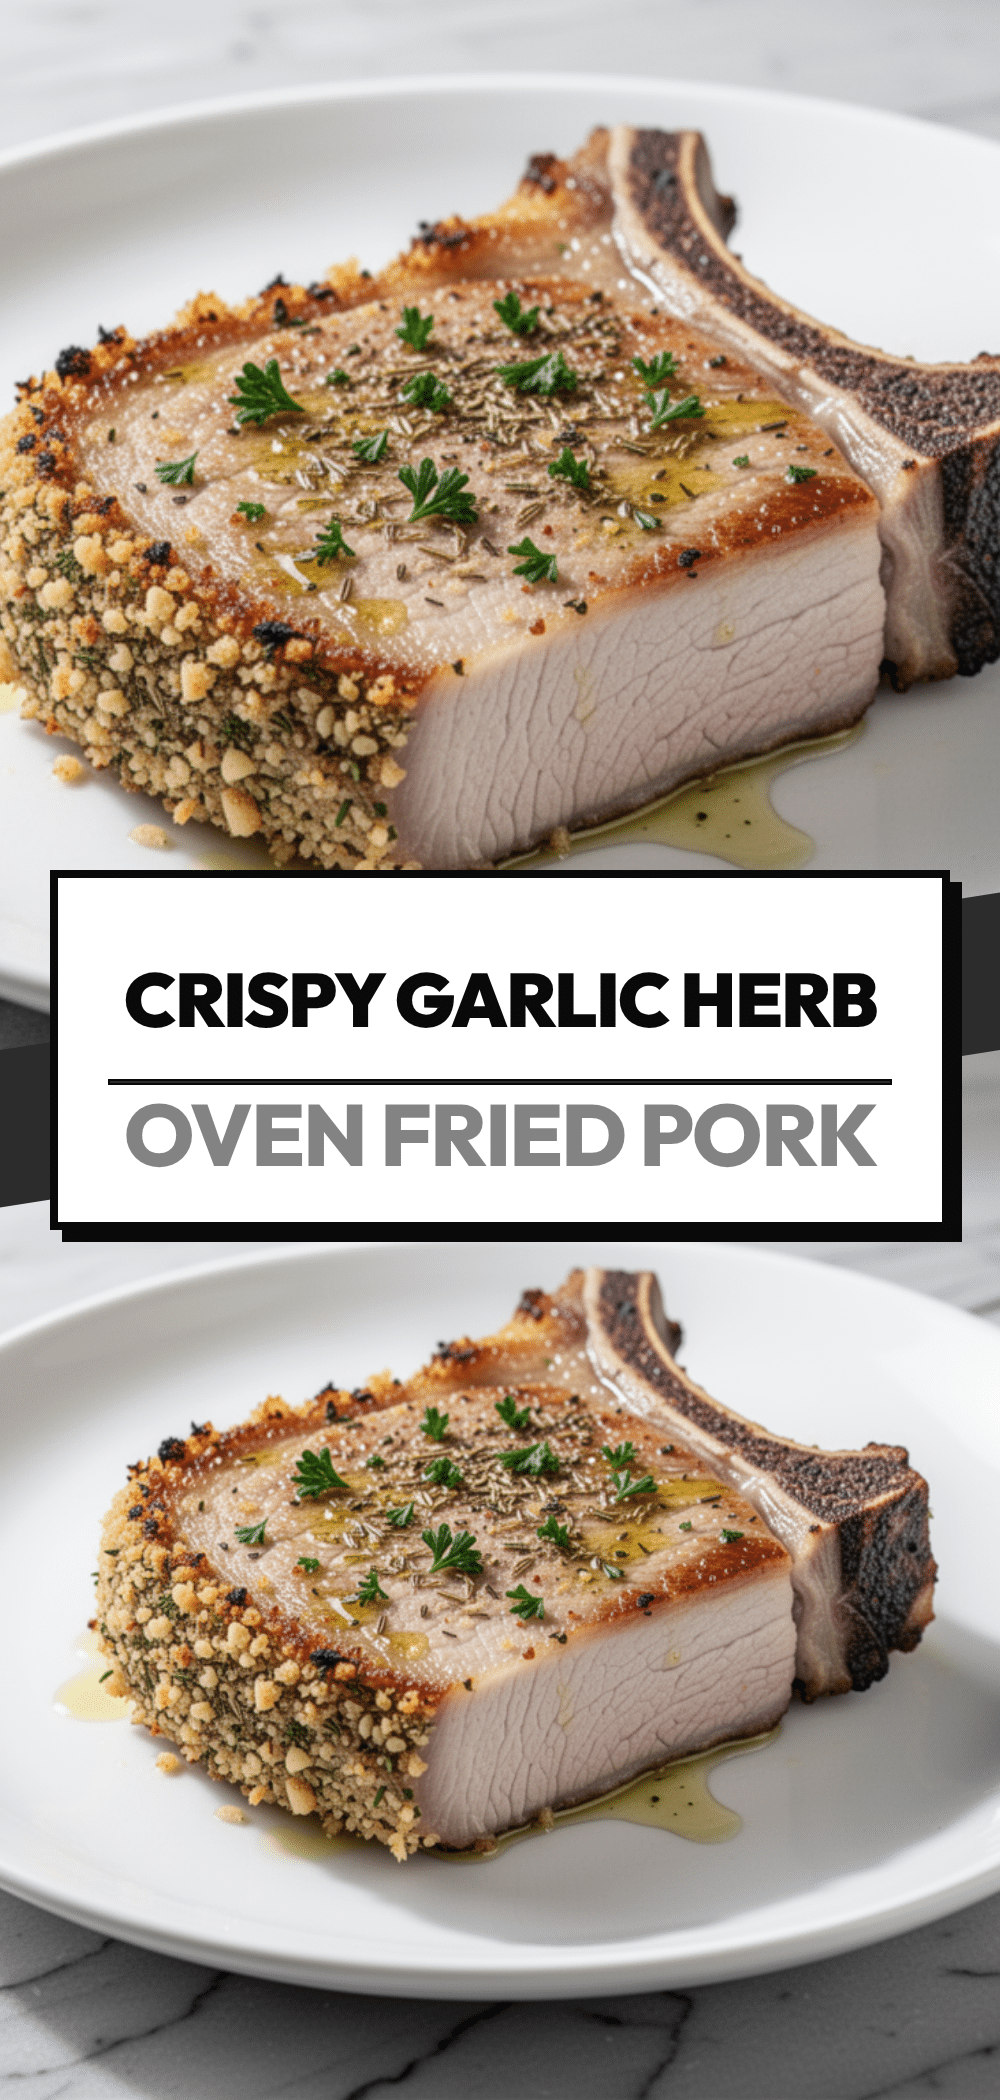
Pin This Recipe!
Crispy Oven-Fried Pork Chops: Easy Air Fryer Recipe
- Total Time: 30 minutes
- Yield: 4 servings 1x
Description
These crispy oven-fried pork chops feature a garlic herb breadcrumb coating that stays shatteringly crisp while the meat remains juicy. This foolproof method delivers restaurant-quality results in about 30 minutes without the mess of deep frying.
Ingredients
- 4 large pork chops (bone-in or boneless, about 1-inch thick)
- 1 teaspoon coarse kosher salt
- 1/2 teaspoon freshly cracked black pepper
- 1/2 cup all-purpose flour
- 2 large eggs
- 1 tablespoon milk
- 1 cup panko breadcrumbs
- 3 cloves garlic, minced finely
- 1 tablespoon dried parsley
- 1 teaspoon garlic powder
- 1/2 teaspoon onion powder
- 1/4 cup grated parmesan cheese
- 2 tablespoons butter, melted
- 1 tablespoon vegetable oil or avocado oil
Instructions
- Pat the pork chops completely dry with paper towels and season both sides generously with kosher salt and black pepper.
- Set up a breading station with three shallow dishes: one with flour, one with beaten eggs mixed with milk, and one with panko breadcrumbs, minced garlic, dried parsley, garlic powder, onion powder, and parmesan cheese mixed together.
- Dredge each chop in flour, shaking off excess, then dip into the egg wash, letting excess drip off.
- Press the chop firmly into the breadcrumb mixture to ensure a thick, even coat, then place on a clean plate.
- Preheat oven to 400°F (200°C) and lightly grease a baking sheet with oil.
- Place breaded chops on the sheet, leaving space between them, and brush tops generously with melted butter.
- Bake for 12 minutes, then flip chops and brush with more butter if desired.
- Bake for another 8-10 minutes until internal temperature reaches 145°F (63°C) and coating is golden brown.
- Remove from oven and let rest on a wire rack for 5 minutes before serving.
Notes
For boneless chops, reduce cook time by 2-3 minutes. Ensure chops are patted dry before breading to prevent coating from sliding off. Press breadcrumbs firmly onto the meat. Do not crowd the pan to ensure crispiness. Pork is safe to eat at 145°F; pull from oven at 140°F as they will continue to cook while resting.
- Prep Time: 10 minutes
- Cook Time: 20 minutes
- Category: Main Course
- Cuisine: American
Nutrition
- Serving Size: 1 pork chop per serv
- Calories: 450
- Sugar: 1
- Sodium: 600
- Fat: 22
- Saturated Fat: 7
- Carbohydrates: 25
- Fiber: 2
- Protein: 35
Keywords: pork chops, oven-fried pork chops, crispy pork chops, air fryer pork chops, garlic herb pork chops, easy dinner, weeknight meals


