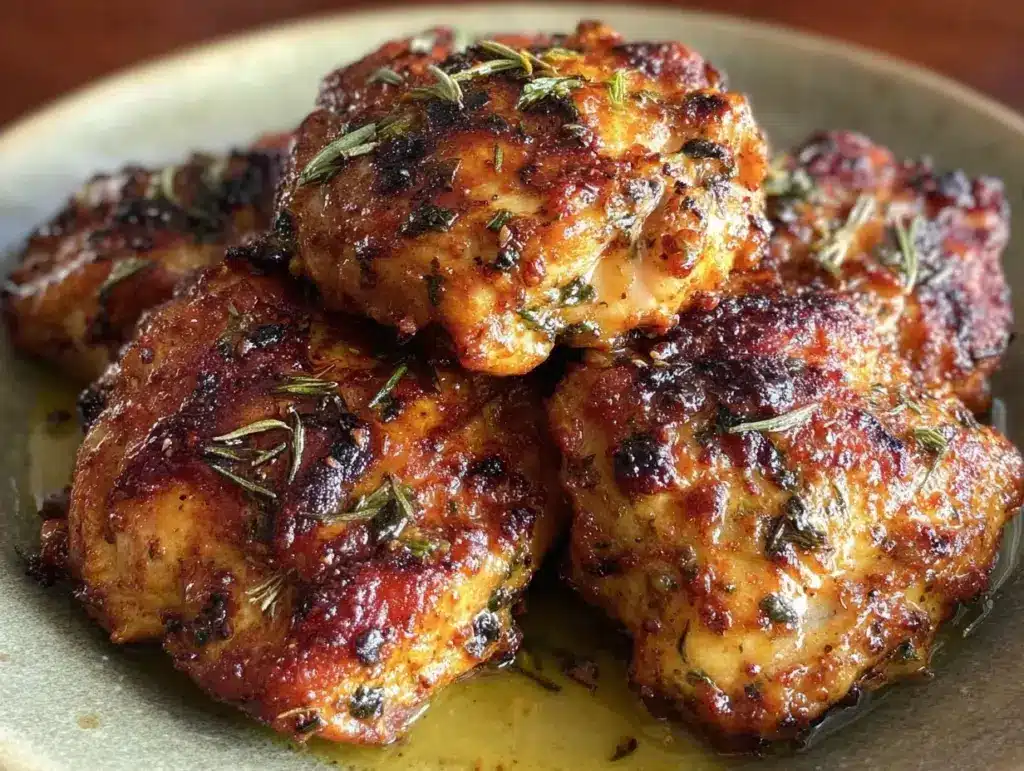
Last month, I stood in my kitchen at 6:30 PM on a Sunday, staring at a Tupperware container that looked like it had seen better days. Inside was chicken breast. Dry, rubbery, gray chicken breast. I had tried to meal prep it on Saturday, but I’d forgotten to check the internal temperature, and by Sunday night, it was basically a shoe leather snack. I was about to order takeout—again—when I remembered I had a bag of boneless, skinless chicken thighs in the freezer. I threw them in the air fryer, set it to 400°F, and walked away. When I came back, the kitchen smelled like a restaurant, and the chicken was juicy enough to make me actually want to eat it.
That was the moment I realized I’d been doing meal prep wrong for years. I was treating chicken thighs like chicken breasts, ignoring their fat content, and assuming they’d dry out. They don’t. Not in the air fryer. Not when you do it right. These juicy air fryer chicken thighs for meal prep are the game-changer I didn’t know I needed. They hold up in the fridge for four days without turning into sad, dry cubes. They reheat beautifully. And honestly? They taste better than the grilled version I used to obsess over.
I’ve made this juicy air fryer chicken thighs for meal prep routine so many times that I can probably do it in my sleep now. It’s become the anchor of my weekly planning. Instead of stressing over what to cook each night, I just pull a container out of the fridge. It’s reliable. It’s flavorful. And it saves me hours of decision fatigue. If you’re tired of dry, boring meal prep chicken, you need to try this method. It’s simple, it’s forgiving, and it actually works.
Why You’ll Love This Meal Prep Strategy
There’s a specific kind of peace that comes from opening your fridge on a Tuesday night and seeing four perfectly portioned containers of food that you already made. No thinking. No chopping. Just heat and eat. This juicy air fryer chicken thighs for meal prep method is designed for exactly that kind of efficiency. Here’s why it’s stuck in my rotation:
- Zero Dry Chicken Ever Again — Chicken thighs have more fat than breasts. In the air fryer, that fat renders out, keeping the meat moist even after three days in the fridge. I’ve tested this extensively. Breast meat? Dry by day two. Thighs? Perfect through day four.
- Set It and Forget It (Mostly) — You don’t need to babysit the air fryer. I can cook a full batch in two cycles while I fold laundry or answer emails. It’s passive cooking at its finest.
- Flavor That Sticks Around — The dry rub I use doesn’t wash off in the fridge. In fact, the flavors meld overnight. By day two, the chicken tastes even better than day one. It’s not just “edible”; it’s delicious.
- Portion Control Made Easy — One pound of chicken yields about four generous servings. I portion them into 4oz containers right after cooking. No guessing. No weighing food every night. Just grab and go.
- Freezer Friendly — This is the big one. I often double or triple this recipe. These thighs freeze beautifully for up to three months. I have a “backup batch” in the freezer for weeks when I’m too busy to cook.
This is my go-to when dinner needs to just work. It’s not fancy. It’s not complicated. But it’s consistent. And in the world of meal prep, consistency is everything.
Key Ingredients for Juicy Results
You don’t need a fancy pantry to make this work. In fact, simplicity is the secret. Here’s what I use, why I use it, and how to swap if needed.
Chicken Thighs (2 lbs / 907g) — Boneless, skinless is my preference for meal prep because it’s easier to portion. But if you can find bone-in, skin-on thighs, go for it. Just remove the skin and bones before storing. The skin adds flavor during cooking, but you don’t want soggy skin in your Tupperware. Look for thighs that are uniform in size so they cook evenly.
Smoked Paprika (1 tbsp / 15g) — This is non-negotiable for me. It gives that deep, smoky flavor without needing a grill. It’s what makes the chicken taste “cooked” rather than “boiled.” If you don’t have smoked paprika, regular paprika works, but you’ll miss that depth.
Garlic Powder (1 tsp / 3g) — Fresh garlic burns in the air fryer at high heat. Powder stays put and creates a nice crust. Use the good stuff, not the dusty shaker from the back of your cabinet. I use McCormick, but any brand works.
Onion Powder (1 tsp / 3g) — Adds sweetness and savory depth. It balances the saltiness of the rub. Don’t skip this; it’s subtle but essential for a well-rounded flavor profile.
Ground Cumin (1/2 tsp / 1.5g) — A little cumin adds warmth and complexity. It’s not enough to make the chicken taste like curry, but it adds a background note that makes the seasoning feel professional.
Sea Salt (1.5 tsp / 9g) — I use kosher salt or sea salt. Table salt is too fine and can make the chicken too salty if you’re not careful. Season generously. Chicken thighs can handle it.
Black Pepper (1/2 tsp / 1g) — Freshly cracked is best. It adds a little heat and visual contrast. I usually grind it fresh from a mill.
Avocado Oil (1 tbsp / 15ml) — I use avocado oil because it has a high smoke point. Olive oil works too, but extra virgin can sometimes smoke in the air fryer. Oil helps the spices stick and promotes browning.
Tools Needed
You don’t need fancy equipment. Here’s what I use to make this process seamless.
Air Fryer — I use a 5.8-quart basket style. It’s the sweet spot for cooking 2 lbs of chicken in two batches. If you have a smaller air fryer, you’ll need to cook in three batches. Don’t overcrowd the basket; that’s the #1 mistake people make.
Mixing Bowls — I use a medium bowl to toss the chicken with oil and spices. It’s easier than doing it in the bag or on a plate.
Meat Thermometer — This is crucial for meal prep. You want to ensure every piece hits 165°F (74°C). I use an instant-read thermometer. It takes 5 seconds and guarantees safety.
Meal Prep Containers — I use glass containers with dividers. Glass doesn’t stain, and dividers help me keep my veggies separate from the chicken. Plastic works fine if you’re careful, but glass is easier to clean and lasts longer.
How to Make Juicy Air Fryer Chicken Thighs
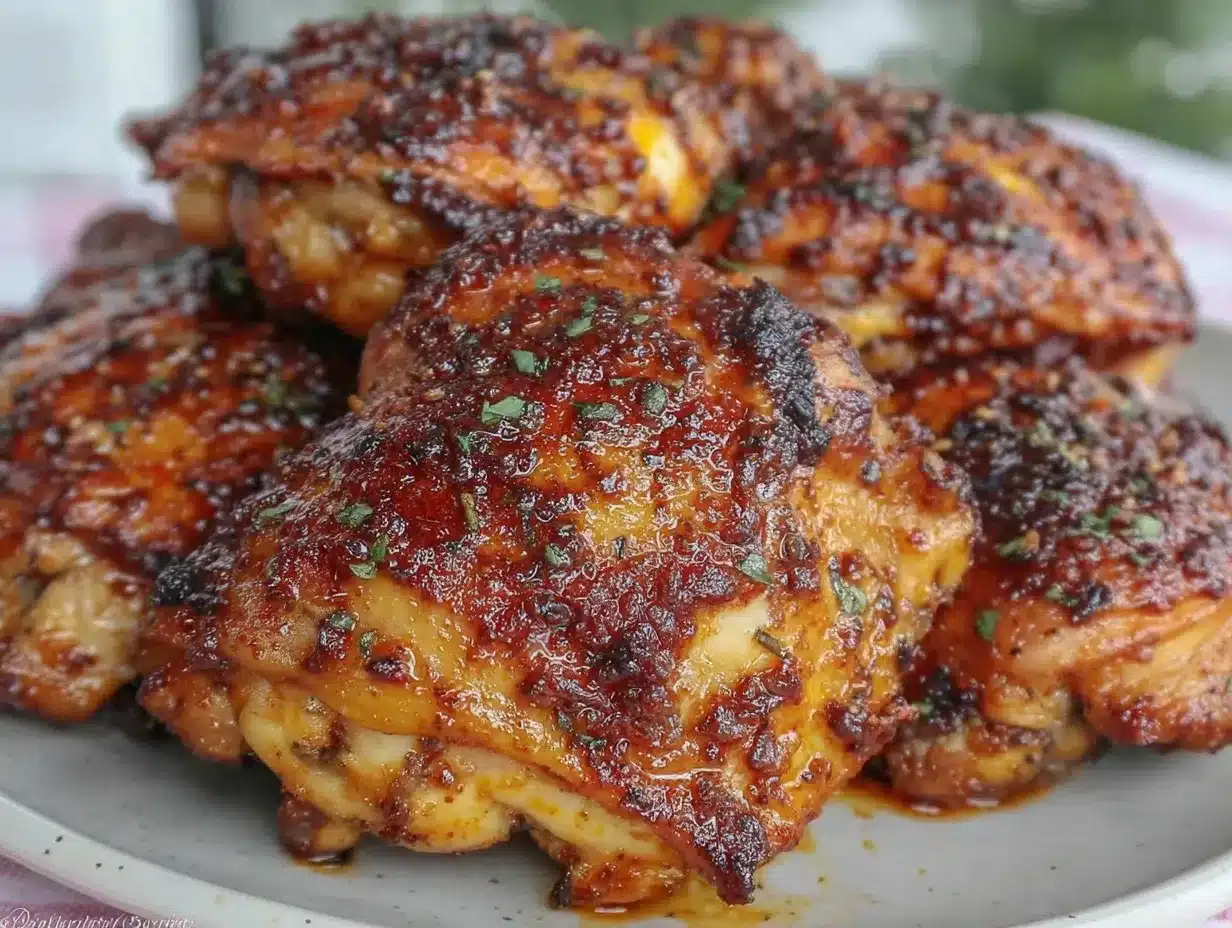
Let’s get into the weeds. This is the exact process I follow every Sunday. It’s methodical, but it’s quick.
Step 1: Prep the Chicken (5 minutes)
Pat your chicken thighs dry with paper towels. This seems minor, but it’s critical. Moisture is the enemy of browning. If the chicken is wet, it steams instead of roasting. I lay them out on a plate and blot them thoroughly. Once they’re dry, place them in a medium bowl.
Step 2: Season Generously (5 minutes)
Drizzle 1 tablespoon of avocado oil over the chicken. Then add 1 tablespoon smoked paprika, 1 teaspoon garlic powder, 1 teaspoon onion powder, 1/2 teaspoon cumin, 1.5 teaspoons sea salt, and 1/2 teaspoon black pepper. Toss everything with your hands until every piece is evenly coated. I like to massage the spices into the meat for a minute. It helps the flavors penetrate. Let it sit while you preheat the air fryer.
Step 3: Preheat the Air Fryer (3 minutes)
Preheat your air fryer to 400°F (200°C). This step is often skipped, but it ensures the chicken starts cooking immediately, locking in juices. A cold air fryer leads to steaming. I use a 5.8-quart basket, so I can fit about 1 lb of chicken per batch.
Step 4: Cook the First Batch (18 minutes)
Arrange the first batch of chicken thighs in the air fryer basket in a single layer. Do not overlap them. If they touch, they won’t brown evenly. Cook at 400°F (200°C) for 18 minutes. Halfway through (around 9 minutes), flip the thighs. This ensures even cooking on both sides. The chicken is done when the internal temperature reaches 165°F (74°C). I check the thickest piece first.
Step 5: Cook the Second Batch (18 minutes)
Remove the cooked chicken to a plate. Let it rest for 2 minutes while you load the second batch. Cook for another 18 minutes at 400°F, flipping halfway. Again, check the temperature. If some pieces are smaller, they might cook faster. Trust your thermometer.
Step 6: Cool and Portion (10 minutes)
Let the chicken cool completely before storing. This is important. If you put hot chicken in containers, condensation will form, making the chicken soggy and potentially unsafe. I spread the thighs on a baking sheet to cool faster. Once cool, portion them into containers. Aim for 4oz per container. This is a standard serving size and fits most meal prep plans.
Total Time: About 50 minutes from start to finish. Most of that is active prep, but the air fryer does the heavy lifting.
Expert Tips from a Serial Meal Prepper
Here’s everything I learned from making this too many times. Some of these are hard-learned lessons.
The Game-Changers
Don’t Overcrowd the Basket
This is the #1 reason people fail with air fryer chicken. If the pieces are touching, they steam. I’ve made this mistake twice, and the result was pale, steamed chicken. Always leave space. If you have a small air fryer, cook in smaller batches. It’s worth the extra time.
Rest Before Storing
I used to rush this step. I’d put hot chicken in Tupperware and wonder why it got mushy by Wednesday. Resting allows the juices to redistribute. Cooling completely prevents condensation. Patience pays off.
Use a Thermometer
I used to guess. I used to cut into a piece to check. Now I use an instant-read thermometer. It takes 5 seconds and ensures every piece is safe and juicy. Don’t skip this.
Common Problems & Solutions
Chicken is Dry — You probably overcooked it. Air fryers vary. If your model runs hot, check at 16 minutes. Also, ensure you’re using thighs, not breasts.
Chicken is Soggy — You didn’t pat it dry, or you stored it while hot. Dry the chicken thoroughly. Cool it completely before sealing.
Spices Burnt — Your air fryer might be too hot, or you cooked it too long. Check your temperature. If spices are burning, lower the heat to 390°F.
Pro Tricks
Double the Batch — I often cook 4 lbs at once. I freeze half immediately. It saves time later. Just cool completely, then freeze in a single layer on a baking sheet before bagging.
Add Acid Before Serving — A squeeze of lemon juice or a dash of hot sauce right before eating brightens the flavor. The chicken tastes best with a little acidity.
Recipe Variations
Once you’ve nailed the basic version, here’s how to mix it up.
BBQ Style
Swap the dry rub for 1/4 cup of your favorite BBQ sauce. Toss the chicken in the sauce before cooking. It gets sticky and caramelized. I love this version with smoked sausage pepper skewers on the side.
Honey Garlic
Mix 2 tablespoons honey, 1 tablespoon soy sauce, and 1 minced garlic clove. Toss the chicken in this glaze. It’s sweet and savory. Similar to the flavor profile of game day honey garlic chicken wings, but in thigh form.
Spicy Cajun
Add 1 teaspoon cayenne pepper and 1 teaspoon Cajun seasoning to the dry rub. It adds a kick that wakes up your palate. Great with loaded baked potato salad.
Herb Lemon
Swap paprika for dried oregano and thyme. Add lemon zest to the rub. It’s lighter and fresher. Pairs well with easy watermelon feta skewers.
Dairy-Free Option
This recipe is naturally dairy-free. Just ensure your spices don’t contain anti-caking agents with dairy.
Gluten-Free Option
This recipe is naturally gluten-free. Just check your spice labels to be sure.
Serving & Storage
Serving:
I serve these chicken thighs with roasted vegetables, quinoa, or rice. They’re versatile. I like to add a side of slow cooker pulled chicken sliders inspiration, but deconstructed. Top with fresh herbs or a drizzle of ranch.
Storage:
Refrigerator: Store in airtight containers for up to 4 days. The flavor actually improves on day two.
Freezer: Freeze for up to 3 months. Thaw in the fridge overnight. Reheat in the microwave or air fryer at 350°F for 5 minutes to crisp up.
Room Temp: Do not leave out for more than 2 hours.
I’m honest: This doesn’t freeze well if you add sauce before freezing, as it can get watery. Freeze plain, add sauce later.
Nutrition Information
I’m not a nutritionist, but here’s the breakdown per serving (4oz chicken, no added sides):
| Nutrient | Amount |
|---|---|
| Calories | 220 |
| Protein | 25g |
| Carbs | 1g |
| Fiber | 0g |
| Fat | 13g |
| Sodium | 450mg |
My Take: This is high-protein, low-carb comfort food. It’s not “diet” food, but it’s nutrient-dense. I know exactly what’s in it. No hidden sugars or preservatives.
Final Thoughts
If you make this juicy air fryer chicken thighs for meal prep, drop a comment! I love hearing how it turns out in your kitchen. Have you tried air frying chicken thighs before? Did you know they hold up so well in the fridge? This method has saved my weeknight dinners more times than I can count. It’s not about perfection; it’s about consistency. And this recipe delivers. Happy cooking!
FAQs
Q: Can I use chicken breasts instead of thighs?
A: You can, but they will dry out faster. Thighs have more fat, which keeps them moist during reheating. If you must use breasts, reduce cooking time by 2-3 minutes and store for only 2-3 days.
Q: How do I reheat these chicken thighs?
A: The best way is in the air fryer at 350°F for 5 minutes. It crisps them up. Microwave works too, but it can make them rubbery. Cover with a damp paper towel if microwaving.
Q: Can I freeze the seasoned chicken before cooking?
A: Yes! Season them, freeze them on a baking sheet, then bag them. Cook from frozen, adding 5-7 minutes to the cook time. This is great for “cook once, eat later” planning.
Q: Why is my chicken sticking to the basket?
A: Your air fryer might need more oil, or the basket isn’t non-stick. Lightly spray the basket with oil before adding chicken. Also, ensure you’re not overcrowding.
Q: Can I make this in a conventional oven?
A: Yes. Bake at 400°F for 25-30 minutes, flipping halfway. It takes longer, but the result is similar. Air frying just speeds it up and crisps the skin better.
Pin This Recipe!
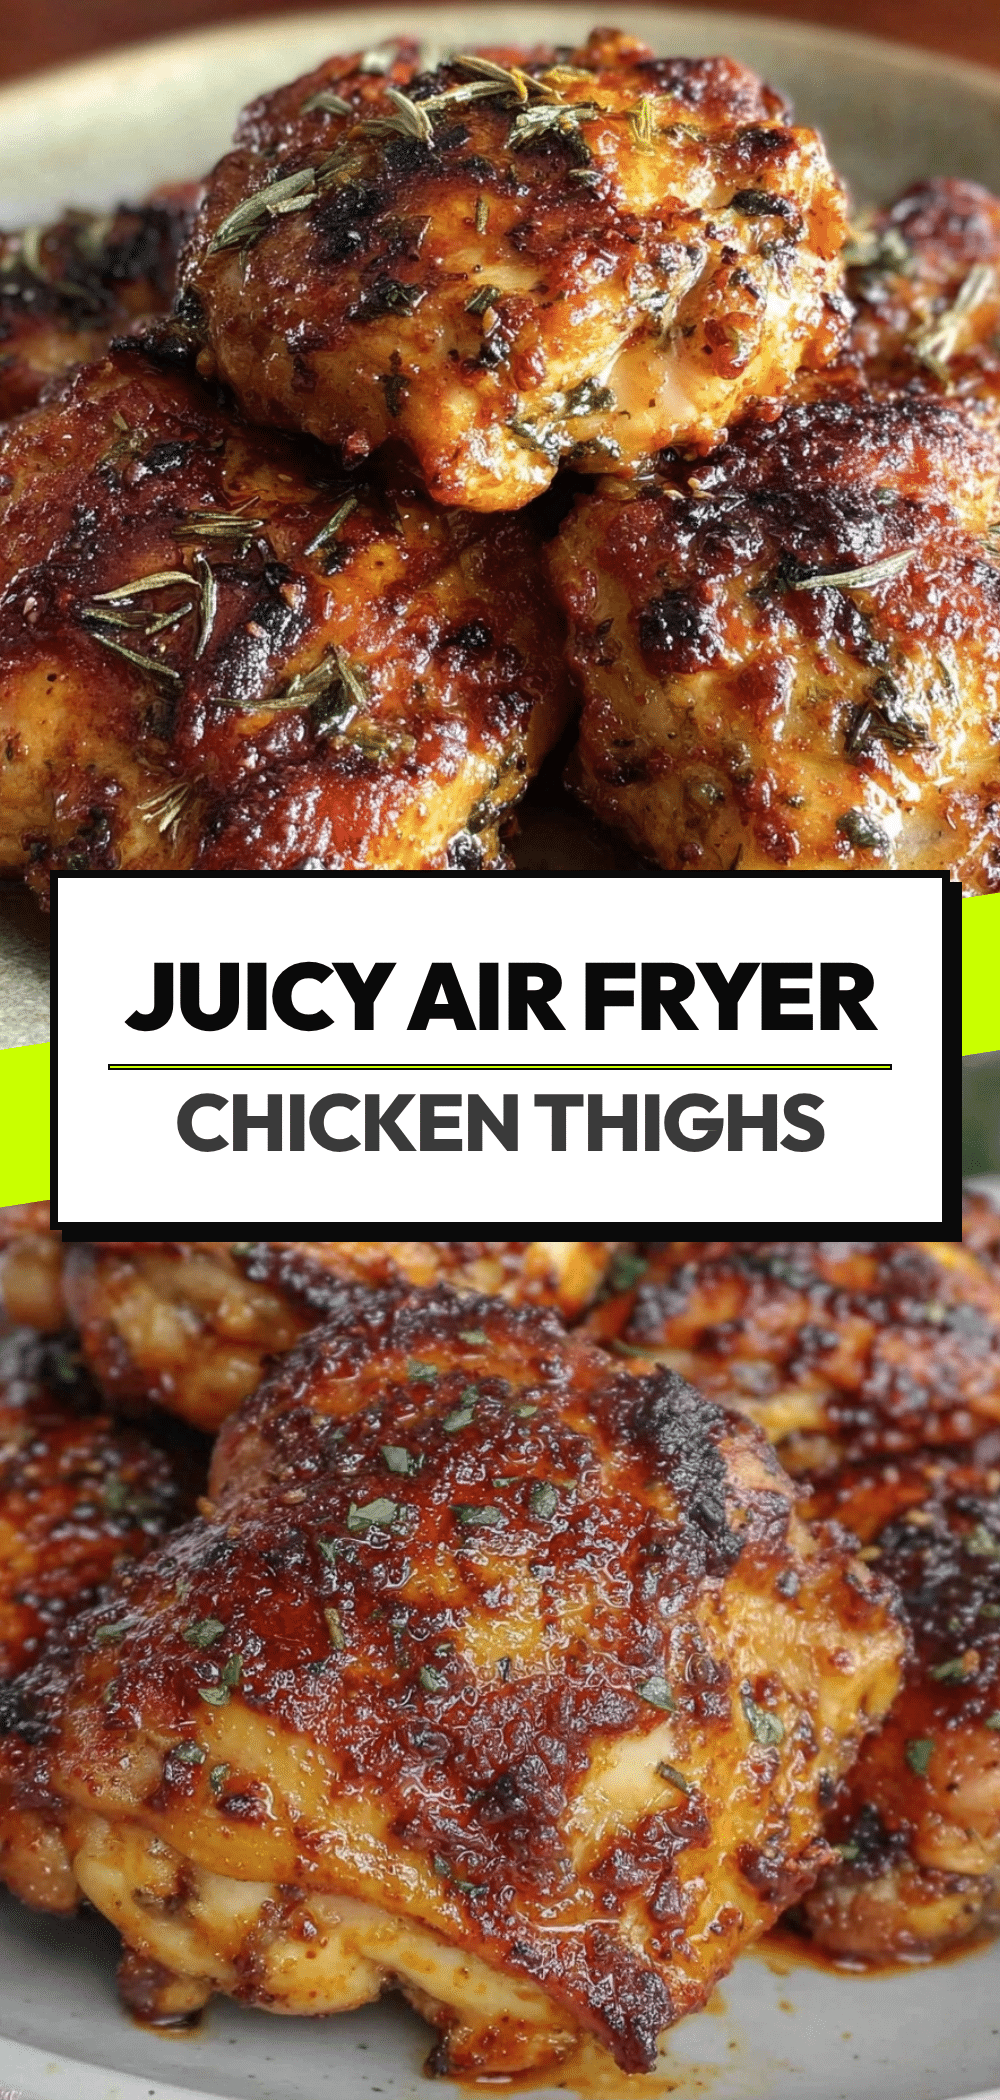
Air Fryer Chicken Thighs: Easy Meal Prep for Busy Weeks
- Total Time: 50 minutes
- Yield: 4 servings 1x
Description
Juicy, flavorful air fryer chicken thighs that are perfect for meal prep. This method ensures moist meat that stays tender for up to four days in the fridge or three months in the freezer.
Ingredients
- 2 lbs boneless, skinless chicken thighs
- 1 tbsp avocado oil
- 1 tbsp smoked paprika
- 1 tsp garlic powder
- 1 tsp onion powder
- 1/2 tsp ground cumin
- 1.5 tsp sea salt
- 1/2 tsp black pepper
Instructions
- Pat chicken thighs dry with paper towels to ensure browning and place in a medium bowl.
- Drizzle avocado oil over the chicken, then add smoked paprika, garlic powder, onion powder, cumin, sea salt, and black pepper.
- Toss and massage the spices into the meat until every piece is evenly coated.
- Preheat air fryer to 400°F (200°C).
- Arrange the first batch of chicken in the air fryer basket in a single layer without overlapping.
- Cook at 400°F for 18 minutes, flipping the thighs halfway through (around 9 minutes).
- Remove cooked chicken to a plate and let rest for 2 minutes while loading the second batch.
- Cook the second batch for another 18 minutes at 400°F, flipping halfway.
- Ensure internal temperature reaches 165°F (74°C) using a meat thermometer.
- Let chicken cool completely before portioning into containers (approx. 4oz per serving) to prevent condensation.
Notes
Do not overcrowd the air fryer basket; cook in batches if necessary. Patting the chicken dry is crucial for browning. Let the chicken cool completely before storing to avoid sogginess. For variations, try BBQ sauce, honey garlic glaze, or Cajun seasoning. Can be frozen for up to 3 months.
- Prep Time: 10 minutes
- Cook Time: 36 minutes
- Category: Main Course
- Cuisine: American
Nutrition
- Serving Size: 4oz chicken thighs
- Calories: 220
- Sodium: 450
- Fat: 13
- Saturated Fat: 3.5
- Carbohydrates: 1
- Protein: 25
Keywords: air fryer chicken thighs, meal prep chicken, juicy chicken thighs, healthy meal prep, high protein dinner, air fryer recipes, batch cooking


