 SEO Title Tag: Fall Pumpkin Cheesecake Bars: The Easiest Fall Dessert
Meta Description: These pumpkin cheesecake bars are the easiest fall dessert to make. Simple ingredients, no water bath, and a foolproof graham cracker crust you’ll love.
URL Slug: /fall-pumpkin-cheesecake-bars/
There is a specific kind of magic that happens in October. The air gets crisp, your coffee tastes better, and suddenly, every kitchen in the neighborhood smells like cinnamon and warm spices. For me, that scent always leads to one thing: pumpkin.
I used to think making cheesecake was this intimidating, high-stakes culinary performance. You know the drill—water baths, springform pans that leak, cracks that ruin the whole thing, and a level of precision that felt like it belonged in a professional pastry kitchen, not my Tuesday night dining room. I spent years buying store-bought cheesecakes, convinced that homemade was just too much work for a weeknight.
Then I stopped trying to make a “fancy” New York-style cheesecake and started making these bars instead.
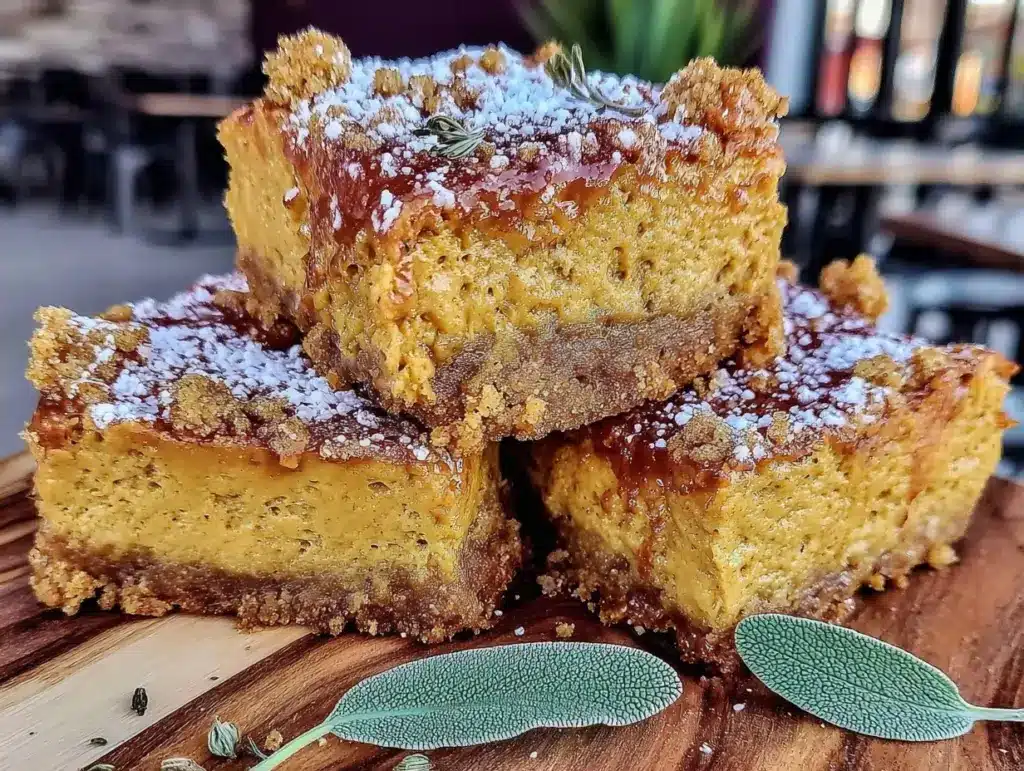
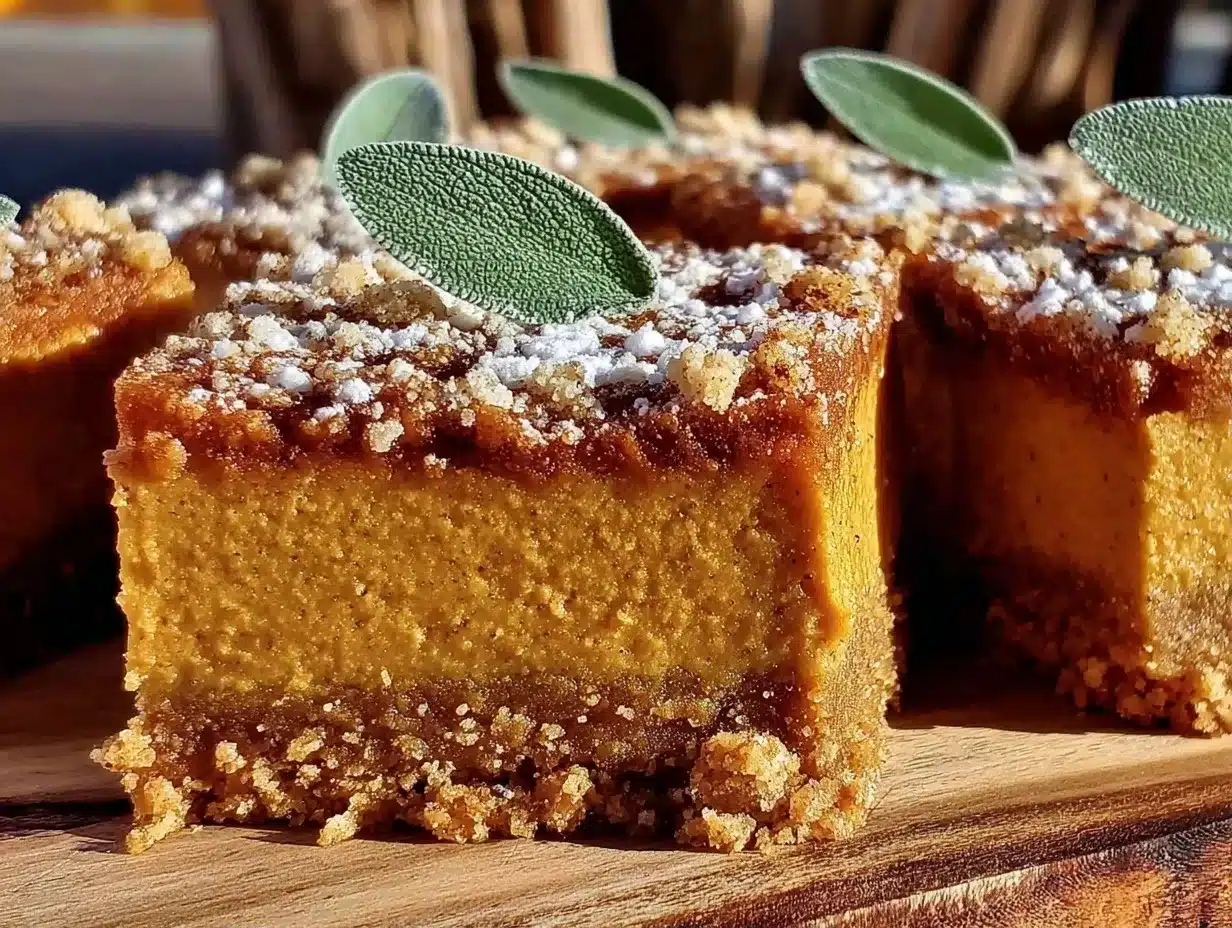
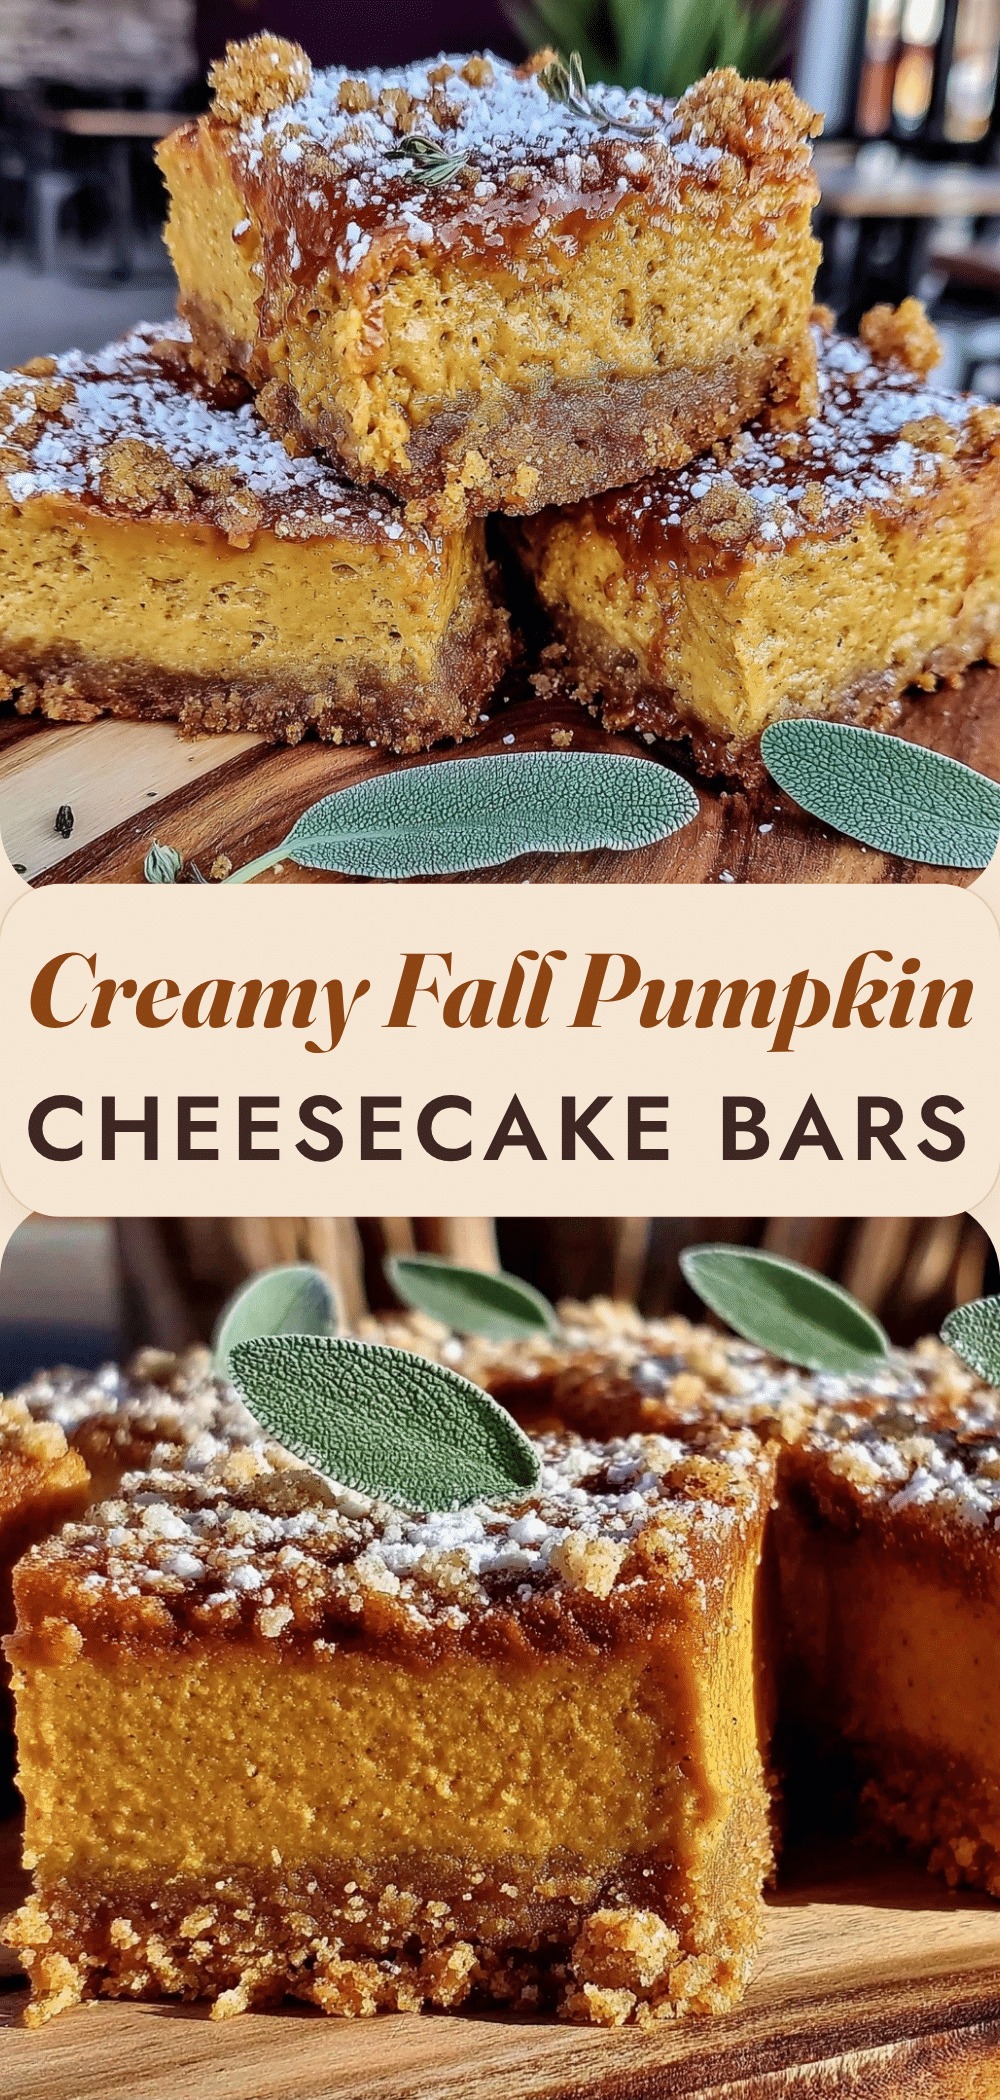
These fall pumpkin cheesecake bars are different. They don’t require a water bath. They don’t need a springform pan that might leak batter all over your oven floor. They are baked in a standard 9×13 dish, cut into neat squares, and served with a fork. They are forgiving, simple, and honestly? They taste just as rich and creamy as the fancy stuff, but with a fraction of the stress.
If you can only make one dessert this season, make these. You really can’t mess this up. I’ve tested this method so many times—mostly because my family keeps asking for seconds—that I can guarantee the texture will be smooth, the flavor will be perfectly spiced, and the graham cracker crust will hold together without falling apart.
This is the dessert that turns a regular Tuesday into a little celebration. Let’s get baking.
### Quick Facts
* **Prep Time:** 15 minutes
* **Cook Time:** 50-55 minutes
* **Total Time:** 1 hour 5 minutes (plus cooling/chilling time)
* **Servings:** 12-16 bars
* **Course:** Dessert
* **Cuisine:** American
*(Note: If your site uses a recipe card plugin, feed these fields into it directly — that’s what generates the schema markup Google needs. This article’s HTML intentionally doesn’t include schema tags itself.)*
## Why You’ll Love This Recipe
I know what you’re thinking: “Another pumpkin recipe?” But hear me out. This isn’t just pumpkin puree mixed with cake mix. This is a proper, creamy, custard-like cheesecake filling that highlights the pumpkin flavor without being overly sweet or cloying.
Here is why these bars win every time:
* **One-Bowl Simplicity:** You don’t need a stand mixer if you don’t want to use one. A hand mixer or even a sturdy whisk works fine. The batter comes together in a single bowl, which means less cleanup and less chance of forgetting an ingredient.
* **The Crust That Actually Stays Put:** One of the biggest headaches with cheesecake is a soggy or crumbly crust. I’ve tweaked the ratio of butter to graham crackers so it bakes into a firm, buttery base that holds up even when you cut it into messy, late-night slices.
* **No Water Bath Required:** This is the game-changer. Traditional cheesecakes crack because they cook too fast or unevenly. By baking these bars at a moderate temperature and letting them cool slowly in the oven, you get a smooth top without the hassle of wrapping your pan in foil or dealing with a hot water bath.
* **Make-Ahead Friendly:** These bars actually taste better the next day. The flavors meld together, the texture firms up, and they keep in the fridge for up to five days. This makes them the ultimate stress-free dessert for hosting.
## Ingredients You’ll Need
You probably have most of these in your pantry right now. That’s the beauty of this recipe. It relies on standard, accessible ingredients to create something that tastes like it took hours to perfect.
**For the Graham Cracker Crust:**
* **1 ½ cups graham cracker crumbs:** Don’t buy the pre-crushed stuff if you can avoid it. It’s often too fine and dusty. Just take a sleeve of graham crackers, put them in a ziplock bag, and crush them with a rolling pin. It takes two minutes and tastes fresher.
* **¼ cup granulated sugar:** This adds a little sweetness to balance the salty butter.
* **6 tablespoons unsalted butter, melted:** Real butter is non-negotiable here. It provides the fat that binds the crust together. Margarine will make it greasy and sad.
**For the Pumpkin Cheesecake Filling:**
* **2 packages (16 oz total) full-fat cream cheese, softened:** This is the most important ingredient. Do not use light cream cheese. It won’t set properly and will be runny. Take it out of the fridge 30 minutes before you start so it’s soft enough to mix but not warm.
* **1 can (15 oz) 100% pure pumpkin puree:** Not pumpkin pie filling. Pie filling has sugar and spices already added, which will throw off the balance. You want plain, unsweetened pumpkin puree.
* **1 cup granulated sugar:** The filling needs a good amount of sugar to balance the earthiness of the pumpkin and the tang of the cream cheese.
* **½ cup brown sugar, packed:** This adds a deeper, molasses-like flavor that pairs beautifully with the fall spices.
* **2 large eggs:** Room temperature eggs mix more evenly and help create a smooth, uniform texture.
* **1 teaspoon vanilla extract:** Pure vanilla makes a huge difference. If you have it, use it.
* **1 ½ teaspoons pumpkin pie spice:** This blend usually includes cinnamon, ginger, nutmeg, and allspice. If you don’t have pumpkin pie spice, you can make your own with 1 tsp cinnamon, ½ tsp ginger, ¼ tsp nutmeg, and a pinch of cloves.
* **½ teaspoon salt:** Salt is crucial. It cuts through the sweetness and makes the pumpkin flavor pop.
## Equipment Needed
You don’t need much fancy gear for this. Here is what you’ll need:
* **9×13 inch baking pan:** A standard metal or glass pan works best. Line it with parchment paper, leaving an overhang on the long sides. This is your “lifting sling” so you can pull the bars out later for clean cuts.
* **Medium mixing bowl:** For the crust.
* **Large mixing bowl:** For the filling.
* **Electric hand mixer or stand mixer:** To beat the cream cheese smoothly.
* **Rubber spatula:** For scraping down the sides of the bowl.
* **Pastry brush or paper towel:** To brush the top of the cheesecake with simple syrup (optional, but helps prevent cracking).
## How to Make It: Step-by-Step
Making these bars is straightforward, but there are a few tricks to ensure that perfect texture.
**1. Prep the Oven and Pan**
Preheat your oven to 350°F (175°C). Line your 9×13 baking pan with parchment paper. Let the paper hang over the edges of the pan like handles. This is essential for getting the bars out later without sticking.
**2. Make the Crust**
In a medium bowl, mix the graham cracker crumbs, sugar, and melted butter. Stir until it looks like wet sand. Press this mixture firmly into the bottom of your prepared pan. Use the bottom of a measuring cup to pack it down tight. You want it even and compact.
**3. Blind Bake the Crust**
Bake the crust for 8-10 minutes. This step is crucial—it sets the crust so it doesn’t get soggy when you add the wet filling. While it bakes, get your cream cheese ready.
**4. Beat the Cream Cheese**
In a large bowl, beat the softened cream cheese until it is completely smooth and creamy. Scrape down the sides of the bowl. This should take about 2-3 minutes. If there are any lumps, your bars will have lumps.
**5. Add the Sugar and Pumpkin**
Add the granulated sugar, brown sugar, and pumpkin puree to the cream cheese. Beat on low speed until just combined. Don’t overmix once the pumpkin is in, or you’ll incorporate too much air, which can lead to cracks.
**6. Mix in Eggs and Spices**
Add the eggs one at a time, mixing on low speed just until incorporated. Add the vanilla, pumpkin pie spice, and salt. Mix briefly until smooth. The batter should be thick and orangey-yellow.
**7. Assemble and Bake**
Pour the filling over the hot crust. Smooth the top with a spatula. Bake for 45-55 minutes. The edges should be set, but the center should still have a slight jiggle when you gently shake the pan. It will firm up as it cools.
**8. The Cooling Process**
Turn off the oven and crack the door open slightly. Let the bars sit in the cooling oven for 1 hour. This gradual cooling prevents cracks. Then, remove them and let them cool completely at room temperature before refrigerating.
**How do you know when the center is done?**
Look for the edges to be puffed and set, while the center 2 inches still move slightly like Jell-O. It will firm up in the fridge. If it’s completely firm in the oven, it’s overbaked and will be dense.
**Total Active Time:** 15 minutes
**Total Time:** 1 hour 5 minutes (plus cooling)
## Expert Tips & Tricks
* **Room Temperature is Key:** I can’t stress this enough. If your cream cheese is cold, you will get lumps. If your eggs are cold, they might curdle the batter. Take everything out of the fridge an hour before you start.
* **Don’t Overmix:** Once you add the eggs, mix gently. Overmixing incorporates air bubbles. As the cheesecake bakes, those bubbles rise to the surface and expand, then collapse as it cools, causing cracks. We want a dense, creamy texture, not a fluffy soufflé.
* **The Simple Syrup Trick:** If you’re worried about cracks, brush the top of the cheesecake with a little simple syrup (equal parts sugar and water, heated until dissolved) right after it comes out of the oven. The moisture helps keep the surface supple as it cools.
* **Use a Sharp Knife:** When cutting the bars, dip your knife in hot water and wipe it dry between each cut. This ensures clean, neat squares without dragging the filling.
## Variations & Substitutions
* **Gluten-Free:** You can easily make these gluten-free by using gluten-free graham crackers or a gluten-free oat crust. The filling is naturally gluten-free, so just swap the crumbs.
* **Dairy-Free:** Use vegan cream cheese blocks (like Kite Hill or Miyoko’s) and vegan butter. Note that vegan cream cheese can sometimes be softer, so you might need to chill the bars for longer to set properly.
* **Spice Variation:** If you don’t like pumpkin pie spice, try using just cinnamon and a pinch of nutmeg. Or, add a tablespoon of maple syrup to the filling for a deeper, autumnal flavor.
* **Toppings:** These bars are great plain, but if you want to dress them up, top with a dollop of whipped cream or a drizzle of caramel sauce. A sprinkle of flaky sea salt on top right before serving also elevates the flavor.
## Serving & Storage
**How long do pumpkin cheesecake bars last?**
These bars last up to 5 days in the refrigerator, stored in an airtight container. They actually taste better on day two as the flavors meld.
**Can you freeze pumpkin cheesecake bars?**
Yes! You can freeze the baked and cooled bars for up to 3 months. Wrap them tightly in plastic wrap and then aluminum foil. Thaw them in the fridge overnight before serving.
**Serving Suggestion:**
Serve these bars chilled. They pair wonderfully with a cup of hot coffee or tea. For a festive touch, garnish with a small sprig of rosemary or a dusting of cinnamon.
## Nutrition Information
*Note: Nutrition information is an estimate and will vary based on specific brands used and exact measurements. For precise dietary tracking, use a recipe calculator plugin.*
| Nutrient | Amount per Bar (approx. 1/12 of pan) |
| :— | :— |
| Calories | 320 kcal |
| Total Fat | 22g |
| Saturated Fat | 13g |
| Cholesterol | 75mg |
| Sodium | 280mg |
| Total Carbohydrates | 28g |
| Dietary Fiber | 1g |
| Sugars | 22g |
| Protein | 5g |
## Final Thoughts
There is something deeply comforting about a slice of pumpkin cheesecake. It tastes like home, like family gatherings, and like the season turning. These bars take all that warmth and pack it into a simple, easy-to-make format that doesn’t require a degree in pastry arts.
I promise you, once you make these, you’ll wonder why you ever bought the pre-sliced stuff. They are creamy, spiced, and perfectly sweet. And if you make a mess? Well, it’s just part of the fun. No judgment here.
If you try this recipe, I’d love to hear how it turned out. Did you add any extra toppings? Did your family devour them in one sitting? Let me know in the comments below. And if you’re looking for other easy, no-fuss desserts, check out my fluffy Japanese souffle pancakes for a weekend brunch treat, or my red, white, and blue berry trifle for a summer alternative.
Happy baking!
## Frequently Asked Questions
**Can I use canned pumpkin pie filling instead of pure pumpkin puree?**
No, do not use pumpkin pie filling. It already contains sugar, spices, and thickeners, which will make the cheesecake too sweet and alter the texture. You need plain, unsweetened 100% pure pumpkin puree.
**Why did my cheesecake bars crack?**
Cracks usually happen due to overmixing (which incorporates too much air) or baking at too high a temperature. To prevent this, mix the batter gently after adding the eggs, bake at 350°F, and let the bars cool slowly in the turned-off oven with the door cracked open.
**Can I make these bars ahead of time?**
Absolutely. These bars are even better the next day. You can make them up to 3 days in advance. Store them in the refrigerator in an airtight container until ready to serve.
**What is the best way to cut the bars for clean edges?**
Use a sharp knife and dip it in hot water between each cut. Wipe the knife dry with a paper towel before the next cut. This prevents the creamy filling from sticking to the blade and tearing the bars.
**Can I use a springform pan for this recipe?**
You can, but it’s not necessary. A 9×13 pan is easier for bars because you can lift them out with parchment paper. If you use a springform pan, you may need to adjust the baking time slightly, as the depth of the batter will be different.
**How do I know when the bars are done baking?**
The edges should be set and slightly puffed, but the center should still have a slight jiggle when you gently shake the pan. It will firm up as it cools in the fridge. If the center is completely firm in the oven, it is likely overbaked.
**Can I freeze these cheesecake bars?**
Yes, they freeze well for up to 3 months. Wrap them tightly in plastic wrap and aluminum foil. Thaw them in the refrigerator overnight before serving.
Consider linking to 2-3 related recipes on your site here (e.g. similar dishes, other [protein/cuisine] recipes) — internal links to relevant content help both ranking and time-on-site.
Pin This Recipe!
Fall Pumpkin Cheesecake Bars
- Total Time: 1 hour 5 minutes
- Yield: 12-16 bars 1x
Description
These fall pumpkin cheesecake bars are the easiest fall dessert to make. Simple ingredients, no water bath, and a foolproof graham cracker crust you’ll love.
Ingredients
- 1 ½ cups graham cracker crumbs
- ¼ cup granulated sugar
- 6 tablespoons unsalted butter, melted
- 2 packages (16 oz total) full-fat cream cheese, softened
- 1 can (15 oz) 100% pure pumpkin puree
- 1 cup granulated sugar
- ½ cup brown sugar, packed
- 2 large eggs
- 1 teaspoon vanilla extract
- 1 ½ teaspoons pumpkin pie spice
- ½ teaspoon salt
Instructions
- Preheat oven to 350°F (175°C). Line a 9×13 inch baking pan with parchment paper, leaving an overhang on the long sides.
- In a medium bowl, mix graham cracker crumbs, ¼ cup sugar, and melted butter until it resembles wet sand.
- Press the crust mixture firmly into the bottom of the prepared pan.
- Bake the crust for 8-10 minutes to set, then remove from oven.
- In a large bowl, beat the softened cream cheese until smooth and creamy (2-3 minutes).
- Add 1 cup granulated sugar, brown sugar, and pumpkin puree to the cream cheese. Beat on low speed until just combined.
- Add eggs one at a time, mixing on low speed just until incorporated.
- Add vanilla extract, pumpkin pie spice, and salt. Mix briefly until smooth.
- Pour the filling over the hot crust and smooth the top.
- Bake for 45-55 minutes. The edges should be set, but the center should still have a slight jiggle.
- Turn off the oven and crack the door open. Let the bars sit in the cooling oven for 1 hour to prevent cracking.
- Remove from oven and let cool completely at room temperature before refrigerating.
- Chill in the refrigerator for at least a few hours or overnight before cutting into bars.
Notes
Ensure cream cheese and eggs are at room temperature to avoid lumps. Do not overmix the batter after adding eggs to prevent cracks. The bars can be stored in the refrigerator for up to 5 days or frozen for up to 3 months. For clean cuts, dip a sharp knife in hot water and wipe dry between cuts.
- Prep Time: 15 minutes
- Cook Time: 50-55 minutes
- Category: Dessert
- Cuisine: American
Nutrition
- Serving Size: 1 bar
- Calories: 320
- Sugar: 22
- Sodium: 280
- Fat: 22
- Saturated Fat: 13
- Carbohydrates: 28
- Fiber: 1
- Protein: 5
Keywords: pumpkin cheesecake bars, fall dessert, easy pumpkin recipe, no water bath cheesecake, graham cracker crust, autumn baking


