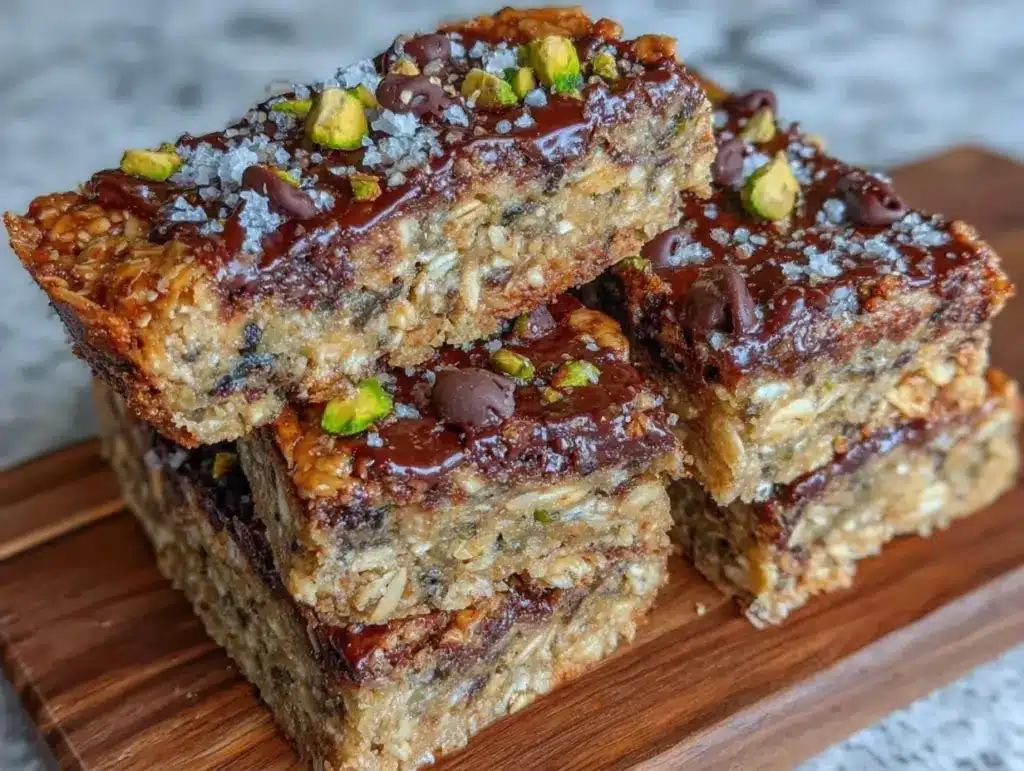
It was 7:15 AM on a Tuesday, the kind of Tuesday that feels like it started before the alarm even went off. I was standing in my kitchen, one sock on, the other foot dangling in a puddle of spilled coffee, staring into the open refrigerator like it held the answers to the universe. The answer, unfortunately, was just leftover takeout containers and a sad, wilting bag of spinach. My three kids were already in the car (I’m not proud of that part), and I realized with a sinking heart that I hadn’t packed lunches. Again. I grabbed my phone to order Uber Eats, then stopped. I looked at the half-empty bag of oats on the counter, the jar of peanut butter, and the bag of chocolate chips. I had five minutes. I threw together what I thought would be a sad, crumbly mess. Ten minutes later, I had a tray of sturdy, chewy, chocolate-loaded bars that my kids actually devoured by second period. That was the day I stopped buying those waxy, overly sweet granola bars from the gas station and started making these no-bake chocolate chip granola bars every Sunday.
I’ve been making this specific recipe for over two years now. I’ve tweaked the binder ratio, swapped in different nut butters, and even tested gluten-free oats when my eldest had a sensitive stomach. The version I’m sharing today is the one that consistently wins the lunchbox lottery. It’s not just about convenience, though let’s be real, convenience is why we’re here. It’s about the texture. It’s that perfect snap when you break the bar, followed by the chewy oat interior and the melty chocolate pockets. It’s a no-bake chocolate chip granola bar that actually tastes like a treat, not a health food punishment. If you’ve ever stood in the cereal aisle feeling overwhelmed by options, or if you’re just tired of your kids rejecting your homemade efforts, you need to try this. It’s my secret weapon for busy mornings, and I’m excited to share it with you.
Why You’ll Love This Recipe
Let’s be honest: life is chaotic. Between school runs, work deadlines, and trying to remember if we need milk, the last thing you need is a complicated baking project. This recipe solves that. Here is exactly why this no-bake chocolate chip granola bar has earned a permanent spot in my weekly rotation:
- Zero Oven Required — I don’t always have the energy to heat up the kitchen, especially in summer. This recipe uses the stovetop to melt the binder, then just needs to chill. It’s a game-changer for hot days or when I’m trying to keep the house cool.
- Ready in Under 20 Minutes — The active time is roughly 10-15 minutes. The rest is just waiting for the fridge to do its job. I can make these while my coffee brews or while the kids are finishing their breakfast. It’s the ultimate efficiency hack.
- Customizable to Any Palate — My daughter loves peanut butter, my son prefers almond butter, and my husband is a nut allergy case. This no-bake chocolate chip granola bar formula is so flexible that I can swap the nut butter, the chocolate type, or add dried fruit without changing the core method. It never fails.
- Lunchbox Friendly — Unlike homemade cookies which often crush into crumbs by lunchtime, these bars hold their shape. I pack them in small containers, and they arrive at school looking almost as good as they did when I packed them. No crumb explosion in the backpack.
- Ingredient Transparency — When you buy store-bought bars, you’re often getting ingredients you can’t pronounce. With this recipe, you know exactly what’s in there: oats, seeds, real nut butter, honey, and chocolate. It’s wholesome comfort food without the mystery additives.
This is my go-to when dinner needs to just work, but it’s even better for breakfast on the go or a mid-afternoon snack. It’s reliable, delicious, and incredibly forgiving.
Key Ingredients for the Best No-Bake Chocolate Chip Granola Bars
There’s a science to no-bake bars. If you get the ratio of wet to dry wrong, you end up with either a rock-hard brick or a puddle of oatmeal. Here’s what I use and why each ingredient matters for that perfect texture.
Old-Fashioned Rolled Oats (6 cups / 480g) — Do not use instant oats or steel-cut oats. Instant oats are too fine and will make the bars mushy. Steel-cut are too hard and won’t bind properly. You want the flat, chewy texture of old-fashioned rolled oats. I buy the store brand; there’s no need to splurge on the fancy organic stuff for this. Just ensure they are certified gluten-free if that’s a requirement for your household.
Natural Peanut Butter (1 cup / 250g) — This is your primary binder. I use creamy natural peanut butter because it melts smoothly. If you use crunchy, make sure it’s well-stirred so you don’t get giant chunks of peanut. For nut-free schools, swap this for sunflower seed butter (SunButter), but note that it has a slightly stronger flavor. Avoid “no-stir” peanut butters with added hydrogenated oils, as they don’t melt as easily and can make the bars greasy.
Smooth Honey (½ cup / 170g) — Honey provides the sticky glue that holds everything together and adds a subtle floral sweetness. Maple syrup works as a vegan substitute, but the bars will be slightly softer and chewier rather than firm. I prefer honey because it gives that classic granola bar snap. Use raw honey if you have it; it has more flavor, but regular golden honey works fine too.
Unsalted Butter (½ cup / 113g) — Yes, butter. Even though this is a “healthy” snack, the fat in the butter adds richness and helps the texture stay tender. If you want to keep it dairy-free, use refined coconut oil. Refined is important because unrefined coconut oil will make your bars taste like coconut, which might clash with the chocolate chips.
Dark Chocolate Chips (1 cup / 170g) — I use semi-sweet or dark chocolate chips because they don’t melt into a puddle as easily as milk chocolate when you’re pressing the bars into the pan. They hold their shape better in a lunchbox. If you’re using mini chips, you’ll get more chocolate in every bite, which I personally recommend. For a premium touch, chop up a chocolate bar instead of using chips; it gives you those big, indulgent chunks.
Vanilla Extract (1 tsp / 5ml) — This is the secret weapon. It rounds out the flavors and makes the peanut butter and oats taste like a dessert rather than a side dish. Don’t skip it. It’s the difference between “eh” and “wow.”
Sea Salt Flakes (½ tsp) — A pinch of salt is non-negotiable. It balances the sweetness of the honey and chocolate. I sprinkle a little extra on top before the bars set for that professional bakery look and a salty crunch.
Tools You’ll Need
You don’t need fancy equipment. Here’s what I use, and what you can skip.
Large Saucepan — I use a 3-quart saucepan with a heavy bottom. This ensures the honey and butter melt evenly without scorching. A thin pan might burn the honey at the bottom before the butter is fully melted.
9×9 Inch Baking Pan — This is the standard size for these bars. Line it with parchment paper, leaving an overhang on the sides. This is crucial. It allows you to lift the entire block of bars out of the pan once they set, making cutting much easier. I always use parchment; aluminum foil works in a pinch but isn’t as reliable for lifting.
Spatula — A sturdy silicone spatula is best for stirring the hot mixture and pressing it into the pan. It’s flexible enough to get into the corners and strong enough to pack the mixture down tight.
Chef’s Knife — For cutting the bars. I find a sharp chef’s knife gives the cleanest cuts. If the bars are too soft, dip the knife in hot water and wipe it dry between cuts.
How to Make No-Bake Chocolate Chip Granola Bars
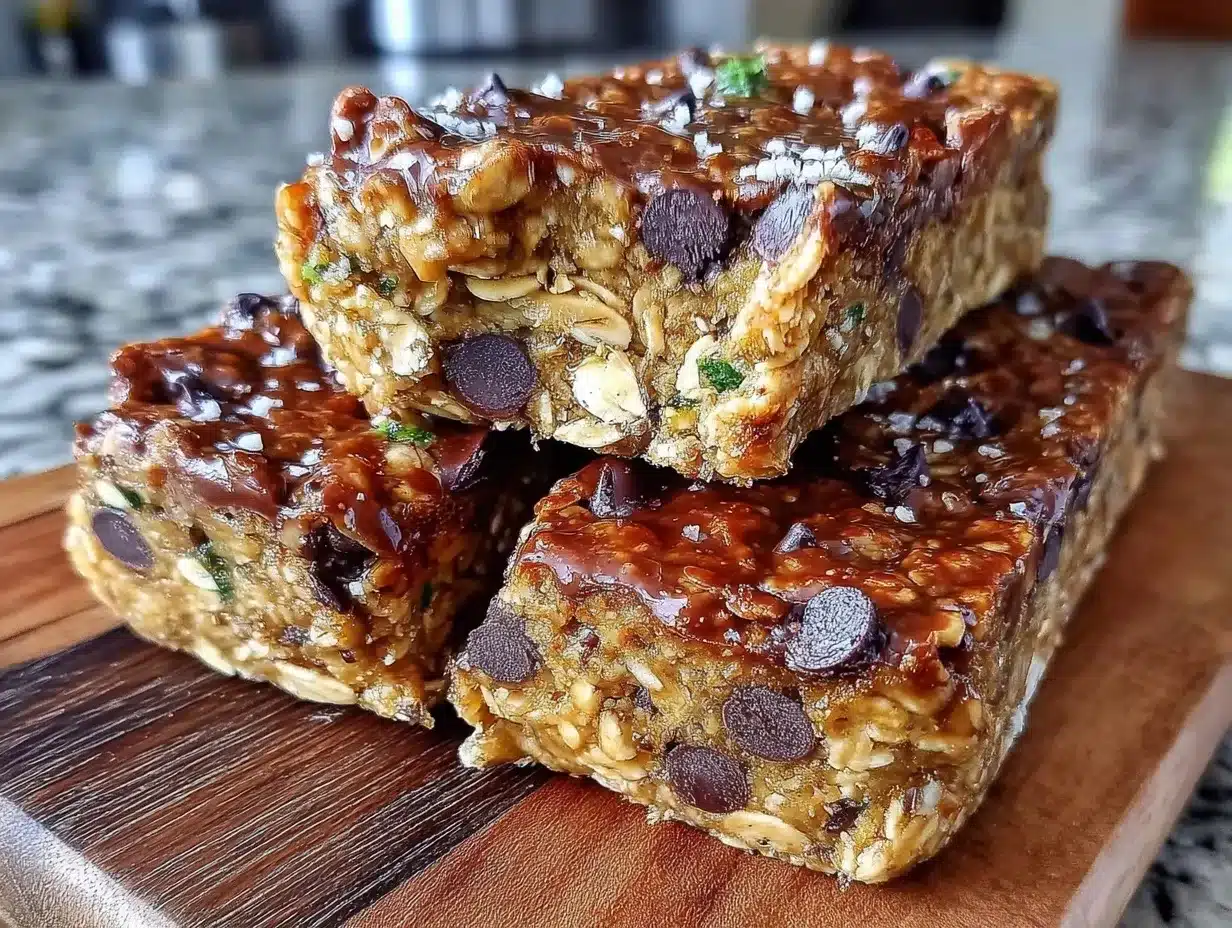
Let’s walk through the process. It’s simple, but there are a few tricks to keep in mind.
Step 1: Prep the Pan (2 minutes)
Line your 9×9 inch baking pan with parchment paper. I like to create a cross-hatch pattern, letting the paper hang over two opposite sides. This creates “handles” that you can lift the bar block out of the pan easily. Spray the parchment lightly with non-stick spray if you’re being extra cautious, though the butter in the recipe usually prevents sticking.
Step 2: Melt the Binder (5 minutes)
In your large saucepan, combine the butter, peanut butter, and honey over medium-low heat. Stir constantly with your silicone spatula. You’re looking for a smooth, glossy mixture. This should take about 3-5 minutes. Do not let it boil vigorously. You just want everything melted and combined. If you see bubbles forming and popping rapidly, turn the heat down. Burnt honey tastes bitter, and we want sweet and nutty.
Step 3: Combine Dry and Wet (2 minutes)
Remove the pan from the heat. Immediately stir in the vanilla extract and salt. Then, add the rolled oats. Fold the oats into the mixture until every single oat is coated. You want no dry pockets. If you’re adding extras like dried cranberries or sunflower seeds, add them now. Mix until evenly distributed.
Step 4: Press and Chill (30 minutes)
Transfer the mixture to your prepared pan. Use your spatula to press it down. This is the most important step for texture. Press firmly and evenly. You want to remove air pockets so the bars are dense and chewy, not airy and crumbly. It takes some effort. Once it’s flat and even, sprinkle the chocolate chips on top. I gently press them in slightly so they don’t fall off.
Place the pan in the refrigerator for at least 30 minutes. If you’re in a rush, you can put it in the freezer for 15 minutes, but the fridge is safer to avoid condensation. The bars are ready when they feel firm to the touch and pull away slightly from the edges of the pan.
Step 5: Cut and Serve
Lift the block out of the pan using the parchment handles. Place it on a cutting board. Use a sharp knife to cut into squares or rectangles. I usually cut them into 12-16 bars, depending on how hungry my kids are. Dust with sea salt flakes if desired. Enjoy immediately or store for later.
Expert Tips from My Kitchen
Here’s everything I learned from making this too many times. These tips will save you from frustration.
Don’t Rush the Pressing
The #1 mistake I see is loose packing. If you don’t press the mixture down firmly, the bars will fall apart when you cut them. I usually use the bottom of a measuring cup to help pack the corners. It takes an extra minute, but it makes all the difference.
Watch Your Heat
Honey burns easily. I keep the heat on medium-low. If the mixture starts to smell like it’s getting too hot, take it off the burner for a few seconds. You want it warm and fluid, not smoking.
Chocolate Chip Placement
If you want chocolate in the center of the bar, fold half the chips into the oat mixture and save the rest for the top. This gives you a surprise chocolate center in every bite. It’s my personal favorite way to do it.
Storage is Key
These bars must be stored in the fridge or freezer. At room temperature, the peanut butter and honey will soften, and the bars will become sticky and messy. In the fridge, they stay firm and sliceable for up to two weeks.
Recipe Variations
Once you’ve nailed the basic version, here’s how to mix it up. This no-bake chocolate chip granola bar is a blank canvas.
Peanut Butter Cup Bars
Add mini Reese’s Peanut Butter Cups to the mix. Chop them in half and fold them in. It’s like a dessert bar, but still holds together. My kids lose their minds over these.
Tropical Twist
Swap the peanut butter for almond butter. Use coconut chips and dried mango instead of chocolate chips. It’s a bright, fruity variation that’s great for summer.
Trail Mix Style
Add a handful of M&Ms, dried cranberries, and chopped walnuts. It’s like a granola bar version of trail mix. Great for hiking or camping.
Protein Power
Add two scoops of vanilla protein powder to the dry oats before mixing. You may need to add an extra tablespoon of honey or peanut butter to compensate for the dryness. These are perfect for post-workout fuel.
Vegan Version
Use maple syrup instead of honey and coconut oil instead of butter. Use dairy-free chocolate chips. The texture will be slightly softer, but the flavor is just as good.
Serving & Storage
Serving Suggestions:
I pack these in small bento-style boxes alongside a piece of fruit and a cheese stick. They’re also great for potlucks or office lunches. If you’re serving them as a dessert, pair them with a cold glass of milk or a cup of coffee.
Storage:
Store in an airtight container in the refrigerator for up to 2 weeks. You can also freeze them for up to 3 months. I wrap them individually in wax paper or plastic wrap and freeze them in a bag. They thaw quickly at room temperature, so you can grab one straight from the freezer if you’re in a hurry. They don’t freeze rock-hard like some cookies do.
Meal Prep Tip:
Make a double batch on Sunday. It takes the same amount of time, and you’ll have lunches sorted for the whole week. Just layer them with parchment paper in your container to prevent sticking.
Nutrition Information
I’m not a nutritionist, but here’s the breakdown based on my calculations. Keep in mind that nutrition varies based on the specific brands of peanut butter and chocolate chips you use.
| Nutrient | Per Bar (approx. 1/12 of recipe) |
|---|---|
| Calories | 280 kcal |
| Protein | 8g |
| Carbohydrates | 35g |
| Fiber | 4g |
| Sugar | 18g |
| Fat | 14g |
My Take:
These are calorie-dense, which is expected for a snack with oats, nut butter, and chocolate. They’re a good source of energy and protein, making them a solid choice for active kids. However, they are still a treat. I try to balance them with fresh fruit or veggies in the lunchbox to keep the meal balanced.
Final Thoughts
Making these no-bake chocolate chip granola bars has changed my mornings. It’s turned a stressful rush into a smooth routine. I love that I can control what goes into my kids’ food, and I love that they actually enjoy eating it. It’s a small thing, but in the chaos of parenting, small wins matter. I encourage you to try this recipe and make it your own. Swap the nuts, change the chocolate, add your favorite dried fruit. It’s your kitchen, your rules. If you make this, drop a comment! I love hearing how it turns out in your kitchen. Happy cooking!
FAQs
Q: Can I use instant oats instead of rolled oats?
A: I don’t recommend it. Instant oats are too fine and will result in a mushy, pasty texture. Old-fashioned rolled oats provide the necessary chew and structure. If you only have quick oats, they might work in a pinch, but the texture will be softer. Rolled oats are worth seeking out.
Q: Why did my granola bars fall apart?
A: This usually happens for two reasons: not enough binder or not pressing firmly enough. Make sure you’re using the correct ratio of peanut butter and honey to oats. Also, press the mixture down very firmly in the pan. Air pockets weaken the structure. If they still crumble, you can add a little more honey or peanut butter next time.
Q: Can I make these nut-free?
A: Yes! Simply substitute the peanut butter with sunflower seed butter (like SunButter) or soy nut butter. Use seed butter for any other nut-based ingredients. Ensure your oats and chocolate chips are certified nut-free if you have severe allergies.
Q: How do I store these for school lunches?
A: Keep them in the refrigerator in an airtight container. When packing for school, place them in a small insulated lunch bag with an ice pack. This keeps them firm and safe to eat. They hold up well for 2-3 days in the lunchbox.
Q: Can I freeze these bars?
A: Absolutely. They freeze beautifully for up to 3 months. Wrap them individually in plastic wrap or wax paper, then place them in a freezer-safe bag. Thaw at room temperature for 10-15 minutes before eating, or eat them slightly frozen for a refreshing treat.
Q: What if I don’t like peanut butter?
A: No problem! You can use almond butter, cashew butter, or even sunflower seed butter. The flavor will change, but the texture and method remain the same. Almond butter pairs particularly well with dark chocolate chips.
Pin This Recipe!
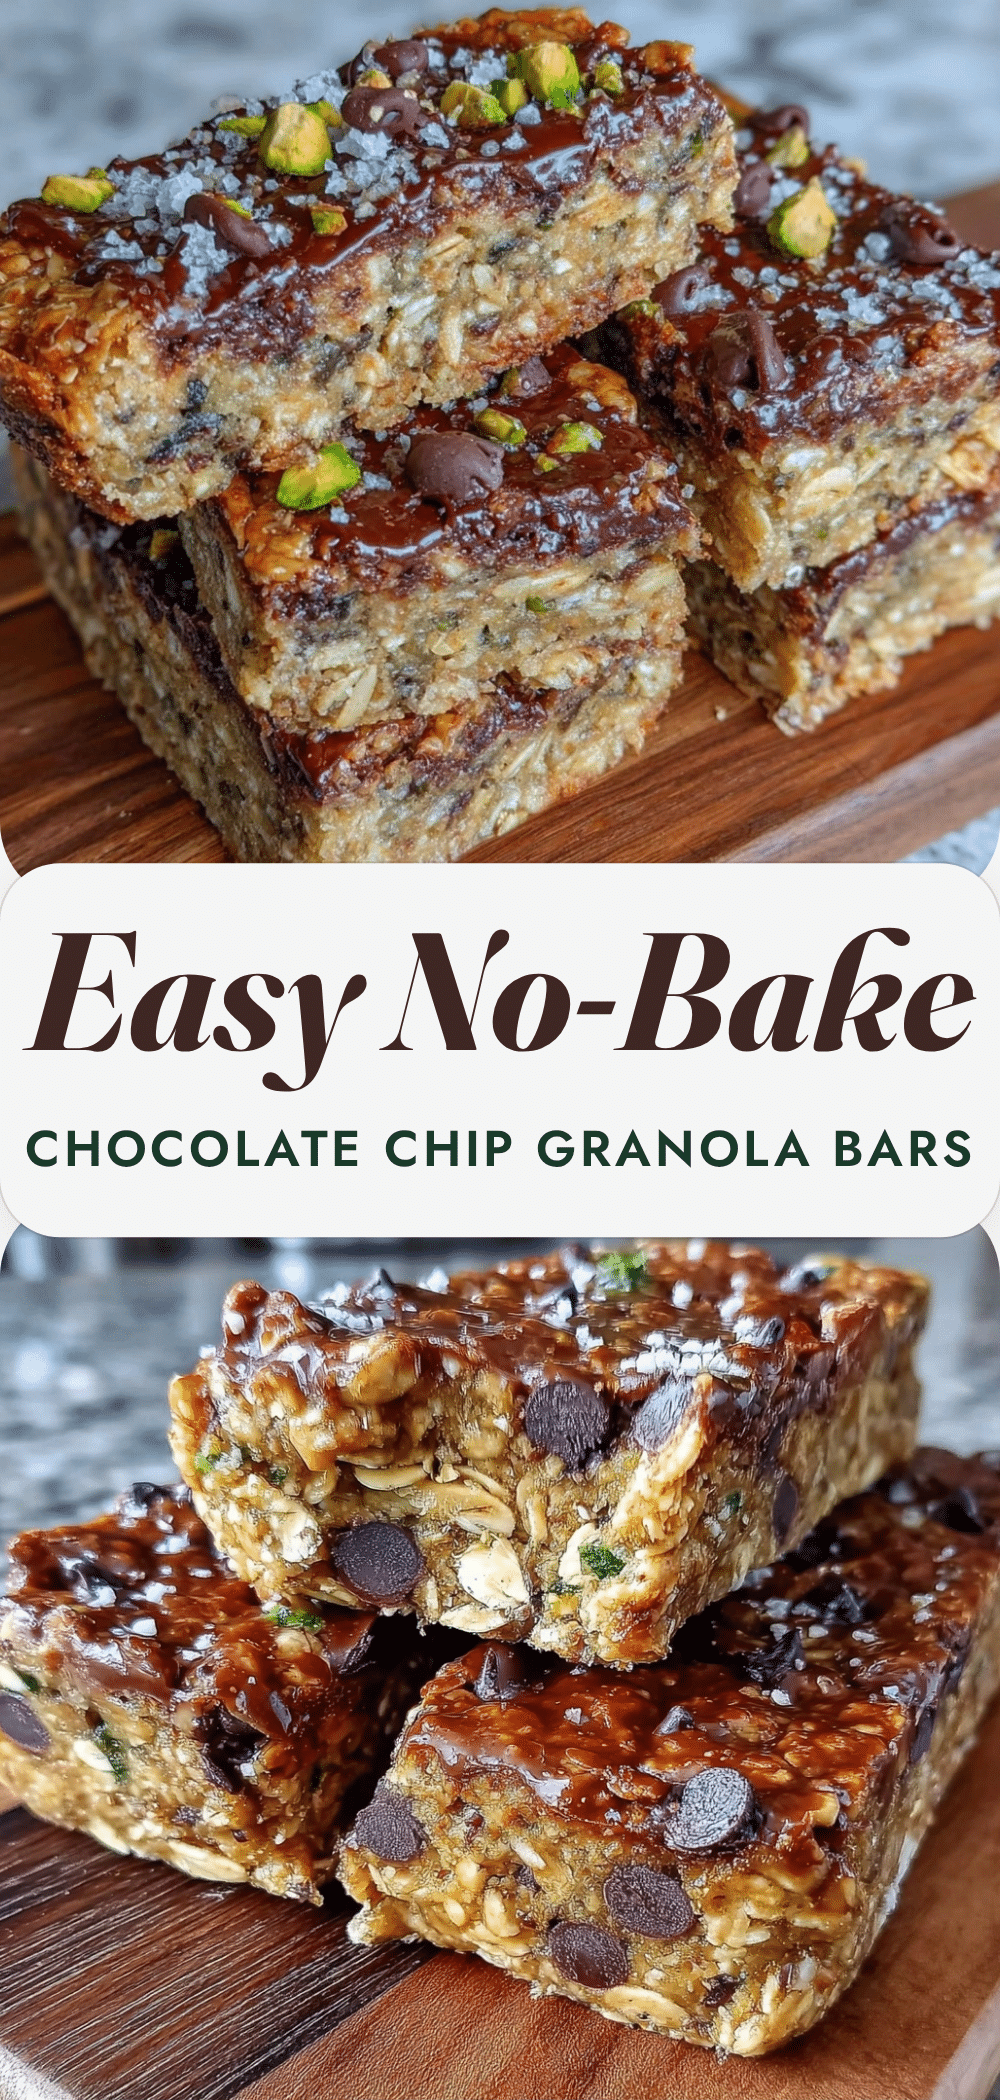
No-Bake Chocolate Chip Granola Bars
- Total Time: 45 minutes
- Yield: 12-16 servings 1x
Description
These easy, no-bake chocolate chip granola bars are the perfect solution for busy school mornings. With a perfect snap and chewy texture, they are customizable, lunchbox-friendly, and ready in under 20 minutes of active time.
Ingredients
- 6 cups old-fashioned rolled oats
- 1 cup natural creamy peanut butter
- 1/2 cup smooth honey
- 1/2 cup unsalted butter
- 1 cup dark chocolate chips
- 1 tsp vanilla extract
- 1/2 tsp sea salt flakes
Instructions
- Line a 9×9 inch baking pan with parchment paper, creating handles on opposite sides.
- In a large saucepan over medium-low heat, combine butter, peanut butter, and honey. Stir constantly until melted and smooth (3-5 minutes). Do not let it boil.
- Remove from heat and stir in vanilla extract and salt.
- Add rolled oats and fold until every oat is coated. Add any additional mix-ins now.
- Transfer mixture to the prepared pan and press down firmly and evenly to remove air pockets.
- Sprinkle chocolate chips on top and gently press them in.
- Refrigerate for at least 30 minutes until firm.
- Lift the block out of the pan using parchment handles and cut into 12-16 bars.
Notes
Do not use instant or steel-cut oats. Press the mixture firmly to ensure bars hold together. Store in the refrigerator for up to 2 weeks or freeze for up to 3 months. For nut-free versions, substitute peanut butter with sunflower seed butter.
- Prep Time: 10 minutes
- Cook Time: 5 minutes
- Category: Snack
- Cuisine: American
Nutrition
- Serving Size: 1 bar
- Calories: 280
- Sugar: 18
- Sodium: 120
- Fat: 14
- Saturated Fat: 7
- Carbohydrates: 35
- Fiber: 4
- Protein: 8
Keywords: no-bake, granola bars, chocolate chip, school lunch, easy recipe, kid-friendly, meal prep, peanut butter, oats


