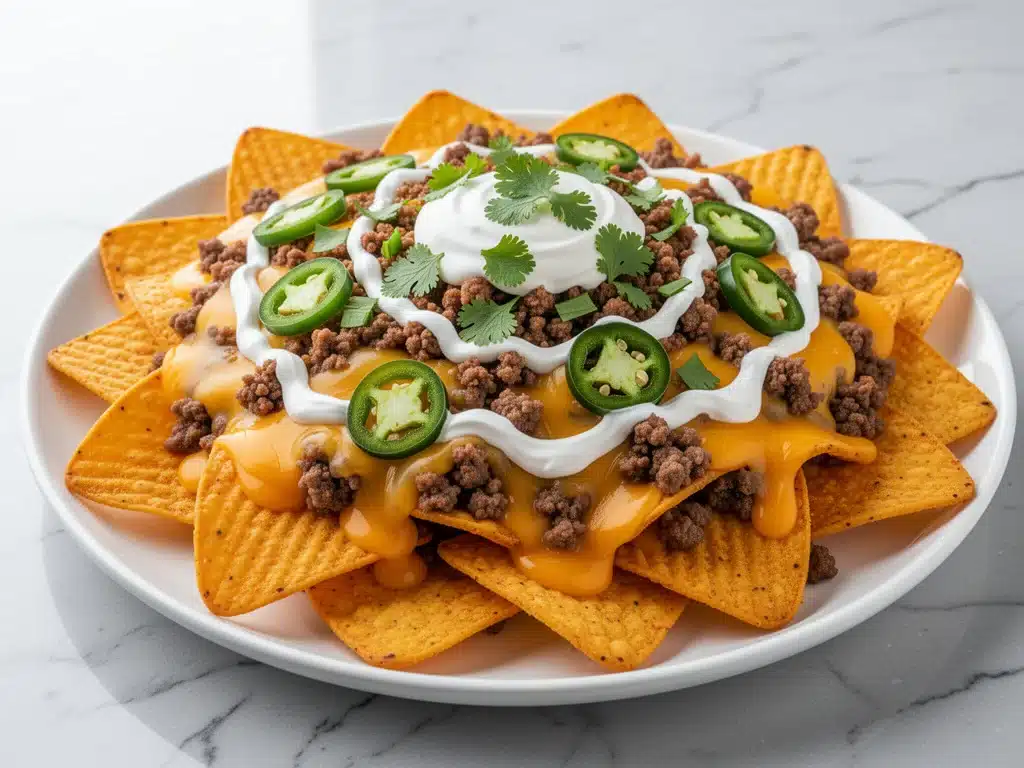
Last Sunday, I stared at a pile of tortilla chips that looked less like a snack and more like a tragic mistake. I had tried to make nachos for my nephew’s birthday party, and what ended up on the table was a sad, greasy, lukewarm mess. The cheese had congealed into a rubbery layer, the chips were soggy, and half my guests were hiding in the kitchen eating cereal. I felt like a failure. I’ve hosted game day parties for years, and I’ve always prided myself on feeding a crowd without losing my mind. But that day, the nachos were the one thing I couldn’t get right.
That night, I was determined to fix it. I went back to basics, questioned every assumption I had about how nachos are supposed to work, and tested a method that actually holds up under pressure. I’ve now made this Game Day Loaded Nacho Supreme for big crowds at least a dozen times—Super Bowls, tailgates, watch parties for the playoffs. It’s become the centerpiece of every gathering. People don’t just eat it; they crowd around the table, fighting over the crispy bits at the bottom of the pan. It’s that good.
If you’ve ever struggled with soggy chips, separated cheese, or the logistics of feeding 20 people without spending the entire game stuck in the kitchen, this recipe is your answer. I’m sharing exactly how I build these nachos so they stay hot, crisp, and loaded with flavor from the first bite to the last. This isn’t just a snack; it’s the event. And trust me, once you try this method, you’ll never go back to store-bought bags of “party mix” again.
Why You’ll Love This Game Day Loaded Nacho Supreme
Look, I know nachos seem simple. Toss chips with cheese, put them in the oven, done. But when you’re feeding a crowd, “simple” often turns into “disaster.” This Game Day Loaded Nacho Supreme for big crowds solves all the common problems. Here’s why it’s my secret weapon for hosting:
It Actually Stays Crisp — Most nacho recipes fail because the toppings are too wet, turning the chips into mush. I layer strategically and use a high-heat broil finish that keeps the structure intact. I’ve served these to guests who are picky about texture, and even they can’t find a soggy chip.
Feeds a Room Without Stress — You can make this in two large sheet pans or one deep roasting pan. It scales up effortlessly. I don’t have to hover over the stove or cook in batches. I prep everything ahead, assemble it, and pop it in the oven while I’m talking to guests. It’s hands-off hosting at its finest.
Customizable for Everyone — Whether your brother-in-law only eats meat or your sister is vegan, this recipe accommodates all diets. I build the base with neutral flavors and add toppings in sections. No one feels left out, and I don’t have to make two separate dishes.
Flavor Bomb — It’s not just cheese and chips. I add seasoned ground beef, black beans, jalapeños, fresh cilantro, and a drizzle of sour cream. Every bite has crunch, creaminess, heat, and freshness. It’s complex but tastes like comfort food.
Makes Amazing Leftovers (If There Are Any) — Seriously, if you’re lucky enough to have leftovers, they reheat well in the oven. Not the microwave (never the microwave for nachos), but the oven brings them back to life. I’ve never seen a full pan of this nacho supreme last until the next day, but I’m always prepared.
This is my go-to when I need to impress a crowd without spending hours in the kitchen. It’s reliable, delicious, and totally shareable. No complicated techniques, no weird ingredients, just solid, crowd-pleasing food that makes everyone happy.
Ingredients You’ll Need for the Nacho Supreme
Here’s the best part: you probably have most of this already in your pantry or fridge. I’m particular about a few key items, and I’ll tell you exactly why they matter for that perfect crunch and flavor balance.
For the Base:
Restaurant-Style Tortilla Chips (2 large bags, about 12-14 cups total) — Don’t use the thin, fragile chips from the snack aisle. You need sturdy, restaurant-style chips that can hold up to heavy toppings. I love the blue corn ones for a nice color contrast, but yellow works too. Avoid anything labeled “light” or “low-fat”—they’re too dry and crumble instantly.
Shredded Cheddar Cheese (3 cups, freshly shredded) — Buy a block and shred it yourself. Pre-shredded cheese has cellulose (anti-caking agents) that prevents it from melting smoothly. You want gooey, stretchy cheese, not grainy clumps. A mix of sharp and mild cheddar gives the best flavor depth.
Mexican Blend Cheese (2 cups, freshly shredded) — This usually includes Monterey Jack, pepper jack, and asadero. It melts beautifully and adds a mild, creamy texture that balances the sharp cheddar. Again, shred from the block. It takes 5 minutes and makes a huge difference.
For the Meat & Beans:
Ground Beef (1.5 pounds, 80/20 lean/fat ratio) — The fat adds flavor. Lean beef can be dry and bland. Brown it with taco seasoning (recipe below) until crispy edges form. Those crispy bits are crucial for texture.
Canned Black Beans (2 cans, 15 oz each, drained and rinsed) — Rinsing removes the starchy liquid that makes the nachos soggy. Pat them dry with a paper towel if you have time. They add protein and bulk without weighing down the chips.
For the Veggies & Fresh Elements:
Jalapeños (1 cup, sliced fresh or pickled) — Fresh jalapeños add a bright, crisp heat. Pickled jalapeños add tang. I use a mix of both. If you’re sensitive to spice, remove the seeds and membranes from the fresh peppers.
Red Onion (1 medium, finely diced) — Adds a sharp, crunchy bite that cuts through the richness of the cheese. I prefer red onion for its color and milder flavor compared to yellow onion.
Cilantro (1 cup, chopped) — Fresh cilantro is non-negotiable for me. It adds a burst of freshness that balances the heavy, salty flavors. Don’t skip it. If your family hates cilantro, substitute with green onions, but I insist on cilantro.
For the Toppings & Drizzles:
Sour Cream (1 cup) — Full-fat only. Low-fat sour cream breaks and becomes watery when heated. Use full-fat for a creamy, stable topping.
Guacamole (2 cups, homemade or high-quality store-bought) — I make my own with avocados, lime, salt, and cilantro. It’s fresher and less oily than jarred versions. If you’re in a hurry, a good store-bought brand like Wholly Guacamole works.
Tomatoes (2 medium, diced) — Roma or plum tomatoes work best because they have less water than beefsteak tomatoes. Less water means less sogginess.
Black Olives (1 cup, sliced) — Optional, but I love the briny contrast. Sliced olives distribute more evenly than whole ones.
Taco Seasoning (2 tablespoons) — Or use 1 packet of your favorite brand. I make my own with cumin, chili powder, paprika, garlic powder, onion powder, salt, and pepper. It’s cheaper and tastes better.
Optional Add-ins:
Corn (1 cup, canned or frozen/thawed) — Adds sweetness and crunch. I toss it in with the beans.
Green Onions (1/2 cup, sliced) — A milder onion flavor, great for garnish.
Pico de Gallo (1 cup) — If you don’t want to dice tomatoes and onions separately, a good jarred or homemade pico works. Just drain excess liquid.
Hot Sauce (to taste) — I love Cholula or Tapatio drizzled on top at the end. It adds a vinegary kick that cuts the fat.
Pro Tips for Shopping:
- Cheese: Never buy pre-shredded for this recipe. It’s the #1 reason nachos fail. Block cheese melts smoothly; pre-shredded doesn’t.
- Chips: Buy the largest bags you can find. “Party size” is best. If you can’t find large bags, buy 3-4 regular bags.
- Beans: Always rinse and dry them. Wet beans = soggy nachos.
Equipment Needed
You don’t need fancy equipment for this. Here’s what I actually use:
Large Sheet Pans (2) — Rimmed baking sheets work best. I use two half-sheet pans (18×13 inches) to spread the nachos out in a single layer. This ensures even cooking and crispiness. If you only have one large pan, you can do it, but you’ll need to work in batches or make a very thick layer (which risks sogginess).
Deep Skillet or Dutch Oven — For browning the ground beef. A 12-inch skillet is ideal. It needs to be large enough to spread the meat out so it browns instead of steams.
Cutting Board & Sharp Knife — For chopping onions, jalapeños, tomatoes, and cilantro. A sharp knife makes quick work of the prep.
Colander — For draining beans and rinsing corn.
Mixing Bowls — A few medium bowls for prepping toppings. Having everything in separate bowls makes assembly faster.
Oven Mitts — These pans get hot. Very hot. Don’t skip the mitts.
Tongs — For serving. It’s easier to grab large portions with tongs than a spatula.
Optional but nice:
- Paper Towels — For drying beans and draining excess grease from the beef.
- Spritz Bottle with Oil — For a light mist of olive oil on chips if they look too dry.
How to Make It: Step-by-Step
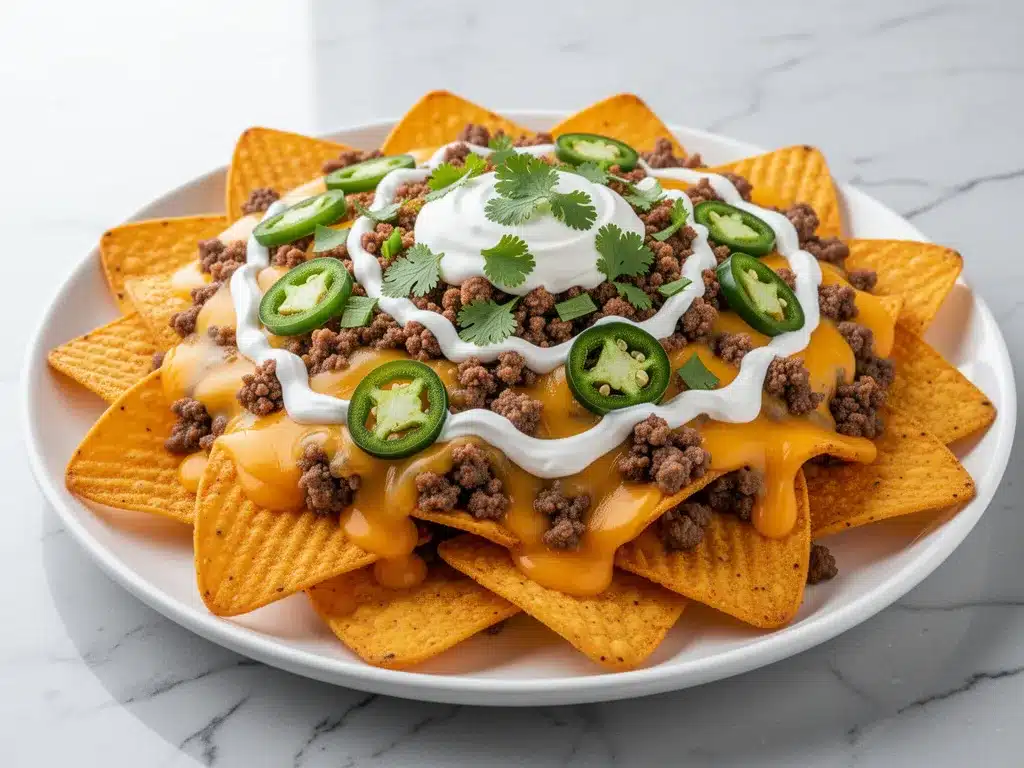
Alright, let’s make this! I’m walking you through exactly how I do it, including the little tricks I’ve picked up over the years. This method ensures your Game Day Loaded Nacho Supreme for big crowds stays crisp, hot, and loaded.
Step 1: Prep Your Ingredients (15-20 minutes)
Before you turn on the oven, get everything ready. This is called “mise en place,” and it saves you from panic when things move fast. Shred all your cheese. Dice the onion, tomatoes, and jalapeños. Chop the cilantro. Drain and rinse the beans and corn, and pat them dry with paper towels. Brown the ground beef in a skillet over medium-high heat, breaking it up into small crumbles. Season with taco seasoning and a splash of water. Let it simmer until the liquid evaporates and the meat starts to crisp up. Drain any excess grease. Set everything aside in separate bowls. You’ll have a colorful array of toppings ready to go.
Step 2: Preheat the Oven (5 minutes)
Preheat your oven to 400°F (200°C). If you have a convection setting, use it. It helps circulate heat for better crisping. While the oven heats, line your baking sheets with parchment paper or aluminum foil for easy cleanup. This isn’t strictly necessary, but it saves you from scrubbing pans later. I’m a fan of convenience.
Step 3: Build the First Layer (5 minutes)
Start with a base of chips. Spread a single, even layer of tortilla chips across each baking sheet. Don’t pile them up yet. You want maximum surface area exposed to the heat. Sprinkle half of your shredded cheddar and Mexican blend cheese evenly over the chips. The cheese acts as the “glue” that holds the toppings in place. If you skip this step, everything slides off when you pick up a chip.
Step 4: Add the Heavy Toppings (5 minutes)
Now, add the seasoned ground beef, black beans, corn, jalapeños, and red onion. Distribute these evenly across both pans. Be generous, but don’t overload any single spot. If you pile too much in one area, that chip will get soggy while the rest stays crisp. Sprinkle the remaining cheese over the meat and beans. This double-cheese layer ensures every bite has that cheesy goodness.
Step 5: Bake Until Golden (10-12 minutes)
Place the baking sheets in the oven. Bake for 10-12 minutes, or until the cheese is fully melted and bubbling, and the edges of the chips start to turn golden brown. Keep an eye on them. Ovens vary, so check at the 10-minute mark. You want the chips to be crisp, not burnt. If the cheese isn’t melted enough, broil for 1-2 minutes. Watch it closely—it goes from melted to burned in seconds.
Step 6: Add Fresh Toppings (2 minutes)
Remove the pans from the oven. Immediately scatter the diced tomatoes, fresh cilantro, and sliced black olives over the hot nachos. The residual heat will wilt the cilantro slightly and warm the tomatoes without cooking them. This step adds freshness and color. If you add these before baking, the cilantro will turn brown and slimy. Always add fresh herbs after baking.
Step 7: Finish with Drizzles (2 minutes)
Drizzle the sour cream and guacamole over the nachos. Don’t mix it in yet. Let guests scoop their own portions. This keeps the sour cream from breaking down in the heat. Add a final drizzle of hot sauce if you like extra kick. Serve immediately. Nachos are best eaten within 10 minutes of coming out of the oven. They lose their magic quickly.
Total Time: About 35-40 minutes (20 minutes active, 15 minutes baking)
Troubleshooting Tips:
- Nachos are soggy: You used too much wet topping or didn’t dry the beans. Next time, pat beans dry and use less salsa or pico.
- Cheese didn’t melt: Oven wasn’t hot enough or cheese was pre-shredded. Use fresh shredded cheese and ensure oven is preheated.
- Chips burned: Broiled too long. Keep a close eye on the broiler setting. It’s powerful.
Expert Tips & Tricks
Here’s everything I’ve learned from making this dozens of times. These tips will save you from my mistakes.
Spread, Don’t Pile
This is the #1 rule. Nachos must be in a single layer. If you pile chips on top of each other, the bottom ones get steamy and soggy. Use two pans if you’re feeding a crowd. It’s worth the extra dish to ensure crispiness.
Double Cheese Layer
Put cheese on the bottom, then toppings, then more cheese. This creates a barrier between the wet toppings and the chips. It keeps the chips crisp and ensures every bite is cheesy.
Shred Your Own Cheese
I can’t stress this enough. Pre-shredded cheese has anti-caking agents that prevent smooth melting. Buy blocks and shred them. It takes 5 minutes and makes a world of difference in texture.
Dry Your Beans
Wet beans are nacho enemies. Drain them, rinse them, and then pat them dry with paper towels. It’s an extra step, but it prevents sogginess.
Add Fresh Toppings After Baking
Tomatoes, cilantro, and sour cream should always be added after the nachos come out of the oven. Heat turns them brown and slimy. Freshness is key.
Keep Them Warm
If you’re serving a large crowd, keep the pans in a low oven (200°F) while you finish prepping other dishes. But don’t leave them in there too long, or they’ll get soggy from steam.
Common Mistakes:
- Mistake: Using salsa on top. Fix: Salsa is too watery. Use pico de gallo (drained) or skip it. Wet sauce = soggy chips.
- Mistake: Overloading one pan. Fix: Use two pans. Crowding leads to uneven cooking.
- Mistake: Adding cheese at the end. Fix: Cheese needs heat to melt. Add it before baking, or it will just sit on top and not bind anything.
Variations & Substitutions
Once you’ve nailed the basic version, here’s how you can mix it up. I’ve tried all of these.
Chicken Version
Replace ground beef with shredded rotisserie chicken. Toss the chicken with taco seasoning and warm it through. Lighter and still delicious.
Vegetarian Supreme
Skip the meat. Add extra beans, corn, and sautéed mushrooms. Mushrooms add a meaty texture. I use cremini mushrooms for a deeper flavor.
Spicy Jalapeño Lover’s
Add extra jalapeños, use pepper jack cheese, and drizzle with habanero hot sauce. For those who like it hot, this is the way to go.
BBQ Chicken Nachos
Swap taco seasoning for BBQ sauce. Use shredded chicken, red onion, and cilantro. Drizzle with ranch instead of sour cream. A totally different vibe.
Vegan Option
Use vegan cheese shreds (like Daiya or Violife), skip the sour cream (use cashew cream), and add extra veggies. It’s not the same, but it’s still tasty.
Gluten-Free
Use certified gluten-free tortilla chips. Everything else is naturally gluten-free. Just check your taco seasoning and hot sauce for hidden gluten.
Different Proteins:
- Italian Sausage — Crumble and brown. Adds fennel and anise flavor.
- Turkey — Leaner option, but add a bit of olive oil to keep it moist.
- Shrimp — Sauté with Cajun seasoning. Adds a seafood twist.
Serving & Storage
How to Serve:
I usually serve these straight from the oven, right on the table. It’s rustic and fun. But here are other ways I’ve enjoyed them:
Side Dishes:
- Guacamole and chips (for those who want plain chips)
- Chili (for a hearty meal)
- Simple green salad (to balance the heaviness)
Toppings Bar:
When I have guests, I put out small bowls of extra sour cream, guacamole, jalapeños, cilantro, and hot sauce. Everyone customizes their portion.
Storage Instructions:
Refrigerator: Store leftovers in an airtight container for up to 2 days. The chips will soften, but they’re still edible.
Reheating: Best method: Oven or toaster oven at 350°F for 5-10 minutes. This restores crispiness. Microwave method: 30-second intervals, but they’ll be chewy, not crisp. Never microwave if you want that crunch.
Freezing: I don’t recommend freezing nachos. The chips get soggy and the cheese separates. Make them fresh whenever possible.
Pro Tip: If you’re meal-prepping, prep all the toppings ahead of time. Store them in separate containers. Assemble and bake right before serving. It takes 10 minutes of active work.
Nutrition Information
I’m not a nutritionist, but here’s the breakdown if you’re tracking. Note: This is per serving based on 8 servings from one large pan.
| Nutrient | Amount |
|---|---|
| Calories | 450 |
| Protein | 22g |
| Carbs | 35g |
| Fiber | 5g |
| Fat | 28g |
| Sodium | 650mg |
What’s Good: Decent protein from beef and cheese. Fiber from beans and veggies. Customizable to be lighter.
What to Know: Higher in calories and sodium due to cheese and processed meat. Use lean beef and low-sodium beans to reduce.
My Take: Look, this is game day food. It’s not a diet recipe. But it’s way better than takeout, and I know exactly what’s in it. When I want to make it lighter, I use turkey, less cheese, and extra veggies. But usually? I just enjoy a reasonable portion and live my life.
Final Thoughts
So that’s my Game Day Loaded Nacho Supreme for big crowds! I’ve probably talked your ear off at this point, but when you make a recipe this often, you have a lot to say about it. This has saved my hosting reputation more times than I can count. It’s my answer to “what’s for snacks” when I’m tired, don’t want to order takeout, and still want something that tastes incredible. My family is happy, my guests are happy, and I’m happy because I’m not stressed about cooking.
Make it yours! Try different add-ins, swap in your favorite vegetables, adjust the spice level. The best recipes are the ones you adapt to your family’s tastes. If you make this, drop a comment and let me know what you think! I love hearing how recipes turn out in your kitchen. And if something doesn’t work, tell me that too—I’m here to help troubleshoot.
Happy cooking! And I hope your kitchen smells half as good as mine does right now.
Frequently Asked Questions
Q: Can I make these ahead of time?
A: Sort of. You can prep all the toppings ahead of time and store them in the fridge. But assemble and bake right before serving. If you assemble them ahead and refrigerate, the chips will absorb moisture and get soggy. I’ve tried it, and it’s not worth it. Fresh is best.
Q: Why did my nachos get soggy?
A: Usually means you used too much wet topping (like salsa) or didn’t dry the beans. Also, if you piled the chips too high, the bottom ones get steamy. Next time, use a single layer, dry your beans, and skip the salsa. Use pico de gallo instead.
Q: Can I use pre-shredded cheese?
A: You can, but the results won’t be as good. Pre-shredded cheese has anti-caking agents that prevent smooth melting. You’ll get clumpy, grainy cheese instead of gooey, stretchy cheese. I highly recommend shredding your own. It takes 5 minutes and makes a huge difference.
Q: How do I reheat leftovers?
A: Use the oven or toaster oven at 350°F for 5-10 minutes. This restores crispiness. Don’t use the microwave—it makes the chips chewy and soggy. If you must use the microwave, heat in 30-second intervals and expect a softer texture.
Q: Can I freeze nachos?
A: I don’t recommend it. The chips lose their crunch, and the cheese separates when thawed. Nachos are best eaten fresh. If you have leftovers, eat them within 2 days or reheat in the oven.
Q: What’s the best chip for nachos?
A: Restaurant-style tortilla chips are the best. They’re thick, sturdy, and can hold up to heavy toppings. Avoid thin, fragile chips or “light” chips. Blue corn chips are a nice alternative for color and flavor.
Q: Can I make these in a slow cooker?
A: You can, but the chips will get soggy. Slow cookers trap steam, which is the enemy of crispiness. If you must use a slow cooker, add the chips at the very end and stir gently. But the oven method is superior for texture.
Pin This Recipe!
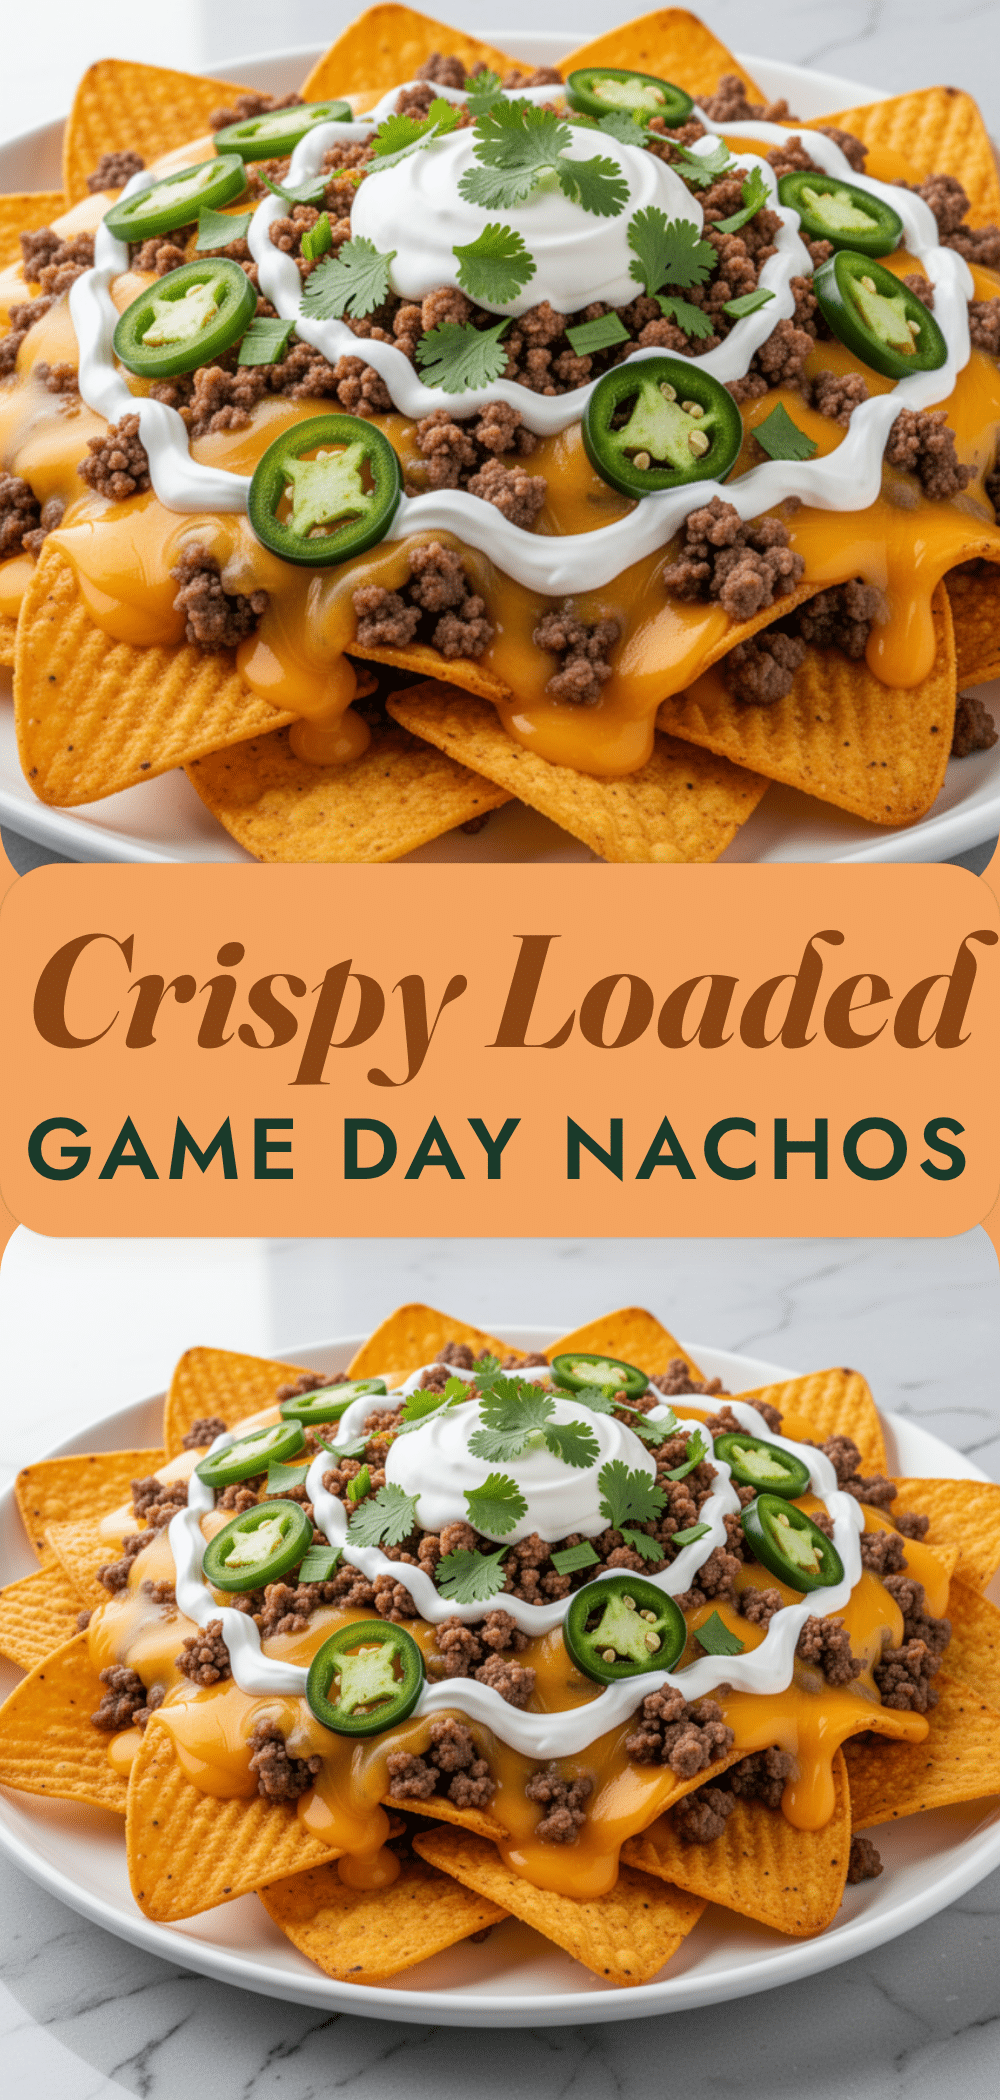
Game Day Loaded Nacho Supreme: Easy 2024 Big Crowd Recipe
- Total Time: 35-40 minutes
- Yield: 8 servings 1x
Description
A reliable, crowd-pleasing nacho recipe designed to stay crisp and hot for large gatherings. This method uses a double-cheese layer and strategic layering to prevent sogginess, making it perfect for game days and parties.
Ingredients
- 2 large bags (12–14 cups total) Restaurant-Style Tortilla Chips
- 3 cups Shredded Cheddar Cheese (freshly shredded from block)
- 2 cups Mexican Blend Cheese (freshly shredded from block)
- 1.5 pounds Ground Beef (80/20 lean/fat ratio)
- 2 tablespoons Taco Seasoning
- 2 cans (15 oz each) Black Beans, drained, rinsed, and patted dry
- 1 cup Jalapeños (sliced fresh or pickled)
- 1 medium Red Onion (finely diced)
- 1 cup Cilantro (chopped)
- 1 cup Sour Cream (full-fat)
- 2 cups Guacamole
- 2 medium Roma or Plum Tomatoes (diced)
- 1 cup Black Olives (sliced)
- 1 cup Corn (canned or frozen/thawed, optional)
- 1/2 cup Green Onions (sliced, optional)
- 1 cup Pico de Gallo (drained, optional)
- Hot Sauce (to taste, optional)
Instructions
- Preheat oven to 400°F (200°C). Line two large rimmed baking sheets with parchment paper or foil.
- In a large skillet over medium-high heat, brown the ground beef, breaking it into small crumbles. Add taco seasoning and a splash of water, simmer until liquid evaporates and meat crisps slightly. Drain excess grease and set aside.
- Spread a single, even layer of tortilla chips across each baking sheet.
- Sprinkle half of the shredded cheddar and Mexican blend cheese evenly over the chips.
- Distribute the seasoned ground beef, black beans, corn, jalapeños, and red onion evenly across both pans.
- Sprinkle the remaining cheese over the meat and beans.
- Bake for 10-12 minutes until cheese is melted and bubbling and chip edges are golden. Broil for 1-2 minutes if needed for extra crispness, watching closely.
- Remove from oven and immediately scatter diced tomatoes, fresh cilantro, and sliced black olives over the hot nachos.
- Drizzle with sour cream and guacamole. Add hot sauce if desired.
- Serve immediately.
Notes
Always shred your own cheese to ensure smooth melting. Dry beans thoroughly to prevent sogginess. Use a single layer of chips for maximum crispiness. Add fresh toppings like cilantro and tomatoes only after baking to maintain texture and color. Do not microwave leftovers if you want them crisp; reheat in the oven at 350°F.
- Prep Time: 20 minutes
- Cook Time: 15 minutes
- Category: Appetizer
- Cuisine: Mexican
Nutrition
- Serving Size: Approximately 1/8 of
- Calories: 450
- Sugar: 4
- Sodium: 650
- Fat: 28
- Saturated Fat: 12
- Carbohydrates: 35
- Fiber: 5
- Protein: 22
Keywords: game day snacks, nacho recipe, crowd pleaser, party food, easy nachos, loaded nachos, big crowd recipe


