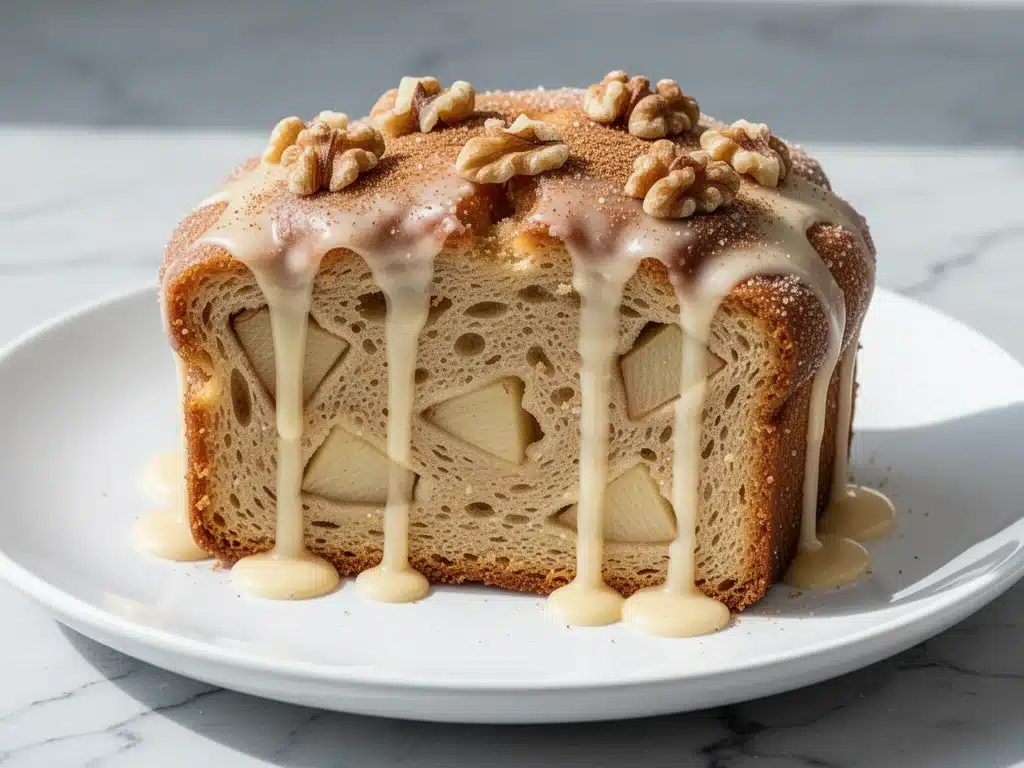
Last Saturday morning, I woke up to that specific kind of gray, drizzly weather that makes you want to pull the covers over your head and sleep for another three hours. But then I smelled it. My kitchen was already warm, smelling like a bakery that had just opened its doors. Cinnamon. Nutmeg. Warm apples. Vanilla. It was the kind of smell that pulls you out of bed before your alarm even goes off.
I walked into the kitchen and saw this loaf sitting on the cooling rack, golden brown and dripping with that thick, sweet vanilla glaze. My kids were already at the table, plates in hand, looking at me like I’d just handed them the keys to a candy store. “Can we have this for breakfast every weekend?” my oldest asked. I didn’t have the heart to tell him that no, we can’t have this every weekend (though I’m not totally opposed to the idea).
This soft homestyle apple fritter bread isn’t just a quick bread. It’s not just a muffin top squeezed into a loaf pan. It’s the texture and flavor of your favorite weekend brunch dessert, but packaged in a way that’s easy to slice, easy to share, and easy to eat with a cup of coffee in hand. I’ve tested this recipe about a dozen times over the last few months—sometimes with fresh apples, sometimes with canned, sometimes with extra nuts, sometimes without. And this version? This is the one that keeps coming back to the top of my list.
If you’ve ever tried making actual apple fritters from scratch, you know it’s a project. You have to make the dough, let it rise, fry it in hot oil (messy!), and then glaze it. It’s delicious, sure, but it’s also a lot of work for a Tuesday morning. This bread takes all those flavors and puts them into a simple, no-fuss loaf. It’s basically the lazy person’s way of getting that fritter fix, but let’s be real—it’s also the smart person’s way.
I’ve made this bread for brunches, for potlucks, for random Tuesday breakfasts, and even as a snack with afternoon tea. It’s versatile, it’s comforting, and it’s incredibly forgiving. If you’re a fan of fluffy Japanese souffle pancakes or any other brunch classic, this bread fits right in. It’s that level of “I can’t believe this is homemade” comfort food.
Why You’ll Love This Recipe
There are about ten reasons I keep coming back to this apple fritter bread, but here are the big ones that actually matter when you’re standing in your kitchen wondering what to make for breakfast.
It Tastes Like Dessert but Is Actually Breakfast — Seriously. The combination of spiced apple chunks in a tender crumb, topped with a sweet vanilla glaze, is irresistible. My husband says it’s the only reason he gets out of bed on weekends. I’m not sure if that’s hyperbole or fact, but I’ll take it.
Stupid Simple Technique — You don’t need a mixer. You don’t need to fold egg whites or temper anything. You mix the wet, you mix the dry, you combine them, you add the apples, and you bake it. That’s it. If you can stir a bowl, you can make this bread. I’ve made it while my toddler was screaming in the other room, and it still turned out perfect.
Uses What You Have — You probably have most of the ingredients in your pantry right now. Flour, sugar, butter, eggs, milk, cinnamon, nutmeg. And apples? Well, you need apples. But you can use whatever kind you have lying around. Granny Smith for tartness, Fuji for sweetness, Honeycrisp for that perfect balance. I don’t judge.
Perfect for Meal Prep — This bread keeps well. I make a loaf on Sunday, slice it up, and wrap it individually. I have breakfast sorted for three days. Plus, it freezes beautifully. Thaw it out in the microwave for 30 seconds, and it’s like fresh again.
The Glaze Is Non-Negotiable — I know some people skip the glaze. I respect that. But this glaze? It’s the cherry on top. It’s sweet, it’s vanilla-forward, and it soaks into the warm bread just enough to make it look fancy without actually being hard. It’s the kind of detail that makes people ask, “Did you buy this at the bakery?”
This is my go-to when I want to impress but don’t want to spend all morning in the kitchen. It’s reliable, it’s delicious, and it makes my house smell amazing.
Ingredients You’ll Need
Here’s the best part: the ingredient list is short, simple, and likely already in your kitchen. I’m particular about a couple of things here, especially the apples and the butter, so pay attention to those notes.
For the Bread:
All-purpose flour (2 cups / 250g) — This is your base. Don’t try to swap in whole wheat unless you want a denser, heavier bread. This recipe is designed to be light and fluffy like a fritter. If you need gluten-free, a 1-to-1 gluten-free flour blend works well, though the texture might be slightly different.
Baking powder (2 teaspoons) — And ½ teaspoon of baking soda. Yes, both. The baking powder gives the lift, and the baking soda helps with browning and tenderizing the crumb. Don’t skip either one.
Salt (½ teaspoon) — Just enough to balance the sweetness. Don’t skimp on salt in baking. It makes the flavors pop.
Cinnamon (2 teaspoons) — This is a big one. Use ground cinnamon, not the sticks. I prefer a good quality brand like McCormick or simply organic. If you have a mix of cinnamon and nutmeg, use that, but keep the cinnamon as the main star.
Nutmeg (¼ teaspoon) — Freshly grated if you have a microplane. It makes a huge difference. Pre-ground nutmeg is okay, but it loses potency fast. A little goes a long way.
Unsalted butter (½ cup / 115g, melted) — Melt it and let it cool slightly. Using melted butter makes the bread tender and moist. If you use softened butter and cream it with sugar, the texture will be different—more cake-like. Melted is the way to go for that fritter-y chew.
Granulated sugar (¾ cup / 150g) — This adds sweetness and helps with browning. If you want a slightly less sweet bread, you can reduce to ½ cup, but I recommend sticking with ¾ cup. You’ll add more sugar in the glaze anyway.
Brown sugar (½ cup / 100g, packed) — This adds that caramel, molasses-like depth that pairs perfectly with apples. Don’t use white sugar here. The moisture in brown sugar is key.
Eggs (2 large) — Room temperature eggs incorporate better into the batter. If you forget, just place them in a bowl of warm water for 5 minutes.
Vanilla extract (2 teaspoons) — Use real vanilla extract, not imitation. The flavor is much richer and more complex. This is one place where I won’t compromise.
Milk (½ cup / 120ml) — Whole milk is best for richness. Buttermilk is even better if you have it—the acidity tenderizes the gluten and adds a slight tang. If you don’t have buttermilk, add a tablespoon of lemon juice or vinegar to regular milk and let it sit for 5 minutes.
Apples (3 medium, about 3 cups diced) — This is the star. Use a mix of tart and sweet apples. I love using Granny Smith for their firmness (they don’t turn to mush) and Fuji or Gala for sweetness. Dice them into ½-inch chunks. Too big, and they’ll fall out of the bread. Too small, and they’ll disappear.
Optional: Pecans or Walnuts (½ cup, chopped) — I usually add nuts for crunch. Toast them in a dry pan for 2-3 minutes before adding to the batter. It brings out the oils and makes them taste amazing.
For the Vanilla Glaze:
Confectioners’ sugar (1 cup / 120g) — Sifted to remove lumps. Nobody wants a lumpy glaze.
Milk or cream (2-3 tablespoons) — Add gradually. You want a thick but pourable consistency.
Vanilla extract (1 teaspoon) — Same as above—real vanilla makes a difference.
Pinch of salt — Just a tiny pinch to balance the sweetness.
Equipment Needed
You don’t need fancy equipment for this. Here’s what I actually use.
9×5 inch loaf pan — Standard size. Grease it well with butter or non-stick spray. I like to line it with parchment paper for easy removal, but it’s not strictly necessary if you grease it well.
Two mixing bowls — One for wet ingredients, one for dry. I prefer having two separate bowls so I don’t overmix.
Whisk — For mixing the dry ingredients and the wet ingredients separately. A whisk breaks up lumps in the flour better than a spoon.
Spatula — For folding the batter. A silicone spatula is best because it gets all the batter out of the bowl.
Knife and cutting board — For dicing the apples. A sharp knife makes this task much easier and safer.
Cooling rack — For cooling the bread after baking. Letting it cool in the pan can make the bottom soggy.
Small bowl and spoon — For mixing the glaze.
Pastry brush (optional) — If you want to brush the top of the bread with melted butter before baking for extra shine and flavor.
How to Make It: Step-by-Step
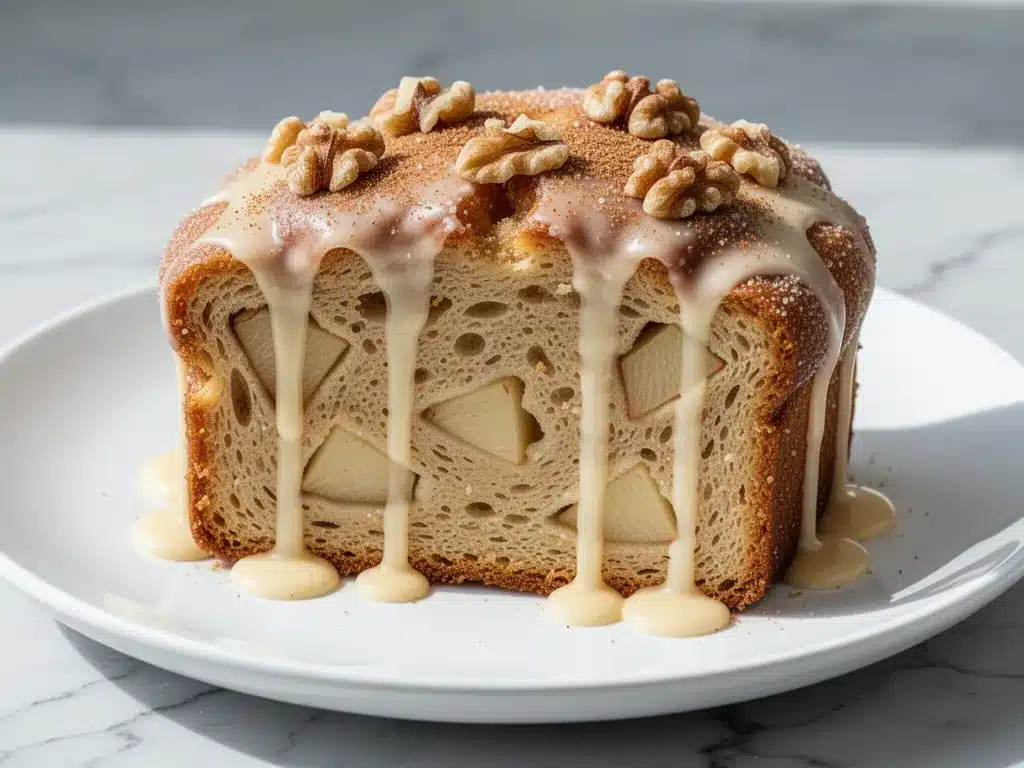
Alright, let’s make this! I’m walking you through exactly how I do it, including the little tricks I’ve picked up.
Step 1: Prep Your Pan and Oven (5 minutes)
Preheat your oven to 350°F (175°C). Grease your 9×5 inch loaf pan generously with butter or non-stick spray. If you’re using parchment paper, cut a strip that fits the bottom and sides, leaving a little overhang on the sides so you can lift the bread out later. This is my #1 tip for easy cleanup.
Step 2: Mix the Dry Ingredients (3 minutes)
In a medium bowl, whisk together the flour, baking powder, baking soda, salt, cinnamon, and nutmeg. Whisk it well to ensure the leavening agents and spices are evenly distributed. If you don’t whisk this well, you might get pockets of baking powder that taste bitter. I’ve learned this the hard way.
Step 3: Mix the Wet Ingredients (3 minutes)
In a large bowl, whisk the melted butter until it’s smooth. Add the granulated sugar, brown sugar, eggs, vanilla extract, and milk. Whisk vigorously for about 1-2 minutes. You want the mixture to be smooth and slightly pale. This incorporates air and helps with the texture.
Step 4: Combine Wet and Dry (2 minutes)
Pour the dry ingredients into the wet ingredients. Use your spatula to gently fold them together. Stop as soon as the flour disappears. Do not overmix! Overmixing develops gluten, and you want this bread to be tender, not chewy. It’s okay if there are a few small lumps.
Step 5: Fold in the Apples (2 minutes)
Add the diced apples (and nuts, if using) to the batter. Gently fold them in. Be careful not to crush the apple chunks. You want them intact so you get nice bites of apple in every slice.
Step 6: Bake (50-60 minutes)
Pour the batter into the prepared loaf pan. Smooth the top with your spatula. If you want a crunchy sugar topping, sprinkle a little extra cinnamon-sugar mixture on top now. Bake for 50-60 minutes. At 50 minutes, check the bread. Insert a toothpick into the center. If it comes out clean or with just a few moist crumbs, it’s done. If it’s wet, bake for 5-10 more minutes.
Important: The top might brown too quickly. If it does, loosely tent a piece of aluminum foil over the top for the last 15-20 minutes of baking. This prevents burning while the center finishes cooking.
Step 7: Cool Completely (1 hour)
Let the bread cool in the pan for 10 minutes, then transfer it to a wire rack to cool completely. This step is crucial. If you glaze warm bread, the glaze will melt into the bread and disappear. You want it to sit on top, creating that sweet, crunchy crust.
Step 8: Make the Glaze and Top (5 minutes)
While the bread cools, make the glaze. Whisk together the confectioners’ sugar, vanilla, salt, and 2 tablespoons of milk. Add more milk, one teaspoon at a time, until you reach a thick but pourable consistency. Drizzle the glaze over the completely cooled bread. Let it set for 10 minutes before slicing.
Expert Tips & Tricks
Here’s everything I’ve learned from making this dozens of times. These tips will save you from my mistakes.
Don’t Overmix the Batter
This is the most common mistake. Once you add the flour, mix until just combined. Lumps are okay. Overmixing makes the bread dense and tough. We want light and fluffy, not like a brick.
Use Room Temperature Ingredients
Eggs and milk at room temperature emulsify better with the butter and sugar. Cold ingredients can cause the batter to separate. If you forget, just warm them up slightly.
Dice Apples Uniformly
Try to dice your apples into ½-inch chunks. Too big, and they’ll sink to the bottom. Too small, and they’ll turn into applesauce. Uniformity helps them cook evenly and stay suspended in the batter.
Coat Apples in Flour
Toss the diced apples in a tablespoon of the flour mixture before adding them to the batter. This helps them stay suspended in the bread instead of sinking to the bottom. It’s a small step that makes a big difference.
Check for Doneness Early
Ovens vary. Start checking at 50 minutes. A toothpick should come out clean. If it’s wet, check every 5 minutes. If the top is browning too fast, cover it with foil.
Glaze Only When Cool
I know it’s tempting to glaze it warm. Resist. Warm bread melts the glaze. Cool bread holds the glaze. Patience pays off.
Toast Your Nuts
If you’re using pecans or walnuts, toast them in a dry pan for 2-3 minutes before adding. It brings out their flavor and adds a nice crunch.
Variations & Substitutions
Once you’ve nailed the basic version, here’s how you can mix it up. I’ve tried all of these.
Double Chocolate Apple Bread
Add ½ cup of cocoa powder to the dry ingredients and fold in ½ cup of chocolate chips with the apples. It’s like a dessert bread, and it’s incredible.
Caramel Apple
Drizzle ¼ cup of caramel sauce over the batter before baking. Swirl it in gently with a knife. It creates pockets of gooey caramel in every bite.
Apple Cider Glaze
Replace the milk in the glaze with reduced apple cider. Simmer 1 cup of apple cider until it reduces to ¼ cup, then use it in the glaze. It intensifies the apple flavor.
Gluten-Free
Use a 1-to-1 gluten-free flour blend. Add ¼ teaspoon of xanthan gum if your blend doesn’t include it. The texture will be slightly more crumbly, but it still tastes great.
Dairy-Free
Replace butter with coconut oil or dairy-free butter. Use almond milk or oat milk instead of dairy milk. The glaze can be made with coconut cream. It’s still moist and flavorful.
Vegan
Replace eggs with flax eggs (2 tablespoons ground flaxseed mixed with 6 tablespoons water, let sit for 5 minutes). Use maple syrup instead of brown sugar if you want, but brown sugar is usually vegan anyway. Use dairy-free butter and milk.
Spiced Variation
Add ½ teaspoon of cardamom or allspice to the dry ingredients. It adds a warm, aromatic depth that pairs well with apples.
Serving & Storage
How to Serve:
I usually serve this bread warm, straight from the oven, with a pat of butter melting on top. But it’s also great at room temperature. It’s perfect for brunch, packed in lunches, or enjoyed with afternoon tea. Pair it with a cup of coffee or a glass of orange juice.
Side Dishes:
This bread is rich, so it pairs well with lighter sides. A simple green salad, some fresh fruit, or even some crispy bacon works well. If you’re making a big brunch, it goes great with honey mustard chicken skewers or other savory dishes.
Storage:
Store the bread in an airtight container at room temperature for up to 3 days. If your kitchen is hot, store it in the fridge to prevent mold. It will keep for up to 5 days in the fridge, but it might dry out slightly. Reheat slices in the microwave for 20-30 seconds to soften them.
Freezing:
This bread freezes beautifully. Wrap individual slices or the whole loaf tightly in plastic wrap, then in aluminum foil. Freeze for up to 3 months. Thaw at room temperature or in the microwave. You can also freeze the glaze separately if you want to add it fresh when you serve it.
Reheating:
If you’re reheating the whole loaf, wrap it in foil and warm it in a 300°F oven for 10-15 minutes. For slices, microwave for 20-30 seconds. Avoid the toaster, as it might burn the glaze.
Nutrition Information
I’m not a nutritionist, but here’s the breakdown if you’re tracking. This is an estimate based on 12 slices.
| Nutrient | Per Slice (1/12 of loaf) |
|---|---|
| Calories | 280 |
| Protein | 4g |
| Carbs | 45g |
| Fiber | 2g |
| Sugar | 28g |
| Fat | 10g |
| Saturated Fat | 6g |
| Cholesterol | 35mg |
| Sodium | 220mg |
What’s Good: It has some fiber from the apples and flour. It’s a decent source of energy for breakfast.
What to Know: It’s higher in sugar and carbs because it’s essentially a sweet bread. Enjoy it in moderation, or pair it with a protein-rich side like eggs or Greek yogurt to balance the meal.
My Take: Look, this is a treat. It’s sweet, it’s comforting, and it’s homemade. It’s not a diet food, but it’s better than anything from a box. When I make it, I usually have one or two slices with my coffee. It’s a weekend luxury, not a daily staple.
Final Thoughts
So that’s my go-to soft homestyle apple fritter bread! I’ve probably talked your ear off at this point, but when you make a recipe this often, you have a lot to say about it.
This has saved my weekends more times than I can count. It’s my answer to “what’s for breakfast” when I want something special but don’t want to spend all morning cooking. My kids are happy, my husband’s happy, and I’m happy because I’m not stressed about cooking.
Make it yours! Try different apples, add nuts, swap the glaze, or adjust the spices. The best recipes are the ones you adapt to your family’s tastes. If you make this, drop a comment and let me know what you think! I love hearing how recipes turn out in your kitchen. And if something doesn’t work, tell me that too—I’m here to help troubleshoot.
Happy cooking! And I hope your kitchen smells half as good as mine does right now.
Frequently Asked Questions
Can I use canned apples instead of fresh?
You can, but fresh apples are much better. Canned apples are often softer and sweeter, and they can make the bread soggy. If you must use canned, drain them well and pat them dry with paper towels. But fresh is definitely the way to go for the best texture.
Why did my bread sink in the middle?
This usually happens if the oven was opened too early, or if the bread wasn’t fully baked. Make sure you’re checking for doneness with a toothpick. Also, don’t open the oven door for the first 30 minutes of baking. The sudden drop in temperature can cause the bread to collapse.
Can I make this bread ahead of time?
Yes! You can make the batter the night before, pour it into the pan, cover it with plastic wrap, and refrigerate it. In the morning, just take it out and bake it as directed. You might need to add 5-10 minutes to the baking time since the batter will be cold. Alternatively, bake the bread ahead and store it in an airtight container.
Can I freeze the glaze?
Glaze doesn’t freeze well because it can separate or become grainy when thawed. It’s best to make the glaze fresh when you’re ready to serve the bread. If you need to make it ahead, you can store it in the fridge for a few days, but whisk it well before using.
What kind of apples are best for this bread?
I recommend a mix of tart and sweet apples. Granny Smith is great for their tartness and firmness, while Fuji, Gala, or Honeycrisp add sweetness. Avoid apples that turn to mush when cooked, like Red Delicious. You want chunks that hold their shape.
Can I double this recipe?
Yes, but you’ll need two loaf pans. Double the ingredients and divide the batter evenly between the pans. The baking time should be the same, but keep an eye on them. If you only have one pan, you can bake the second loaf after the first one is done.
Is this bread suitable for people with nut allergies?
The basic recipe is nut-free. If you add nuts, obviously it’s not. Make sure to check your ingredients, especially the vanilla extract and baking powder, to ensure they’re processed in a facility that handles nuts if you have a severe allergy.
Pin This Recipe!
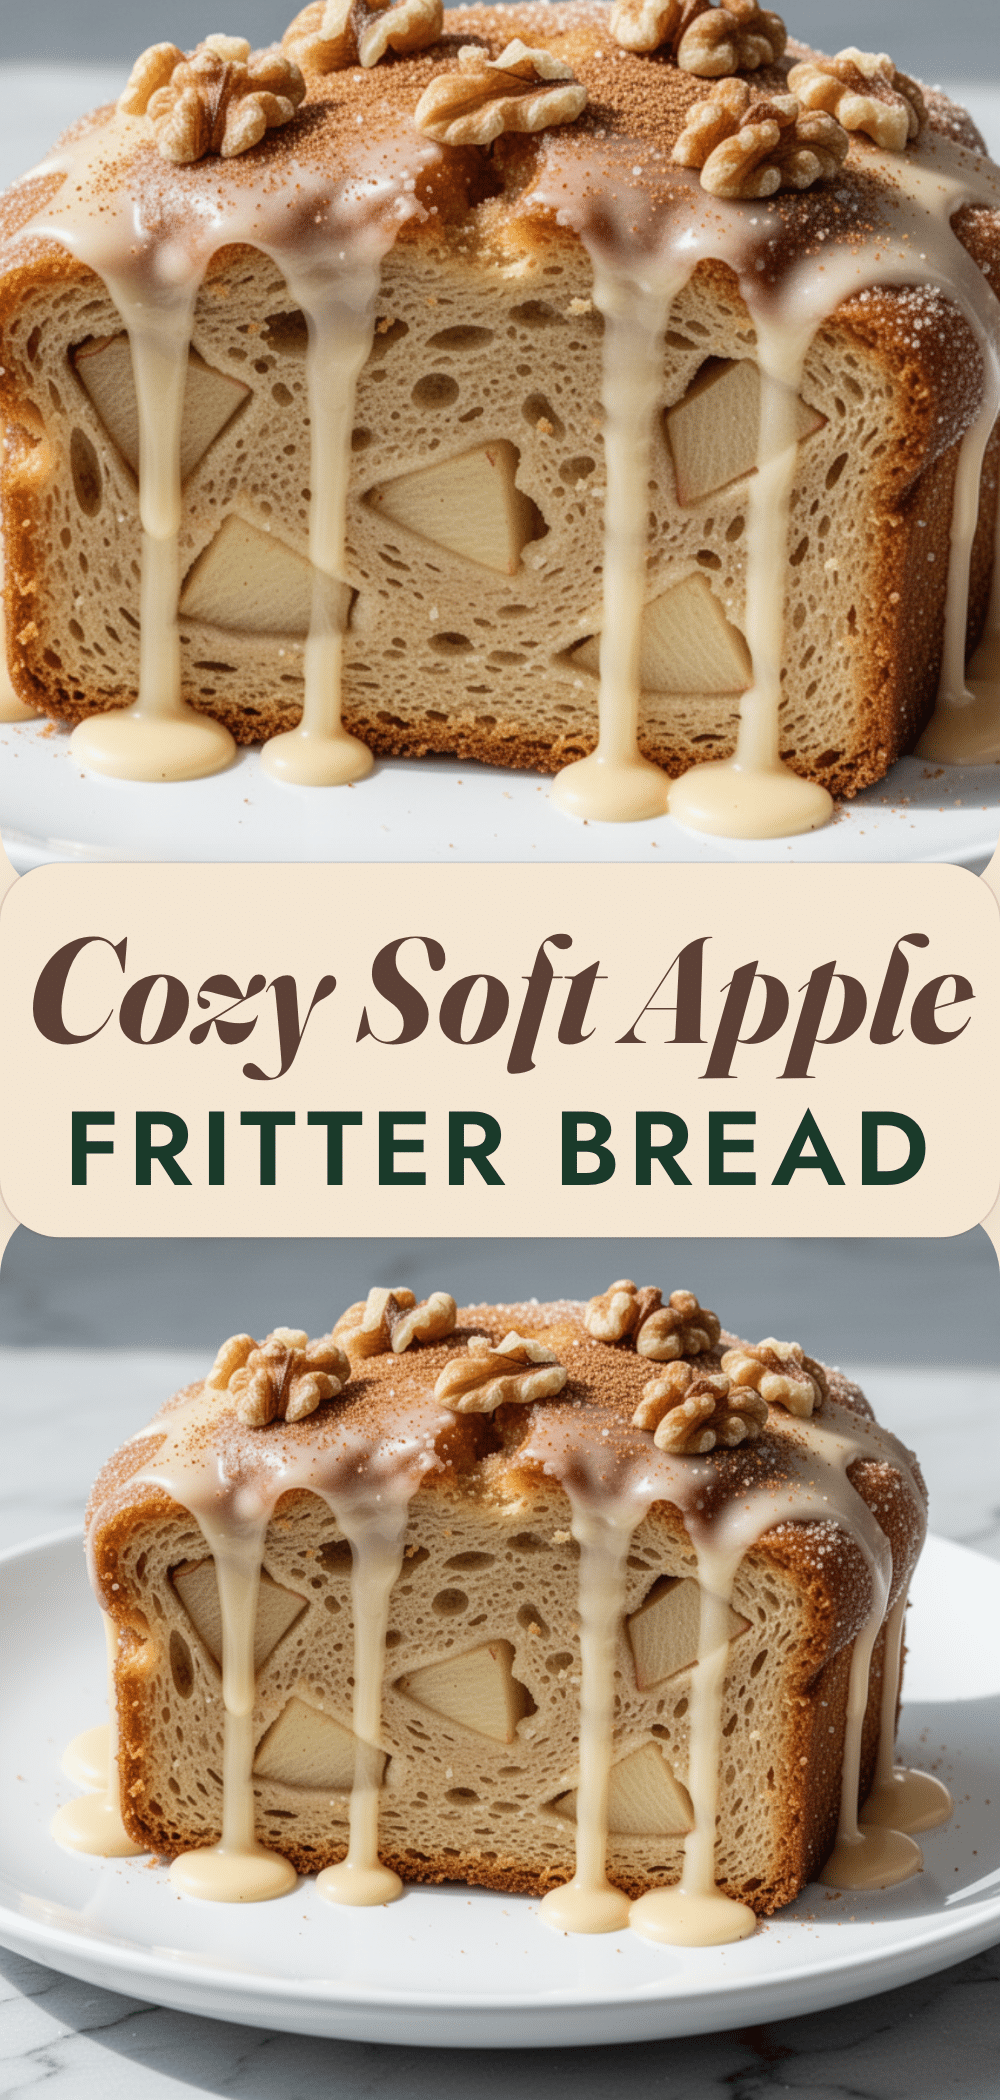
Soft Homestyle Apple Fritter Bread
- Total Time: 1 hour 15 minutes
- Yield: 12 servings 1x
Description
A tender, moist quick bread that captures the flavors of apple fritters with spiced apple chunks and a sweet vanilla glaze, perfect for breakfast or brunch.
Ingredients
- 2 cups (250g) all-purpose flour
- 2 teaspoons baking powder
- 1/2 teaspoon baking soda
- 1/2 teaspoon salt
- 2 teaspoons ground cinnamon
- 1/4 teaspoon nutmeg
- 1/2 cup (115g) unsalted butter, melted
- 3/4 cup (150g) granulated sugar
- 1/2 cup (100g) packed brown sugar
- 2 large eggs, room temperature
- 2 teaspoons vanilla extract
- 1/2 cup (120ml) milk or buttermilk
- 3 medium apples (about 3 cups diced), such as Granny Smith and Fuji
- 1 cup (120g) confectioners’ sugar (for glaze)
- 2–3 tablespoons milk or cream (for glaze)
- 1 teaspoon vanilla extract (for glaze)
- Pinch of salt (for glaze)
- 1/2 cup chopped pecans or walnuts, optional
Instructions
- Preheat oven to 350°F (175°C). Grease a 9×5 inch loaf pan and line with parchment paper if desired.
- In a medium bowl, whisk together flour, baking powder, baking soda, salt, cinnamon, and nutmeg.
- In a large bowl, whisk melted butter until smooth. Add granulated sugar, brown sugar, eggs, vanilla extract, and milk. Whisk vigorously for 1-2 minutes until smooth and slightly pale.
- Pour dry ingredients into wet ingredients. Gently fold together with a spatula until just combined; do not overmix.
- Toss diced apples in a tablespoon of the flour mixture, then gently fold them into the batter along with nuts if using.
- Pour batter into the prepared loaf pan and smooth the top. Bake for 50-60 minutes, or until a toothpick inserted in the center comes out clean. Tent with foil if the top browns too quickly.
- Let the bread cool in the pan for 10 minutes, then transfer to a wire rack to cool completely.
- While the bread cools, whisk confectioners’ sugar, vanilla, salt, and 2 tablespoons of milk. Add more milk as needed for a thick but pourable consistency.
- Drizzle the glaze over the completely cooled bread and let it set for 10 minutes before slicing.
Notes
Do not overmix the batter to ensure a tender crumb. Use room temperature ingredients for better emulsification. Coat apples in flour before adding to help them stay suspended in the batter. Glaze only when the bread is completely cool to prevent melting.
- Prep Time: 15 minutes
- Cook Time: 50-60 minutes
- Category: Breakfast
- Cuisine: American
Nutrition
- Serving Size: 1 slice (1/12 of loa
- Calories: 280
- Sugar: 28
- Sodium: 220
- Fat: 10
- Saturated Fat: 6
- Carbohydrates: 45
- Fiber: 2
- Protein: 4
Keywords: apple fritter bread, quick bread, breakfast recipe, apple bread, vanilla glaze, easy brunch, homemade bread


