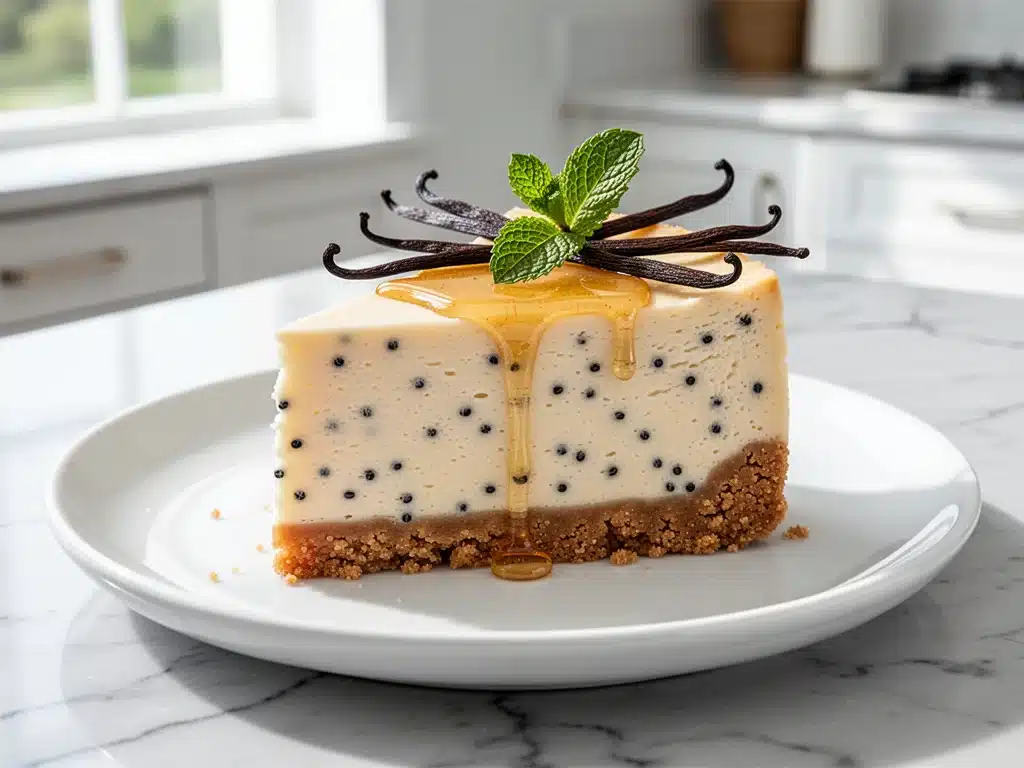
Last summer, I walked into one of those upscale dessert spots in the city center—the kind with exposed brick walls and menus printed on thick, textured cardstock. I ordered the “signature vanilla bean cheesecake.” It arrived looking perfect. Sleek. Professional. I took one bite, and honestly? It was dry. Dense. Tasted like it had been sitting under a heat lamp for an hour. I paid $12 for a slice that tasted like regret and overworked cream cheese.
I went home that night, opened my fridge, and stared at a block of cream cheese, a carton of heavy cream, and a tiny jar of vanilla beans I’d bought on a whim months ago. I thought, “There has to be a better way.” So I made a small batch. Just enough for two people. No fancy equipment. No water bath drama. And when we took that first bite, my husband looked at me and said, “This tastes like the real thing. The *good* kind of real.”
That was three years ago. Since then, I’ve made this Small Batch Vanilla Bean Cheesecake at least twenty times. It’s become my go-to when I want something fancy but don’t want to commit to a nine-inch cake that’ll sit in the fridge for a week. It’s creamy, it’s rich, it’s got those beautiful black specks of vanilla bean, and it’s genuinely better than anything you’ll order at a restaurant. Plus, it’s easier than you think.
Here’s the thing about cheesecake: people overcomplicate it. They worry about cracks. They stress about water baths. They buy expensive springform pans they never use again. This recipe skips all that nonsense. It’s baked in a simple loaf pan or ramekins, and the result is a dense, custard-like cake that melts in your mouth. No cracks. No fuss. Just pure, vanilla-y goodness.
If you’ve ever felt intimidated by cheesecake, this is your invitation to stop. I’m going to walk you through exactly how I make it, why small batch is actually smarter than big batch, and how to get that professional texture without the professional headache.
Why You’ll Love This Small Batch Vanilla Bean Cheesecake
There are a million reasons to make this, but let’s be real—you’re here because you want dessert that feels special but doesn’t require a weekend of prep. Here’s why this small batch version has completely won me over:
Freshness First — A nine-inch cheesecake takes forever to eat. By the fourth day, it’s dry and the crust gets soggy. With this small batch, you eat it all within three days, meaning every bite is as fresh and creamy as the first. I love that I can make it on a Tuesday and finish it by Thursday, no leftovers gathering dust.
No Wasted Ingredients — Have you ever opened a package of vanilla beans or a tub of cream cheese and only used half? I hate waste. This recipe uses exactly one vanilla bean (or two teaspoons of paste) and a standard 8-ounce block of cream cheese. Nothing goes to waste. It’s efficient, economical, and satisfying.
Less Drama, More Dessert — Big cheesecakes crack. They sink. They require water baths and precise oven temperatures. This small batch version is forgiving. It bakes in a loaf pan or even individual ramekins, so even if you overbake it slightly, it just turns into a delicious, dense custard. It’s hard to mess up.
Perfect for Two (or Four Hungry People) — I live with my husband, and we don’t need a giant cake. This makes about 4-6 slices, which is perfect for a date night, a small dinner party, or just satisfying our sweet tooth without the guilt of eating half a cake alone. It feels indulgent without being excessive.
Restaurant-Quality Texture — I’ve made the big version, and I’ve made this small version. The small one actually has a better texture because it’s less likely to overcook in the center. It’s smoother, creamier, and more consistent. If you want that silky, mousse-like mouthfeel, this is the way to go.
This recipe has saved my dessert game more times than I can count. It’s my answer to “what’s for dessert?” when I want something elegant but don’t want to order takeout or drive to the bakery. My friends think I’m a genius when I bring this out. Spoiler: I’m not. I just know how to make a good cheesecake.
Ingredients You’ll Need
Before we get into the mixing bowl, let’s talk about what goes in. I’m particular about three things here: the cream cheese, the vanilla, and the sugar. Get these right, and the rest is easy.
Cream Cheese (8 ounces / 225g, full-fat, softened) — This is the star. Do not use low-fat. Do not use whipped. You need full-fat, brick-style cream cheese. Let it sit on the counter for at least an hour before you start. If it’s cold, you’ll get lumps. I’ve ruined batches because I was lazy and didn’t soften it. Don’t be lazy.
Granulated Sugar (½ cup / 100g) — Standard white sugar works perfectly. It dissolves easily and doesn’t add any weird aftertaste. I’ve tried brown sugar once, and it made the cheesecake taste like molasses. Stick with white.
Heavy Cream (½ cup / 120ml) — This adds richness and helps create that smooth, custard-like texture. Use full-fat. Half-and-half will make it too thin. I keep a carton in the fridge specifically for desserts like this.
Eggs (2 large, room temperature) — Room temperature eggs blend more smoothly. If you forget, just drop them in a bowl of warm water for 5 minutes. Don’t skip this step. Cold eggs can cause the batter to separate.
Vanilla Bean Paste or Bean (1 teaspoon paste or 1 whole bean) — This is where the magic happens. If you can find real vanilla beans, buy them. Split them, scrape out the seeds, and add both the seeds and the pod (remove the pod before baking). The black specks are beautiful. If you don’t want to bother with beans, high-quality vanilla bean paste works great. Avoid artificial vanilla extract—it tastes chemical in baked goods.
Graham Cracker Crust (1 ½ cups crumbs / 150g, ¼ cup sugar / 50g, 4 tablespoons melted butter / 60g) — I make my own crust because it’s so much better than store-bought. You can buy premade crumbs if you’re in a rush, but grating a few crackers by hand takes two minutes and tastes worlds apart.
Salt (¼ teaspoon) — A pinch of salt balances the sweetness. Don’t skip it. It makes the vanilla flavor pop.
Optional: Lemon Zest (1 teaspoon) — Just a little zest cuts through the richness and adds brightness. I add it sometimes, but it’s not essential.
Equipment Needed
You don’t need fancy gadgets for this. Here’s what I actually use:
8×4-inch Loaf Pan or 6 Ramekins — A standard loaf pan works beautifully for a small batch. It makes a tall, dense cake. Alternatively, six 6-ounce ramekins work if you want individual portions. I prefer the loaf pan for ease of slicing.
Electric Hand Mixer or Stand Mixer — You need to beat the cream cheese until it’s completely smooth. Doing this by hand is possible but tiring. A hand mixer is fine. I use my KitchenAid for consistency.
Spatula — A silicone spatula is essential for scraping the bowl and folding in ingredients gently. I have a few, but any flexible spatula works.
Zester or Microplane — If you’re using fresh vanilla bean or lemon zest, a microplane makes it easy. I keep mine on my counter because I use it constantly.
Food Processor or Ziploc Bag — For making graham cracker crumbs. A food processor is fastest, but if you don’t have one, put crackers in a bag and crush them with a rolling pin. It’s satisfying, honestly.
How to Make It: Step-by-Step
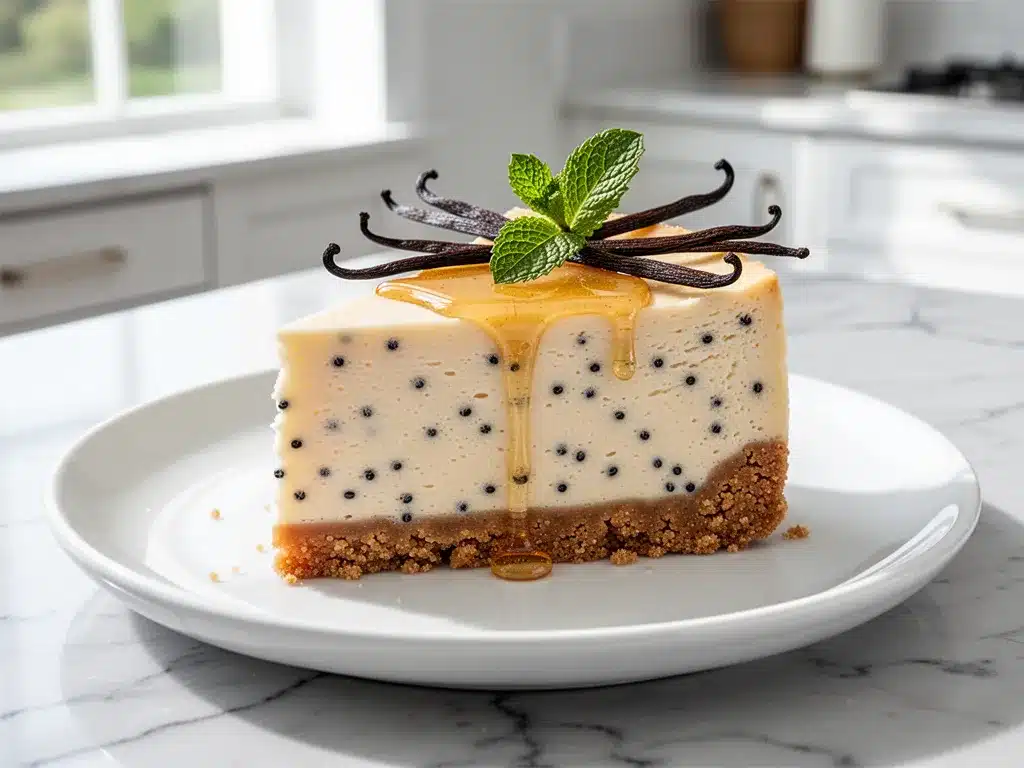
Alright, let’s make this! I’m walking you through exactly how I do it, including the little tricks I’ve picked up over the years.
Step 1: Prep Your Pan and Oven (5 minutes)
Preheat your oven to 325°F (165°C). This is a low and slow bake, which is key for creamy texture. Grease your loaf pan or ramekins with butter. I also line the loaf pan with parchment paper, leaving an overhang on the sides. This makes it easy to lift the cake out later. If you’re using ramekins, just butter them well.
Step 2: Make the Crust (5 minutes)
If you’re using store-bought graham cracker crumbs, skip to Step 3. If you’re making your own, crush the crackers into fine crumbs. Mix them with the sugar and melted butter until it looks like wet sand. Press this mixture firmly into the bottom of your pan or ramekins. Use the back of a spoon or a small glass to pack it down tightly. You want it solid, not loose. Bake the crust for 8 minutes at 325°F, then remove and let it cool while you make the filling.
Step 3: Beat the Cream Cheese (3 minutes)
In a large bowl, beat the softened cream cheese until it’s completely smooth and creamy. No lumps. This is crucial. If you see lumps, keep beating. It might take a few extra minutes, but it’s worth it. I usually beat on medium speed for about 2-3 minutes.
Step 4: Add Sugar and Vanilla (2 minutes)
Add the sugar and the vanilla (seeds and pod, or paste). Beat on low speed until combined. Scrape down the sides of the bowl with your spatula. Make sure you get all the cream cheese from the edges. If you miss spots, you’ll get pockets of sweet cream cheese in your final cake.
Step 5: Mix in Eggs and Cream (2 minutes)
Add the eggs one at a time, beating on low speed just until combined. Do not overbeat after adding the eggs. Overbeating incorporates air, which causes cracks. Once the eggs are in, pour in the heavy cream and mix gently until smooth. If you’re using lemon zest, add it now. The batter should be thick, smooth, and glossy.
Step 6: Pour and Bake (45-50 minutes)
Pour the batter over the cooled crust. Smooth the top with a spatula. Place the pan in the oven and bake at 325°F for 45-50 minutes. The edges should be set, but the center should still have a slight jiggle when you shake the pan gently. It will continue to set as it cools. If you bake it until the center is firm, it’ll be dry. Trust the jiggle.
Step 7: Cool and Chill (4 hours minimum)
Turn off the oven and crack the door open. Let the cheesecake cool in the oven for 1 hour. This gradual cooling prevents cracks. After an hour, remove it from the oven and let it cool completely on the counter. Then, cover it with plastic wrap and refrigerate for at least 4 hours, preferably overnight. This chilling time is non-negotiable. It’s what gives the cheesecake its firm, sliceable texture.
Expert Tips & Tricks
Here’s everything I’ve learned from making this dozens of times. These tips will save you from my mistakes.
Room Temperature is Key — I can’t stress this enough. Cold cream cheese and cold eggs are the enemies of smooth cheesecake. If you forget to take them out, soak the eggs in warm water and let the cream cheese sit on the counter for an hour. It’s worth the wait.
Don’t Overmix — Once you add the eggs, mix on low speed and stop as soon as they’re incorporated. Air bubbles are what cause cracks. If you want a crack-free top, you can also tap the pan on the counter a few times after pouring the batter to release any large air bubbles.
The Jiggle Test — When you take the cheesecake out of the oven, the center should jiggle like Jell-O. If it’s firm, you’ve overbaked it. It will set as it cools. I’ve pulled out perfect cheesecakes that looked underdone but turned out creamy and perfect after chilling.
Use Real Vanilla — I’ve made this with extract, with paste, and with real beans. The difference is night and day. Real vanilla bean paste or fresh beans add a depth of flavor that extract just can’t match. It’s worth the extra cost.
Chill Overnight — I know you want to eat it now. But wait. The texture improves dramatically after 8-12 hours in the fridge. It becomes denser, creamier, and the flavors meld together. If you can’t wait overnight, at least chill for 4 hours.
Variations & Substitutions
Once you’ve nailed the basic version, here’s how you can mix it up. I’ve tried all of these.
Berry Swirl — Before baking, dollop 2 tablespoons of strawberry or raspberry jam on top of the batter and swirl it with a knife. It adds a beautiful marbled effect and a tart contrast to the sweet vanilla.
Chocolate Chip — Fold in ½ cup of mini chocolate chips after mixing the batter. Simple, classic, and always a hit with kids.
Gluten-Free — Use gluten-free graham crackers or almond flour for the crust. The batter is naturally gluten-free, so no changes needed there. I’ve used Bob’s Red Mill gluten-free graham crackers, and they work great.
Dairy-Free — This is trickier because cream cheese is hard to substitute. Use a high-quality vegan cream cheese (like Kite Hill) and coconut cream instead of heavy cream. The texture will be different but still delicious. My lactose-intolerant friend loves this version.
Lemon Vanilla — Add the zest of one lemon to the batter. It brightens the flavor and cuts through the richness. I do this in the summer when I want something lighter.
Serving & Storage
How to Serve: I usually serve this straight from the fridge. The cold temperature makes it feel more like a mousse. Slice it with a sharp knife dipped in hot water for clean cuts. Wipe the knife between slices. I top it with fresh berries, a dollop of whipped cream, or a drizzle of caramel sauce. Simple is best.
Side Dishes: This pairs beautifully with a light fruit salad or a simple arugula salad if you’re serving it after a heavy meal. It also goes well with coffee or tea. I often serve it with a cup of Earl Grey.
Storage: Store in an airtight container in the fridge for up to 5 days. It actually tastes better on day two or three as the flavors deepen. Do not freeze it. The texture changes when frozen, and it becomes grainy. Make it fresh or store in the fridge.
Reheating: You don’t need to reheat this. It’s best served cold. If you accidentally leave it out too long, just put it back in the fridge for an hour to firm up.
Nutrition Information
I’m not a nutritionist, but here’s the breakdown if you’re tracking. Per serving (based on 6 servings):
– Calories: 320
– Protein: 6g
– Carbs: 28g
– Fiber: 0g
– Sugar: 20g
– Fat: 22g
– Saturated Fat: 13g
– Cholesterol: 85mg
– Sodium: 220mg
Look, this is a rich dessert. It’s not a health food. But it’s homemade, so you know exactly what’s in it. When I want to make it lighter, I use less sugar and add more berries. But usually? I just enjoy a small slice and savor it.
Final Thoughts
So that’s my go-to small batch vanilla bean cheesecake! I’ve probably talked your ear off at this point, but when you make a recipe this often, you have a lot to say about it. This has saved my dessert game more times than I can count. It’s my answer to “what’s for dessert?” when I want something elegant but don’t want to order takeout or drive to the bakery.
Make it yours! Try different toppings, swap in your favorite berries, or experiment with different crusts. The best recipes are the ones you adapt to your family’s tastes. If you make this, drop a comment and let me know what you think! I love hearing how recipes turn out in your kitchen. And if something doesn’t work, tell me that too—I’m here to help troubleshoot.
Happy baking! And I hope your kitchen smells half as good as mine does right now.
Frequently Asked Questions
Can I use a springform pan for this small batch?
You can, but it’s not necessary. A springform pan is designed for large cakes. For this small batch, a loaf pan or ramekins are easier to handle and less likely to leak. If you do use a springform pan, just reduce the baking time by 10-15 minutes since the cake is smaller.
Why did my cheesecake crack?
Cracks usually happen from overmixing (which incorporates air) or overbaking (which dries out the edges). Make sure you mix on low speed after adding eggs, and pull the cheesecake out when the center still jiggles. Gradual cooling in the turned-off oven also helps prevent cracks.
Can I make this ahead for a party?
Absolutely. This is actually better made ahead. You can make it 2-3 days in advance. Store it in the fridge, covered. Just take it out 15 minutes before serving to let it soften slightly. It’s perfect for meal prep or pre-party planning.
Can I use vanilla extract instead of vanilla beans?
You can, but the flavor won’t be as intense or complex. If you use extract, use 1-2 teaspoons. I recommend vanilla bean paste as a middle ground—it has the flavor of beans but the convenience of extract. It’s worth the extra cost.
How do I store leftovers?
Store in an airtight container in the fridge for up to 5 days. It will firm up in the fridge, so let it sit at room temperature for 10-15 minutes before eating if you prefer a softer texture. Do not freeze.
Can I double this recipe?
Yes, but you’ll need a larger pan. If you double it, use a 9-inch springform pan or a 9×5 loaf pan. Increase the baking time by 10-15 minutes and keep an eye on the jiggle test. The cooling process stays the same.
Is this better than store-bought?
In my opinion, yes. Store-bought cheesecake is often dry, overly sweet, and full of preservatives. This homemade version is creamy, rich, and full of real vanilla flavor. Plus, you control the sugar level. It’s definitely worth the effort.
Pin This Recipe!
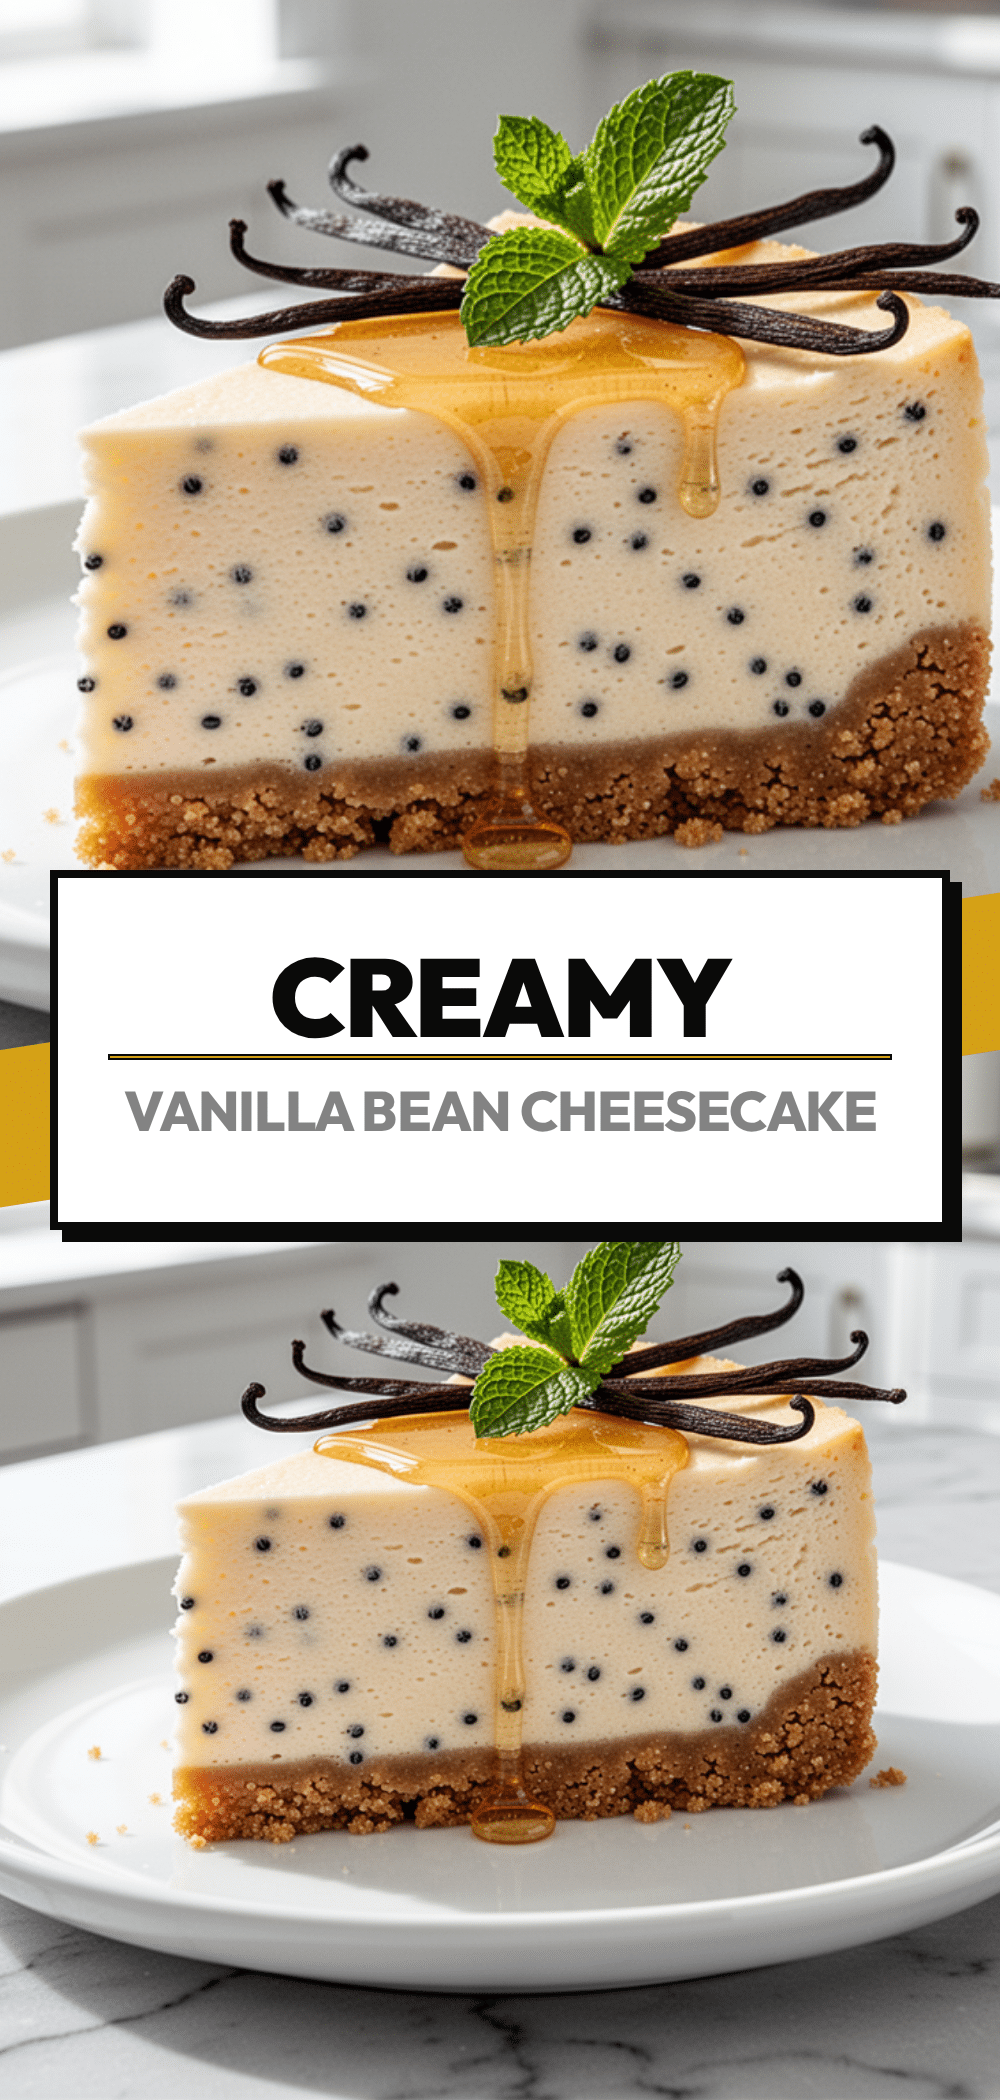
Small Batch Vanilla Bean Cheesecake
- Total Time: 4 hours 68 minutes
- Yield: 4-6 servings 1x
Description
A creamy, rich, and easy-to-make small batch vanilla bean cheesecake that yields 4-6 slices. Baked in a loaf pan or ramekins without a water bath, this dessert offers restaurant-quality texture with minimal fuss.
Ingredients
- 8 ounces (225g) full-fat brick-style cream cheese, softened
- 1/2 cup (100g) granulated sugar
- 1/2 cup (120ml) heavy cream, full-fat
- 2 large eggs, room temperature
- 1 teaspoon vanilla bean paste OR 1 whole vanilla bean (seeds and pod)
- 1 1/2 cups (150g) graham cracker crumbs
- 1/4 cup (50g) granulated sugar (for crust)
- 4 tablespoons (60g) unsalted butter, melted (for crust)
- 1/4 teaspoon salt
- 1 teaspoon lemon zest (optional)
Instructions
- Preheat oven to 325°F (165°C). Grease an 8×4-inch loaf pan or 6 ramekins with butter. Line the loaf pan with parchment paper if desired.
- Make the crust: Mix graham cracker crumbs, 1/4 cup sugar, and melted butter until it resembles wet sand. Press firmly into the bottom of the pan or ramekins. Bake for 8 minutes, then remove and let cool.
- Beat the softened cream cheese in a large bowl until completely smooth and creamy, about 2-3 minutes on medium speed.
- Add the 1/2 cup sugar and vanilla (paste or scraped bean seeds/pod) to the cream cheese. Beat on low speed until combined, scraping down the sides of the bowl.
- Add eggs one at a time, beating on low speed just until combined. Do not overmix. Pour in heavy cream and mix gently until smooth. Add lemon zest if using.
- Pour batter over the cooled crust. Bake at 325°F for 45-50 minutes. The edges should be set, but the center should still have a slight jiggle.
- Turn off the oven and crack the door open. Let the cheesecake cool in the oven for 1 hour to prevent cracking.
- Remove from oven and cool completely on the counter. Cover and refrigerate for at least 4 hours, preferably overnight, until firm.
- Slice with a sharp knife dipped in hot water for clean cuts. Serve chilled.
Notes
Ensure all ingredients, especially cream cheese and eggs, are at room temperature for a smooth batter. Do not overmix after adding eggs to avoid air bubbles and cracking. The cheesecake must be chilled for at least 4 hours to set properly. It does not freeze well; store in the fridge for up to 5 days.
- Prep Time: 15 minutes
- Cook Time: 53 minutes
- Category: Dessert
- Cuisine: American
Nutrition
- Serving Size: 1 slice (approx. 1/6
- Calories: 320
- Sugar: 20
- Sodium: 220
- Fat: 22
- Saturated Fat: 13
- Carbohydrates: 28
- Protein: 6
Keywords: small batch cheesecake, vanilla bean cheesecake, easy cheesecake, no water bath, homemade dessert, graham cracker crust


