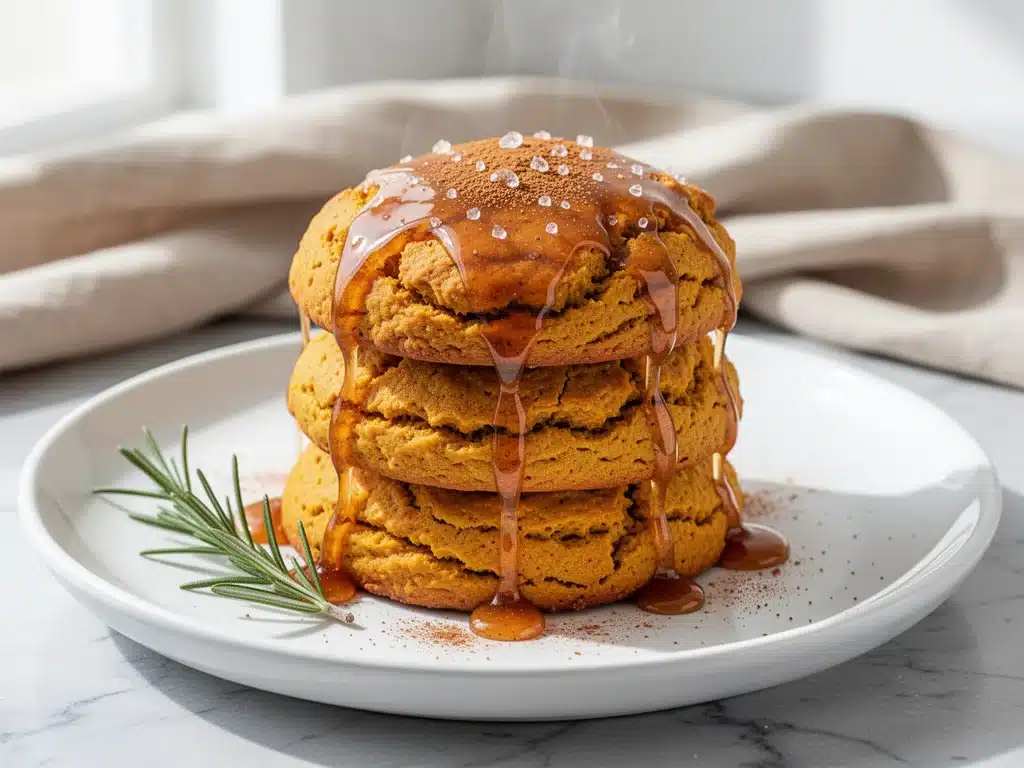
Last October, I walked into a local café that had just opened up in my neighborhood, and I ordered what I thought would be a simple breakfast treat. I got a scone. It was dry. Like, actually crumbly in a way that made my teeth ache. I took one bite, felt like I was chewing on a brick, and walked out. That was the moment I decided I needed to make my own. Not just any scone, but the kind of soft, pillowy, pumpkin-spiced perfection that you’d actually look forward to eating on a crisp Saturday morning.
Fast forward to today, and I’ve made these soft pumpkin scones at least forty times. Forty. And they’ve never failed me. There is something magical about the combination of spiced pumpkin puree and a warm maple cinnamon glaze that feels like a hug in food form. My family has claimed them as their official weekend breakfast, and I’ve brought them to book clubs, office potlucks, and neighbor drop-offs. Every single time, the reaction is the same: “How did you make these so soft? And where do I buy the glaze?”
The truth is, there’s no secret ingredient you can’t find at your local grocery store. It’s just technique. And patience. And knowing exactly when to stop mixing. I’ve spent years tweaking this recipe, burning batches that were too dense, and creating ones that were too sweet. I’ve tested different flours, different pumps of pumpkin, and different glaze ratios until I landed on this version. This is the one. The one that makes you want to wake up early on a Saturday just to eat them while they’re warm. If you’ve been searching for the best easy fall breakfast recipe, you’ve found it.
Why You’ll Love This Pumpkin Scone Recipe
There are about a dozen reasons I keep coming back to this recipe, but let’s be real—we all have different reasons for loving certain foods. Here’s why these soft pumpkin scones have completely taken over our kitchen routine:
- Actually Soft, Not Dry — Most pumpkin scone recipes result in a dense, biscuit-like texture. These are tender and crumbly in the best way. I’ve had friends tell me they taste more like a pumpkin muffin top than a traditional scone. The key is the buttermilk and the gentle handling of the dough.
- Spice-Forward Without Being Overpowering — I’m a huge fan of cinnamon, nutmeg, and ginger, but I don’t want my breakfast to taste like a candle. This blend is warm and aromatic without being spicy-hot. It smells like autumn the second it hits the oven.
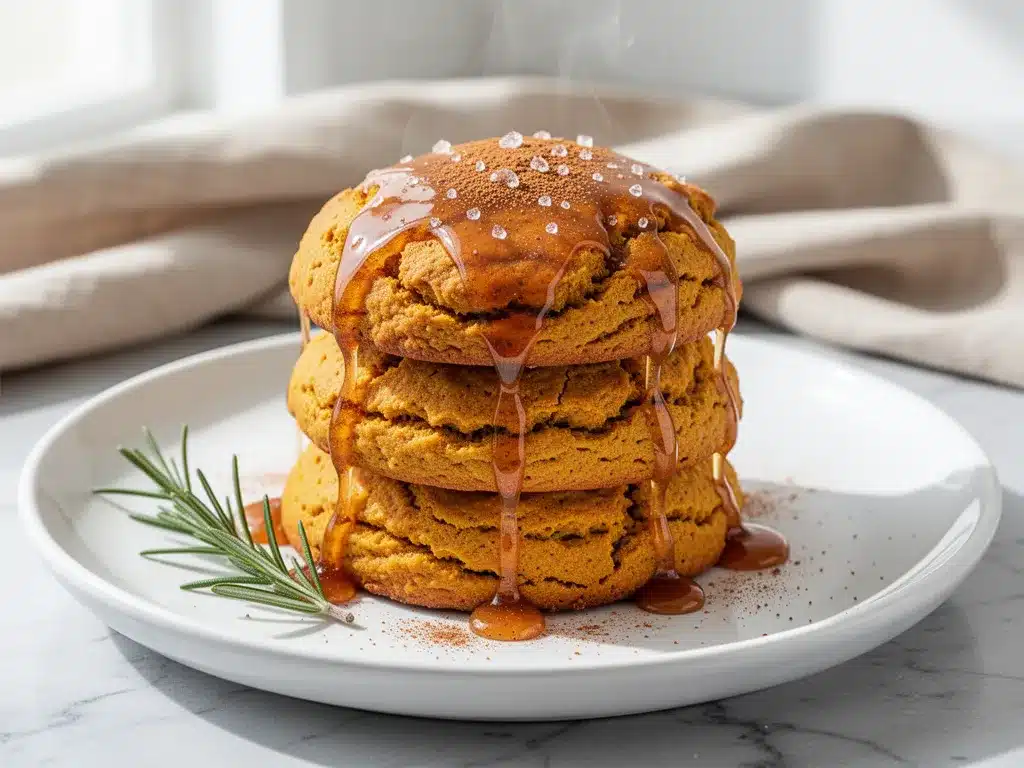
- Glaze That Actually Sticks — So many glaze recipes slide right off or get soggy. This maple cinnamon glaze is thick enough to coat the top but thin enough to seep slightly into the warm crumb. It adds a sweetness that balances the spices perfectly.
- Quick and Easy — From mixing to oven to table, this takes about 45 minutes. That’s 10 minutes of active work. I can make these while my kids are getting dressed for school. It’s the perfect weeknight treat or weekend indulgence.
- Freezer-Friendly — I make a double batch whenever I have time. These freeze beautifully for up to three months. I’ll pull two out on a busy Tuesday morning, microwave them for 30 seconds, and drizzle with a little extra glaze. It feels like cheating, but it’s just smart planning.
This recipe has saved our weekend mornings. It’s reliable, delicious, and makes my house smell like a cozy bakery. You’ll love them as much as I do.
Ingredients You’ll Need
Here’s the best part: you probably have most of these ingredients already. I’m not asking you to hunt down exotic spices or specialty flours. This is pantry-friendly cooking at its finest.
For the Scones
All-purpose flour (3 cups / 375g) — The base. Don’t use cake flour or self-rising flour unless you adjust the leavening. I like King Arthur Brand because it has good protein content, which helps with structure.
Baking powder (1 tablespoon) — Fresh is key. If your baking powder has been sitting in the back of the cabinet since last year, toss it. Old baking powder means flat scones. I test mine every six months by dropping a teaspoon in hot water—it should fizz violently.
Baking soda (½ teaspoon) — Works with the buttermilk to give those scones their lift.
Salt (1 teaspoon) — Enhances all the flavors. Don’t skip it.
Cinnamon (2 teaspoons) — Ground cinnamon. Freshly ground if you have a grinder, but store-bought is fine.
Ginger (1 teaspoon) — Ground ginger adds that warm bite.
Nutmeg (½ teaspoon) — Freshly grated is amazing, but pre-ground works.
Cardamom (¼ teaspoon) — Optional, but it adds a sophisticated depth. If you don’t have it, skip it.
Cold unsalted butter (1 cup / 226g) — This is crucial. Cold butter creates flaky layers. Cube it yourself and keep it in the fridge until the last second. Melted butter = dense scone.
Pumpkin puree (1 cup / 245g) — Use canned pumpkin puree, NOT pumpkin pie filling. Pie filling has sugar and spices already, which will mess up the balance. Look for 100% pure pumpkin.
Granulated sugar (½ cup / 100g) — Just enough sweetness to balance the spices.
Egg (1 large, cold) — Helps bind everything together.
Vanilla extract (1 teaspoon) — Pure vanilla, please. Imitation can taste chemical.
Buttermilk (½ cup / 120ml) — Adds tang and tenderness. If you don’t have buttermilk, make a buttermilk substitute by adding 1 tablespoon of lemon juice or white vinegar to ½ cup of milk. Let it sit for 5 minutes.
For the Maple Cinnamon Glaze
Powdered sugar (1 cup / 120g) — Sifted to avoid lumps.
Maple syrup (2-3 tablespoons) — Real maple syrup, Grade B if you want a stronger flavor. The “pancake syrup” stuff is just corn syrup and sugar. Don’t use it.
Cinnamon (½ teaspoon) — For that spicy kick in the glaze.
Milk or cream (1-2 teaspoons) — To adjust consistency.
Equipment Needed
You don’t need fancy gadgets for this. Here’s what I actually use:
- Large mixing bowl — I use a glass bowl because I can see the dough coming together.
- Pastry cutter or two forks — To cut the butter into the flour. A food processor works too, but be careful not to over-process.
- Measuring cups and spoons — For dry ingredients.
- Rolling pin — To shape the dough. A silicone one is nice because it doesn’t stick.
- Baking sheet — Line it with parchment paper. I’ve tried silicone mats, but parchment gives better browning.
- Wire cooling rack — Essential for letting the scones cool before glazing.
How to Make Soft Pumpkin Scones: Step-by-Step
Alright, let’s make these! I’m walking you through exactly how I do it, including the little tricks I’ve picked up over the years.
Step 1: Prep Your Dry Ingredients (5 minutes)
In a large mixing bowl, whisk together the flour, baking powder, baking soda, salt, cinnamon, ginger, nutmeg, and cardamom. Make sure there are no clumps of baking powder. This ensures even rising.
Step 2: Cut in the Butter (3-4 minutes)
Add the cold, cubed butter to the dry ingredients. Use a pastry cutter, two forks, or your fingers to work the butter into the flour. You’re looking for pea-sized chunks. Some larger pieces are okay—they create flaky layers. If the butter melts, put the bowl in the fridge for 10 minutes. Do not skip this.
Step 3: Mix Wet Ingredients (2 minutes)
In a separate small bowl, whisk together the pumpkin puree, sugar, egg, vanilla, and buttermilk. Make sure the pumpkin is smooth. If it’s lumpy, whisk it out. Pour this mixture into the flour-butter mixture.
Step 4: Combine the Dough (2 minutes)
Use a spatula or your hands to gently mix until the dough just comes together. It will look shaggy and messy. Do NOT overmix. Overmixing develops gluten, which makes scones tough. Stop as soon as you see no dry flour. If it’s too dry, add a splash more buttermilk. If it’s too wet, add a tablespoon of flour.
Step 5: Shape the Scones (5 minutes)
Turn the dough out onto a floured surface. Gently pat it into a circle about 1-inch thick. Don’t knead it. Just press it. Cut into 8 wedges. Place them on the parchment-lined baking sheet, leaving 2 inches between each for spreading.
Step 6: Bake (18-20 minutes)
Preheat oven to 400°F (200°C). Bake for 18-20 minutes, or until the tops are golden brown and a toothpick inserted comes out clean. Rotate the pan halfway through for even browning.
Step 7: Make the Glaze (5 minutes)
While scones bake, whisk powdered sugar, maple syrup, cinnamon, and milk/cream until smooth. Adjust consistency as needed.
Step 8: Glaze and Serve
Let scones cool for 5 minutes. Drizzle with glaze while still warm. Serve immediately.
Expert Tips & Tricks
Here’s everything I’ve learned from making these dozens of times. These tips will save you from my mistakes.
- Keep Everything Cold — Cold butter is non-negotiable. If your kitchen is hot, chill your bowl and tools first. Cold butter creates steam in the oven, which lifts the scones.
- Don’t Overmix — I cannot stress this enough. Handle the dough as little as possible. Gentle hands = soft scones.
- Use Pure Pumpkin — Again, not pie filling. Pie filling is too sweet and watery.
- Let Them Cool Slightly — Glaze warm scones, not hot ones. Hot scones will melt the glaze completely. Cool for 5 minutes.
- Freeze Before Glazing — For meal prep, freeze unglazed scones. Glaze right before serving. This keeps them fresher longer.
Variations & Substitutions
Once you’ve nailed the basic version, here’s how you can mix it up. I’ve tried all of these.
- Orange Glaze — Swap maple syrup for orange juice. Bright and festive.
- Chai Spice — Add cardamom, cloves, and black pepper for a chai flavor.
- White Chocolate Chips — Fold in ½ cup white chocolate chips for extra sweetness.
- Gluten-Free — Use a 1:1 gluten-free flour blend. Works great.
- Dairy-Free — Use coconut oil instead of butter, and almond milk instead of buttermilk. Add lemon juice to the almond milk.
Serving & Storage
How to Serve: These are best fresh. Serve with coffee or tea. Add fresh cranberries or pecans on top for texture.
Refrigerator: Store in an airtight container for up to 3 days. Reheat in microwave for 20 seconds.
Freezer: Freeze unglazed scones for up to 3 months. Thaw and glaze when ready.
Pro Tip: If leftovers are drying out, wrap in foil and warm in oven at 300°F for 5 minutes.
Nutrition Information
I’m not a nutritionist, but here’s the breakdown if you’re tracking.
Per Scone (with glaze):
- Calories: 320
- Protein: 5g
- Carbs: 52g
- Fat: 12g
- Fiber: 2g
- Sugar: 22g
This is comfort food with sugar and butter. It’s not a diet recipe. But it’s better than store-bought. When I want to make it lighter, I reduce sugar and use less glaze. But usually? I just enjoy a reasonable portion.
Final Thoughts
So that’s my go-to soft pumpkin scone recipe! I’ve probably talked your ear off at this point, but when you make a recipe this often, you have a lot to say about it. These scones have saved our weekend mornings. They’re my answer to “what’s for breakfast” when I want something special but don’t want to spend hours in the kitchen.
If you make this, drop a comment and let me know what you think! I love hearing how recipes turn out in your kitchen. And if something doesn’t work, tell me that too—I’m here to help troubleshoot.
Happy baking! And I hope your kitchen smells half as good as mine does right now.
Frequently Asked Questions
Can I use fresh pumpkin instead of canned?
You can, but it’s tricky. Fresh pumpkin has more water. Roast it, puree it, and strain it through a cheesecloth to remove excess moisture. Canned is more consistent and easier. I recommend canned for beginners.
Why are my scones dense?
Overmixing is the #1 culprit. Also, old baking powder. Make sure your leavening is fresh, and handle the dough gently.
Can I make these ahead of time?
Yes! Bake and freeze unglazed scones. Glaze right before serving. This keeps them fresh.
How do I store leftovers?
In an airtight container at room temperature for 3 days. Or freeze for up to 3 months.
Can I double this recipe?
Absolutely. Just use a larger bowl and maybe two baking sheets. Cooking time stays the same.
What if I don’t have buttermilk?
Make a substitute: ½ cup milk + 1 tablespoon lemon juice. Let sit 5 minutes. Works perfectly.
Can I add nuts?
Yes! Pecans or walnuts work great. Fold in ½ cup before baking.
Pin This Recipe!
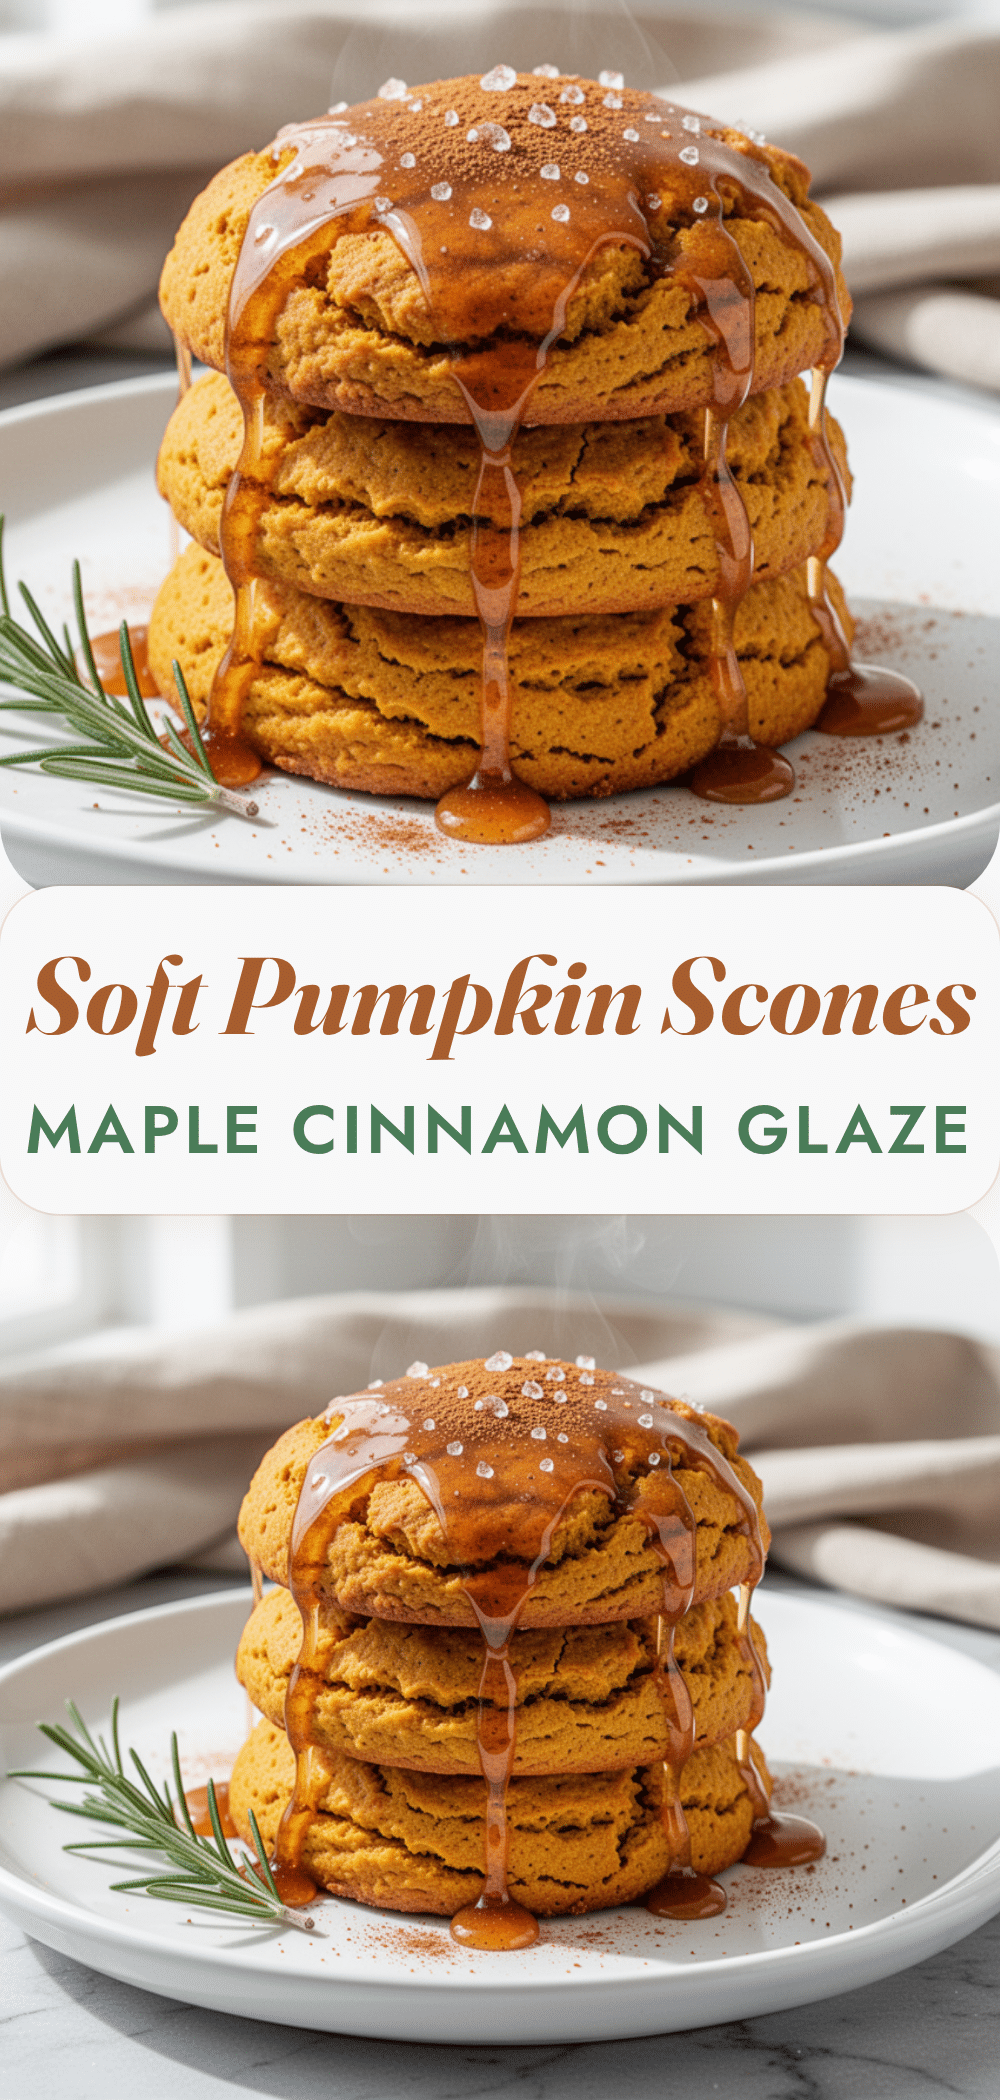
Soft Pumpkin Scones: Best Easy Fall Breakfast Recipe
- Total Time: 45 minutes
- Yield: 8 servings 1x
Description
Soft, pillowy pumpkin scones with a warm maple cinnamon glaze. This easy fall breakfast recipe yields tender, spice-forward scones that are freezer-friendly and perfect for weekend mornings.
Ingredients
- 3 cups (375g) all-purpose flour
- 1 tablespoon baking powder
- ½ teaspoon baking soda
- 1 teaspoon salt
- 2 teaspoons ground cinnamon
- 1 teaspoon ground ginger
- ½ teaspoon ground nutmeg
- ¼ teaspoon ground cardamom (optional)
- 1 cup (226g) cold unsalted butter, cubed
- 1 cup (245g) canned pumpkin puree
- ½ cup (100g) granulated sugar
- 1 large cold egg
- 1 teaspoon pure vanilla extract
- ½ cup (120ml) buttermilk
- 1 cup (120g) powdered sugar, sifted
- 2–3 tablespoons real maple syrup
- ½ teaspoon ground cinnamon
- 1–2 teaspoons milk or cream
Instructions
- Preheat oven to 400°F (200°C) and line a baking sheet with parchment paper.
- In a large mixing bowl, whisk together the flour, baking powder, baking soda, salt, cinnamon, ginger, nutmeg, and cardamom.
- Add the cold, cubed butter to the dry ingredients. Use a pastry cutter, two forks, or your fingers to work the butter into the flour until pea-sized chunks remain.
- In a separate small bowl, whisk together the pumpkin puree, sugar, egg, vanilla, and buttermilk until smooth.
- Pour the wet mixture into the flour-butter mixture. Gently mix with a spatula or hands until the dough just comes together. Do not overmix.
- Turn the dough out onto a floured surface and gently pat it into a circle about 1-inch thick. Cut into 8 wedges and place on the baking sheet, leaving 2 inches between each.
- Bake for 18-20 minutes, rotating the pan halfway through, until tops are golden brown and a toothpick comes out clean.
- While scones bake, whisk powdered sugar, maple syrup, cinnamon, and milk/cream until smooth to make the glaze.
- Let scones cool for 5 minutes, then drizzle with glaze while still warm. Serve immediately.
Notes
Keep all ingredients cold for flaky layers. Do not overmix the dough to avoid tough scones. Use canned pumpkin puree, not pie filling. Scones can be frozen unglazed for up to 3 months.
- Prep Time: 10 minutes
- Cook Time: 20 minutes
- Category: Breakfast
- Cuisine: American
Nutrition
- Serving Size: 1 scone
- Calories: 320
- Sugar: 22
- Sodium: 450
- Fat: 12
- Saturated Fat: 7
- Carbohydrates: 52
- Fiber: 2
- Protein: 5
Keywords: pumpkin scones, fall breakfast, easy scone recipe, soft pumpkin scones, maple glaze, autumn baking, weekend breakfast


