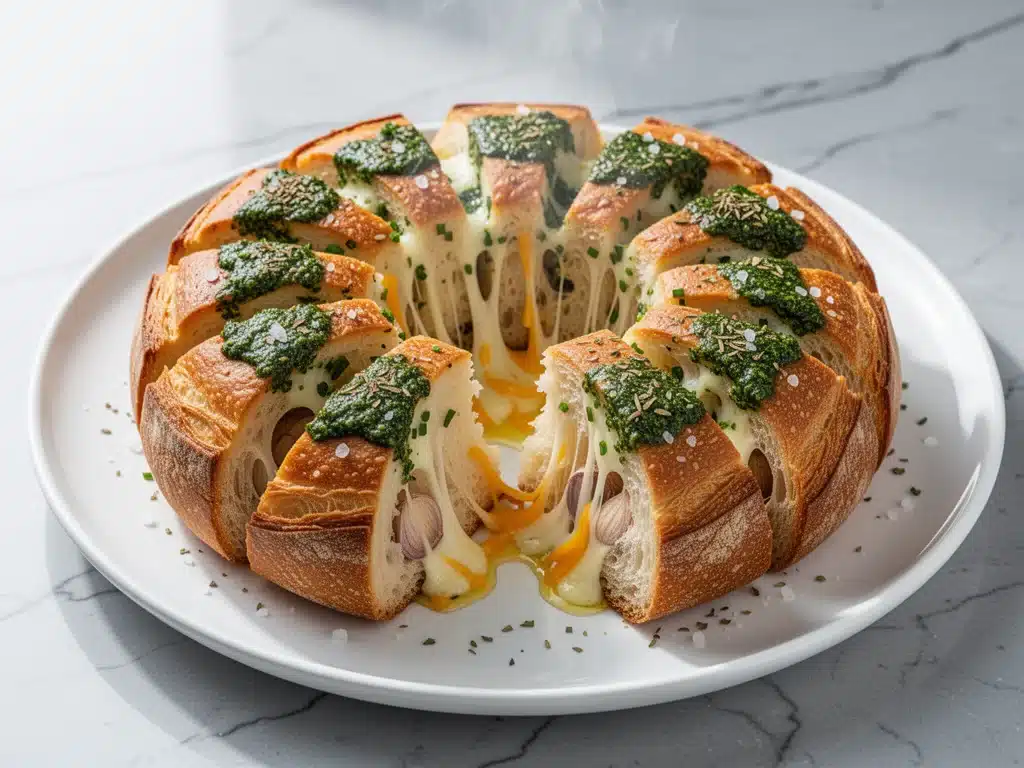
Last Thanksgiving, I made the mistake of putting this bread on the table without a warning label. You know the kind—the kind that says, “Warning: Highly Addictive. Do Not Leave Unattended.” I underestimated just how dangerous this cheesy garlic pull-apart bread with herb butter can be. Within three minutes of it hitting the table, my uncle had already claimed two chunks. My cousin grabbed a handful while pretending to talk on her phone. By the time the turkey was even carved, the basket was empty except for a few sad, crusty remnants.
I was mortified. I had made enough for twenty people, and it vanished in under ten minutes. That’s when I realized I wasn’t just making bread; I was making magic. Since that disastrous (but delicious) holiday, I’ve made this recipe for every gathering, game day, and impromptu dinner party. And every single time, it’s the first thing to go. People always ask for the recipe, usually while chewing the last piece. It’s become my secret weapon for instant crowd approval.
This isn’t your average dinner roll. It’s not dry, and it’s not just butter on a slice of loaf. It’s layers of soft dough, ripped apart to create pockets, then stuffed with a gooey, melty cheese mixture and slathered in an herby garlic butter that seeps into every nook and cranny. The smell alone stops conversations. It’s the kind of food that feels indulgent but is surprisingly simple to throw together. You don’t need fancy skills. You just need a loaf of bread, some cheese, and the willingness to eat half the batch before it even leaves the oven.
I’ve tested this cheesy garlic pull-apart bread recipe dozens of times, tweaking the cheese ratios and the herb blends to find the perfect balance. The result is a dish that’s crispy on the outside, soft on the inside, and utterly irresistible. It’s the ultimate comfort food, and once you make it, you’ll understand why everyone is always asking for it.
Why You’ll Love This Recipe
There are about a million bread recipes out there, but this one is different. It’s not just a side dish; it’s the star of the show. Here’s why this cheesy garlic pull-apart bread with herb butter has earned a permanent spot in my rotation:
- Zero Fuss, Maximum Impact — Seriously, if you can pull bread apart and mix cheese in a bowl, you can make this. I’ve made it while holding a baby, while watching TV, and while stressed about a work deadline. It never fails. The prep takes maybe 15 minutes, and the rest is just waiting for the oven to do its thing.
- It’s a Flavor Bomb — The herb butter isn’t just on top; it’s soaked into every piece. The garlic is fragrant, the herbs are fresh, and the cheese pulls away in glorious, stringy strands. It’s savory, salty, and garlicky in the best possible way. One bite and you’re hooked.
- Perfect for Sharing (Or Not) — This is the ultimate party food. It’s easy to grab, easy to eat with your hands, and impossible to eat just one piece of. I’ve served it at bridal showers, Super Bowl parties, and casual Tuesday dinners. It fits every occasion because it’s universally loved.
- Uses Simple Ingredients — You probably have most of this in your kitchen right now. Bread, butter, garlic, cheese, herbs. No weird specialty items. No fancy flours. Just good, honest ingredients that taste better when you combine them right.
- Leftovers Are Rare (But Delicious) — I know, I know, it’s rare to have leftovers with this stuff. But if you do, reheating it in the oven brings back that crispy texture. Cold? Also good. Warm? Even better. It’s one of those rare foods that tastes good at any temperature.
This recipe has saved me more times than I can count. It’s my go-to when I need to bring something impressive to a potluck, or when I just want to treat myself to something warm and cheesy. It’s reliable, it’s delicious, and it always makes people happy.
Ingredients You’ll Need
Here’s the best part: you don’t need a trip to a specialty store for this. The beauty of this cheesy garlic pull-apart bread with herb butter is that it uses pantry staples and fresh basics. I’m particular about three things here, though, so pay attention to those details.
For the Bread Base
French Baguette or Italian Loaf (1 large, about 14-16 inches) — This is the foundation. I prefer a French baguette because it has a nice crust and soft interior, but a soft Italian loaf works too. Avoid anything too dense like sourdough, as it won’t pull apart as easily. Fresh is best, but day-old bread actually works better because it’s slightly drier and holds the butter well.
For the Herb Butter
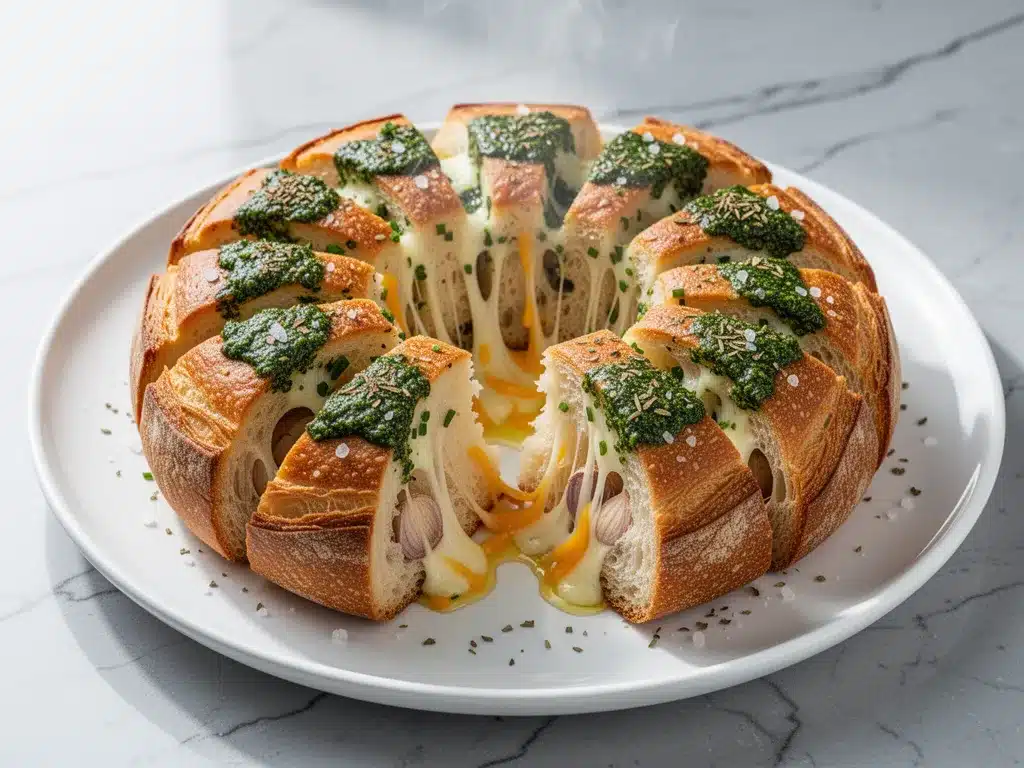
Unsalted Butter (½ cup / 113g, softened) — Softened is key. If it’s cold, you’ll end up with lumpy butter that doesn’t spread. Let it sit on the counter for 30 minutes. I use unsalted so I can control the sodium, but if you only have salted, reduce the added salt in the herbs.
Garlic (4-5 cloves, minced) — Yes, that’s a lot of garlic. But it’s not overpowering; it’s aromatic. Fresh only. No jarred garlic here. The flavor profile of fresh garlic, when roasted in the oven, becomes sweet and mellow. Jarred garlic tastes metallic and sharp, and it just doesn’t work in this recipe.
Fresh Parsley (¼ cup, chopped) — Flat-leaf parsley is best. It has a cleaner, brighter flavor than curly parsley. I buy a fresh bunch and chop it myself. Dried parsley is a sad substitute, but if you must use it, use 1 tablespoon. It won’t be the same, but it’ll work in a pinch.
Dried Oregano (1 teaspoon) — This adds that classic Italian herb flavor. Don’t skip it. It complements the garlic and parsley perfectly.
Red Pepper Flakes (½ teaspoon) — Optional, but I highly recommend it. It adds a tiny kick that cuts through the richness of the cheese and butter. If you’re serving kids, leave it out.
Salt (½ teaspoon) — Just a pinch to bring out the flavors.
For the Cheese Filling
Shredded Mozzarella (2 cups / 200g) — I buy a block and shred it myself. Pre-shredded cheese has anti-caking agents that prevent it from melting smoothly. You want that glorious, stretchy pull. If you can’t find pre-shredded mozzarella, buy a block and shred it. It takes two minutes.
Shredded Parmesan (½ cup / 50g) — This adds saltiness and depth. Again, grate your own from a block. Pre-grated parmesan is often dusty and doesn’t melt as well. It makes a noticeable difference in the final flavor.
Garlic Powder (½ teaspoon) — Just a little extra garlic punch. Fresh garlic is primary, but this adds a savory background note.
Equipment Needed
You don’t need fancy equipment for this. Here’s what I actually use:
Baking Sheet — A standard 13×9 inch sheet pan. Line it with parchment paper for easy cleanup. I’ve burned cheese to my pans before, and it is a nightmare to scrub. Parchment paper saves your sanity.
Small Bowl — For mixing the herb butter. Any small bowl works.
Small Bowl — For mixing the cheese. You can use the same one if you wash it, or just grab another.
Sharp Knife — For slicing the baguette. A serrated bread knife is ideal, but a sharp chef’s knife works too. Be careful when slicing into the loaf.
Pastry Brush — For brushing the butter on top. A silicone brush is easy to clean, but a regular pastry brush works fine. You can also just use a spoon to drizzle the butter if you’re in a rush.
Oven — Obviously. Preheat to 350°F (175°C). Make sure it’s fully heated before you put the bread in.
How to Make It: Step-by-Step
Alright, let’s make this! I’m walking you through exactly how I do it, including the little tricks I’ve picked up over the years.
Step 1: Prep Your Oven and Pan
Preheat your oven to 350°F (175°C). Line a large baking sheet with parchment paper. This is crucial because the cheese will bubble over and caramelize on the pan, and you do not want to scrub that later. Set the pan aside.
Step 2: Slice the Bread
Take your baguette or Italian loaf. Do not slice it all the way through. You want to create pockets for the cheese. Slice crosswise, about 1 inch apart, but stop about 1 inch from the bottom crust. This keeps the loaf intact so it doesn’t fall apart in the oven. If you slice all the way through, the bread will separate into individual rolls, which is fine, but it won’t have that “pull-apart” effect. Gently open up the slices to create pockets.
Step 3: Make the Herb Butter
In a small bowl, combine the softened butter, minced garlic, chopped parsley, oregano, red pepper flakes, and salt. Mix it well until it’s a uniform green-flecked butter. It should smell amazing. If the butter is too cold to mix, microwave it for 10 seconds to soften it up. Don’t melt it, just soften it.
Step 4: Stuff the Bread
In another bowl, mix the shredded mozzarella, parmesan, and garlic powder. Take a generous handful of the cheese mixture and stuff it into each slice of bread. Don’t be shy with the cheese. Pack it in. You want every piece to have a cheesy center. If you run out of cheese, that’s fine, but try to distribute it evenly. The goal is a cheesy explosion in every bite.
Step 5: Add the Butter
Take the herb butter and brush it generously over the top of the bread. Make sure to get some butter into the crevices between the slices. You can also squeeze a little butter into the cheese pockets if you want extra richness. I usually brush the top and then use my fingers to dab butter into the gaps. The more butter, the better. This is the part where you indulge.
Step 6: Bake
Place the bread on the prepared baking sheet. Bake in the preheated oven for 15-20 minutes. You want the cheese to be bubbly and melted, and the bread to be golden brown. Keep an eye on it after 15 minutes. If the top is browning too fast, you can loosely tent it with foil. The bread is done when the cheese is fully melted and the crust is crisp.
Step 7: Cool and Serve
Remove the bread from the oven and let it cool for 5 minutes. This allows the cheese to set slightly so it doesn’t slide out immediately when you pull a piece apart. Then, pull off chunks and serve warm. Watch out for hot cheese burns. I’ve learned this the hard way. Let it cool just a bit before diving in.
Expert Tips & Tricks
Here’s everything I’ve learned from making this dozens of times. These tips will save you from my mistakes.
- Use Day-Old Bread — Fresh bread is too soft and can get soggy from the butter. Day-old bread, or even bread that’s been left out overnight, is drier and absorbs the butter better without falling apart. If you only have fresh bread, toast it lightly in the oven for 5 minutes before stuffing it.
- Shred Your Own Cheese — I cannot stress this enough. Pre-shredded cheese contains cellulose, which prevents it from melting smoothly. Your cheese will be clumpy and grainy. Buy a block of mozzarella and a wedge of parmesan and shred them yourself. It takes two minutes and makes a huge difference in texture.
- Don’t Skimp on the Butter — This is a rich dish. The butter is what makes it moist and flavorful. If you try to make it with less butter, it will be dry and bland. Use the full amount. Your taste buds will thank you.
- Garlic Freshness Matters — Fresh garlic is sweet and aromatic when cooked. Jarred garlic is sharp and metallic. If you’re using jarred garlic, reduce the amount by half, but I really recommend mincing fresh cloves. It’s worth the extra minute.
- Watch the Oven Temperature — Every oven is different. Check your bread at 15 minutes. If the cheese is bubbling and the bread is golden, it’s done. If not, give it another 2-3 minutes. Overbaking can make the bread tough.
Variations & Substitutions
Once you’ve nailed the basic version, here’s how you can mix it up. I’ve tried all of these, and they’re all winners.
Jalapeño Popper Version
Add diced jalapeños to the cheese mixture. Use cheddar cheese instead of mozzarella for a sharper flavor. This is spicy, creamy, and perfect for game day.
Spinach and Artichoke
Replace the mozzarella with a mix of cream cheese, parmesan, and mozzarella. Add chopped spinach and chopped artichoke hearts to the filling. It tastes like the dip but in bread form. My vegetarian friends love this version.
Bacon Ranch
Add crispy crumbled bacon to the cheese mixture. Mix ranch seasoning into the herb butter. This is a crowd-pleaser for kids and adults alike.
Gluten-Free
Use a gluten-free baguette or loaf. Most gluten-free breads are soft, so you may need to toast them lightly first to prevent sogginess. The rest of the ingredients are naturally gluten-free.
Dairy-Free
Use dairy-free butter and dairy-free shredded cheese. It won’t melt exactly the same, but it’s still tasty. I’ve used Violife and Daiya cheeses, and they work okay. The herb butter will be the star here.
Serving & Storage
How to Serve
I usually serve this straight from the baking sheet, letting everyone pull off pieces as they like. It’s rustic and fun. Pair it with a simple salad or soup for a complete meal. It’s also great as an appetizer with marinara sauce for dipping.
Storage
Store leftovers in an airtight container at room temperature for up to 2 days. The bread will soften, but it’s still good. For best texture, reheat in the oven at 350°F for 5-10 minutes to crisp it back up. Avoid the microwave, as it makes the bread chewy and tough.
Freezing
You can freeze this bread, but the texture changes. Freeze the baked bread in an airtight container or freezer bag for up to 1 month. Thaw at room temperature and reheat in the oven. It won’t be as crispy, but it’s still delicious.
Nutrition Information
I’m not a nutritionist, but here’s the breakdown if you’re tracking. Keep in mind that this is a rich, indulgent dish, so portion control is key.
Per Serving (based on 12 pieces):
- Calories: 280
- Protein: 10g
- Carbs: 28g
- Fiber: 1g
- Sugar: 1g
- Fat: 16g
- Saturated Fat: 8g
- Sodium: 450mg
This cheesy garlic pull-apart bread with herb butter is high in calories and fat due to the butter and cheese, but it’s also satisfying. A little goes a long way. If you’re watching your intake, stick to one or two pieces and pair it with a light salad.
Final Thoughts
So that’s my go-to cheesy garlic pull-apart bread with herb butter! It’s simple, it’s delicious, and it always disappears fast. I’ve made it for holidays, parties, and lazy weeknight dinners, and it never fails to impress. It’s the kind of recipe that feels fancy but is actually super easy. You don’t need to be a baker to make this. You just need to love garlic and cheese.
Make it yours! Add different herbs, swap cheeses, or throw in some veggies. The best recipes are the ones you adapt to your tastes. If you make this, drop a comment and let me know what you think! I love hearing how recipes turn out in your kitchen. And if something doesn’t work, tell me that too—I’m here to help troubleshoot.
Happy cooking! And I hope your kitchen smells half as good as mine does right now.
Frequently Asked Questions
Can I use a different type of bread?
Yes! You can use Italian loaf, sourdough, or even brioche. Just keep in mind that denser breads like sourdough won’t pull apart as easily. Softer breads like brioche will be richer but might fall apart more. A French baguette or Italian loaf is ideal for the classic pull-apart texture.
Why did my cheese not melt?
This usually happens if the oven wasn’t hot enough or if you used pre-shredded cheese. Pre-shredded cheese has anti-caking agents that prevent melting. Make sure you shred your own cheese and that your oven is fully preheated to 350°F. If the cheese isn’t melting, try baking for an additional 2-3 minutes.
Can I make this ahead of time?
You can assemble the bread up to 4 hours ahead of time and keep it covered in the fridge. When you’re ready to bake, let it sit at room temperature for 15 minutes, then bake as directed. You may need to add a few extra minutes to the baking time since the bread will be cold.
Is there a way to make this less garlicky?
If you’re sensitive to garlic, reduce the fresh garlic to 2 cloves and omit the garlic powder. The herb butter will still be flavorful from the parsley and oregano. However, the garlic is a key component of this recipe, so reducing it will change the flavor profile significantly.
Can I freeze the unbaked bread?
It’s not recommended. The bread will become soggy when thawed. It’s best to bake it fresh. If you have leftovers, you can freeze the baked bread, but the texture will be softer. Reheat in the oven to crisp it up.
What can I serve with this bread?
This bread pairs well with tomato soup, chili, or a simple green salad. It’s also great as an appetizer with marinara sauce for dipping. For a main course, serve it alongside roasted chicken or pasta dishes.
Pin This Recipe!
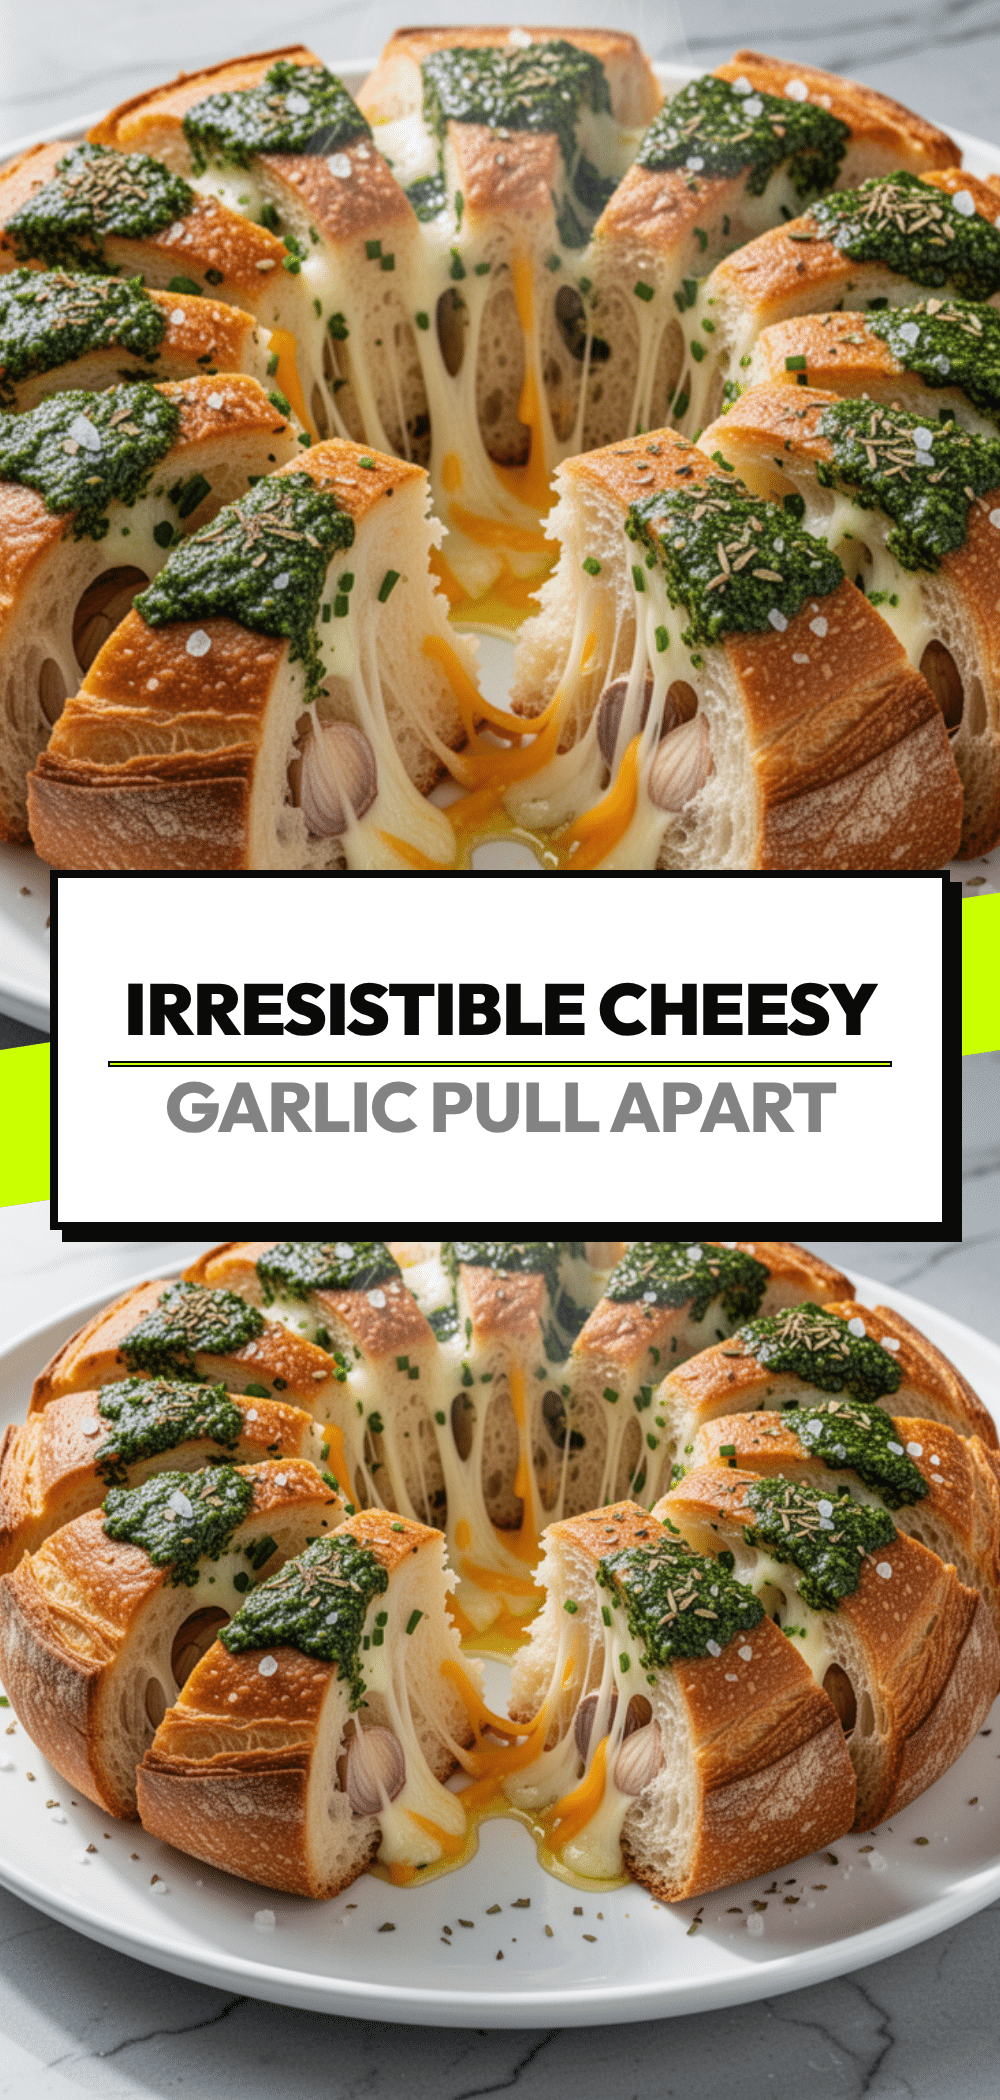
Cheesy Garlic Pull-Apart Bread: Best Easy Recipe
- Total Time: 35 minutes
- Yield: 12 servings 1x
Description
An irresistible, crispy-on-the-outside and soft-on-the-inside pull-apart bread stuffed with a gooey mozzarella and parmesan cheese mixture, slathered in a fragrant herb butter. This easy-to-make dish is perfect for parties, holidays, or any gathering where you want to impress.
Ingredients
- 1 large French baguette or Italian loaf (14–16 inches)
- ½ cup (113g) unsalted butter, softened
- 4–5 cloves garlic, minced
- ¼ cup fresh parsley, chopped
- 1 teaspoon dried oregano
- ½ teaspoon red pepper flakes (optional)
- ½ teaspoon salt
- 2 cups (200g) shredded mozzarella cheese
- ½ cup (50g) shredded parmesan cheese
- ½ teaspoon garlic powder
Instructions
- Preheat oven to 350°F (175°C). Line a large baking sheet with parchment paper.
- Slice the baguette crosswise about 1 inch apart, stopping about 1 inch from the bottom crust to keep the loaf intact. Gently open the slices to create pockets.
- In a small bowl, mix the softened butter, minced garlic, chopped parsley, oregano, red pepper flakes, and salt until uniform.
- In another bowl, combine the shredded mozzarella, parmesan, and garlic powder.
- Stuff a generous handful of the cheese mixture into each slice of bread, packing it in evenly.
- Brush the herb butter generously over the top of the bread and into the crevices between slices.
- Bake for 15-20 minutes until the cheese is bubbly and the bread is golden brown. Tent with foil if browning too quickly.
- Remove from oven and let cool for 5 minutes before pulling apart and serving warm.
Notes
Use day-old bread for better texture as it absorbs butter without getting soggy. Shred your own cheese to ensure smooth melting, as pre-shredded cheese contains anti-caking agents. For leftovers, store in an airtight container at room temperature for up to 2 days and reheat in the oven to restore crispiness.
- Prep Time: 15 minutes
- Cook Time: 20 minutes
- Category: Side Dish
- Cuisine: American
Nutrition
- Serving Size: 1 piece
- Calories: 280
- Sugar: 1
- Sodium: 450
- Fat: 16
- Saturated Fat: 8
- Carbohydrates: 28
- Fiber: 1
- Protein: 10
Keywords: cheesy garlic bread, pull apart bread, herb butter, party food, appetizer, easy recipe, garlic bread, cheese bread


