It was late October, and the air had finally turned crisp enough to justify wearing a hoodie in public. I had just finished carving the third pumpkin of the season—a slightly lopsided one with a face that looked more like a grimace than a grin—and my husband was eyeing the compost bin with that look people get when they’re about to throw away potential gold.
“Are you seriously going to toss those seeds?” I asked, holding a handful of slimy, stringy pumpkin guts. “People pay money for this stuff.”
He laughed. “They do? I thought that was just marketing.”
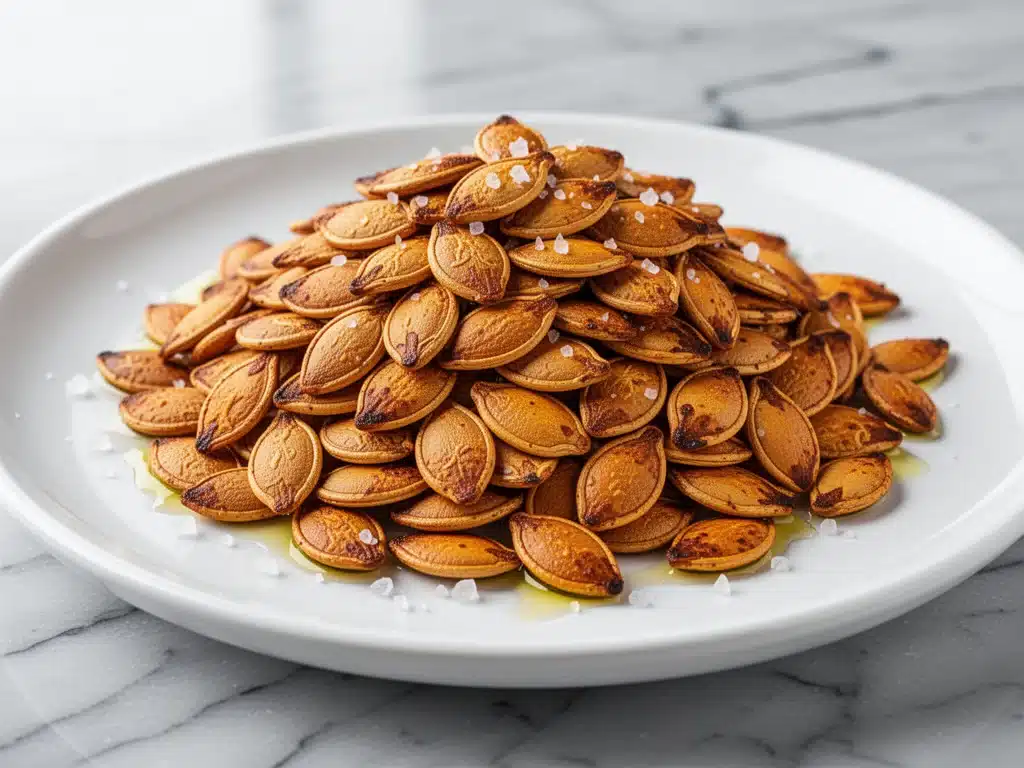
Turns out, people pay a lot for roasted pumpkin seeds. But they don’t pay for the satisfaction of pulling them out of a cheap Halloween decoration and turning them into something addictive. That night, I cleaned the seeds, tossed them in a bowl with olive oil, chili powder, and a tiny bit of brown sugar, and roasted them until they were golden and crunchy. We ate them straight out of the bowl while watching a movie. By the end of the film, the bowl was empty. Not a single seed left.
That was six months ago. Since then, I’ve made these sweet and spicy roasted pumpkin seeds with sea salt so many times that I’ve started keeping a small jar of them in my pantry just for emergencies. They’re my go-to snack when I need something crunchy, my best gift for neighbors who just had a baby (it’s savory, it’s healthy, it’s not cheese), and my secret weapon for movie nights. They’re also stupid simple. Seriously. If you can stir a bowl, you can make this.
This isn’t just a recipe; it’s a transformation. What starts as slimy, useless pumpkin guts ends up as the most addictive thing in your kitchen. And the best part? You’re basically getting it for free if you already buy pumpkins for fall decor. So let’s talk about why you need to stop buying them and start making them instead.
Why You’ll Love This Recipe
There are a hundred reasons to roast pumpkin seeds, but this specific sweet and spicy version with sea salt hits a different note than the plain salted ones you might be used to. Here’s why this batch has taken over my kitchen:
- Zero Waste, Maximum Flavor — Seriously, this is the ultimate way to use up those seeds you’d otherwise throw away. Instead of composting, you’re creating a premium snack. It feels good to be clever.
- Three Ingredients, Big Impact — I’m not exaggerating. Olive oil, chili powder, brown sugar, and sea salt. That’s it. No weird spices you’ll never use again. No fancy pantry items. Just stuff you have.
- Crunch That Actually Lasts — Store-bought seeds get soggy in a week. These? They stay crisp for days if stored right. I’ve had them sitting out for three days and they were still perfectly crunchy.
- Healthy-ish Indulgence — They’re packed with protein, magnesium, and healthy fats. Sure, they have sugar, but it’s a tiny bit. They’re way better than chips or crackers. My kids think they’re getting away with eating “healthy” candy.
- Perfect Gift Item — I put these in mason jars with a cute tag and gave them to coworkers during the holidays. Everyone asked where I bought them. I just smiled and said, “I made them.”
This recipe is my answer to “what’s for a snack?” when I don’t want to cook a full meal but still want something that tastes like I put in effort. It’s reliable, it’s fast, and it’s delicious. Let’s get into the details.
Ingredients You’ll Need
Here’s the best part: you probably have almost everything you need right now. I’m being particular about the quality of the oil and the spice, but otherwise, this is a pantry-friendly recipe. I’ll break down exactly what to look for.
For the Seeds:
Pumpkin seeds (pepitas) (2 cups, raw) — I always use raw seeds from a fresh pumpkin. If you can’t find fresh pumpkins, you can buy raw, shelled pumpkin seeds at the grocery store or health food shop. Just make sure they’re raw, not roasted. You want about 2 cups of cleaned seeds from one medium-sized pumpkin.
Olive oil (2 tablespoons) — Use good quality extra virgin olive oil. It adds a nice fruity note that complements the spice. You can use melted butter if you want a richer flavor, but olive oil keeps it lighter and crispier.
Chili powder (1 teaspoon) — This is the main flavor driver. Use a good quality chili powder, not just “hot chili flakes.” I like a medium-heat blend. If you want it spicier, add a pinch of cayenne pepper. If you want it milder, reduce to half a teaspoon.
Brown sugar (1 tablespoon) — This is what makes it “sweet.” Dark brown sugar has a deeper molasses flavor, which I prefer. Light brown sugar works too. Don’t skip this—it’s what makes the seeds caramelized and addictive.
Sea salt (½ teaspoon) — Flaky sea salt is best for sprinkling on top after roasting, but kosher salt works for mixing in. I use a mix of both for texture and flavor.
Optional Add-ins:
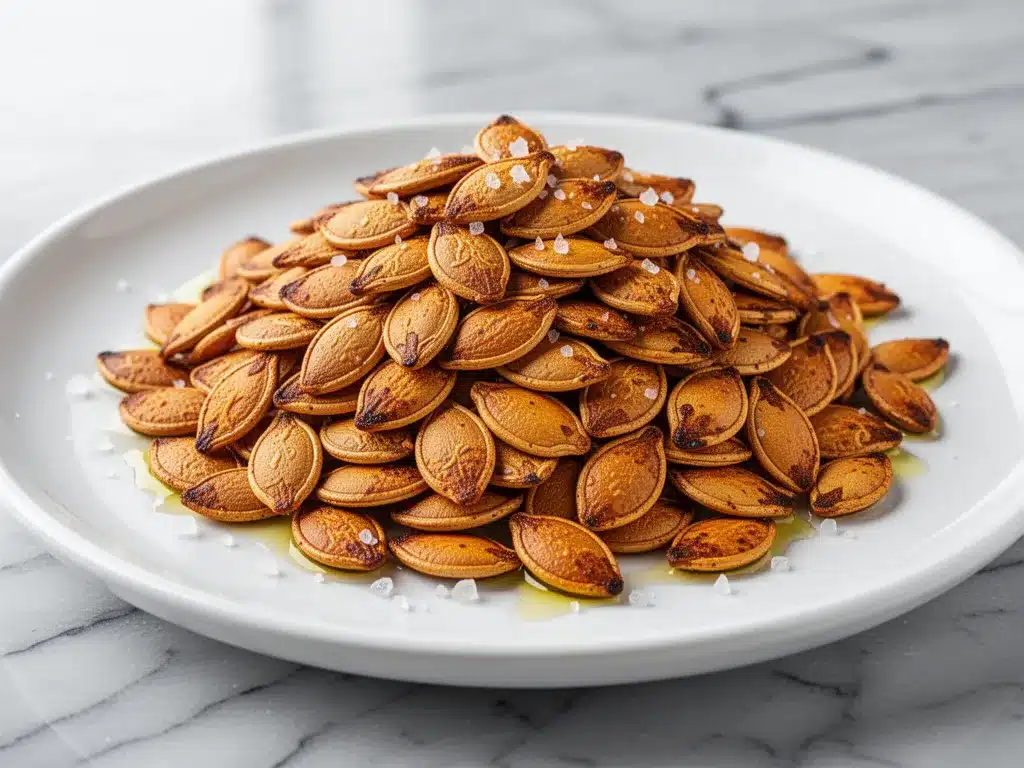
Smoked paprika (½ teaspoon) — Adds a smoky depth that makes it taste like it came from a high-end snack shop. I love this if you’re using it as a gift.
Garlic powder (½ teaspoon) — If you’re not a fan of sweet, just a little garlic powder turns it into a savory snack. I sometimes mix sweet and savory versions.
Cinnamon (¼ teaspoon) — For a fall-forward vibe, add a pinch of cinnamon. It pairs beautifully with the brown sugar.
Equipment Needed
You don’t need fancy equipment for this. Here’s what I actually use:
Large bowl — For cleaning the seeds. I use a big mixing bowl. A colander helps too.
Baking sheet — A standard 13×18 inch sheet. I line it with parchment paper for easy cleanup. The seeds can get sticky, so parchment is a lifesaver.
Parchment paper — Not strictly necessary, but highly recommended. The sugar will caramelize and stick to the pan if you don’t use it.
Silicone spatula — For stirring the seeds in the oil and spices. A regular spoon works, but silicone is easier to clean.
Airtight container — For storing the finished seeds. Glass jars are nice, but plastic containers work too.
How to Make It: Step-by-Step
Alright, let’s make this! I’m walking you through exactly how I do it, including the little tricks I’ve picked up over the years.
Step 1: Clean the Seeds (10 minutes)
If you’re using seeds from a fresh pumpkin, start by scooping them out. Put them in a large bowl and cover with warm water. Use your hands to separate the seeds from the stringy pulp. The seeds will sink to the bottom, and the pulp will float. Skim off the pulp and repeat with fresh water until the water runs clear. This step is crucial. If you leave the pulp on, the seeds will burn and stick together. I’ve made this mistake before, and it’s not fun. Pat the seeds dry with a clean kitchen towel or paper towels. They need to be as dry as possible before roasting.
Step 2: Preheat and Prep (5 minutes)
Preheat your oven to 325°F (160°C). Line a baking sheet with parchment paper. This low temperature is key. High heat will burn the sugar and make the seeds bitter. I’ve tried 400°F before, and it was a disaster. Trust me on this.
Step 3: Toss with Oil and Spices (5 minutes)
In a large bowl, combine the dried seeds, olive oil, chili powder, brown sugar, and sea salt. Toss everything together until the seeds are evenly coated. You want every seed to have a little bit of spice and sugar. If you’re adding smoked paprika or garlic powder, add it now. I usually mix it with my hands to ensure even coating. It’s messy, but it’s worth it.
Step 4: Spread on Baking Sheet (2 minutes)
Spread the seeds in a single layer on the prepared baking sheet. Don’t crowd them. If they’re piled on top of each other, they’ll steam instead of roast. I usually do two batches if my sheet is small. Give them a little space to breathe.
Step 5: Roast (15-20 minutes)
Place the baking sheet in the oven. Roast for 15-20 minutes, stirring every 5 minutes. This is important. The seeds cook unevenly, so stirring ensures they all get golden brown. You’ll know they’re done when they’re lightly golden and smell nutty and sweet. They’ll continue to crisp up as they cool, so don’t overcook them. I pull mine out when they’re still slightly soft in the center.
Step 6: Cool and Store (10 minutes)
Remove the baking sheet from the oven and let the seeds cool completely. They’ll crisp up as they cool. Once cool, transfer them to an airtight container. They’ll keep at room temperature for up to a week. If you want them to last longer, store them in the fridge for up to a month.
Expert Tips & Tricks
Here’s everything I’ve learned from making this dozens of times. These tips will save you from my mistakes.
Dry Seeds are Key — The drier the seeds are before roasting, the crunchier they’ll be. I actually let them air dry on a towel for an hour after washing if I’m not in a rush. This extra step makes a huge difference in texture.
Low and Slow — 325°F is the sweet spot. Higher heat burns the sugar. I’ve ruined batches by turning the oven up to 400°F because I was impatient. Don’t be me. Be patient.
Stir Frequently — The sugar caramelizes quickly, so stirring every 5 minutes prevents burning. I set a timer on my phone so I don’t forget.
Season While Hot — If you want extra flavor, sprinkle a little flaky sea salt on the seeds right after they come out of the oven. The heat helps the salt stick.
Don’t Skip the Parchment — The sugar will caramelize and stick to the pan. Parchment paper makes cleanup instant. I’ve scrubbed pans before, and I never do it again.
Variations & Substitutions
Once you’ve nailed the basic version, here’s how you can mix it up. I’ve tried all of these.
Savory Version — Skip the brown sugar and add garlic powder, onion powder, and extra salt. Great for pairing with soup.
Cinnamon Sugar — Replace chili powder with cinnamon and nutmeg. Perfect for a dessert snack.
Curry Spice — Use curry powder instead of chili powder. Adds a warm, aromatic flavor.
Honey Glaze — Replace brown sugar with honey. It’s stickier but delicious.
Gluten-Free — This recipe is naturally gluten-free. Just make sure your spices are certified gluten-free if you’re sensitive.
Vegan — This recipe is naturally vegan. Use olive oil instead of butter.
Serving & Storage
I usually serve these straight from the bowl at movie nights. They’re also great in trail mix, on top of salads (yes, really), or as a garnish for chili. I’ve even crumbled them over ice cream for a crunchy topping.
Store in an airtight container at room temperature for up to a week. For longer storage, keep them in the fridge for up to a month. They’ll stay crisp if stored properly. I’ve had them last two weeks, but I usually eat them within five.
Nutrition Information
I’m not a nutritionist, but here’s the breakdown if you’re tracking. Per serving (about ¼ cup):
- Calories: 150
- Protein: 7g
- Carbs: 8g
- Fiber: 2g
- Sugar: 4g
- Fat: 12g
They’re high in protein and healthy fats, making them a satisfying snack. The sugar is minimal, and the fiber helps keep you full. They’re a much better option than chips or crackers.
Final Thoughts
So that’s my go-to sweet and spicy roasted pumpkin seeds! I’ve probably talked your ear off at this point, but when you make a recipe this often, you have a lot to say about it. This has saved me money, reduced waste, and given me a snack that everyone loves. My kids beg for them, my husband stocks up, and my friends ask for the recipe. Make it yours! Try different spices, adjust the sweetness, and see what you like. The best snacks are the ones you make yourself.
If you make this, drop a comment and let me know what you think! I love hearing how recipes turn out in your kitchen. And if something doesn’t work, tell me that too—I’m here to help troubleshoot. Happy snacking!
Frequently Asked Questions
Can I use store-bought pumpkin seeds?
Yes! Just make sure they’re raw and shelled. You’ll get about 2 cups of seeds from one medium pumpkin, but you can adjust the recipe based on the amount you have.
Why are my seeds soggy?
Usually means they weren’t dry enough before roasting, or they weren’t stirred often enough. Make sure to pat them dry and stir every 5 minutes. Also, don’t overcrowd the pan.
Can I freeze them?
You can, but they might lose some crunch. I recommend storing them in the fridge instead. If you do freeze them, thaw them at room temperature before eating.
How do I know when they’re done?
They should be lightly golden and smell nutty. They’ll continue to crisp up as they cool, so don’t wait for them to be hard in the oven.
Can I make them spicy?
Absolutely! Add more chili powder, cayenne pepper, or even a dash of hot sauce. Start with a little and adjust to your taste.
Do I have to use olive oil?
No, you can use melted butter, avocado oil, or any neutral oil. Olive oil adds a nice flavor, but it’s not mandatory.
How long do they last?
Up to a week at room temperature, or up to a month in the fridge. They’ll stay crisp if stored in an airtight container.
Pin This Recipe!
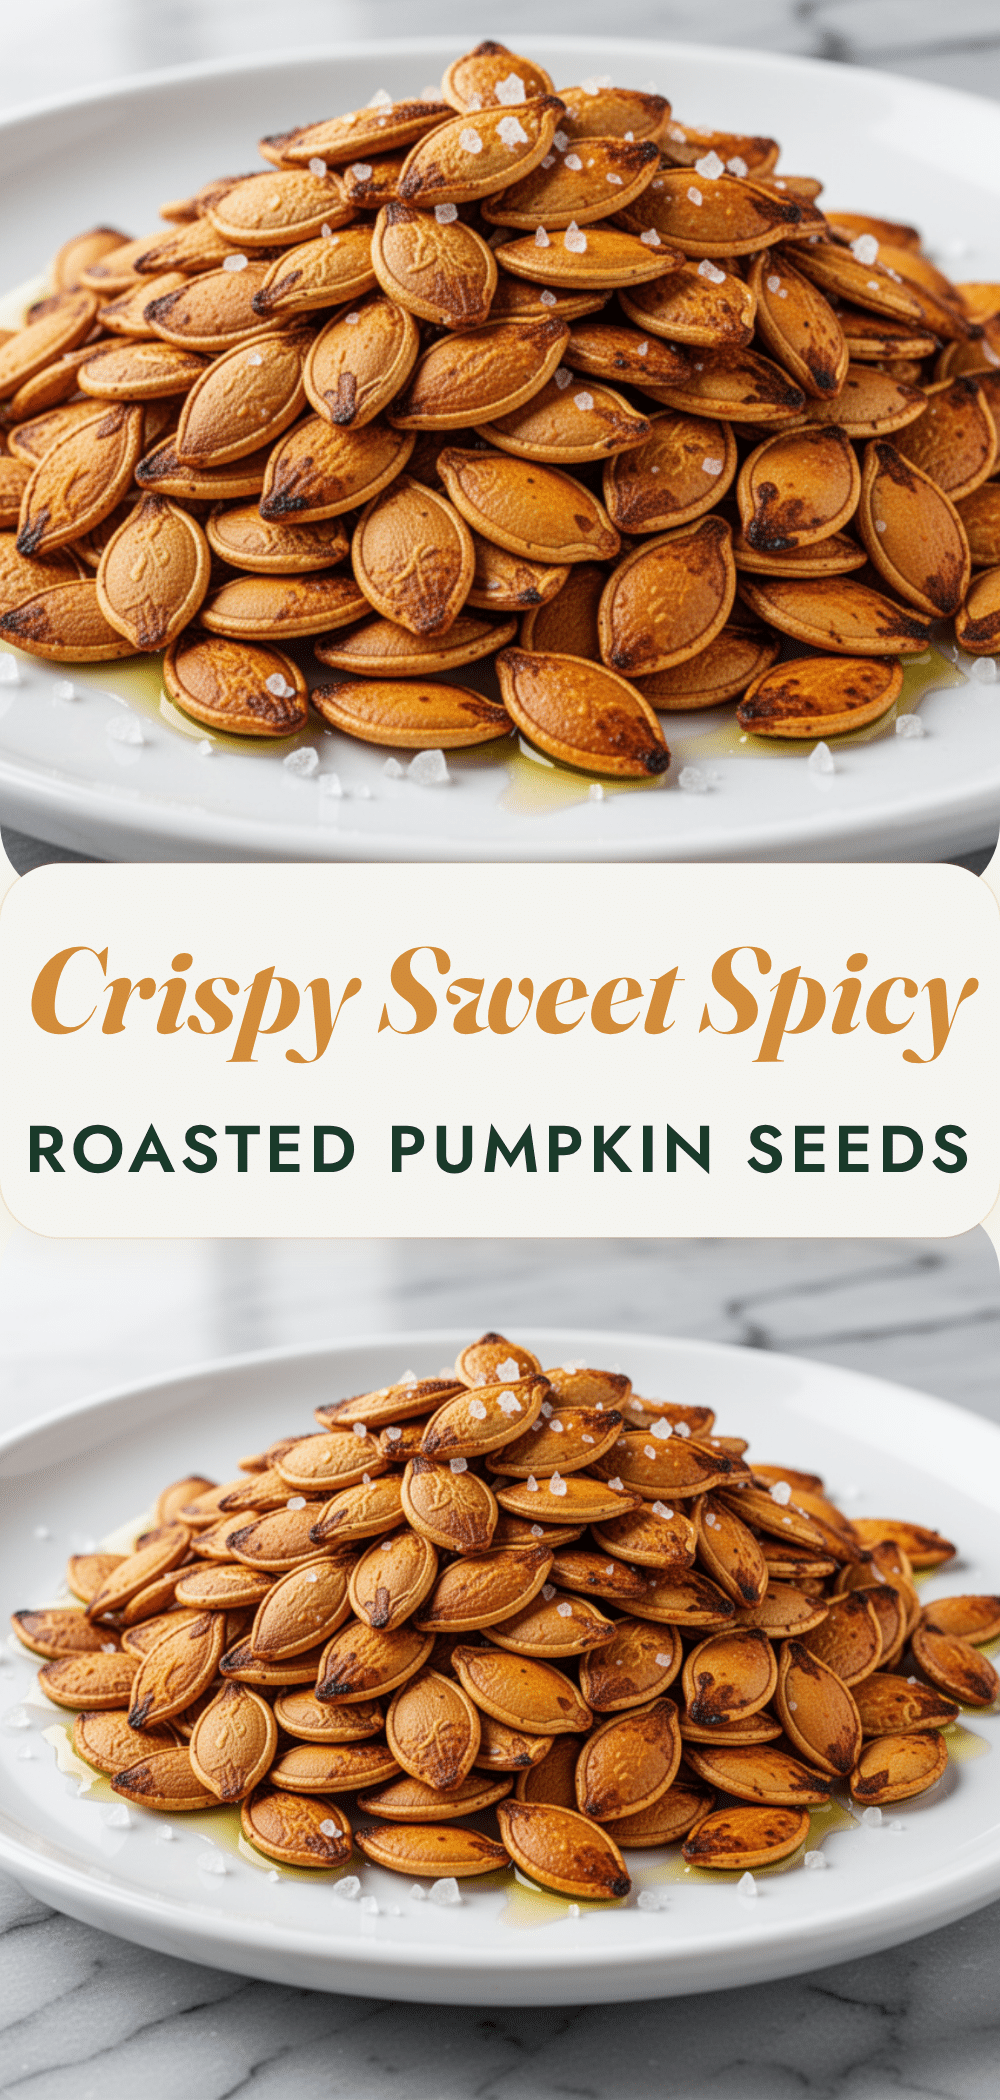
Sweet and Spicy Roasted Pumpkin Seeds: Easy 3-Ingredient Snack
- Total Time: 35 minutes
- Yield: 4 servings 1x
Description
Transform leftover pumpkin seeds into an addictive, crunchy snack with just olive oil, chili powder, and brown sugar. This zero-waste recipe is vegan, gluten-free, and perfect for movie nights or gifting.
Ingredients
- 2 cups raw pumpkin seeds (pepitas)
- 2 tablespoons extra virgin olive oil
- 1 teaspoon chili powder
- 1 tablespoon brown sugar
- 1/2 teaspoon sea salt
- Optional: 1/2 teaspoon smoked paprika
- Optional: 1/2 teaspoon garlic powder
- Optional: 1/4 teaspoon cinnamon
Instructions
- Clean the seeds: Scoop seeds from a fresh pumpkin into a large bowl of warm water. Separate seeds from pulp, skimming off the floating pulp until water runs clear. Pat seeds completely dry with a towel.
- Preheat oven to 325°F (160°C). Line a 13×18 inch baking sheet with parchment paper.
- In a large bowl, combine dried seeds, olive oil, chili powder, brown sugar, and sea salt. Toss until evenly coated. Add optional spices if desired.
- Spread seeds in a single layer on the prepared baking sheet. Do not crowd them.
- Roast for 15-20 minutes, stirring every 5 minutes to prevent burning. Seeds are done when lightly golden and smelling nutty.
- Remove from oven and let cool completely on the sheet. Seeds will crisp up as they cool.
- Transfer to an airtight container for storage.
Notes
Ensure seeds are completely dry before roasting to achieve maximum crunch. Stir frequently during roasting to prevent the sugar from burning. Store in an airtight container at room temperature for up to a week, or in the fridge for up to a month.
- Prep Time: 15 minutes
- Cook Time: 20 minutes
- Category: Snack
- Cuisine: American
Nutrition
- Serving Size: 1/4 cup
- Calories: 150
- Sugar: 4
- Sodium: 150
- Fat: 12
- Saturated Fat: 2
- Carbohydrates: 8
- Fiber: 2
- Protein: 7
Keywords: pumpkin seeds, pepitas, roasted seeds, sweet and spicy snack, zero waste, vegan snack, gluten-free snack, fall recipe, healthy snack


