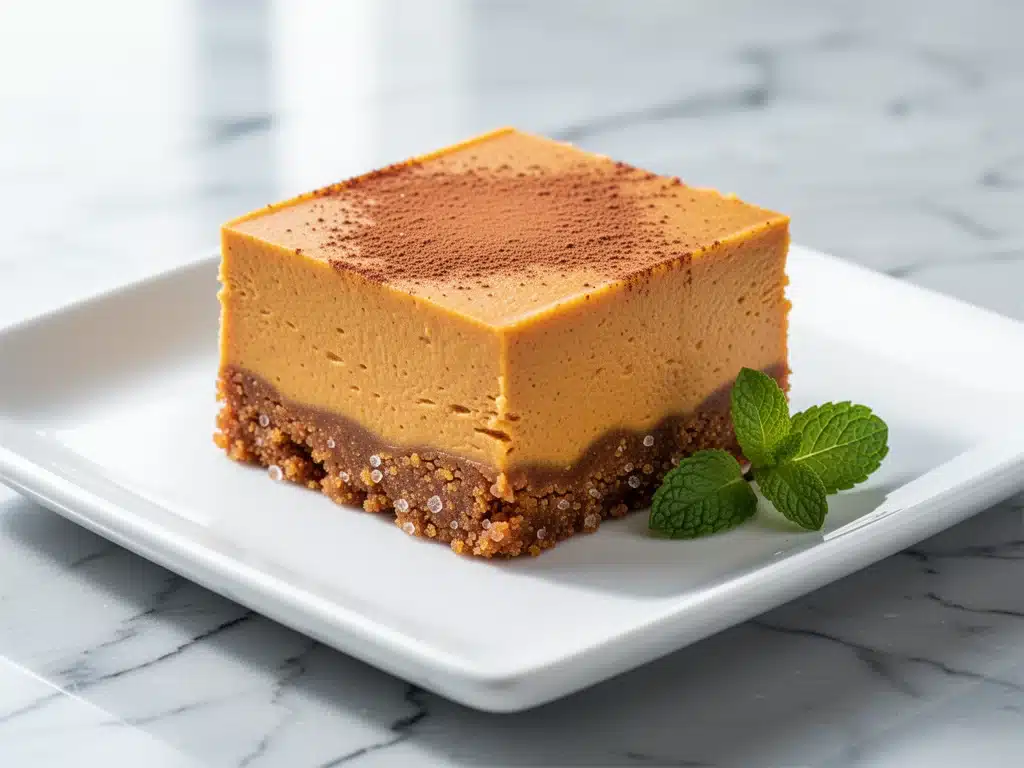
There is a specific kind of panic that sets in when you realize Thanksgiving is three days away and you have zero dessert plans. I was in that exact spot last year, staring at my empty fridge while my in-laws were already in town, sipping coffee and casually asking, “So, what are we having for dessert?” I wanted to impress, but I also wanted to keep my hands off a hot oven. The kitchen was already a disaster zone from roasting the turkey and making cranberry sauce. I didn’t have the energy for another hour of baking, monitoring, and cleaning.
That’s when I threw together these no-bake pumpkin cheesecake bars. Honestly, I was skeptical. I thought they’d be too soft, too sweet, or just… weird. But I chilled them overnight, cut a slice, and took one bite. My mother-in-law’s eyes literally widened. She asked if I’d hired a professional pastry chef. I just smiled and said no. That moment changed my holiday game forever.
These no-bake pumpkin cheesecake bars with gingersnap crust have become my secret weapon for every holiday gathering since. They’re creamy, spiced, and hold their shape perfectly. Best of all? You don’t need an oven. This means your kitchen stays cool, your timers stay quiet, and you can actually enjoy your party instead of hiding in the kitchen. I’ve tested this recipe at least ten times over the last two years, tweaking the spice ratios and crust thickness until it was absolutely perfect. If you’re looking for a stress-free dessert that tastes like it came from a fancy bakery, this is it.
I’ve learned that the best holiday desserts are the ones that let you be present with your guests. With this recipe, you spend about 20 minutes in the kitchen and the rest of the time chilling. That’s it. No baking, no cooling racks, no anxiety. Just pure, spiced pumpkin perfection that disappears faster than the turkey leftovers. Let’s get into why this is the only dessert you’ll need this season.
Why You’ll Love This Recipe
I’ve made this for everything from intimate family dinners to large holiday parties, and the reaction is always the same: pure delight. There are plenty of reasons to add these bars to your holiday menu, but here are the big ones that keep me coming back to this recipe.
- Zero Oven Required — Seriously. If you can mix ingredients in a bowl, you can make this. I make these on days when I’m already running a marathon in the kitchen. No preheating, no monitoring, no risk of burning the bottom. It’s a total lifesaver during busy holidays.
- Make-Ahead Magic — This is the ultimate make-ahead dessert. You can make these three days in advance. In fact, they taste better after sitting in the fridge for a day or two because the flavors have time to meld. I usually make them on Tuesday for a Saturday party. It takes the pressure off completely.
- Gingersnap Crunch — The crust is the star here. Using crushed gingersnap cookies instead of the traditional graham crackers adds this warm, spicy kick that pairs perfectly with the pumpkin. It’s not just a crust; it’s a flavor component. My kids fight over the crust sometimes.
- Perfect Texture — I’ve tried so many no-bake cheesecake recipes that turn out soupy or grainy. This one sets firm enough to cut into neat squares but stays creamy enough to melt in your mouth. It’s the Goldilocks of desserts. Not too hard, not too soft.
- Crowd-Pleaser — Even people who are “too full” for dessert will take a slice of these. The pumpkin flavor is subtle, not overpowering, and the cream cheese base is rich but not heavy. I’ve served these to vegans (with substitutions) and they loved the texture. It’s universally liked.
- Budget-Friendly — You don’t need expensive ingredients. Gingersnaps are cheap, cream cheese is pantry-staple cheap, and canned pumpkin is the cheapest fall ingredient you’ll find. You can feed 12 people for under $10. That’s better than buying a fancy cake from the bakery.
This recipe has saved me more times than I can count. It’s my go-to when I need a dessert that looks impressive, tastes amazing, and requires zero stress. No complicated techniques, no weird ingredients, just reliable, delicious food that makes everyone happy.
Ingredients You’ll Need
Here’s the best part: you probably have most of this already. The ingredient list is short, simple, and uses staples that are easy to find. I’m particular about three things here—the cream cheese, the pumpkin, and the cookies—and I’ll tell you exactly why they matter.
For the Gingersnap Crust
Gingersnap cookies (2 cups, crushed / about 200g) — Do not use ginger snaps that are super soft or fresh out of the package. You want the hard, crisp kind. I buy the store brand or Nabisco. If they’re soft, they’ll turn into dough instead of a crunchy crust. Crush them into fine crumbs—like sand, not gravel. A food processor works best, but you can put them in a bag and smash them with a rolling pin.
Unsalted butter (6 tablespoons / 85g, melted) — This binds the crumbs together. Use real butter, not margarine. It makes a huge difference in flavor. Melt it completely before mixing. If it’s lukewarm, it won’t bind the crust properly.
Granulated sugar (2 tablespoons / 25g) — The gingersnaps are already sweet, so we only add a little bit to help them caramelize slightly and hold together. Don’t skip this, or the crust might fall apart when you cut it.
Ground cinnamon (½ teaspoon) — Just a pinch to boost the ginger flavor. It’s optional but recommended for that warm, holiday smell.
For the Pumpkin Cheesecake Filling
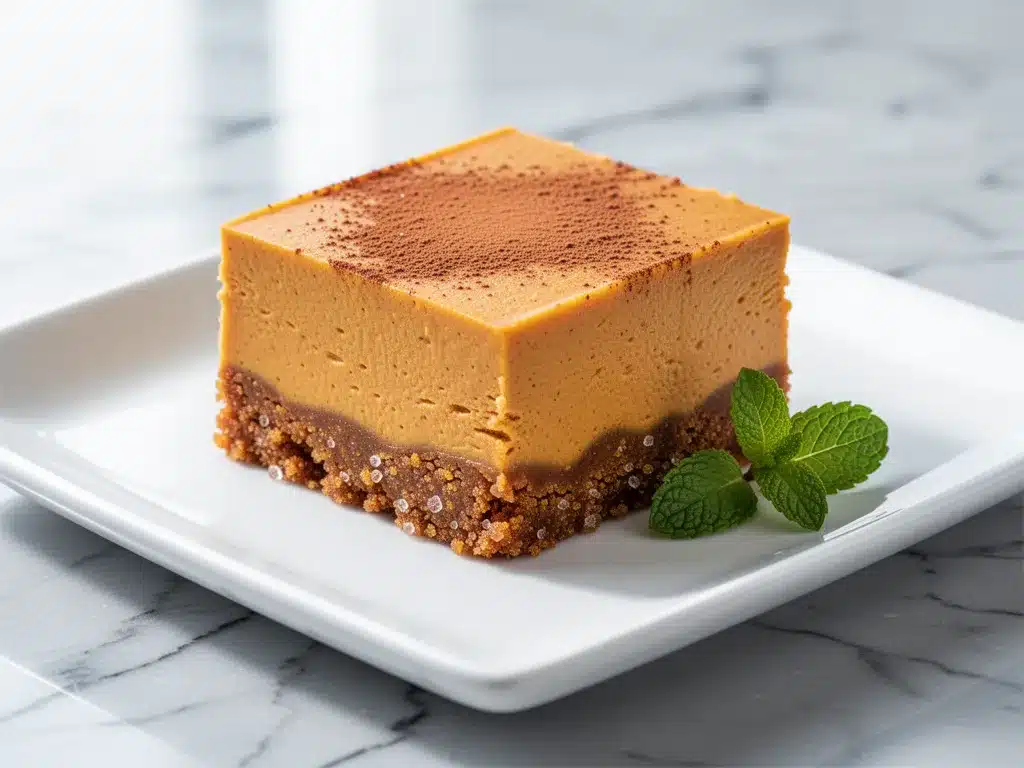
Cream cheese (24 ounces / 680g, full-fat) — This is non-negotiable. Use full-fat, block cream cheese, not the spreadable kind in a tub. The tub stuff has too much air and moisture, and your bars will be runny. Let it sit on the counter for 30 minutes before mixing. Cold cream cheese creates lumps that you can’t whisk out.
Heavy cream (1 cup / 240ml) — Full-fat heavy whipping cream. You need the fat to whip it up and create that airy, fluffy texture. If you use half-and-half, it won’t whip. If you use skim milk, it won’t work at all. Trust me on this.
Whipped topping (8 ounces / 225g, thawed) — I use Cool Whip or a generic brand. This lightens the cheesecake and helps it set without being too dense. It’s the secret to that light, mousse-like texture. Don’t skip it, or the bars will be heavy and hard to cut.
Pumpkin puree (15 ounces / 425g) — Make sure you get 100% pure pumpkin puree, NOT pumpkin pie filling. Pie filling has sugar and spices already added, which will throw off the balance. Puree is unsweetened and unspiced. I always check the label. If you can find fresh pumpkin puree, that’s great, but canned is consistent and reliable.
Pumpkin pie spice (2 teaspoons) — This is the classic blend of cinnamon, ginger, nutmeg, and cloves. If you don’t have it, you can make your own: 1 tsp cinnamon, ½ tsp ginger, ¼ tsp nutmeg, ¼ tsp cloves. It’s worth having a jar in your pantry this time of year.
Vanilla extract (1 teaspoon) — Pure vanilla, not imitation. It rounds out the spices and adds depth. I use Nielsen-Massey because it’s strong and pure.
Powdered sugar (½ cup / 60g) — Just enough to sweeten the filling without making it cloying. You can adjust this based on how sweet your pumpkin puree and cookies are. Taste the mixture before adding it all.
Equipment Needed
You don’t need fancy equipment for this. Here’s what I actually use, and what works.
9×13 inch baking pan — This is the standard size for bars. Line it with parchment paper leaving overhang on the sides. This is crucial for lifting the bars out later. I use Reynolds Parchment because it’s strong and doesn’t stick.
Food processor — For crushing the gingersnaps. It takes 10 seconds and gives you perfect crumbs. If you don’t have one, put cookies in a ziplock bag and crush with a rolling pin. It takes longer and your arm might hurt, but it works.
Mixing bowls — Two large bowls. One for the cream cheese mixture, one for the whipped topping. I use glass bowls because they’re sturdy and don’t tip over when I’m whisking hard.
Electric mixer or hand whisk — An electric mixer is faster and gives better results, but a strong arm and a hand whisk works too. Just make sure the cream cheese is smooth before you add anything else.
Spatula — A rubber spatula for folding in the whipped topping. You want to be gentle so you don’t deflate the air you just whipped in. Fold until just combined.
Sharp knife — For cutting the bars. Dip it in hot water and wipe dry between cuts. This gives you clean, neat squares. A dull knife will squish the bars and make a mess.
How to Make It: Step-by-Step
Alright, let’s make this! I’m walking you through exactly how I do it, including the little tricks I’ve picked up over the years. This is straightforward, but timing matters.
Step 1: Prep Your Pan (2 minutes)
Line your 9×13 inch baking pan with parchment paper. Leave a few inches of overhang on the long sides—this is your handle for lifting the bars out later. Spray the parchment lightly with cooking spray. This ensures nothing sticks. Set aside.
Step 2: Make the Crust (5 minutes)
Crush your gingersnap cookies into fine crumbs. If using a food processor, pulse until they look like wet sand. If using a bag, keep going until there are no big chunks. In a medium bowl, mix the crumbs with melted butter, sugar, and cinnamon. The mixture should look like wet sand. If it’s too dry, add a teaspoon more butter. Press this firmly into the bottom of your prepared pan. Use the bottom of a measuring cup to pack it down tight. You want it even and compact. Put it in the fridge while you make the filling. This helps it set faster.
Step 3: Whip the Cream Cheese (3 minutes)
In a large bowl, beat the softened cream cheese with an electric mixer on medium speed until it is completely smooth and creamy. No lumps! This takes about 2 minutes. Scrape down the sides of the bowl. If you leave lumps, they’ll show up in the final product and look unappetizing. Add the powdered sugar, pumpkin puree, pumpkin pie spice, and vanilla. Beat on low speed just until combined. Don’t overmix once the pumpkin is in, or you’ll incorporate too much air and the bars might rise and crack. Just mix until smooth.
Step 4: Fold in the Whipped Topping (2 minutes)
In a separate bowl, or directly into the cream cheese mixture if you’re brave, fold in the thawed whipped topping. Use a rubber spatula. Cut down through the middle, scrape the bottom, and fold over. Rotate the bowl and repeat. You’re looking for a uniform, fluffy mixture. Do not stir vigorously. You want to keep the air in the whipped topping. This is what makes the bars light and easy to eat.
Step 5: Assemble and Chill (4 hours minimum)
Pour the pumpkin mixture over the chilled crust. Spread it out evenly with your spatula. Tap the pan gently on the counter a few times to release any air bubbles. Cover the pan with plastic wrap or foil. Refrigerate for at least 4 hours, but preferably overnight. This is the hardest part—waiting. But it’s necessary for the bars to set. If you cut them too soon, they’ll be mushy.
Step 6: Cut and Serve
Once the bars are firm, lift them out of the pan using the parchment overhang. Place on a cutting board. Use a sharp knife dipped in hot water and wiped dry to cut into squares. Clean your knife between cuts for neat edges. Serve chilled. They are best eaten within 3 days, but they usually disappear in one.
Expert Tips & Tricks
Here’s everything I’ve learned from making these dozens of times. These tips will save you from my mistakes.
Softened Cream Cheese is Key
This cannot be stressed enough. If your cream cheese is cold, you will get lumps. Lumps are bad. Take it out of the fridge at least 30 minutes before you start. If you forget, cut it into cubes and microwave for 15-second bursts, checking after each. It should be soft enough to press a finger into it, but not melted.
Don’t Skimp on Chilling Time
I know you want to eat them now. Resist the urge. These bars need time to set. If you cut them after 2 hours, they will fall apart. If you chill them overnight, they will be perfect. Plan ahead. Make them the day before you need them.
Use Full-Fat Everything
Light cream cheese, low-fat whipped topping, skim milk—none of this works. The fat is what creates the structure and mouthfeel. If you try to make this “healthy,” it will fail. Embrace the richness. It’s a holiday dessert, after all.
Clean Knife Technique
When cutting, dip your knife in hot water, wipe it dry, make your cut, then repeat. This prevents the creamy filling from sticking to the blade and tearing the bars. It’s a small trick that makes a huge difference in presentation.
Optional Garnish
If you want to impress, top each bar with a dollop of whipped cream and a sprinkle of crushed gingersnaps or a cinnamon stick. It looks fancy and adds a nice texture contrast. I do this when I have guests over.
Variations & Substitutions
Once you’ve nailed the basic version, here’s how you can mix it up. I’ve tried all of these.
Maple Pecan Version
Add ½ cup chopped pecans to the crust. Toast them first for extra flavor. Add 1 teaspoon maple extract to the filling. It’s richer and nuttier. My husband loves this version.
Spiced Apple Version
Swap the pumpkin puree for unsweetened applesauce. Add 1 teaspoon apple pie spice. It’s lighter and less dense. Great for autumn when you want something less heavy.
Chocolate Swirl
After pouring the pumpkin mixture, drizzle melted chocolate over the top and swirl it with a knife. It looks beautiful and adds a sweet crunch. Use dark chocolate for a less sweet option.
Dairy-Free Option
Use dairy-free cream cheese blocks (not tubs) and coconut whipped topping. Use dairy-free gingersnaps (check labels, some have butter). It works, but the texture is slightly different. Still delicious, though.
Gluten-Free
Use gluten-free gingersnap cookies. Most major brands make them now. The rest of the recipe is naturally gluten-free. Just double-check your pumpkin puree label.
Serving & Storage
I usually serve these straight from the fridge. They are best cold. Here’s how to store them to keep them fresh.
Refrigerator
Store in an airtight container for up to 5 days. If you cut them, cover the cut sides with plastic wrap to prevent drying out. They will last up to 5 days, but they’re best within 3.
Freezing
Yes, you can freeze these! Cut them into squares first. Wrap each square individually in plastic wrap, then put them in a freezer bag. They will last for 2 months. Thaw in the fridge overnight. The texture might be slightly softer after thawing, but it’s still good. I don’t recommend freezing the whole bar because it takes up too much space and is harder to thaw evenly.
Serving Suggestions
Pair with a cup of hot coffee or tea. The spices pair beautifully with coffee. Also great with a glass of cold milk. If you’re serving at a party, put them on a platter with some fresh cranberries or pomegranate seeds for color. It looks festive and appetizing.
Nutrition Information
I’m not a nutritionist, but here’s the breakdown if you’re tracking. Keep in mind, this is a rich dessert, so portion control is key.
Per Serving (based on 12 bars):
- Calories: 320
- Protein: 4g
- Carbs: 35g
- Fiber: 1g
- Sugar: 22g
- Fat: 18g
- Saturated Fat: 10g
- Cholesterol: 45mg
- Sodium: 180mg
What’s Good: It’s a relatively light dessert compared to baked cheesecakes because of the whipped topping. The pumpkin adds some fiber and vitamins. It’s not a health food, but it’s not the heaviest thing you’ll eat.
What to Know: Higher in sugar from the cookies and sweetened topping. Contains dairy and gluten. Moderate sodium.
My Take: Look, this is a holiday dessert. It’s supposed to be indulgent. Enjoy it in moderation. If you want to lighten it up, use light cream cheese and reduce the powdered sugar. But usually? I just eat one square and savor it.
Final Thoughts
So that’s my go-to no-bake pumpkin cheesecake bars! I’ve probably talked your ear off at this point, but when you make a recipe this often, you have a lot to say about it. This has saved my holiday dinners more times than I can count. It’s my answer to “what’s for dessert” when I’m tired, don’t want to bake, and still want something that tastes really good. My family is happy, my guests are impressed, and I’m happy because I’m not stressed about cooking.
Make it yours! Try different garnishes, swap in your favorite spices, or adjust the sweetness. The best recipes are the ones you adapt to your family’s tastes. If you make this, drop a comment and let me know what you think! I love hearing how recipes turn out in your kitchen. And if something doesn’t work, tell me that too—I’m here to help troubleshoot.
Happy baking… wait, no-baking! And I hope your kitchen smells half as good as mine does right now.
Frequently Asked Questions
Can I use pumpkin pie filling instead of puree?
No, please don’t. Pumpkin pie filling already has sugar and spices added. Your bars will be way too sweet and the spice balance will be off. Always use 100% pure pumpkin puree. It’s unsweetened and unspiced, which gives you control over the flavor.
Why are my bars too soft?
This usually happens for one of three reasons: 1) You didn’t chill them long enough (give it at least 4 hours, preferably overnight). 2) Your cream cheese wasn’t softened properly, leading to lumps that didn’t mix evenly. 3) You used low-fat cream cheese or whipped topping. The fat is essential for structure. Next time, use full-fat ingredients and chill longer.
Can I make this ahead for a dinner party?
Absolutely. This is the perfect make-ahead dessert. You can make it 3 days in advance. In fact, the flavors improve after a day or two. Just keep it covered in the fridge. Take it out 15 minutes before serving to let it soften slightly for easier cutting.
How do I store leftovers?
Store in an airtight container in the fridge for up to 5 days. If you cut them, cover the cut sides with plastic wrap to prevent drying out. They will last up to 5 days, but they’re best within 3.
Can I freeze these bars?
Yes! Cut them into squares first. Wrap each square individually in plastic wrap, then put them in a freezer bag. They will last for 2 months. Thaw in the fridge overnight. The texture might be slightly softer after thawing, but it’s still good.
What if I don’t have a food processor?
You can crush the gingersnaps in a ziplock bag using a rolling pin. It takes longer and requires some elbow grease, but it works. Just make sure you get them fine enough so the crust is smooth.
Can I use a different cookie for the crust?
You can try graham crackers or vanilla wafers, but the gingersnaps are what give this recipe its signature flavor. The ginger pairs perfectly with the pumpkin. If you swap cookies, you’ll lose that warm, spicy kick. I recommend sticking with gingersnaps.
Pin This Recipe!
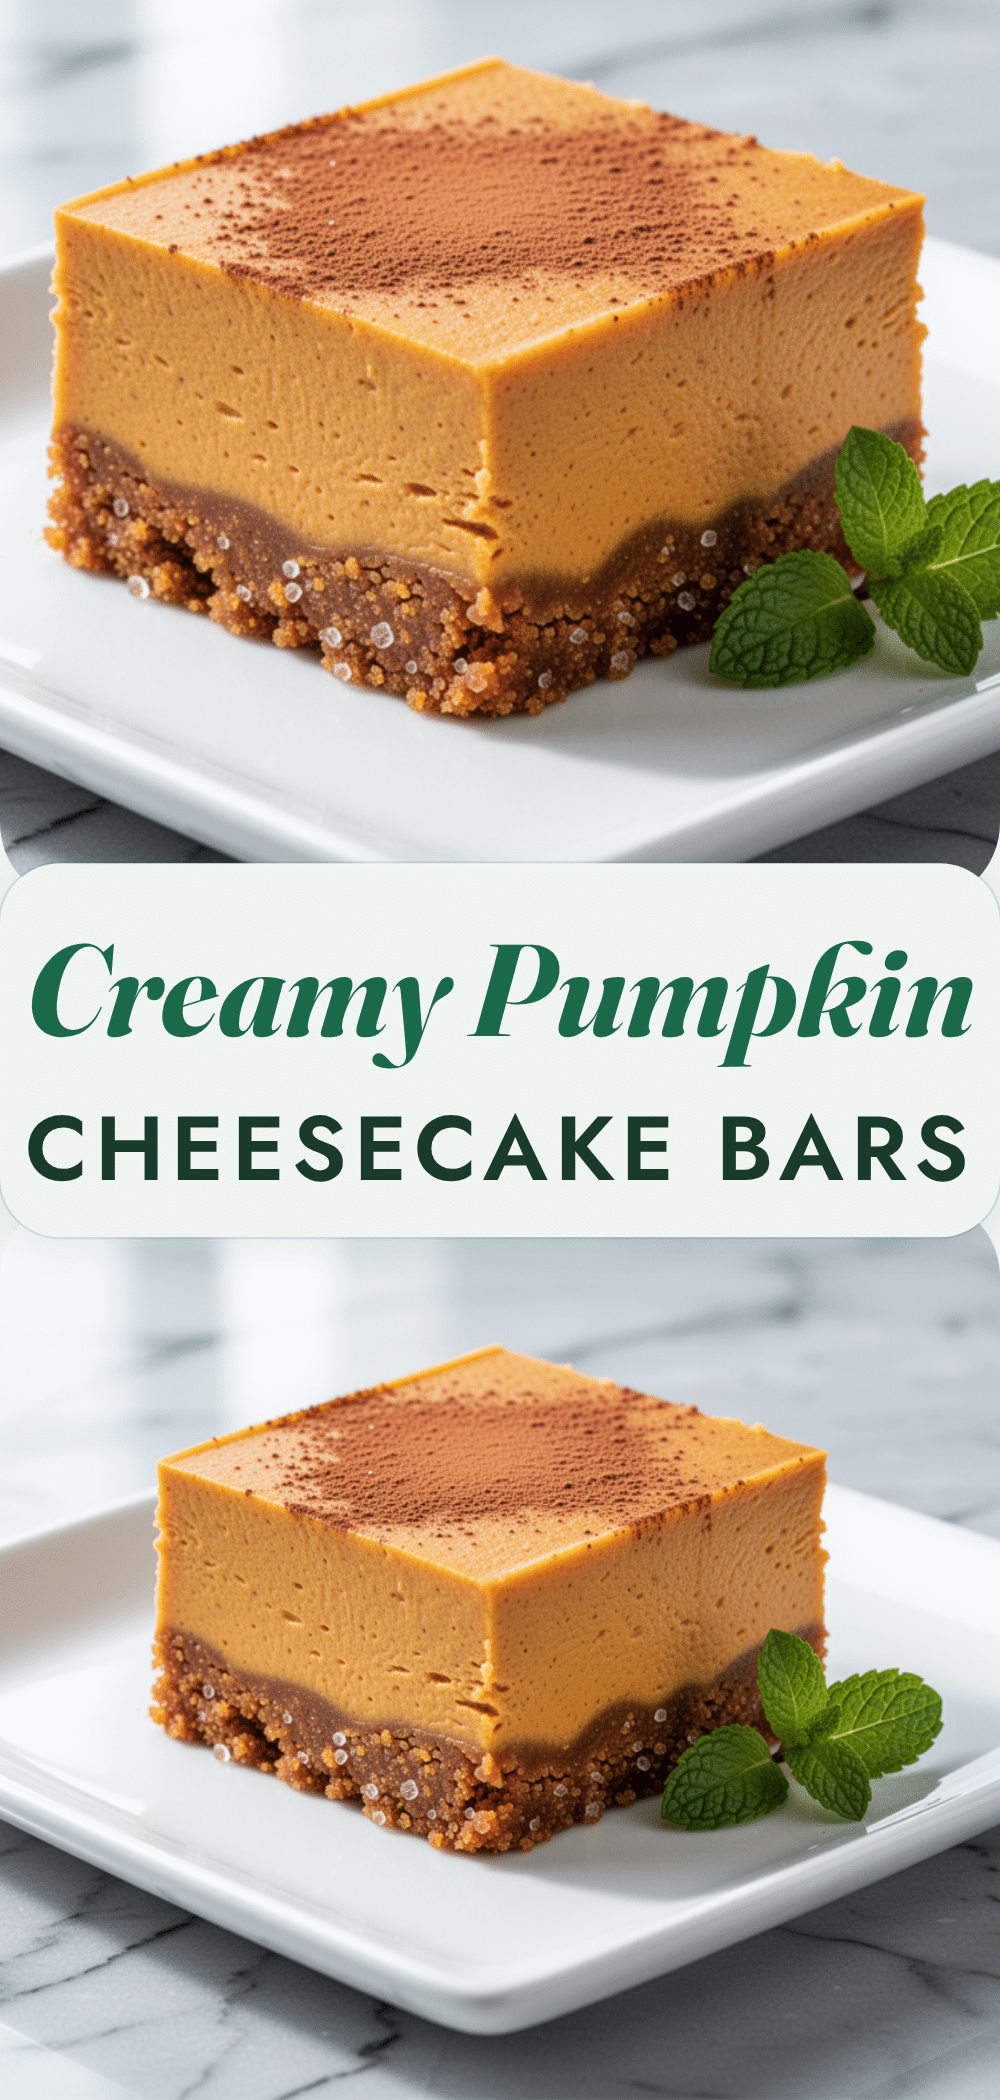
No-Bake Pumpkin Cheesecake Bars
- Total Time: 4 hours 20 minutes
- Yield: 12 servings 1x
Description
A stress-free, no-bake holiday dessert featuring a creamy pumpkin cheesecake filling on a crunchy gingersnap crust. Perfect for making ahead and serving at gatherings.
Ingredients
- 2 cups crushed gingersnap cookies (about 200g)
- 6 tablespoons unsalted butter, melted
- 2 tablespoons granulated sugar
- 1/2 teaspoon ground cinnamon
- 24 ounces full-fat block cream cheese, softened
- 1 cup heavy whipping cream
- 8 ounces whipped topping (e.g., Cool Whip), thawed
- 15 ounces 100% pure pumpkin puree
- 2 teaspoons pumpkin pie spice
- 1 teaspoon vanilla extract
- 1/2 cup powdered sugar
Instructions
- Line a 9×13 inch baking pan with parchment paper, leaving an overhang on the sides, and lightly spray with cooking spray.
- Crush gingersnap cookies into fine crumbs. In a medium bowl, mix crumbs with melted butter, sugar, and cinnamon until the mixture resembles wet sand.
- Press the crust mixture firmly and evenly into the bottom of the prepared pan. Refrigerate while making the filling.
- In a large bowl, beat the softened cream cheese with an electric mixer on medium speed until smooth and creamy (about 2 minutes). Scrape down the sides.
- Add powdered sugar, pumpkin puree, pumpkin pie spice, and vanilla to the cream cheese. Beat on low speed just until combined.
- In a separate bowl or directly into the mixture, gently fold in the thawed whipped topping using a rubber spatula until uniform and fluffy.
- Pour the pumpkin mixture over the chilled crust and spread evenly. Tap the pan gently to release air bubbles.
- Cover with plastic wrap or foil and refrigerate for at least 4 hours, preferably overnight, until firm.
- Lift the bars out of the pan using the parchment overhang. Cut into squares using a sharp knife dipped in hot water and wiped dry between cuts.
- Serve chilled.
Notes
Ensure cream cheese is full-fat and softened to avoid lumps. Do not use pumpkin pie filling; use 100% pure pumpkin puree. Chill for at least 4 hours to ensure the bars set properly. For clean cuts, dip the knife in hot water and wipe dry between each slice.
- Prep Time: 20 minutes
- Cook Time: 0 minutes
- Category: Dessert
- Cuisine: American
Nutrition
- Serving Size: 1 bar
- Calories: 320
- Sugar: 22
- Sodium: 180
- Fat: 18
- Saturated Fat: 10
- Carbohydrates: 35
- Fiber: 1
- Protein: 4
Keywords: no-bake, pumpkin cheesecake, holiday dessert, gingersnap crust, make-ahead, Thanksgiving dessert, easy dessert


