Two years ago, I hosted a “low-key” dinner for twelve people and nearly had a panic attack. I spent six hours in the kitchen, sweating over a casserole that ended up dry, while my guests sat around looking polite but hungry. I realized then that I was doing it all wrong. I thought hosting meant cooking an entire meal from scratch. It doesn’t. It means creating an experience where people can mingle, snack, and actually enjoy your company without you being chained to the stove.
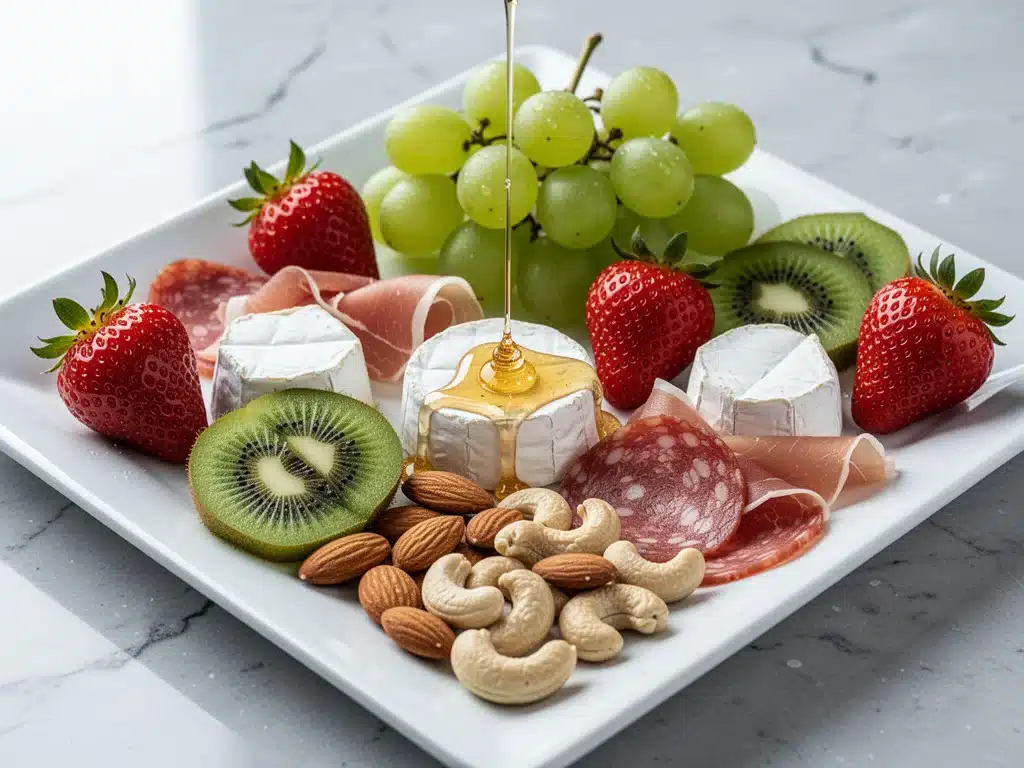
That was the day I fell in love with the charcuterie board. Not the overly complicated, $200-a-head spreads you see on Instagram, but the real, messy, beautiful version that actually works for real life. This easy charcuterie board with fresh fruit and nuts is my secret weapon. It’s the dish that lets me look put-together while I’m actually sitting down with my guests, glass of wine in hand.
I’ve made this specific combination dozens of times now. The first time, I was terrified it would look boring. Just cheese and fruit? Really? But the moment I set it on the table, the reaction was immediate. People gravitated toward it. It became the centerpiece of the evening. The contrast of salty cured meats against sweet, juicy fruit and crunchy nuts is just… right. It’s satisfying without being heavy, and it looks like you spent all day arranging it (even though it took me 15 minutes).
If you’re hosting a party, a game night, or just want a fancy snack for a movie night, this is the recipe. It’s forgiving, it’s beautiful, and it’s stupidly easy. Let me walk you through exactly how I build it so yours looks as good as mine.
Why You’ll Love This Charcuterie Board
There are a few reasons this has become my go-to for every gathering, from casual Tuesday hangouts to holiday parties. Here’s the real deal on why it works:
Zero Cooking Required — Seriously. If you can open a package and slice a piece of fruit, you can make this. No oven, no stove, no dirty pots. This is huge for me because I can prep the board while the main course is baking, or just make it on its own as the main event.
Looks Expensive, Costs Little — When arranged well, a board like this looks like a gourmet gift basket. But if you shop smart (more on that in the ingredients section), it’s actually pretty budget-friendly. You’re getting a lot of visual impact for your money.
Feeds a Crowd Without the Stress — Unlike a plated meal where you have to worry about dietary restrictions and portion sizes, a board lets people graze. Some people want three crackers with cheese. Others want a handful of grapes and a stick of prosciutto. It’s self-serve perfection.
It’s a Conversation Starter — I’ve noticed people naturally gather around the board. It gives guests something to do with their hands and something to talk about. “Oh, have you tried the fig jam? It’s amazing.” Suddenly, the ice is broken.
Makes Amazing Leftovers — Here’s the best part: the leftovers are still delicious. I’ve eaten cold cheese and crackers for breakfast. Don’t judge me. It’s a valid life choice.
This is my go-to when I need to impress but don’t have the energy to cook. It’s reliable, it’s beautiful, and it keeps everyone happy.
Ingredients You’ll Need
Here’s the thing about charcuterie: it’s not about following a rigid recipe. It’s about balance. You want salty, sweet, crunchy, creamy, and soft. Once you understand that formula, you can use whatever you find at the store. But for this specific board, I have some strong opinions on what works best.
The Meats (Salty & Savory)
Prosciutto di Parma (8 ounces) — This is the star. Look for the thin, delicate slices. Tear them into rough shapes rather than folding them neatly—it looks more rustic and inviting. If you can’t find prosciutto, salami or capicola works too, but prosciutto has that melt-in-your-mouth quality that people love.
Hard Salami (6 ounces) — I like a thicker, heartier salami to contrast the delicate prosciutto. Look for one with visible flecks of black pepper. It adds a nice kick. Slice it into strips or fold it into rosettes.
Cured Chorizo (4 ounces) — Optional, but I love the smoky heat. Make sure it’s the dry-cured Spanish chorizo, not the fresh Mexican kind you cook in a pan. Slice it into thin coins.
The Cheeses (Creamy & Tangy)
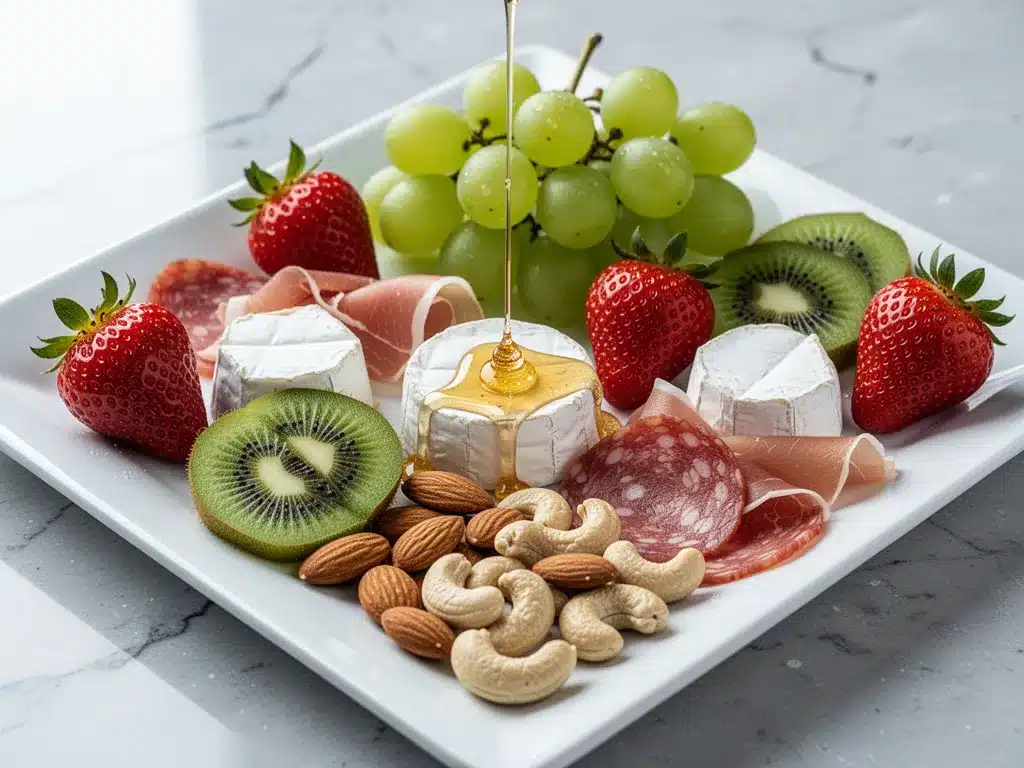
Brie or Camembert (8 ounces, wheel) — This is the soft, creamy element. I always serve this with the rind on. It’s edible and adds a nice earthy flavor. Let it come to room temperature before serving—cold cheese tastes waxy. If you’re worried about it getting too soft, just take it out of the fridge 30 minutes before guests arrive.
Aged Cheddar (6 ounces) — Something sharp and crumbly to cut through the richness of the brie. I use a 2-year aged cheddar. Cube it or slice it into sticks. Sharp cheddar holds up better than mild cheddar on a board.
Goat Cheese Log (6 ounces) — Tangy and bright. This adds a different texture and flavor profile. You can serve it whole or crumble it slightly. It pairs beautifully with the honey.
The Fruits (Sweet & Juicy)
Fresh Grapes (2 cups) — Red and green grapes. Leave them on the vine if you can—it looks nicer and is easier for guests to grab. Wash them thoroughly, obviously. The sweetness balances the salty meats perfectly.
Figs (1 pound) — Fresh figs are in season for a short time, but they are worth it. If they’re out of season, use dried figs. I prefer fresh for the juiciness, but dried figs have a chewier, more intense sweetness. Slice fresh figs in half. Leave dried figs whole or quarter them.
Apple Slices (1 large apple) — I use Honeycrisp or Fuji. They’re crisp and sweet. Slice them thinly and toss them in a little lemon juice so they don’t brown. Visual appeal matters, and nobody wants to eat a brown apple slice.
Dried Apricots (1 cup) — Adds a chewy texture and a pop of orange color. They’re not as sweet as dried cranberries, which makes them feel more sophisticated.
The Nuts & Crunch (Texture)
Roasted Almonds (1 cup) — Salted, roasted almonds. They’re crunchy and savory. I like them whole. If you can’t find them, walnuts or pecans work too, but almonds are my favorite for their neutral, nutty flavor.
Pistachios (1 cup) — These add a beautiful green color and a slightly buttery taste. They’re a bit more expensive, but they make the board look fancy. Crack them lightly so they’re easy to eat.
Crackers (1 box, assorted) — You need something to hold the cheese and meat. I buy a mixed box of water crackers, seeded crackers, and thin baguette slices. Avoid overly flavored crackers—they compete with the food. You want neutral vessels.
The Accents (The Finishing Touches)
Honey (1 small jar) — Drizzle this over the goat cheese and brie. The salty cheese + sweet honey combo is legendary. Use a nice local honey if you can find it.
Fig Jam (1 small jar) — Another sweet element, but more complex than honey. Serve it in a small bowl or dollop it on crackers.
Fresh Herbs (1 bunch rosemary or thyme) — I don’t eat these, but I use them for decoration. They make the board look lush and green. You can eat them, but they’re mostly for show.
Equipment Needed
You don’t need anything fancy for this. Here’s what I actually use:
Large Wooden Board or Platter — I use a large walnut board, about 18×24 inches. It needs to be big enough to hold everything without looking cramped. If you don’t have a board, a large cutting board or even a clean slate tile works. Just make sure it’s flat and sturdy.
Sharp Knife — For slicing the cheese and fruit. A cheese knife is nice, but a good chef’s knife works fine. Dull knives are frustrating and dangerous.
Small Bowls — For the jam, honey, and nuts. I use little ceramic ramekins or even small glass jars. They add height and variety to the board.
Plates and Napkins — Have these ready nearby. Guests will want to grab a plate to build their own little bites.
Tongs — For picking up the nuts or figs. It’s more hygienic than using fingers, and it looks nicer.
How to Build the Board: Step-by-Step
Alright, let’s build this! The order matters. If you just throw everything on randomly, it looks messy. Follow these steps for a board that looks professionally arranged.
Step 1: Place the Cheese
Start with your cheeses. Scatter them around the board, leaving space between them. Don’t cluster them all in one spot. I usually put the brie wheel near the center or slightly off-center, the cheddar cubes in one corner, and the goat cheese log along the edge. This creates visual anchors. If you’re using a cheese knife, place it on the board near the cheese it belongs to.
Step 2: Add the Meats
Next, arrange the meats. For prosciutto, don’t just lay it flat. Tear it into rough pieces and fold it loosely into nests or piles. It looks more abundant and inviting. For the salami and chorizo, fold the slices in half and then in half again, creating little rosettes. Place these near the cheeses. The goal is to create little clusters of salty food that are easy to grab.
Step 3: Fill in the Gaps with Fruit
This is where the color pops. Scatter the grapes around the board, filling in empty spaces. Place the figs near the cheeses—the dark purple of the fig looks great against the white brie. Arrange the apple slices in a fan shape near the edge. Tuck the dried apricots in between the meats. The idea is to create a flow of color: red grapes, purple figs, orange apricots, white apples. It should look like a rainbow of sorts.
Step 4: Add the Nuts and Crunch
Pour the almonds and pistachios into your small bowls. Place these bowls strategically around the board—maybe one near the goat cheese and one near the center. The nuts add height and texture. If you don’t have bowls, you can pile the nuts directly on the board, but bowls look cleaner and make it easier for guests to take a handful without messing up the rest of the board.
Step 5: Place the Crackers
Lean the crackers against the cheeses or the board’s edge. Don’t lay them flat in a pile—they look messy. Standing them up creates vertical interest. Spread them out so they’re accessible from all sides. Make sure you have enough for everyone.
Step 6: The Finishing Touches
Drizzle the honey over the goat cheese and brie. Use a spoon to create little swirls. Dollop the fig jam in its small bowl or directly on some crackers. Tuck the fresh herbs (rosemary or thyme) into any empty spaces. They add that final pop of green and make the whole board look lush and abundant.
Step back and look. Does it look balanced? Are there any big empty spots? Add more grapes or a few more crackers if needed. This should take about 15-20 minutes total. It’s that simple.
Expert Tips & Tricks
Here’s everything I’ve learned from making these boards for years. These tips will save you from common mistakes.
Room Temperature is Key — Cheese tastes bad cold. Take your cheeses out of the fridge at least 30 minutes before serving. Cold butter tastes waxy; cold cheese tastes bland. Let it breathe. The flavors will open up and become much more complex.
Don’t Overcrowd — It’s tempting to pack every inch of the board, but leave some negative space. It makes the food look more intentional and gives guests room to grab items without knocking everything over. A little white space is elegant.
Use Odd Numbers — When arranging cheeses and meats, try using odd numbers (3 cheeses, 3 types of meat). It’s a design principle that makes things look more natural and less staged.
Prep Ahead, Assemble Last — You can slice the fruit and meat hours in advance. Store them in airtight containers in the fridge. Assemble the board 30 minutes before guests arrive. This keeps the fruit from browning and the crackers from getting soggy.
Label the Allergens — If you have guests with nut allergies or dairy restrictions, it’s helpful to label the items. I use small little cards or just place a note on the board. It’s a thoughtful touch that makes everyone feel included.
Variations & Substitutions
Once you’ve mastered the basic board, here’s how you can mix it up. I’ve tried all of these.
Vegan Version — Swap the meats for marinated tofu or tempeh. Use vegan cheese alternatives (though many are hit-or-miss, so pick brands with good reviews). Keep the fruits, nuts, and crackers. Add some roasted red peppers or artichoke hearts for extra savory flavor.
Vegetarian Version — Skip the meats entirely and add more cheeses and savory items like olives, sun-dried tomatoes, and roasted vegetables. Fill the board with hummus or tapenade in small bowls.
Seafood Twist — Add smoked salmon, shrimp cocktail, or crab cakes. Serve with lemon wedges and horseradish sauce. This feels more elegant and perfect for a brunch or appetizer.
Chocolate Lover’s — Add dark chocolate squares, chocolate-covered almonds, and dried cherries. Swap the crackers for pretzels. This is great for a dessert board or a sweet snack option.
Seasonal Variations — In the fall, add pears, walnuts, and brie with apple butter. In the summer, add watermelon, berries, and mint. In the winter, add pomegranate seeds and candied pecans. Use what’s in season—it’s fresher and cheaper.
Serving & Storage
How to Serve: Place the board on the table as soon as guests arrive. It’s best served at room temperature. Provide small plates, napkins, and utensils (like cheese knives or tongs) nearby. Encourage guests to build their own bites—mix and match cheeses, meats, and fruits.
Side Dishes: This board can stand alone as an appetizer or be part of a larger meal. If serving as a main snack, add some bread or more crackers. If it’s part of a dinner, serve it before the meal starts.
Storage: Leftovers can be stored in the fridge. Wrap the cheeses tightly in plastic wrap or wax paper. Store the fruits in an airtight container. The crackers should be kept in a sealed bag to stay crisp. Most items will last 3-4 days in the fridge.
Reheating: Don’t reheat the cheese or meats. Just let them come to room temperature before serving again. Cold leftovers are still tasty, just not as flavorful.
Nutrition Information
I’m not a nutritionist, but here’s the breakdown if you’re tracking. Please note that this is a rough estimate per serving (assuming 8 servings from the full board).
| Nutrient | Per Serving |
|---|---|
| Calories | 350 |
| Protein | 15g |
| Carbs | 25g |
| Fiber | 3g |
| Sugar | 15g |
| Fat | 22g |
| Saturated Fat | 9g |
| Cholesterol | 45mg |
| Sodium | 600mg |
What’s Good: Good source of protein and calcium from the cheese. Healthy fats from the nuts. Fiber from the fruits.
What to Know: Higher in calories and sodium due to the cured meats and cheese. It’s a calorie-dense snack, so portion control is key if you’re watching your intake. But honestly, it’s hard to eat just one serving!
My Take: This isn’t diet food. It’s indulgent, delicious food. Enjoy it in moderation. Pair it with a glass of wine and some good company, and it’s perfect.
Frequently Asked Questions
How long can I leave the charcuterie board out?
Meats and hard cheeses can sit out for up to 2 hours. Soft cheeses like brie should be brought back to room temperature but not left out for more than 2 hours due to food safety. If it’s a hot day, keep it refrigerated until serving time.
Can I make this ahead of time?
Yes! Prep all the slicing and chopping a day ahead. Store everything in separate containers in the fridge. Assemble the board 30 minutes before guests arrive. This saves you so much stress on the day of.
What if I don’t have a wooden board?
Use a large cutting board, a slate tile, a clean marble slab, or even a large platter. The surface just needs to be flat and large enough to hold everything. A baking sheet lined with parchment paper works in a pinch.
Can I substitute the meats?
Absolutely. Use whatever cured meats you like. Ham, turkey salami, pepperoni, or even roasted chicken slices work. The key is having a mix of textures and flavors.
How do I prevent the fruit from browning?
Toss apple and banana slices in a little lemon juice before arranging them. Grapes and figs don’t brown, so they’re safe. Keep the board out of direct sunlight to slow down the browning process.
Is this board enough for a full meal?
It depends on your guests. For a light lunch or a party appetizer, yes. For a heavy dinner, probably not. I usually serve this before a main course or as part of a larger spread with salads and breads.
Final Thoughts
So that’s my easy charcuterie board with fresh fruit and nuts! I know it sounds simple, but there’s an art to it. Once you get the hang of balancing flavors and textures, you’ll be making these for every occasion. It’s my answer to “what do I bring to the party?” when I’m tired, broke, or just want to relax.
This board has saved me from countless hosting disasters. It’s elegant, it’s delicious, and it lets me enjoy my own party. My friends love it, my family begs for it, and I love that I can make it look fancy with minimal effort.
Make it yours! Try different cheeses, swap in your favorite fruits, or add a unique jam. The best boards are the ones that reflect your personal taste. If you make this, drop a comment and let me know how it went! I love hearing how recipes turn out in your kitchen.
Happy hosting! And I hope your next party is the easiest, most enjoyable one yet.
Pin This Recipe!
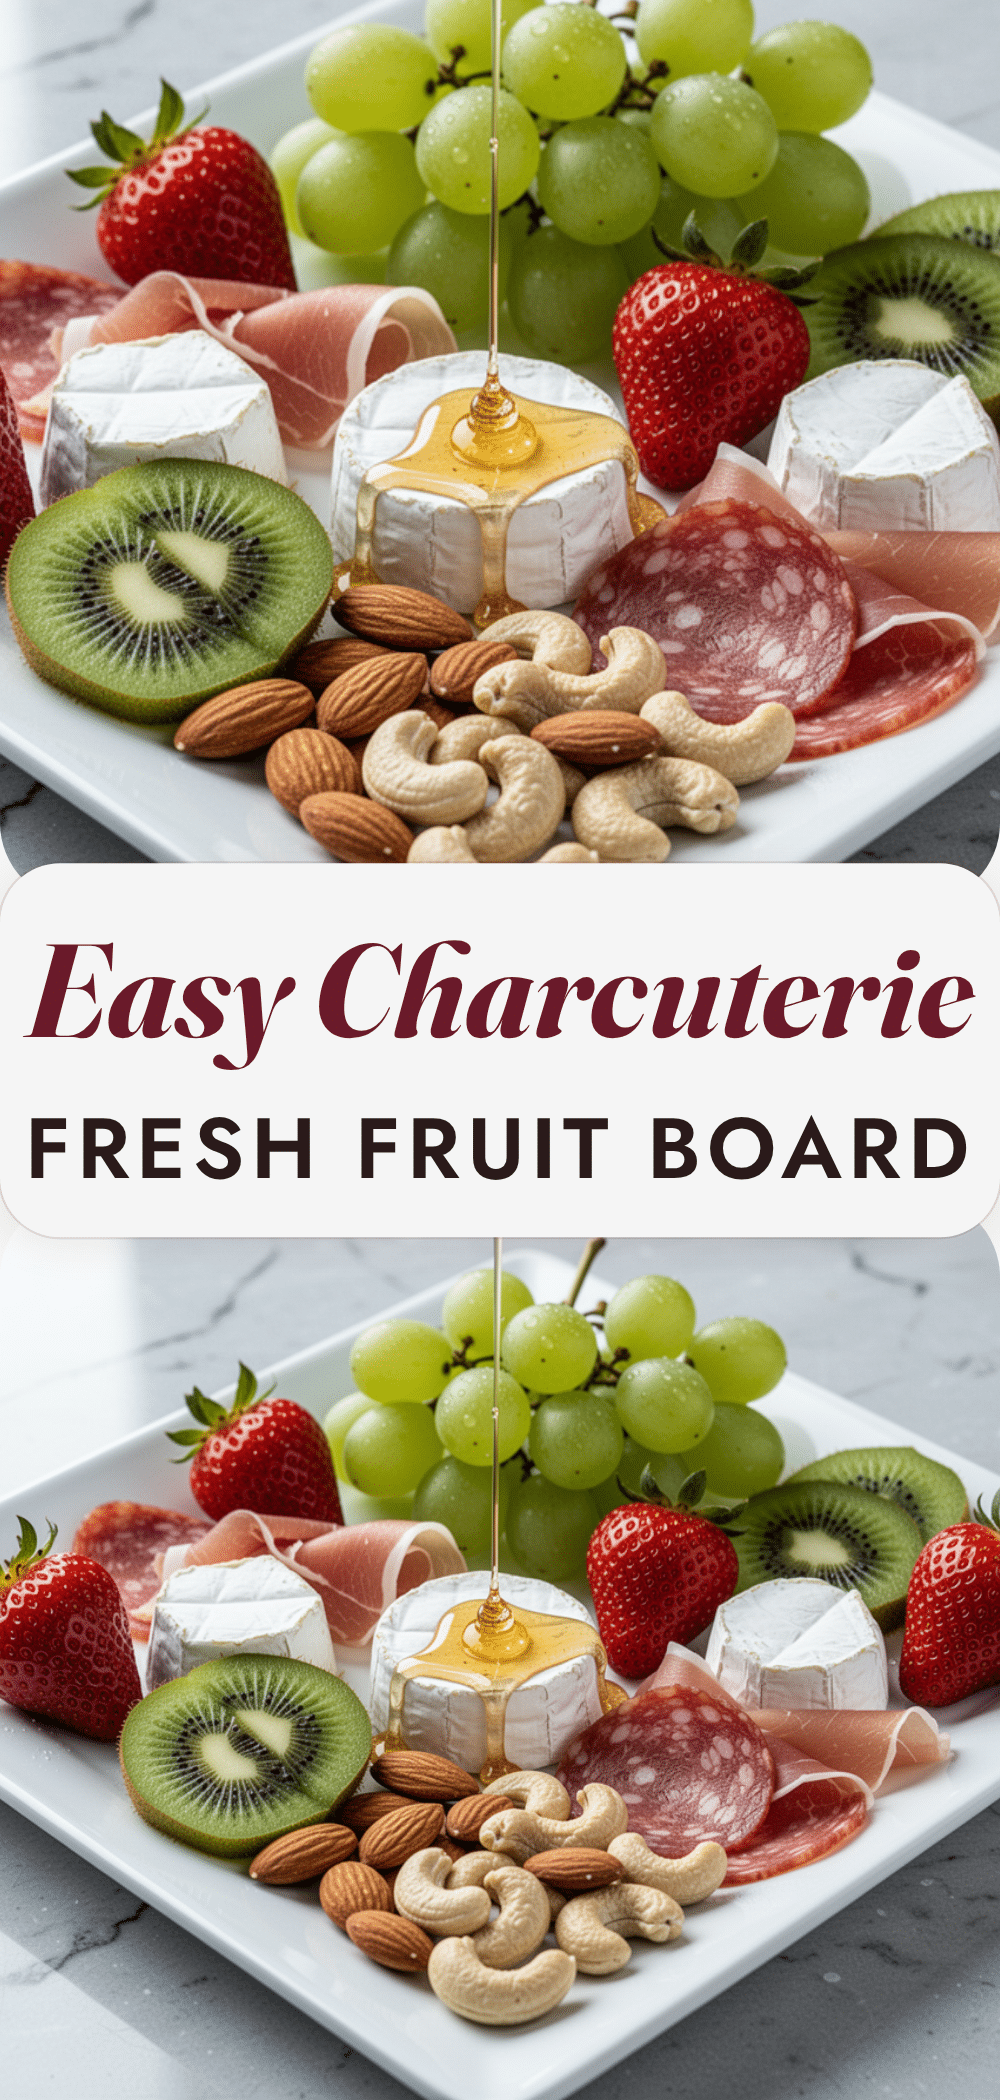
Easy Charcuterie Board with Fresh Fruit & Nuts
- Total Time: 15 minutes
- Yield: 8 servings 1x
Description
A stress-free, no-cook charcuterie board featuring a balance of salty cured meats, creamy cheeses, fresh and dried fruits, crunchy nuts, and crackers. Perfect for hosting parties or enjoying as a fancy snack.
Ingredients
- 8 ounces Prosciutto di Parma
- 6 ounces Hard Salami
- 4 ounces Cured Chorizo (dry-cured Spanish style)
- 8 ounces Brie or Camembert (wheel)
- 6 ounces Aged Cheddar
- 6 ounces Goat Cheese Log
- 2 cups Fresh Grapes (red and green)
- 1 pound Figs (fresh or dried)
- 1 large Apple (Honeycrisp or Fuji)
- 1 cup Dried Apricots
- 1 cup Roasted Almonds (salted)
- 1 cup Pistachios
- 1 box Assorted Crackers (water, seeded, or baguette slices)
- 1 small jar Honey
- 1 small jar Fig Jam
- 1 bunch Fresh Herbs (rosemary or thyme for decoration)
Instructions
- Remove cheeses from the refrigerator at least 30 minutes before serving to bring them to room temperature.
- Place cheeses on the board, scattering them around and leaving space between them. Position the brie wheel near the center, cheddar cubes in a corner, and goat cheese log along the edge.
- Arrange the prosciutto by tearing it into rough pieces and folding loosely into nests or piles. Fold salami and chorizo slices into rosettes and place them near the cheeses.
- Scatter grapes around the board to fill empty spaces. Place figs near the cheeses, arrange apple slices in a fan shape near the edge, and tuck dried apricots between meats.
- Pour almonds and pistachios into small bowls and place them strategically around the board to add height and texture.
- Lean crackers against the cheeses or the board’s edge, standing them up for vertical interest and spreading them out for accessibility.
- Drizzle honey over the goat cheese and brie. Dollop fig jam in a small bowl or directly on some crackers.
- Tuck fresh herbs into any empty spaces for decoration.
- Serve immediately with small plates, napkins, and utensils.
Notes
[‘Ensure cheeses are at room temperature for best flavor.’, ‘Toss apple slices in lemon juice to prevent browning.’, ‘Use odd numbers when arranging items for a more natural look.’, ‘Prep slicing and chopping ahead of time, but assemble the board 30 minutes before guests arrive.’, ‘Label allergens if serving guests with dietary restrictions.’]
- Prep Time: 15 minutes
- Cook Time: 0 minutes
- Category: Appetizer
- Cuisine: American
Nutrition
- Serving Size: 1 serving (approxima
- Calories: 350
- Sugar: 15
- Sodium: 600
- Fat: 22
- Saturated Fat: 9
- Carbohydrates: 25
- Fiber: 3
- Protein: 15
Keywords: charcuterie board, appetizer, party food, no cook recipe, cheese board, fruit and nuts, easy entertaining, grazing board


