It was a Tuesday night, and I was standing in my kitchen, staring at a bag of frozen appetizers I’d bought on a whim. You know the kind. The ones that promise “crispy” but arrive at the table looking like soggy, gray bricks. I was trying to impress some friends who were coming over for wine and cheap conversation, and I wanted to offer something that felt thoughtful, not like I’d just raided the freezer aisle at 8 PM. I pulled out the bag, heated the oven, and waited. Thirty minutes later, I pulled out a tray of disappointment. They were greasy. The cheese was leaking out like a sad, spicy tear. My friends ate them politely, but I saw the look in their eyes. It was the look that says, “I’m being nice, but please don’t make me eat another one.”
I threw the rest in the trash and made a vow. I was done with frozen poppers. I was done with soggy breading and flavorless jalapenos stuffed with generic cream cheese that tasted like nothing but fat. That night, I decided to reinvent the wheel. Or at least, reinvent the jalapeno.
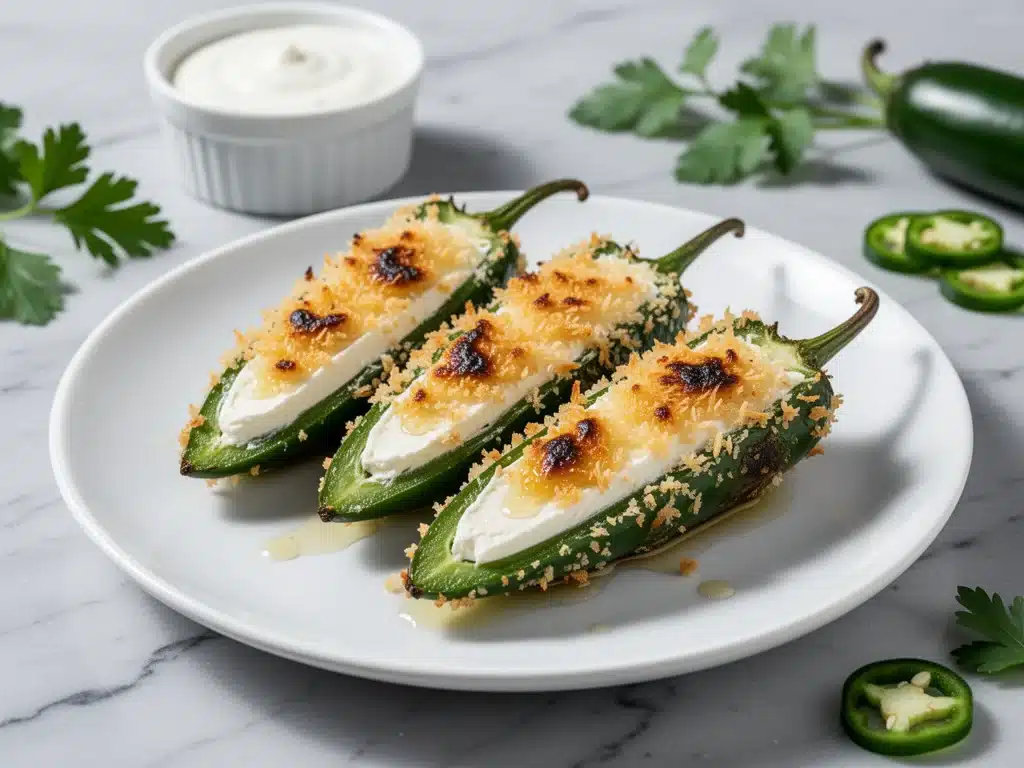
Over the next month, I went through about a dozen batches. Some were too spicy to eat. Some were so salty I needed a gallon of water. One batch was so wet I basically made jalapeno soup in the oven. But then, I hit on the sweet spot. The combination of sharp cheddar for tang, cream cheese for that essential creamy bite, and a breadcrumb coating that actually stays crispy in the oven. Not just crispy when it comes out, but crispy when you pull it from the plate five minutes later.
These crispy baked cheddar jalapeno poppers with cream cheese are now the star of every party I host. They’re the reason my friends text me asking, “When are you making those again?” They’re the reason I’ve stopped buying frozen stuff entirely. They’re easy, they’re addictive, and they taste like you spent hours in the kitchen when it really only takes about 40 minutes. If you’ve ever wanted to be the hero of the appetizer table, this is your recipe.
Why You’ll Love This Recipe
There are a million jalapeno popper recipes out there. So why this one? Why should you stop scrolling and start slicing peppers? Here’s the real talk on why these have earned a permanent spot in my rotation.
Actually Crispy, Not Soggy — This is the big one. Most baked poppers turn soft after sitting for ten minutes. Mine use a specific double-coating technique with panko breadcrumbs and a little parmesan that creates a shatteringly crisp shell. I’ve left them out for an hour at a party, and they still crunch. My guests have actually commented on the texture, which is rare for baked appetizers.
The Perfect Heat Level — Jalapenos can be unpredictable. Some are mild, some are fire. I’ve tested this recipe with both, and the cream cheese and cheddar balance the heat perfectly. If you want it milder, I’ll show you how to remove the seeds. If you want to turn up the heat, I’ll tell you where to keep the membranes. It’s customizable, so everyone at your table can enjoy it without crying.
Pantry-Friendly Ingredients — You don’t need to go to three different stores for this. You need jalapenos, cream cheese, cheddar, breadcrumbs, eggs, and spices. Most of this is already in your kitchen. It’s a budget-friendly appetizer that tastes gourmet. I usually spend less than $10 on ingredients for a batch that feeds a crowd.
Make-Ahead Friendly — This is the secret weapon for party hosts. You can assemble these poppers up to 24 hours in advance. Just cover them and keep them in the fridge. When your guests arrive, you throw them in the oven and forget about them. No last-minute panic. No stress. Just crispy, cheesy goodness while you actually enjoy your own party.
Better Than Fried — I know, I know. Fried poppers are the classic. But frying is messy, oily, and dangerous if you’re not careful. Baking these gives you 90% of the crunch with a fraction of the guilt. Plus, cleanup is a breeze. One baking sheet. One bowl. Done.
I’ve served these to my picky brother, my spice-tolerant sister-in-law, and even my neighbor who claims he “doesn’t like spicy food.” Everyone goes back for seconds. It’s the one appetizer that truly brings people together.
Ingredients You’ll Need
Before we get into the chopping and stuffing, let’s talk about what you need. I’m particular about a few of these items, and I’ll tell you exactly why they matter. This isn’t just a list; it’s your roadmap to success.
Jalapeno Peppers (8-10 medium) — Look for peppers that are firm, glossy, and about the thickness of your thumb. If they’re too thin, they’ll be hard to stuff. If they’re too thick, they’ll be too fleshy and not enough pepper. I usually buy 10 peppers for this recipe because some have weird shapes or small ends that don’t work well. Wear gloves when handling these. Seriously. Don’t be like me and rub your eye three hours later.
Cream Cheese (8 oz, softened) — This is the base of your filling. It needs to be softened to room temperature so it mixes smoothly. If it’s cold and chunky, you’ll get lumps in your poppers. I usually take it out of the fridge while I’m prepping the peppers. Full-fat only. Low-fat cream cheese won’t hold its shape and will make the filling runny.
Sharp Cheddar Cheese (1 cup, freshly shredded) — Use a block of cheddar and shred it yourself. Pre-shredded cheese is coated in cellulose to prevent clumping, and that stuff doesn’t melt right. It stays grainy. Freshly shredded cheddar melts into the cream cheese beautifully, creating that gooey, stretchy center. I like sharp cheddar because it has more flavor, which stands up to the spicy peppers.
Panko Breadcrumbs (1 cup) — This is the secret to the crunch. Regular breadcrumbs are too fine and dense. Panko creates those big, airy, golden-brown flakes that give you that restaurant-quality crunch. Japanese-style panko is best, but any panko will work. Don’t skip this step.
Parmesan Cheese (¼ cup, grated) — I mix this into the breadcrumbs. It adds a salty, nutty depth that complements the cheddar. It’s an optional step if you’re out, but I highly recommend it. It elevates the coating from “good” to “amazing.”
Eggs (2 large) — These act as the glue for your breading. I beat them with a pinch of salt and pepper. This is the wet layer that helps the breadcrumbs stick. If you don’t have eggs, you can use milk, but eggs give a better crust.
Garlic Powder (1 teaspoon) — Adds a subtle savory note that balances the heat. Fresh garlic doesn’t work well here because it can burn in the oven. Powder distributes evenly.
Onion Powder (½ teaspoon) — Another flavor booster. It adds sweetness that cuts through the spice. Again, powder is better than fresh for the coating.
Smoked Paprika (½ teaspoon) — This adds a hint of smokiness that makes the poppers taste like they were grilled. It’s a small detail, but it makes a big difference. If you don’t have smoked paprika, regular paprika works, but it won’t have that same depth.
Salt and Black Pepper — To taste. I usually add a pinch to the cream cheese mixture and a pinch to the egg wash.
Cooking Spray — For lightly coating the baking sheet. This helps the breadcrumbs brown evenly. Olive oil spray works well, or just a non-stick spray.
Equipment Needed
You don’t need a fancy kitchen to make these. Here’s what I actually use.
Baking Sheet — I use a standard 13×9 inch sheet. Line it with parchment paper for easy cleanup. Parchment is better than foil because it prevents sticking and helps the bottoms crisp up evenly.
Small Knife — A paring knife is perfect for slicing the peppers lengthwise. A sharp knife makes this much safer and easier. Dull knives slip and cause accidents.
Small Spoon — A teaspoon or a melon baller works great for scraping out the seeds and membranes. I usually use the handle of the spoon to dig under the seeds and pull them out.
Mixing Bowls — You’ll need three small bowls. One for the cream cheese mixture, one for the beaten eggs, and one for the breadcrumb mixture. I use three identical bowls so I can set them up in a row for easy assembly.
Whisk — For beating the eggs and mixing the cream cheese. A small whisk works fine.
Grater — A box grater or microplane for shredding the cheddar and grating the parmesan. Freshly grated is non-negotiable for the best texture.
Oven — Obviously. Preheat it to 400°F (200°C). Make sure it’s calibrated correctly. If your oven runs hot, your poppers will burn before they cook through.
Gloves — Latex or nitrile gloves. I cannot stress this enough. Jalapeno oil (capsaicin) is potent. If you touch your eyes, nose, or anywhere sensitive after handling peppers, it will burn. Wash your hands thoroughly even if you wear gloves.
How to Make It: Step-by-Step
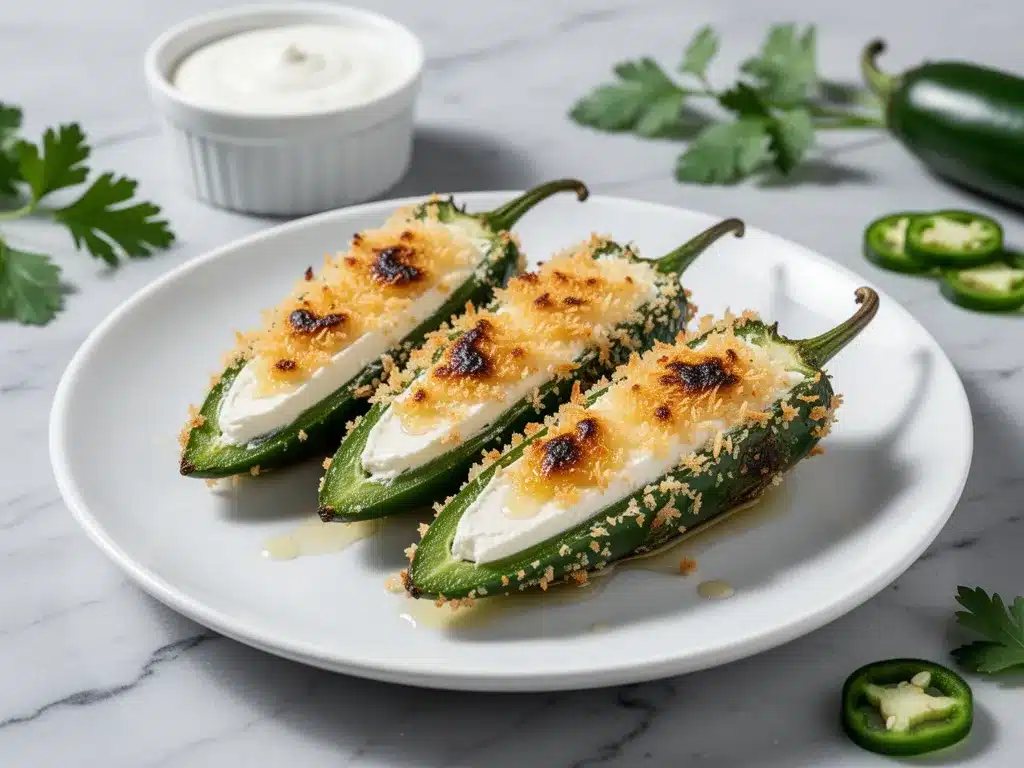
Alright, let’s make these poppers! I’m walking you through exactly how I do it, including the little tricks I’ve picked up over the years.
Step 1: Prep Your Peppers (10 minutes)
Preheat your oven to 400°F (200°C). Line a baking sheet with parchment paper. Put on your gloves. Slice each jalapeno in half lengthwise. Use a small spoon to scrape out the seeds and the white membranes. The membranes hold most of the heat, so if you want milder poppers, remove them all. If you like it spicy, leave some in. Place the pepper halves cut-side up on the baking sheet. Pat them dry with a paper towel. This helps the filling stick better.
Step 2: Make the Filling (5 minutes)
In a medium bowl, combine the softened cream cheese, shredded cheddar, garlic powder, onion powder, smoked paprika, salt, and pepper. Mix until smooth and well combined. The mixture should be creamy and easy to spread. If it’s too stiff, add a teaspoon of milk. If it’s too wet, add a bit more cheddar.
Step 3: Stuff the Peppers (10 minutes)
Using a spoon or a piping bag, fill each pepper half with the cheese mixture. Don’t overstuff them, or the cheese will leak out in the oven. A little overflow is fine, but try to keep it mostly inside. Place the stuffed peppers back on the baking sheet, spaced apart.
Step 4: Set Up the Breading Station (2 minutes)
Beat the two eggs in a shallow bowl with a pinch of salt and pepper. In another shallow bowl, mix the panko breadcrumbs, grated parmesan, and a pinch of smoked paprika. Set up your assembly line: stuffed peppers, egg wash, breadcrumb mixture.
Step 5: Bread the Poppers (10 minutes)
Take a stuffed pepper and dip it into the egg wash, coating all sides. Let the excess drip off. Then, press it into the breadcrumb mixture, coating all sides evenly. Press gently so the crumbs stick. Place it back on the baking sheet. Repeat with all the peppers. This double-coating step is crucial for that crispy exterior.
Step 6: Bake Until Golden (15-20 minutes)
Lightly spray the tops of the breaded poppers with cooking spray. This helps them brown evenly. Bake in the preheated oven for 15-20 minutes, or until the breadcrumbs are golden brown and the peppers are tender. Keep an eye on them after 15 minutes. Ovens vary, so you want to remove them when they’re perfectly golden, not dark brown.
Step 7: Cool and Serve
Remove from the oven and let them cool for 5 minutes. This allows the cheese to set slightly, so it doesn’t burn your mouth. Serve warm with ranch dressing, blue cheese dressing, or a spicy aioli for dipping.
Expert Tips & Tricks
Here’s everything I’ve learned from making this dozens of times. These tips will save you from my mistakes.
Don’t Skip the Drying Step — Jalapenos are full of water. If you don’t pat them dry before stuffing, the filling will slide out. Use paper towels and press firmly. It takes an extra minute, but it’s worth it.
Softened Cream Cheese is Key — If your cream cheese is cold, you’ll get lumps. Take it out of the fridge 30 minutes before you start. Or, microwave it in 10-second bursts until it’s soft. Do not melt it completely.
Use Freshly Shredded Cheese — I’ve said it twice because it’s that important. Pre-shredded cheese has anti-caking agents that prevent proper melting. Your poppers will be grainy, not gooey. Shred it yourself.
Press the Crumbs — When you coat the peppers in breadcrumbs, press them in gently. If you just roll them, the crumbs might fall off in the oven. Pressing ensures they stick.
Spray with Oil — The panko needs a little fat to turn golden. Spraying with cooking spray helps them brown evenly. Without it, they might stay pale and soft.
Watch the Oven — Breadcrumbs burn fast. Check them at 15 minutes. If they’re golden, take them out. If they’re still pale, give them 2-3 more minutes. It’s better to under-bake slightly than to burn.
Cool Before Serving — The cheese is molten hot when it comes out of the oven. Letting them cool for 5 minutes prevents burns and helps the filling set. It also makes them easier to handle.
Variations & Substitutions
Once you’ve nailed the basic version, here’s how you can mix it up. I’ve tried all of these.
Bacon Wrapped — Wrap a half-strip of bacon around each popper before breading. The bacon adds smokiness and crunch. Bake until the bacon is crispy.
Buffalo Style — Add 2 tablespoons of hot sauce to the cream cheese mixture. Serve with blue cheese dressing. Perfect for game day.
Herb Garden — Add 2 tablespoons of chopped fresh chives or parsley to the cream cheese mixture. Adds a fresh, bright flavor.
Spicy Jalapeno — Leave all the seeds and membranes in. Add a pinch of cayenne pepper to the filling. For the brave.
Mild & Creamy — Use mild cheddar and remove all seeds. Add a tablespoon of sour cream to the filling for extra tang.
Gluten-Free — Use gluten-free panko breadcrumbs. Everything else is naturally gluten-free.
Dairy-Free — Use dairy-free cream cheese and cheddar. Use coconut oil or olive oil spray instead of butter. The texture will be slightly different, but still tasty.
Serving & Storage
How to Serve — I usually serve these straight from the baking sheet at the dinner table. They look rustic and stay warm. But here are other ways I’ve enjoyed them:
Side Dishes — They’re great on their own, but also pair well with a simple green salad, grilled chicken, or corn on the cob. They’re the perfect appetizer for BBQs, game days, or holiday parties.
Toppings Bar — When I have guests, I put out: ranch dressing, blue cheese dressing, spicy aioli, and fresh cilantro. Everyone customizes their popper.
Wine Pairing — I’m not a wine expert, but my wine-snob friend says a crisp Riesling or a light Pinot Grigio works great with this. The sweetness balances the heat.
Storage Instructions
Refrigerator — Store in an airtight container for up to 3 days. The breadcrumbs might soften a bit, but they’re still good.
Reheating — Best method: Reheat in the oven at 350°F (175°C) for 10 minutes. This restores the crunch. Microwave method: Heat in 30-second intervals. The breadcrumbs will get chewy, but it’s okay if you’re in a hurry. Never works: Trying to reheat in the air fryer if they’re already soft. It makes them harder.
Freezing — You can freeze unbaked poppers. Assemble them, freeze on the baking sheet until solid, then transfer to a freezer bag. Bake from frozen, adding 5-10 minutes to the cooking time. Do not freeze baked poppers. The texture will be terrible.
Meal Prep — Assemble the poppers the night before. Keep them in the fridge. Bake them the next day. This is my go-to for busy weeknights when I want something fancy but have no time.
Nutrition Information
I’m not a nutritionist, but here’s the breakdown if you’re tracking. Keep in mind, this is an estimate based on standard ingredients.
Per Serving (based on 2 poppers):
- Calories: 180
- Protein: 8g
- Carbs: 12g
- Fiber: 1g
- Sugar: 2g
- Fat: 12g
- Saturated Fat: 6g
- Cholesterol: 45mg
- Sodium: 220mg
What’s Good — Decent protein from the cheese. Jalapenos have some vitamins. It’s a reasonable snack size.
What to Know — Higher in calories and fat from the cheese and breadcrumbs. Contains dairy and gluten. Moderate sodium.
My Take — Look, these are indulgent appetizers. They’re not a health food. But they’re way better than store-bought frozen stuff, and they’re fun to eat. When I want to make them lighter, I use less cheese and more peppers. But usually? I just enjoy them in moderation.
Final Thoughts
So that’s my go-to crispy baked cheddar jalapeno poppers with cream cheese! I’ve probably talked your ear off at this point, but when you make a recipe this often, you have a lot to say about it.
This has saved me from frozen disappointment more times than I can count. It’s my answer to “what should I bring to the party?” when I want to impress but don’t have hours to cook. My friends are happy, my family is happy, and I’m happy because I’m not stressing about last-minute grocery runs.
Make it yours! Try different cheeses, adjust the spice level, or add bacon. The best recipes are the ones you adapt to your tastes.
If you make this, drop a comment and let me know what you think! I love hearing how recipes turn out in your kitchen. And if something doesn’t work, tell me that too—I’m here to help troubleshoot.
Happy cooking! And I hope your kitchen smells half as good as mine does right now.
Frequently Asked Questions
Can I use mild jalapenos?
Absolutely. Mild jalapenos are great if you want the flavor without the heat. Just remember to remove the seeds and membranes to keep it mild. The cream cheese and cheddar will still provide plenty of flavor.
Why did my poppers get soggy?
This usually happens if you didn’t pat the peppers dry before stuffing, or if you didn’t spray the breadcrumbs with oil. The moisture from the peppers can make the coating soft. Also, make sure you’re using panko, not regular breadcrumbs. Panko stays crispier.
Can I make these ahead of time?
Yes! You can assemble them up to 24 hours in advance. Keep them covered in the fridge. Bake them right before you need them. This is perfect for parties where you want to minimize day-of stress.
Why did my cheese leak out?
If you overstuff the peppers, the cheese will expand and leak. Also, if the cream cheese was too cold, it might not have held together. Make sure to soften the cream cheese and don’t overfill the peppers. A little overflow is fine, but try to keep it mostly inside.
Can I freeze these?
You can freeze unbaked poppers. Assemble them, freeze on the baking sheet until solid, then transfer to a freezer bag. Bake from frozen, adding 5-10 minutes to the cooking time. Do not freeze baked poppers. The texture will be terrible.
What’s the best dip for these?
Ranch dressing is the classic choice. Blue cheese dressing is also great, especially if you like tangy flavors. Spicy aioli or a honey mustard sauce can also work well. It depends on your preference!
Can I use cheddar cheese from a bag?
I don’t recommend it. Pre-shredded cheese has anti-caking agents that prevent proper melting. Your poppers will be grainy, not gooey. Shred it yourself from a block for the best texture.
Pin This Recipe!
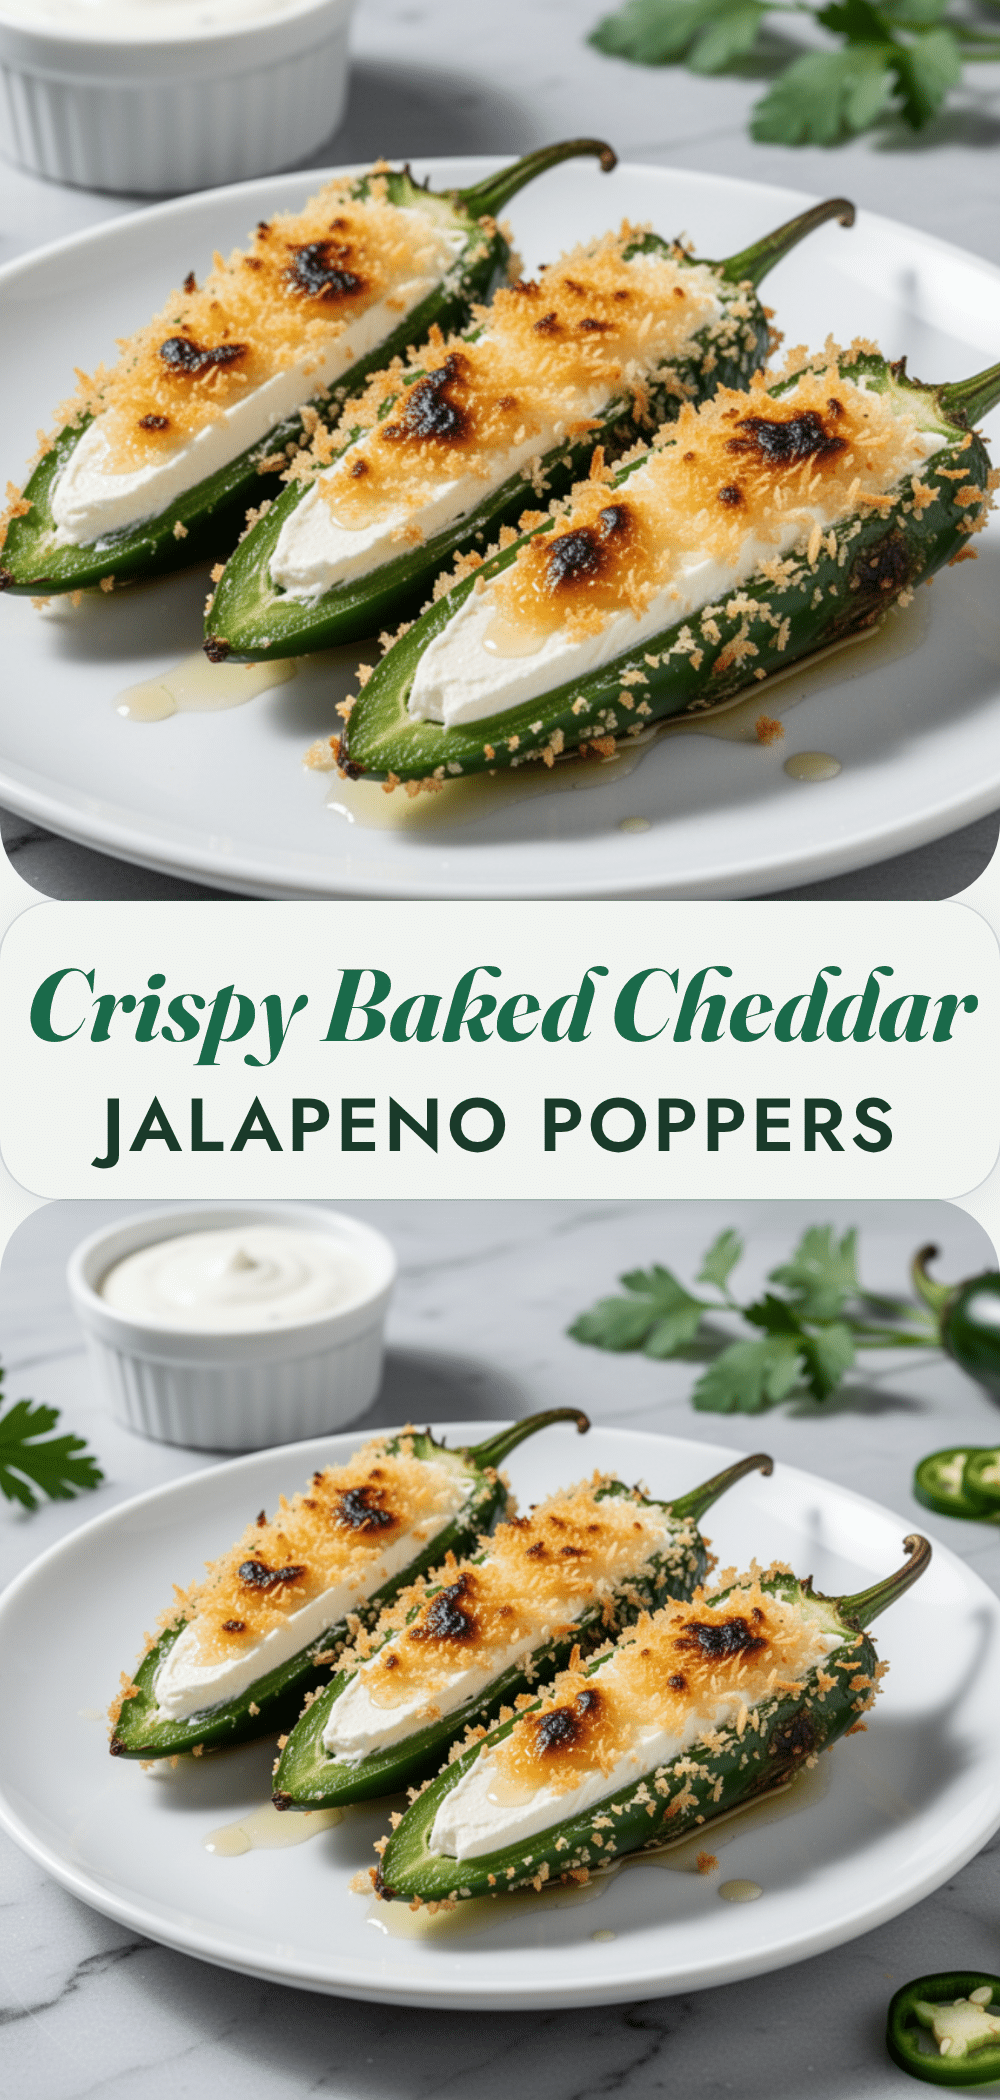
Crispy Baked Cheddar Jalapeno Poppers with Cream Cheese
- Total Time: 55 minutes
- Yield: 16 poppers (8 servings) 1x
Description
These homemade jalapeno poppers feature a creamy cheddar and cream cheese filling, coated in a crispy panko-parmesan crust. They are baked to perfection for a guilt-free, party-ready appetizer that stays crunchy.
Ingredients
- 8–10 medium jalapeno peppers
- 8 oz cream cheese, softened
- 1 cup sharp cheddar cheese, freshly shredded
- 1 cup panko breadcrumbs
- 1/4 cup parmesan cheese, grated
- 2 large eggs
- 1 teaspoon garlic powder
- 1/2 teaspoon onion powder
- 1/2 teaspoon smoked paprika
- Salt and black pepper, to taste
- Cooking spray
Instructions
- Preheat oven to 400°F (200°C). Line a baking sheet with parchment paper.
- Wear gloves and slice jalapenos in half lengthwise. Scrape out seeds and membranes with a small spoon. Pat halves dry with paper towels.
- In a medium bowl, mix softened cream cheese, shredded cheddar, garlic powder, onion powder, smoked paprika, salt, and pepper until smooth.
- Fill each pepper half with the cheese mixture. Place stuffed peppers back on the baking sheet.
- In a shallow bowl, beat eggs with a pinch of salt and pepper. In another bowl, mix panko, parmesan, and a pinch of smoked paprika.
- Dip each stuffed pepper into the egg wash, letting excess drip off, then press into the breadcrumb mixture to coat evenly.
- Place breaded poppers on the baking sheet and lightly spray tops with cooking spray.
- Bake for 15-20 minutes until breadcrumbs are golden brown and peppers are tender.
- Remove from oven and let cool for 5 minutes before serving.
Notes
Pat jalapenos dry before stuffing to prevent filling from sliding out. Use freshly shredded cheese as pre-shredded contains anti-caking agents that prevent proper melting. For milder poppers, remove all seeds and membranes. For extra heat, leave some membranes in. Can be assembled up to 24 hours in advance and refrigerated.
- Prep Time: 35 minutes
- Cook Time: 20 minutes
- Category: Appetizer
- Cuisine: American
Nutrition
- Serving Size: 2 poppers
- Calories: 180
- Sugar: 2
- Sodium: 220
- Fat: 12
- Saturated Fat: 6
- Carbohydrates: 12
- Fiber: 1
- Protein: 8
Keywords: jalapeno poppers, baked appetizer, cream cheese, cheddar, panko, party food, spicy snacks, gluten-free option


