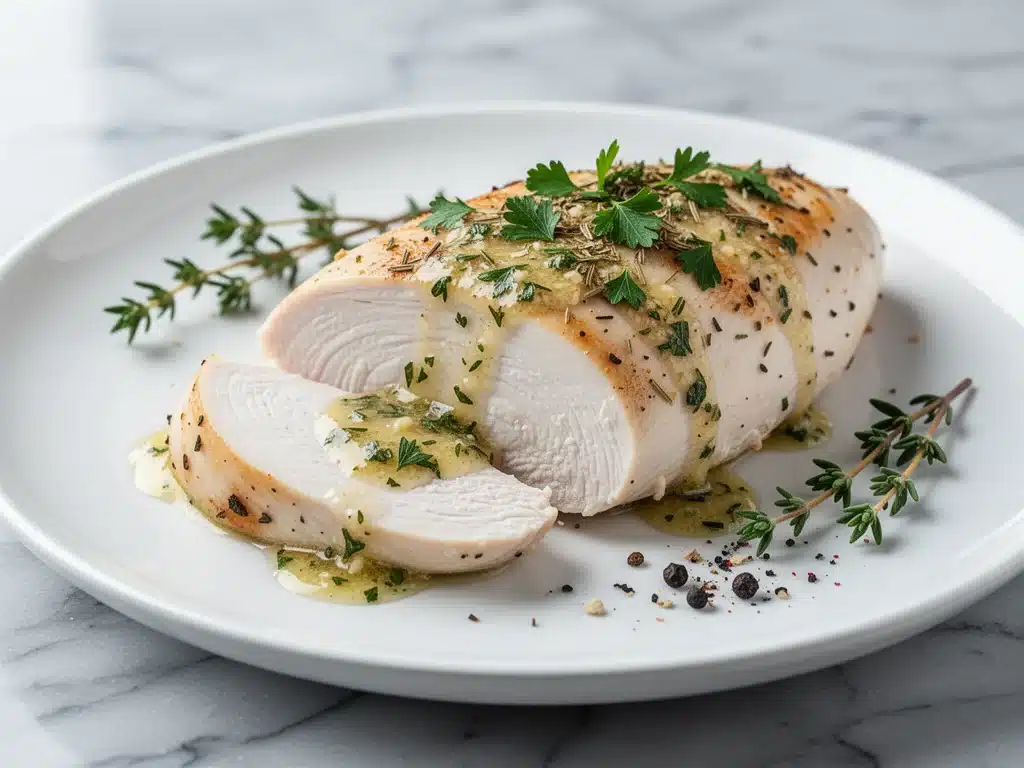
I still remember the exact texture of that chicken breast. It was dry. I mean, desert dry. Like, if you put it on the counter for three days, it would have preserved itself. I was standing in my kitchen, fork in hand, staring at the sad, white piece of poultry on my plate, and I actually felt a pang of guilt. My husband had asked for dinner, I had promised something special, and instead, I had served him a hockey puck.
That was the breaking point. I had tried everything. Brining? Done it. Pounding it flat? Tried that. Cooking it in a pan until my arm fell off? Yes, and it was still tough. I was ready to just order pizza and admit defeat. But then, a few days later, I decided to try one more thing. I didn’t change the chicken. I changed the method. I used a lower temperature, a simple garlic herb butter, and I stopped guessing and started using a thermometer. The result? Juicy. Tender. Actually delicious. That was the birth of this never-dry oven-baked chicken breast.
It’s been two years, and this recipe has saved me more weeknight dinners than I can count. My kids, who usually pick at the meat, ask for seconds. My husband says it’s “restaurant quality” (high praise, coming from a man who thinks ketchup is a vegetable). The secret isn’t fancy equipment or rare ingredients. It’s just understanding how chicken breast behaves in the oven. Once you learn this method, you’ll never go back to the old way of burning it and wondering why it tastes like cardboard.
This never-dry oven-baked chicken breast with garlic herb butter is my go-to for everything. Meal prep? Yes. Sunday dinner with company? Absolutely. Quick lunch for the next day? Perfect. It’s reliable, it’s flavorful, and most importantly, it’s moist. I’ve tested this recipe dozens of times with different brands of chicken, different ovens, and even my friend’s oven that runs 25 degrees too hot. It works every single time. Here’s how you do it right.
Why You’ll Love This Garlic Herb Butter Chicken
There are a million chicken recipes out there. So why this one? Why should you stop scrolling and start preheating your oven? Here’s the real talk on why this method has taken over our kitchen.
It’s Actually Juicy
This is the big one. Most people hate chicken breast because it’s dry. This recipe solves that problem permanently. By using a moderate oven temperature and a butter baste, the meat stays tender and succulent. I’ve had people take one bite and ask, “Is this chicken or turkey?” It’s that tender.
Garlic Herb Butter is a Flavor Bomb
Chicken breast is a blank canvas. Without this butter mixture, it’s bland. With it? It’s savory, herby, and rich. The garlic mellows out in the oven, losing its sharp bite and becoming sweet and aromatic. The herbs (parsley, thyme, rosemary) infuse the butter, which then penetrates the meat. It’s simple, but it tastes like you spent hours marinating it.
Set It and Forget It (Mostly)
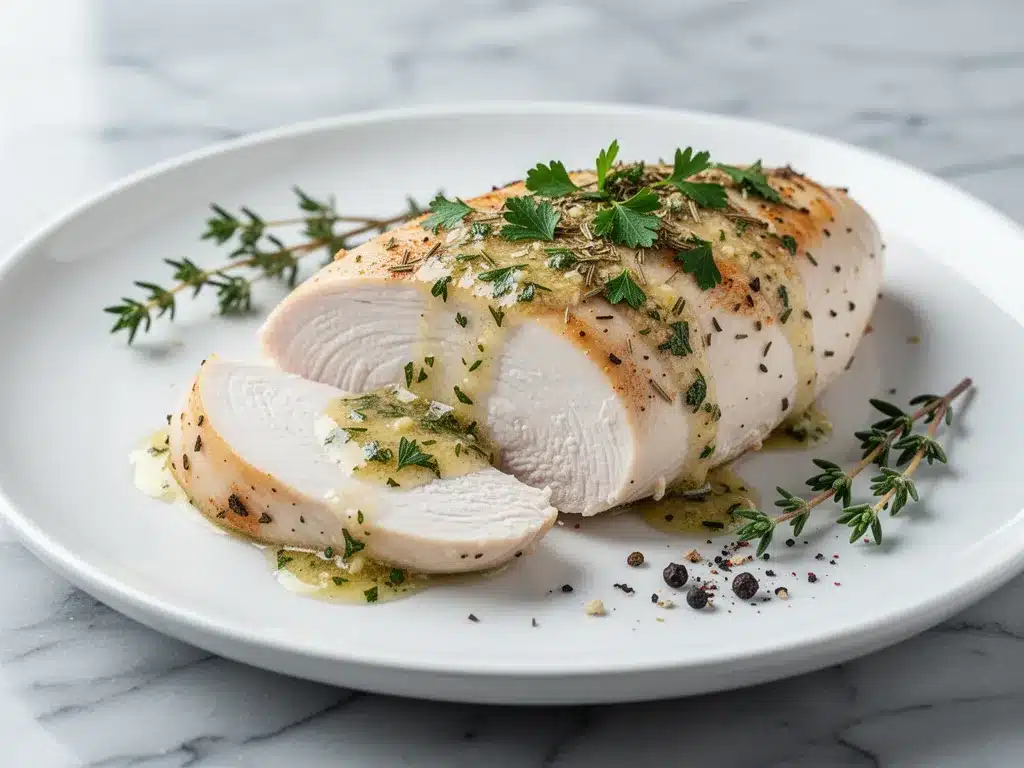
You don’t need to stand over the stove. You don’t need to flip it constantly. You put it in the oven, and while it bakes, you can prep the sides, help the kids with homework, or just sit down for five minutes. It’s the ultimate low-effort, high-reward dinner. I make this on my busiest days because I know I don’t have to babysit it.
Perfect for Meal Prep
Because it’s baked in the oven, it holds up really well in the fridge. I chop it up on Sunday and put it in containers with rice and veggies. By Wednesday, it’s still moist. Other cooking methods dry out chicken in the fridge, but this butter-sealed method keeps it fresh for up to four days. It’s a meal-prep superstar.
Healthy-ish Comfort Food
It’s not a diet food, but it’s not junk food either. It’s lean protein with a little bit of healthy fat from the olive oil and butter. It’s satisfying without making you feel sluggish. I pair it with roasted vegetables or a simple green salad, and I feel good about what I’m eating. It’s nourishing food that actually tastes good.
This recipe has become a staple in our house. It’s the answer to “what’s for dinner?” when I’m tired but still want to feed my family something homemade. No stress, no dry meat, just good, honest food that everyone loves.
Ingredients You’ll Need
Here’s the best part: you probably have most of this already. I’m not asking you to go to three different stores for obscure spices. This is pantry-friendly cooking.
For the Chicken
Chicken breasts (4 large, boneless, skinless) — Look for uniform size if you can. If they’re wildly different sizes, you’ll have some overcooked and some undercooked. I buy the family pack and freeze the extras. Thaw them in the fridge overnight.
Olive oil (2 tablespoons) — Use extra virgin if you have it, but regular works fine. This helps the butter stick and adds a little flavor.
Salt and black pepper (1 teaspoon each) — Season the chicken well before it goes in. I use kosher salt because it’s easier to control. If you use table salt, use less.
For the Garlic Herb Butter
Unsalted butter (4 tablespoons, softened) — Softened is key. If it’s cold, you can’t mix it with the herbs. I take it out of the fridge 15 minutes before I start. Softened butter blends into a smooth paste.
Garlic (4 cloves, minced) — Fresh garlic only. Jarred garlic has a weird metallic taste that doesn’t work here. Minced finely so it distributes evenly. If you’re lazy, use a garlic press, but make sure there are no big chunks.
Fresh parsley (2 tablespoons, chopped) — Flat-leaf parsley is best. It has a cleaner, brighter flavor than curly parsley. If you only have dried, use 1 teaspoon, but fresh is so much better.
Dried thyme (1 teaspoon) — Thyme goes perfectly with chicken. If you don’t have it, oregano works, but thyme is the classic choice.
Dried rosemary (½ teaspoon, crumbled) — Rosemary is strong, so don’t use too much. Rub the dried needles between your palms to release the oils before adding.
Garlic powder (½ teaspoon) — This adds a deeper, savory garlic flavor that complements the fresh garlic. Don’t skip it.
Red pepper flakes (¼ teaspoon, optional) — A little kick balances the richness of the butter. I always add this, even if my kids don’t eat it spicy. I just sprinkle it on their portion after.
For the Finish
Lemon (1, cut into wedges) — A squeeze of lemon juice right before serving cuts through the fat and brightens everything up. It’s a game-changer.
Fresh parsley (for garnish) — Just a sprinkle on top makes it look restaurant-quality.
Common Questions
Can I use frozen chicken? No. You must thaw it completely. Cooking frozen chicken in the oven leads to uneven cooking and dryness. Thaw in the fridge overnight.
Can I use chicken thighs? Yes, but the cooking time will be different. Thighs take longer and have more fat. This recipe is specifically for breasts.
Can I use butter from a tub? No. Use real butter from the block. Margarine or tub butter has water and additives that change the texture and flavor.
Equipment Needed
You don’t need fancy gadgets. Here’s what I actually use.
Baking dish or sheet pan — I use a 9×13 inch glass baking dish. It’s easy to clean and heats evenly. A sheet pan works too, but the chicken might dry out faster because it’s more exposed. The dish helps trap some moisture.
Small bowl — For mixing the butter and herbs. Any small bowl works.
Measuring spoons — Standard stuff. I use the metal ones from the drawer.
Cutting board and knife — For prepping the garlic and parsley.
Instant-read thermometer — This is non-negotiable. It’s the only way to guarantee juicy chicken. I have a cheap one from Amazon that works perfectly. It saves you from cutting into the chicken to check doneness (which releases juices and dries it out).
Foil — Optional, but I sometimes cover it loosely if the top is browning too fast.
How to Make It: Step-by-Step
Alright, let’s make this! I’m walking you through exactly how I do it, including the little tricks I’ve picked up.
Step 1: Prep the Chicken (5 minutes)
Preheat your oven to 400°F (200°C). This temperature is high enough to cook the chicken quickly without drying it out, but not so high that the outside burns before the inside cooks. Pat the chicken breasts dry with paper towels. This sounds boring, but it’s important. Moisture on the surface creates steam, which prevents browning. Dry chicken = better sear.
Step 2: Season the Chicken (2 minutes)
Place the chicken in the baking dish. Sprinkle both sides generously with salt and pepper. Rub it in. I use about 1 teaspoon of salt total for four breasts. Don’t be shy with the salt; it’s the most important flavor ingredient.
Step 3: Make the Garlic Herb Butter (3 minutes)
In a small bowl, mix the softened butter, minced garlic, chopped parsley, dried thyme, dried rosemary, garlic powder, and red pepper flakes. Mix until it’s a smooth paste. If the butter is too cold, you’ll have lumps. If it’s too soft, it’s just oil. Aim for a creamy, spreadable consistency.
Step 4: Spread the Butter (2 minutes)
Take spoonfuls of the butter mixture and spread it evenly over the top of each chicken breast. Try to get it under the edges too. The butter will melt and baste the chicken as it cooks. This is the secret to the flavor and moisture. Drizzle the 2 tablespoons of olive oil over the chicken. This helps the butter spread and adds a bit of extra fat for cooking.
Step 5: Bake the Chicken (18-22 minutes)
Place the dish in the preheated oven. Bake for 18-22 minutes. Do not open the oven door too much, or you’ll lose heat. The exact time depends on the thickness of the breasts. A 6-ounce breast might take 18 minutes. A 10-ounce breast might take 22. Watch the clock.
Step 6: Check the Temperature (1 minute)
This is the most important step. Insert your instant-read thermometer into the thickest part of the chicken. You want it to read 165°F (74°C). If it’s lower, put it back in for 2-3 minutes. If it’s higher, it’s overcooked. Pull it out as soon as it hits 165°F. The residual heat will continue to cook it slightly (carryover cooking), so some people pull it at 160°F. I stick to 165°F to be safe.
Step 7: Rest the Chicken (5 minutes)
Remove the dish from the oven and let the chicken rest for 5 minutes. Do not skip this! Resting allows the juices to redistribute throughout the meat. If you cut into it immediately, the juices run out, and the chicken is dry. Cover it loosely with foil if you’re worried about it getting cold.
Step 8: Serve
Slice the chicken against the grain. This makes it more tender. Squeeze fresh lemon juice over the top. Garnish with a little extra parsley. Serve immediately.
Total Time: About 30-35 minutes (5 minutes prep, 20 minutes cook, 5 minutes rest).
Expert Tips & Tricks
Here’s everything I’ve learned from making this dozens of times. These tips will save you from my mistakes.
Pound the Chicken Even
If your chicken breasts are thick and uneven (like a tennis racket shape), pound the thick end with a meat mallet or a rolling pin until it’s even. This ensures the whole breast cooks at the same rate. I do this every time now. It makes a huge difference.
Don’t Overcrowd the Pan
Give the chicken some space. If you’re cooking more than four breasts, use two pans. Overcrowding creates steam, which makes the chicken boil instead of bake. You want it to roast, not steam.
Use the Right Thermometer
I’ve tried guessing, and it’s a gamble. A thermometer is cheap insurance. I have a $15 one that gives a reading in 3 seconds. It’s worth every penny. It takes the stress out of cooking.
Let the Butter Melt
As the chicken cooks, the butter will melt and bubble. Baste the chicken halfway through if you can. Spoon the melted butter from the pan over the top of the chicken. This adds extra flavor and moisture. It’s not necessary, but it’s nice.
Common Mistakes (and how to avoid them)
Mistake: Chicken is dry. Fix: You overcooked it. Next time, pull it at 160°F and let it rest. Also, check your thermometer accuracy.
Mistake: Chicken is undercooked. Fix: Cook it longer. But really, use a thermometer. Don’t cut into it to check.
Mistake: Butter is burnt. Fix: Your oven was too hot, or the chicken was too close to the broiler element. Check your oven temperature with an oven thermometer. Mine runs hot, so I lower it to 390°F.
Variations & Substitutions
Once you’ve nailed the basic version, here’s how you can mix it up. I’ve tried all of these.
Lemon Pepper Version
Skip the herbs and add 1 tablespoon of lemon zest and 1 teaspoon of black pepper to the butter. It’s zesty and bright. Great with fish, but also works here.
Italian Herb Version
Add 1 teaspoon of dried basil and 1 teaspoon of dried oregano to the butter. It’s classic and familiar. My kids love this one.
Spicy Cajun Version
Add 1 teaspoon of Cajun seasoning and ½ teaspoon of cayenne pepper to the butter. It’s bold and fiery. I serve this with rice and black beans.
Herb Cream Cheese Version
Mix 2 tablespoons of cream cheese with the butter. It makes the sauce richer and creamier. It’s indulgent but delicious.
Dietary Modifications
Dairy-Free — Use olive oil or dairy-free butter instead of regular butter. It’s not as rich, but it still works.
Gluten-Free — This recipe is naturally gluten-free. Just make sure your spices don’t have anti-caking agents with gluten (rare, but check).
Low-Carb — Serve with cauliflower rice or zucchini noodles instead of pasta or potatoes.
Serving & Storage
How to enjoy this chicken and keep it fresh.
How to Serve
I usually serve this straight from the baking dish at the dinner table. It looks rustic and stays warm. But here are other ways I’ve enjoyed it:
Side Dishes
- Mashed potatoes (soak up the butter sauce!)
- Rice pilaf
- Roasted asparagus
- Green beans with almonds
- Caesar salad
Toppings Bar
When I have guests, I put out: extra lemon wedges, red pepper flakes, fresh parsley, grated Parmesan. Everyone customizes their bowl.
Storage Instructions
Refrigerator
Store in an airtight container for up to 4 days. The chicken will hold its moisture well if you keep the butter sauce with it.
Reheating
Best method: Add a splash of water or broth to a skillet, add your leftover chicken, and heat gently over low heat. Stir until heated through.
Microwave method: Heat in 30-second intervals, stirring between. Add a splash of water to keep it moist.
Never works: Trying to reheat it in the oven without adding liquid. It will dry out. Ask me how I know.
Freezing
You can freeze cooked chicken, but the texture might change slightly. I don’t recommend it for this specific recipe because the butter can separate. Cook it fresh for best results.
Meal Prep
Make the chicken on Sunday. Store in containers. Reheat for lunch throughout the week. It’s perfect for this. I slice it up and put it over salads or with rice.
Pro tip
If leftovers are drying out, stir in a tablespoon of butter or olive oil when reheating. Brings back that juicy texture.
Nutrition Information
I’m not a nutritionist, but here’s the breakdown if you’re tracking.
| Nutrient | Per Serving (1 Breast) |
|---|---|
| Calories | 280 |
| Protein | 35g |
| Carbs | 1g |
| Fat | 15g |
| Saturated Fat | 7g |
| Cholesterol | 95mg |
| Sodium | 350mg |
What’s Good: High protein, low carb, healthy fats.
What to Know: Higher in calories from the butter. Contains dairy. Moderate sodium (use low-sodium broth if needed, though there’s no broth here).
My Take: This is lean protein with a little treat. It’s not a diet recipe, but it’s not unhealthy. It’s balanced. When I want to make it lighter, I use 2 tablespoons of butter instead of 4. But usually? I just enjoy it.
Final Thoughts
So that’s my never-dry oven-baked chicken breast with garlic herb butter! I’ve probably talked your ear off at this point, but when you make a recipe this often, you have a lot to say about it.
This has saved weeknight dinners more times than I can count. It’s my answer to “what’s for dinner?” when I’m tired, don’t want takeout, and still want something that tastes really good. My kids are happy, my husband’s happy, and I’m happy because I’m not stressed about cooking.
Make it yours! Try different herbs, swap in your favorite spices, adjust the garlic (though more is always better in my opinion). The best recipes are the ones you adapt to your family’s tastes.
If you make this, drop a comment and let me know what you think! I love hearing how recipes turn out in your kitchen. And if something doesn’t work, tell me that too—I’m here to help troubleshoot.
Happy cooking! And I hope your kitchen smells half as good as mine does right now.
Frequently Asked Questions
Can I use frozen chicken?
No. You must thaw it completely. Cooking frozen chicken in the oven leads to uneven cooking and dryness. Thaw in the fridge overnight.
Why did my chicken turn out dry?
Usually means you overcooked it. Chicken breast cooks quickly. Use a thermometer and pull it at 165°F. Also, make sure you’re not using tiny breasts that cook in 10 minutes.
Can I make this ahead for a dinner party?
Sort of. Prep the chicken and butter mixture ahead and store in the fridge. Bake it right before serving. It won’t be quite as good as fresh, but it’s close and saves you stress during the party. I do this all the time.
Why did my butter separate?
The heat was too high, or you used margarine. Real butter separates if it’s overheated. Use moderate oven temperature and real butter.
Can I use chicken thighs?
You can, but the cooking time will be different. Thighs take longer and have more fat. This recipe is specifically for breasts.
How do I reheat leftovers without it getting dry?
Add a splash of water or broth to a skillet, add your leftover chicken, and heat gently over low heat. Stir until heated through. Microwave sort of works but tends to dry it out. If you do microwave, definitely add a splash of water first and heat in short bursts, stirring between.
Can I double this recipe?
Absolutely! Double everything and use your biggest baking dish. The cooking times stay the same. I do this when I’m meal-prepping or feeding a crowd. Just make sure your oven has space for air circulation.
Pin This Recipe!
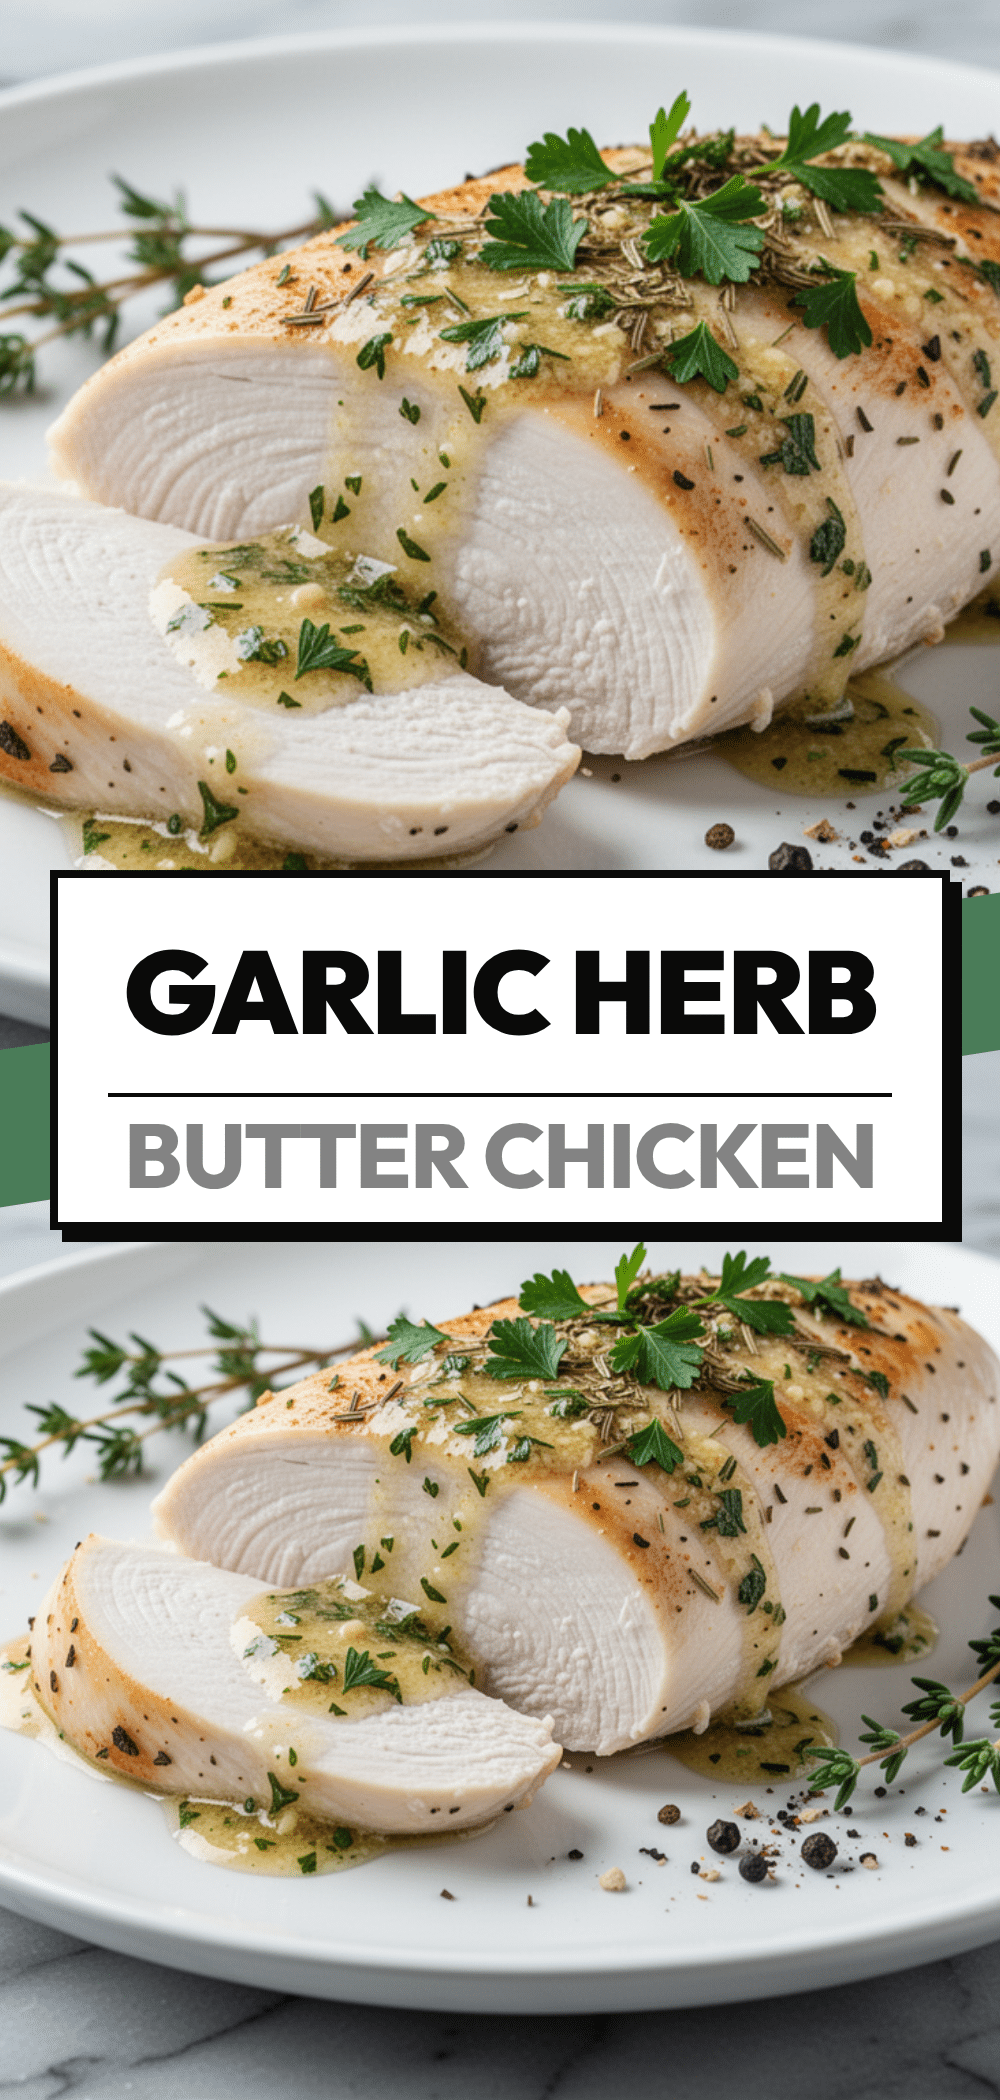
Never-Dry Oven-Baked Chicken Breast: Easy Garlic Herb Butter
- Total Time: 30-35 minutes
- Yield: 4 servings 1x
Description
This recipe guarantees juicy, tender chicken breasts using a simple garlic herb butter baste and precise temperature control. It is a reliable, flavorful method perfect for weeknight dinners and meal prep.
Ingredients
- 4 large boneless, skinless chicken breasts
- 2 tablespoons olive oil
- 1 teaspoon kosher salt
- 1 teaspoon black pepper
- 4 tablespoons unsalted butter, softened
- 4 cloves garlic, minced
- 2 tablespoons fresh parsley, chopped
- 1 teaspoon dried thyme
- 1/2 teaspoon dried rosemary, crumbled
- 1/2 teaspoon garlic powder
- 1/4 teaspoon red pepper flakes (optional)
- 1 lemon, cut into wedges
- Fresh parsley for garnish
Instructions
- Preheat oven to 400°F (200°C). Pat chicken breasts dry with paper towels.
- Place chicken in a 9×13 inch baking dish. Sprinkle both sides generously with salt and pepper, rubbing it in.
- In a small bowl, mix softened butter, minced garlic, chopped parsley, dried thyme, dried rosemary, garlic powder, and red pepper flakes until a smooth paste forms.
- Spread the butter mixture evenly over the top of each chicken breast, getting under the edges. Drizzle olive oil over the chicken.
- Bake for 18-22 minutes. Avoid opening the oven door frequently.
- Check internal temperature with an instant-read thermometer; it should reach 165°F (74°C) in the thickest part.
- Remove from oven and let rest for 5 minutes to allow juices to redistribute.
- Slice against the grain, squeeze fresh lemon juice over the top, garnish with parsley, and serve.
Notes
Ensure chicken breasts are uniform in size for even cooking. Do not cook frozen chicken; thaw completely in the fridge. Use real butter, not margarine. Resting the chicken is crucial for moisture. If the top browns too fast, cover loosely with foil.
- Prep Time: 5 minutes
- Cook Time: 20 minutes
- Category: Main Course
- Cuisine: American
Nutrition
- Serving Size: 1 chicken breast
- Calories: 280
- Sodium: 350
- Fat: 15
- Saturated Fat: 7
- Carbohydrates: 1
- Protein: 35
Keywords: chicken breast, oven baked chicken, garlic herb butter, juicy chicken, meal prep, easy dinner, healthy dinner, gluten-free


