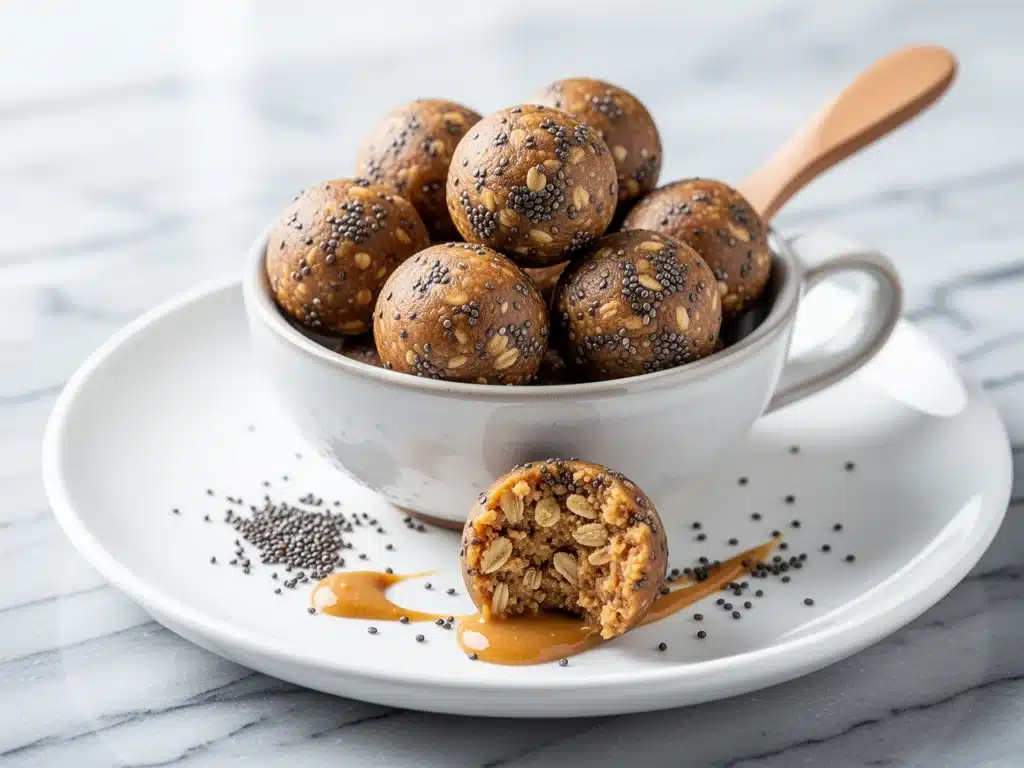
Last Tuesday, I was standing in my kitchen at 3 PM, staring into the abyss of my pantry. You know the look. It’s full of random jars, half-used spices, and that one bag of oats from 2019 that I’ve been too afraid to throw out. My energy was nonexistent. I had a conference call in an hour, my brain was foggy, and I desperately needed something that wasn’t a candy bar or a cup of coffee that would just make my hands shake.
I reached for the peanut butter, saw a bag of chia seeds that I’d bought with good intentions three months ago, and realized I had no actual plan. I threw together what I thought would be a mediocre snack. Just a quick mix of sticky, sweet, and nutty to tide me over.
Thirty minutes later, I rolled them into balls, stuck them in the freezer, and grabbed one. And honestly? It was the best thing I’ve eaten all week. It wasn’t just sugar; it was actual fuel. It tasted like a cookie but held together like a proper snack. It kept me full until dinner without making me feel sluggish.
That was the birth of my new favorite no-bake peanut butter energy balls with chia seeds. I’ve made them at least fifteen times since then. I’ve tweaked the ratios, tested different sweeteners, and even tried adding dark chocolate chips (spoiler: they’re amazing, but stick to the classic first). These little bites have saved my afternoons, my lunchboxes, and my sanity during busy weeks. They’re the kind of recipe that feels like a hack because they’re so simple, but the result is genuinely delicious.
If you’re tired of buying overpriced, processed energy bars that fall apart in your bag, you need to stop what you’re doing and make these. They’re healthy, they’re easy, and they taste like dessert. Let’s get into why you’re going to love these and how to make them perfectly every single time.
Why You’ll Love This Recipe
There are a hundred snack recipes out there, but these no-bake peanut butter energy balls with chia seeds have completely changed my snacking game. I’ve tried granola bars that crumble everywhere, protein balls that taste like cardboard, and raw cookies that are too sweet to handle. This recipe hits the sweet spot. Here’s why they’re worth the ten minutes it takes to make them:
Stupid Simple — Seriously, if you can stir things in a bowl, you can make these. There’s no baking, no oven, no waiting for dough to rise. Just mix, roll, and chill. I’ve made these while on a video call with my kids running around my ankles. It’s that easy.
Lightning Fast — From start to finish, including the chilling time, you’re looking at about an hour. But the active time is just five minutes. That is a massive win when you’re hungry and impatient. I make a batch on Sunday, and I’m set for the week.
Pantry-Friendly — You probably have 90% of these ingredients already. Peanut butter? Check. Oats? Check. Chia seeds? Maybe. Honey? Check. These are staples I keep stocked specifically so I can throw this together on a whim. No special trips to the store.
Actually Healthy — This isn’t just a cookie disguised as health food. The chia seeds add omega-3s and fiber, the oats provide slow-burning carbs, and the peanut butter gives you healthy fats and protein. It’s a balanced snack that actually fuels your body, not just your taste buds.
Makes Amazing Leftovers — They keep for weeks in the fridge or months in the freezer. I literally keep a container in the freezer for emergencies. When I forget to pack lunch or need a mid-afternoon pick-me-up, I grab two. They thaw in about five minutes and taste just as good as when I made them.
This is my go-to when I need dinner or snacks to just work. No complicated techniques, no weird ingredients you can’t pronounce, just reliable, delicious food that makes everyone happy. My kids love them, my husband loves them, and even my picky sister who usually refuses “healthy” snacks asks for these.
Ingredients You’ll Need
Here’s the best part: this recipe is incredibly forgiving. I’m particular about the quality of the peanut butter, but everything else is pretty flexible. Here’s what you need to make the best no-bake peanut butter energy balls with chia seeds, along with why each ingredient matters.
For the Base:
Old-Fashioned Rolled Oats (2 cups / 180g) — Don’t use instant oats; they’re too fine and will make the balls mushy. Don’t use steel-cut oats; they’re too hard. Rolled oats have the perfect texture. I use Bob’s Red Mill because they’re consistently thick and chewy. If you need gluten-free, make sure your oats are certified gluten-free.
Smooth Peanut Butter (1 cup / 250g) — This is the star. Use natural, creamy peanut butter. I like Skippy or a natural brand with no added sugar. If your natural peanut butter is oily, stir it really well before measuring. Avoid “peanut butter spread” with palm oil; it changes the texture. You want pure peanuts.
Chia Seeds (3 tablespoons / 25g) — This is the secret weapon. Chia seeds absorb liquid and help bind the balls together. They also add a nice crunch and boost the nutrition. They’re flavorless, so you won’t taste them, but you’ll feel the difference in how full you stay.
Honey (½ cup / 170g) — Honey acts as the binder and sweetener. It’s sticky, which helps the oats and peanut butter stick together. Maple syrup works too, but the texture will be slightly softer. Agave is another option, but honey gives the best flavor. Use raw honey if you have it.
For the Flavor:
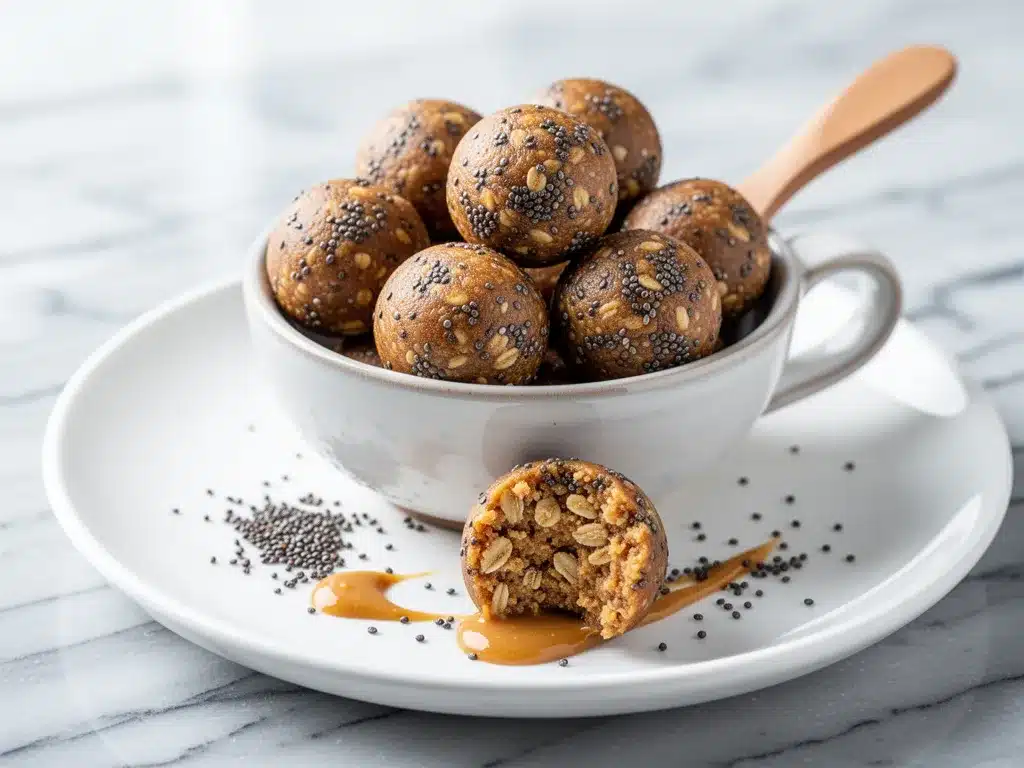
Vanilla Extract (1 teaspoon) — Don’t skip this. It adds depth and makes it taste like a cookie rather than just peanut butter and oats. Use real vanilla extract, not imitation. It makes a huge difference.
Salt (½ teaspoon) — Salt is crucial. It balances the sweetness and enhances the peanut flavor. Use sea salt or kosher salt. If you’re using salted peanut butter, reduce the salt to ¼ teaspoon.
Ground Flaxseed (2 tablespoons / 15g) — Optional, but I recommend it. It adds more omega-3s and helps with binding. If you don’t have flaxseed, you can skip it, or use more chia seeds. Just grind the flax yourself if you have whole seeds; pre-ground goes rancid quickly.
Optional Add-ins:
Dark Chocolate Chips (½ cup / 85g) — I add these about half the time. They melt slightly in the peanut butter and make these taste like a Reese’s cup. Use semi-sweet or dark chocolate for a less sweet option.
Mini M&M’s (½ cup / 80g) — For the kids, or for when I’m feeling indulgent. They add color and fun. Use mini ones so they distribute evenly.
Dried Cranberries (½ cup / 70g) — Adds a tart chewiness. Great for variety. I like these with the chocolate chips for a “fruit and nut” vibe.
Cinnamon (1 teaspoon) — If you like a warm, spiced flavor, add a teaspoon of cinnamon. It pairs beautifully with peanut butter and oats.
Coconut Flakes (¼ cup / 20g) — Toasted coconut adds a nice texture and tropical twist. I sprinkle these on the outside of the balls after rolling them.
Pro Tip: If your peanut butter is very cold and stiff, microwave it for 15-20 seconds to soften it. It’ll mix much easier and result in a smoother ball.
Equipment Needed
You don’t need fancy equipment for this. Here’s what I actually use:
Large Mixing Bowl — I use a 4-quart stainless steel bowl. It needs to be big enough to mix everything comfortably without making a mess. A glass bowl works too.
Spatula — A sturdy silicone spatula is essential. You need to scrape the sides and fold the mixture until it’s uniform. A wooden spoon works, but a spatula is easier.
Measuring Cups and Spoons — Standard stuff. I use a set from OXO, but any reliable set works. Be accurate with the oats and peanut butter; too much liquid makes them sticky, too little makes them crumbly.
Baking Sheet — A standard 13×18 inch sheet. Line it with parchment paper or a silicone mat. Parchment is cheaper and easier to throw away.
Airtight Container — For storage. I use glass containers with snap-lock lids. Plastic works too, but glass keeps them fresher longer.
Freezer — Obviously. You need a freezer to set the balls. If you don’t have space, the fridge works, but they’ll be softer.
Optional: A small cookie scoop makes rolling uniform balls super fast. I use a 1-tablespoon scoop. It speeds up the process and ensures they’re all the same size.
How to Make It: Step-by-Step
Alright, let’s make these! I’m walking you through exactly how I do it, including the little tricks I’ve picked up to avoid the common pitfalls.
Step 1: Prep Your Ingredients (2 minutes)
Before you start mixing, make sure your peanut butter is at room temperature. If it’s straight from the fridge, it’ll be stiff and hard to mix. Let it sit on the counter for 15 minutes. Also, line your baking sheet with parchment paper. This saves cleanup time and prevents sticking.
Step 2: Mix the Wet Ingredients (1 minute)
In your large mixing bowl, combine the smooth peanut butter and honey. Stir them together vigorously until they are well combined and smooth. This is the base. If your peanut butter is natural and oily, make sure you’ve stirred the oil back in before measuring. You want a uniform, creamy mixture.
Step 3: Add the Dry Ingredients (2 minutes)
Add the rolled oats, chia seeds, ground flaxseed (if using), vanilla extract, and salt to the bowl. Stir everything together with your spatula. The mixture will look dry at first. Keep stirring. It should start to come together like a thick dough. If it’s too dry and crumbly, add another tablespoon of honey. If it’s too sticky, add a tablespoon more oats.
Step 4: Fold in Add-ins (1 minute)
If you’re adding chocolate chips, cranberries, or coconut, fold them in now. Be gentle so you don’t crush the oats. The mixture should be thick, sticky, and cohesive. It should hold its shape when you pinch it.
Step 5: Roll the Balls (5-8 minutes)
Take about a tablespoon of the mixture and roll it between your palms to form a ball. Place it on the prepared baking sheet. Repeat until all the mixture is used up. You should get about 20-24 balls, depending on size. If the mixture sticks to your hands, wet them slightly with water. This prevents sticking without diluting the recipe.
Step 6: Chill (30 minutes)
Place the baking sheet in the freezer for 30 minutes, or the fridge for 1 hour. This step is crucial. It firms up the peanut butter and sets the chia seeds, so the balls hold their shape. If you skip this, they’ll be soft and messy to handle.
Step 7: Store and Enjoy
Once firm, transfer the balls to an airtight container. They’re ready to eat! Store them in the fridge for up to 2 weeks or the freezer for up to 3 months.
Total Time: About 45 minutes (5 minutes active, 30 minutes chilling)
Troubleshooting:
- Mixture is too dry: Add more honey or a splash of milk.
- Mixture is too sticky: Add more oats or chia seeds.
- Balls fall apart: You didn’t chill them long enough, or the peanut butter was too cold. Let them sit at room temperature for 10 minutes before rolling.
Expert Tips & Tricks
Here’s everything I’ve learned from making this recipe dozens of times. These tips will save you from my mistakes.
Use Room Temperature Peanut Butter
This is the #1 tip. Cold peanut butter is stiff and hard to mix. If you microwave it for 15 seconds, it mixes instantly and creates a smoother texture. I learned this the hard way with a lumpy batch that took forever to stir.
Don’t Skip the Chia Seeds
They absorb liquid and help bind the balls. Without them, the balls might be crumbly. They’re flavorless, so you won’t even miss them. I always keep a bag in my pantry just for this.
Wet Your Hands
If the mixture sticks to your hands while rolling, wet your palms slightly with water. This is a pro trick that prevents sticking without making the balls wet. It’s a game-changer.
Use a Cookie Scoop
It ensures uniform size and speeds up the process. I use a 1-tablespoon scoop. It’s worth the few bucks if you make these regularly.
Freeze in Single Layers
When freezing, place the balls on a baking sheet first and freeze until solid. Then transfer to a container. This prevents them from sticking together in a clump.
Common Mistakes:
- Mistake: Balls are too soft. Fix: Chill them longer. Or add more oats.
- Mistake: Balls are too dry. Fix: Add more honey or peanut butter.
- Mistake: Mixture is too sticky. Fix: Add more oats or chia seeds.
Variations & Substitutions
Once you’ve nailed the basic version, here’s how you can mix it up. I’ve tried all of these.
Chocolate Peanut Butter
Add ½ cup of dark chocolate chips. This is my favorite variation. It tastes like a Reese’s cup.
Coconut Peanut Butter
Add ¼ cup of toasted coconut flakes. Roll the balls in coconut after chilling for a tropical twist.
Apple Cinnamon
Add 1 teaspoon of cinnamon and ½ cup of finely chopped dried apples. It tastes like apple pie.
Protein Power
Add 1 scoop of vanilla protein powder. This makes them more filling and great for post-workout. You may need to add a splash of milk if it gets too dry.
Dietary Modifications:
- Gluten-Free: Use certified gluten-free oats.
- Vegan: Use maple syrup instead of honey. Ensure your peanut butter and chocolate chips are vegan.
- Nut-Free: Use sunflower seed butter or soy nut butter instead of peanut butter.
- Sugar-Free: Use sugar-free chocolate chips and a sugar-free sweetener like monk fruit or erythritol. Note: This changes the texture, so add more peanut butter if needed.
Serving & Storage
How to Serve:
I usually eat these straight from the fridge. They’re perfect for a quick snack, a pre-workout boost, or a lunchbox addition. I also pack them for hiking and road trips. They’re portable and don’t melt (if kept cool).
Storage Instructions:
- Refrigerator: Store in an airtight container for up to 2 weeks. They’ll stay fresh and firm.
- Freezer: Store in a freezer-safe bag or container for up to 3 months. They thaw quickly at room temperature.
Pro Tip: Label your container with the date. I’ve forgotten when I made a batch before and wondered if they were still good. Better safe than sorry.
Nutrition Information
I’m not a nutritionist, but here’s the breakdown if you’re tracking. This is per ball (based on 20 balls).
| Nutrient | Amount |
|---|---|
| Calories | 120 |
| Protein | 4g |
| Carbs | 12g |
| Fiber | 2g |
| Sugar | 8g |
| Fat | 7g |
| Saturated Fat | 1.5g |
What’s Good:
Decent protein and fiber. Healthy fats from peanut butter. No refined flour.
What to Know:
Higher in calories due to peanut butter and honey. Contains nuts. Moderate sugar.
My Take:
Look, these are energy balls. They’re meant to give you energy. They’re not a diet food, but they’re way better than a candy bar. I eat 2-3 as a snack. When I want to make it lighter, I reduce the honey and add more oats. But usually? I just enjoy them as is.
Final Thoughts
So that’s my go-to no-bake peanut butter energy balls with chia seeds! I’ve probably talked your ear off at this point, but when you make a recipe this often, you have a lot to say about it.
This has saved my afternoons more times than I can count. It’s my answer to “what’s for a snack” when I’m tired, don’t want to cook, and still want something that tastes really good. My kids are happy, my husband’s happy, and I’m happy because I’m not stressed about finding a healthy option.
Make it yours! Try different add-ins, swap in your favorite sweetener, adjust the sweetness to your taste. The best recipes are the ones you adapt to your family’s tastes.
If you make this, drop a comment and let me know what you think! I love hearing how recipes turn out in your kitchen. And if something doesn’t work, tell me that too—I’m here to help troubleshoot.
Happy snacking! And I hope your kitchen smells half as good as mine does right now.
Frequently Asked Questions
Can I use crunchy peanut butter?
Yes, you can! It adds a nice texture. Just make sure it’s well mixed. If it’s very chunky, the balls might be uneven. Smooth peanut butter gives a more uniform texture, but crunchy is delicious.
Why did my balls fall apart?
This usually means the mixture was too dry. Add more honey or peanut butter, a tablespoon at a time. Or, you didn’t chill them long enough. Let them sit in the freezer for 30 minutes before handling.
Can I make these ahead for meal prep?
Absolutely. This is perfect for meal prep. Make a big batch on Sunday, store them in the fridge or freezer, and grab them throughout the week. They keep for weeks.
Can I freeze these?
Yes! They freeze beautifully. Place them on a baking sheet to freeze solid, then transfer to a freezer bag. They’ll last up to 3 months. Thaw at room temperature for 10 minutes.
Can I use almond butter instead of peanut butter?
You can, but it’s more expensive and has a different flavor. It works, but the texture might be slightly different. Sunflower seed butter is a good nut-free alternative.
How many calories are in one ball?
It depends on the size, but roughly 120 calories per ball. If you make them larger, they’ll have more calories. Use a cookie scoop for consistency.
Do I have to use chia seeds?
No, you don’t. But they help bind the balls and add nutrition. If you don’t have them, use more oats or flaxseed. The balls might be slightly less firm.
Pin This Recipe!
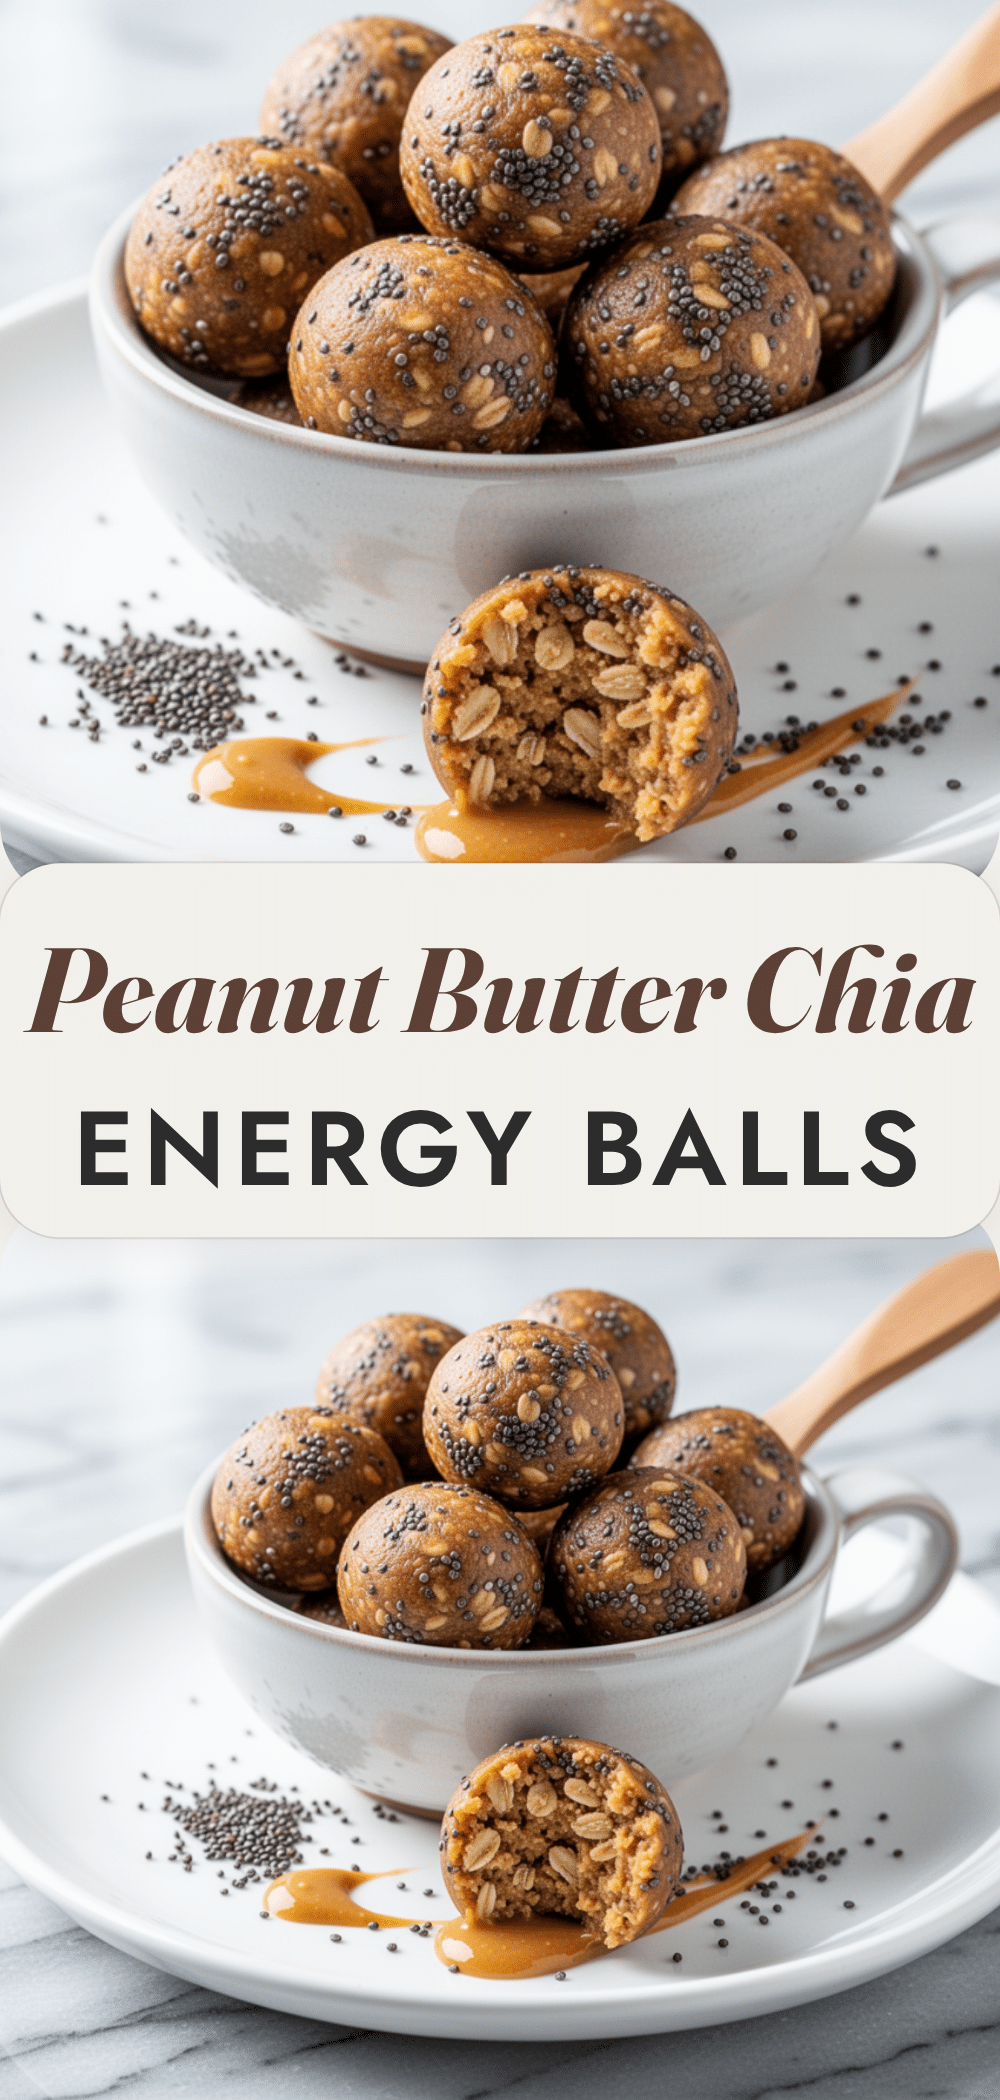
No-Bake Peanut Butter Energy Balls with Chia Seeds
- Total Time: 45 minutes
- Yield: 20-24 servings 1x
Description
A simple, healthy, and delicious no-bake snack made with peanut butter, oats, and chia seeds. These energy balls provide sustained fuel and taste like a cookie without the sugar crash.
Ingredients
- 2 cups (180g) Old-Fashioned Rolled Oats
- 1 cup (250g) Smooth Peanut Butter
- 3 tablespoons (25g) Chia Seeds
- ½ cup (170g) Honey
- 1 teaspoon Vanilla Extract
- ½ teaspoon Salt
- 2 tablespoons (15g) Ground Flaxseed (optional)
- ½ cup (85g) Dark Chocolate Chips (optional)
- ½ cup (80g) Mini M&M’s (optional)
- ½ cup (70g) Dried Cranberries (optional)
- 1 teaspoon Cinnamon (optional)
- ¼ cup (20g) Coconut Flakes (optional)
Instructions
- Ensure peanut butter is at room temperature. Line a baking sheet with parchment paper.
- In a large mixing bowl, combine the smooth peanut butter and honey. Stir vigorously until well combined and smooth.
- Add the rolled oats, chia seeds, ground flaxseed (if using), vanilla extract, and salt to the bowl. Stir with a spatula until the mixture resembles a thick dough.
- If using add-ins like chocolate chips or cranberries, fold them in gently.
- Take about a tablespoon of the mixture and roll it between your palms to form a ball. Place on the prepared baking sheet. If the mixture sticks to your hands, wet them slightly with water.
- Place the baking sheet in the freezer for 30 minutes (or fridge for 1 hour) to firm up the balls.
- Transfer the chilled balls to an airtight container. Store in the refrigerator for up to 2 weeks or the freezer for up to 3 months.
Notes
Use room temperature peanut butter for easier mixing. If the mixture is too dry, add more honey. If too sticky, add more oats. Wet your hands slightly when rolling to prevent sticking. For uniform size, use a 1-tablespoon cookie scoop.
- Prep Time: 5 minutes
- Cook Time: 0 minutes
- Category: Snack
- Cuisine: American
Nutrition
- Serving Size: 1 ball
- Calories: 120
- Sugar: 8
- Fat: 7
- Saturated Fat: 1.5
- Carbohydrates: 12
- Fiber: 2
- Protein: 4
Keywords: no-bake, energy balls, peanut butter, chia seeds, healthy snack, gluten-free, meal prep, quick snack


