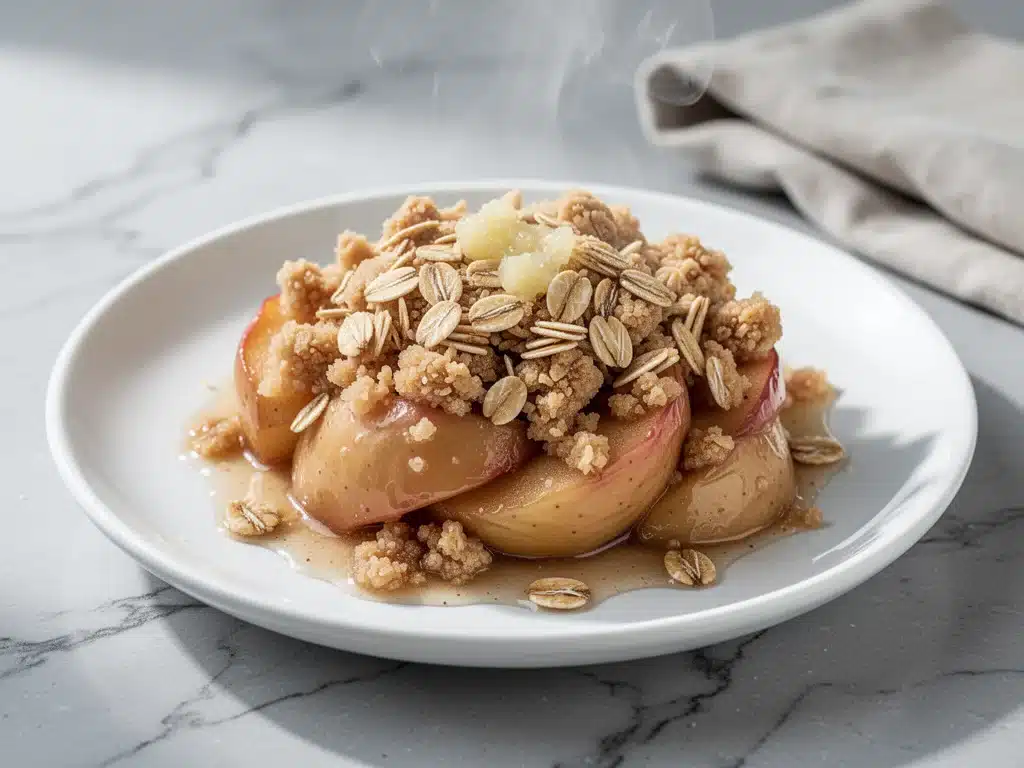
Last Tuesday, I came home from work absolutely drained. You know that feeling? The kind where your brain feels like static and the last thing you want to do is stand over a stove or, heaven forbid, bake a towering, messy apple pie that requires rolling dough for twenty minutes. But I wanted something warm. Something sweet. Something that smelled like autumn the second I opened the oven door, without spending my entire evening in the kitchen.
I opened the fridge and found three bruised apples and a half-empty bag of oats. Most recipes online call for six or seven apples and a massive baking dish meant for feeding a small army. I just wanted a snack for two, or maybe a treat for myself while my partner watched TV. So, I improvised. I grabbed my smallest baking dish (okay, it was a 6-inch ceramic ramekin), chopped the apples, threw together a quick buttery oat topping, and popped it in the oven.
Twelve minutes later, my kitchen smelled like a bakery. I dug in with a spoon, hot caramelized apples and crisp, buttery oats melting in my mouth, and realized I had just saved my weeknight sanity. That was the birth of my Small Batch Apple Crisp with Buttery Oat Streusel. It’s the perfect dessert for busy weeknights because it’s fast, it uses simple ingredients, and it doesn’t leave you with a mountain of leftovers staring at you from the fridge for three days.
I’ve made this small batch version at least a dozen times since that Tuesday. I’ve tweaked the spices, tested different apple varieties, and perfected the ratio of butter to oats. The result is a dessert that feels indulgent but is actually incredibly easy to pull together. It’s not about perfection; it’s about comfort. It’s about having a hot, fresh dessert ready in under 30 minutes when you really don’t have time for anything complicated.
If you’re tired of complicated desserts that require a trip to the store for obscure ingredients, this recipe is for you. It’s rustic, it’s cozy, and it proves that you don’t need a huge kitchen to make something amazing. Let’s talk about why this specific small batch apple crisp has earned a permanent spot in your rotation.
Why You’ll Love This Small Batch Apple Crisp
There are a lot of apple crisp recipes out there. Why this one? Why the small batch version? Here’s the real talk: this recipe fits into actual life.
- Zero Waste Cooking — This is huge for me. I hate buying a bag of oats or a block of butter just to use two tablespoons and then forgetting about it in the back of the pantry. This recipe uses exactly what you need. No open packages languishing for weeks. It’s efficient, thoughtful cooking.
- Lightning Fast Prep — I’m talking 5 minutes of active prep. That’s it. Peel, chop, sprinkle, bake. I can do this while the kettle boils or while waiting for the pasta water to heat up. It’s the definition of “dump and bake.”
- Perfect Portion Control — Let’s be honest, a full-size apple crisp is delicious for the first two days and then it’s just… there. It gets soggy. It gets eaten out of the dish with a spoon at 11 PM. This small batch version gives you exactly 2-3 servings. You eat it hot, fresh, and satisfying. Then you’re done. No guilt, no leftovers.
- Buttery Oat Streusel Magic — The topping is where the magic happens. I use a higher ratio of butter to oats than traditional recipes. This creates that cookie-like, crumbly texture that contrasts perfectly with the soft, juicy apples. It’s not just a garnish; it’s half the dessert.
- Uses What You Have — You don’t need fancy cinnamon sugar blends or exotic spices. Just cinnamon, oats, flour, butter, and sugar. If you have these in your pantry, you can make this on a whim. It’s the ultimate “I need comfort food now” recipe.
This small batch apple crisp has completely changed my dessert routine. It’s no longer “no dessert tonight” because it’s too much work. It’s now “let’s make the apple crisp” because it’s so easy. It’s reliable, delicious, and perfectly sized for modern life.
Ingredients You’ll Need
Here’s the best part: you probably have almost all of this already. I’m particular about three things here, but the rest is basic pantry staples. I want to make sure you get the texture right, so pay attention to the details.
For the Apples
Apples (3 medium, about 450g) — This is the core. I recommend using a mix of tart and sweet apples. Granny Smith holds its shape well, while Honeycrisp or Fuji adds sweetness. Avoid Red Delicious—they turn to mush. Peel them? Yes. I peel mine. Some people leave the skins on for fiber, but for a tender, luxurious texture, peeling is worth the extra minute.
Lemon Juice (1 tablespoon / 15ml) — Squeeze this over the chopped apples. It prevents browning and adds a bright acidity that cuts through the sweetness of the sugar and butter. Don’t skip it. It balances the flavor profile.
Vanilla Extract (1 teaspoon / 5ml) — Just a splash. It deepens the apple flavor and makes it taste more “dessert-like” rather than just baked fruit.
For the Buttery Oat Streusel
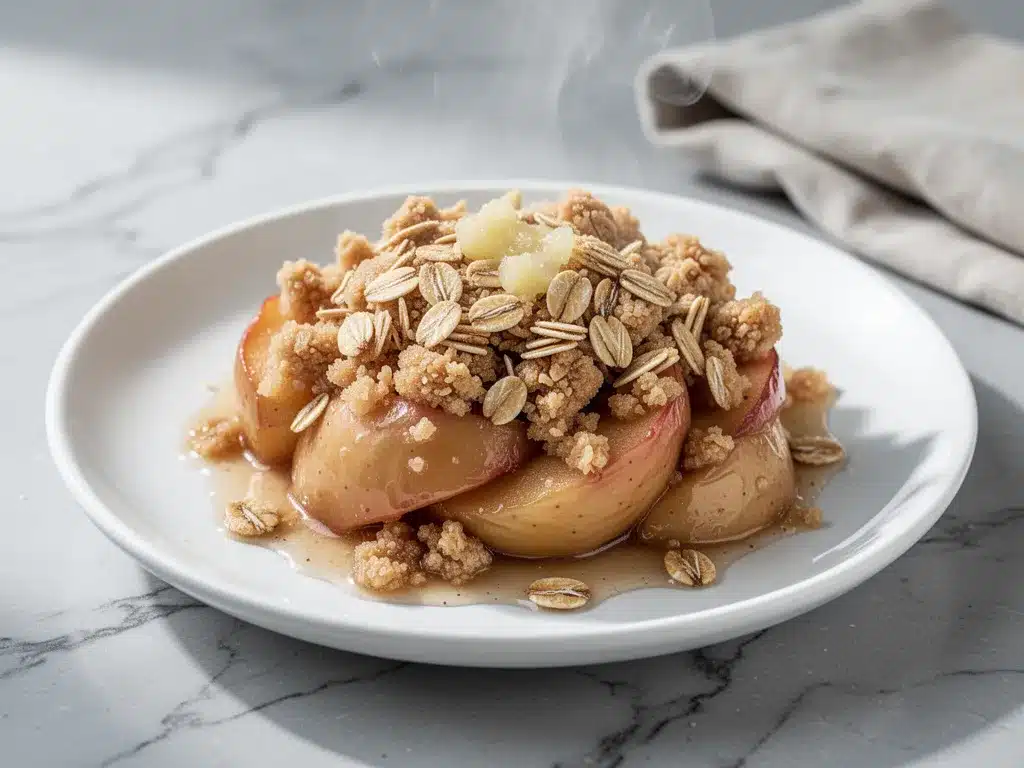
Old-Fashioned Rolled Oats (½ cup / 45g) — Do not use quick oats. They turn to mush. Do not use steel-cut oats. They don’t cook fast enough. You need old-fashioned rolled oats for that perfect chewy-crunchy texture. If you’re gluten-sensitive, look for certified gluten-free oats.
All-Purpose Flour (¼ cup / 30g) — This binds the streusel together so it doesn’t just fall apart. It’s a small amount, just enough to hold the crumbs.
Unsalted Butter (3 tablespoons / 45g) — Cold is best. Cut it into small cubes. This allows you to work it into the dry ingredients with your fingers or a fork. The butter is what makes it “buttery.” Don’t substitute with oil or margarine; the flavor and texture just won’t be the same.
Brown Sugar (3 tablespoons / 40g) — Packed. Brown sugar adds molasses notes that complement the apples perfectly. It also helps create that caramelized, sticky texture in the topping. Dark brown is richer, light brown is milder. I use light brown for this small batch version.
Cinnamon (1 teaspoon / 2g) — Ground cinnamon. Freshly ground is best if you have a grinder, but store-bought works fine. Make sure it’s not old and dusty. If it doesn’t smell strong, replace it.
Salt (¼ teaspoon) — A pinch of salt is crucial. It enhances the sweetness and balances the butter. It’s the secret ingredient that makes everything taste “finished.”
Optional Add-Ins
Walnuts or Pecans (2 tablespoons, chopped) — If you like crunch, add these to the streusel. Toast them first for extra flavor. I add them sometimes when I’m feeling fancy.
Extra Cinnamon Sugar (1 teaspoon) — Sprinkle this on top before baking for an extra crunchy, sweet crust. Great for parties.
Equipment Needed
You don’t need fancy equipment for this. Here’s what I actually use.
6-Inch Baking Dish or Large Ramekin — This is key for the “small batch” aspect. A standard 8×8 pan is too big and will result in a thin layer that burns. A 6-inch square dish or a large (12-16oz) ramekin is perfect. It creates a deep layer of apples, ensuring they cook through without drying out the topping. I use a ceramic one because it retains heat well.
Mixing Bowl — Small bowl for tossing apples, larger bowl for the streusel. Or just use one bowl and clean it in between.
Peeler — A Y-peeler is fastest. A paring knife works too, but takes longer.
Knife and Cutting Board — For chopping apples. Uniform chunks cook evenly.
Fork or Pastry Cutter — To mix the butter into the oats and flour. My fingers work too, but a fork is cleaner.
Oven — Obviously. Preheated to 375°F (190°C).
How to Make It: Step-by-Step
Alright, let’s make this! I’m walking you through exactly how I do it, including the little tricks I’ve picked up over time.
Step 1: Prep Your Oven and Dish (2 minutes)
Preheat your oven to 375°F (190°C). This needs to be hot enough to caramelize the sugars but not so hot that the oats burn before the apples soften. Grease your 6-inch baking dish lightly with butter or non-stick spray. You don’t need much—just a thin coat to prevent sticking.
Step 2: Prepare the Apples (3 minutes)
Peel, core, and chop the apples into ½-inch chunks. You want them bite-sized but not too small, or they’ll disappear. Place them in a small bowl. Sprinkle with lemon juice and vanilla extract. Toss gently to coat. The lemon juice will keep them from turning brown while you prep the topping. Set aside.
Step 3: Make the Buttery Oat Streusel (3 minutes)
In a medium bowl, combine the rolled oats, flour, brown sugar, cinnamon, and salt. Use a fork to cut in the cold, cubed butter. Work it in until the mixture looks like coarse crumbs with some pea-sized clumps. You want some larger butter chunks—that’s where the crunchy bits come from. Don’t overmix it into a paste.
Step 4: Assemble the Crisp (1 minute)
Transfer the apple mixture to your prepared baking dish. Spread them out evenly. You want a relatively even layer. Spoon the oat streusel over the top. Press it down gently with your fingers or the back of a spoon. This helps it adhere to the apples as they bake and prevents it from floating off.
Step 5: Bake Until Golden (20-25 minutes)
Place the dish in the center of the oven. Bake for 20-25 minutes. You’ll know it’s done when the topping is deep golden brown and the apples are bubbling up through the crumbs. If the topping is browning too fast but the apples aren’t tender, cover the top loosely with foil for the last 5 minutes. Let it cool for 5 minutes before serving. This allows the juices to thicken slightly so it’s not soupy.
Total Time: About 30 minutes (5 minutes prep, 25 minutes bake).
Expert Tips & Tricks
Here’s everything I’ve learned from making this dozens of times. These tips will save you from my mistakes.
Choose the Right Apples
This is the most common mistake. Soft apples like McIntosh or Red Delicious turn into applesauce. You want apples that hold their shape. Granny Smith, Honeycrisp, Braeburn, or Pink Lady are your best friends here. A mix of two types gives the best flavor and texture balance.
Don’t Skip the Lemon
I know it’s a dessert, but the acid is vital. It brightens the flavor and prevents oxidation. If you’re in a pinch, a tiny pinch of citric acid works too, but lemon juice is best.
The Butter Temperature Matters
Cold butter creates flakes. Soft butter creates a cakey topping. For that streusel crunch, keep the butter cold. If you’re in a rush, grate the cold butter into the dry mix—it works faster than cubing.
Watch the Oven Closely
Ovens vary. My oven runs hot. Check at 20 minutes. If the topping is dark golden, it’s done. If it’s pale, give it 5 more minutes. Burnt oats taste bitter. Undercooked oats taste raw. Aim for golden.
Serve It Warm
This crisp is best served warm, not hot. Hot apples can burn your mouth. Warm apples release their aroma. Serve it with a dollop of cold vanilla ice cream or whipped cream. The temperature contrast is heaven.
Variations & Substitutions
Once you’ve nailed the basic version, here’s how you can mix it up. I’ve tried all of these.
Different Fruits
Not a fan of apples? This recipe works with pears, peaches, or even mixed berries. Use the same quantities. Berries will release more liquid, so you might need to thicken the streusel with an extra teaspoon of flour.
Nut-Free Version
If you have nut allergies, this recipe is naturally nut-free (unless you add nuts). It’s safe for school lunches or office potlucks.
Gluten-Free Option
Use certified gluten-free oats and gluten-free flour. The texture might be slightly different, but it’s still delicious. I’ve used Bob’s Red Mill GF flour and it works great.
Vegan Version
Replace butter with vegan butter sticks (not tub margarine). Use maple syrup instead of brown sugar if you want a different flavor profile, but brown sugar works if it’s vegan-certified. The result is still rich and satisfying.
Spice It Up
Add a pinch of nutmeg, allspice, or cardamom to the streusel. Cardamom and apple is a classic Scandinavian combination that’s surprisingly good.
Serving & Storage
How to serve this small batch apple crisp?
How to Serve
I serve it straight from the ramekin. It looks rustic and personal. Top with a scoop of vanilla bean ice cream, a drizzle of caramel sauce, or a dollop of Greek yogurt for protein. I like the contrast of cold ice cream on warm crisp.
Storage
Store leftovers in an airtight container in the fridge for up to 3 days. The topping will soften over time. To crisp it up again, reheat in the oven at 350°F for 10 minutes. Microwave reheating makes the oats soggy.
Freezing
You can freeze the assembled but unbaked crisp. Wrap it tightly in plastic and foil. Bake from frozen, adding 10-15 minutes to the cooking time. Thawing and refreezing affects the texture of the oats, so best to freeze unbaked.
Nutrition Information
I’m not a nutritionist, but here’s the breakdown if you’re tracking. This is per serving (based on 2 servings).
Calories: 280
Protein: 3g
Carbs: 42g
Fiber: 4g
Sugar: 28g
Fat: 12g
Saturated Fat: 7g
Sodium: 150mg
Look, this is a dessert. It’s meant to be enjoyed. The fiber from the oats and apples helps balance the sugar. If you’re watching calories, stick to one serving and share the other. Or make the mini version with just one apple.
Final Thoughts
So that’s my go-to small batch apple crisp! I’ve talked your ear off, but when you make a recipe this often, you have a lot to say about it. This has saved my weeknights more times than I can count. It’s my answer to “what’s for dessert” when I’m tired, don’t want takeout, and still want something warm and homemade.
Make it yours! Try different apples, add nuts, or swap the spices. The best recipes are the ones you adapt to your tastes. If you make this, drop a comment and let me know what you think! I love hearing how recipes turn out in your kitchen.
Frequently Asked Questions
Can I use a different baking dish?
You can, but the cooking time will change. If you use a larger dish, the layer will be thinner and it will bake faster (check at 15 minutes). If you use a smaller dish, it might overflow. Stick to 6-inch for best results.
Why did my topping turn out soggy?
Usually means the butter was too soft or you didn’t bake it long enough. Make sure the butter is cold and cut into small pieces. Also, ensure your apples aren’t releasing too much liquid. Toss them with a teaspoon of flour if they’re very juicy.
Can I make this ahead of time?
You can assemble it ahead and refrigerate for up to 24 hours before baking. Just add 5 minutes to the baking time if starting from cold. This is great for dinner parties.
Is this recipe gluten-free?
Not as written. Use gluten-free oats and flour to make it gluten-free. Ensure all other ingredients are certified GF.
Can I use applesauce instead of chopped apples?
No. Applesauce will make the bottom soggy and the topping won’t stick. You need solid apple chunks for this recipe to work.
Pin This Recipe!
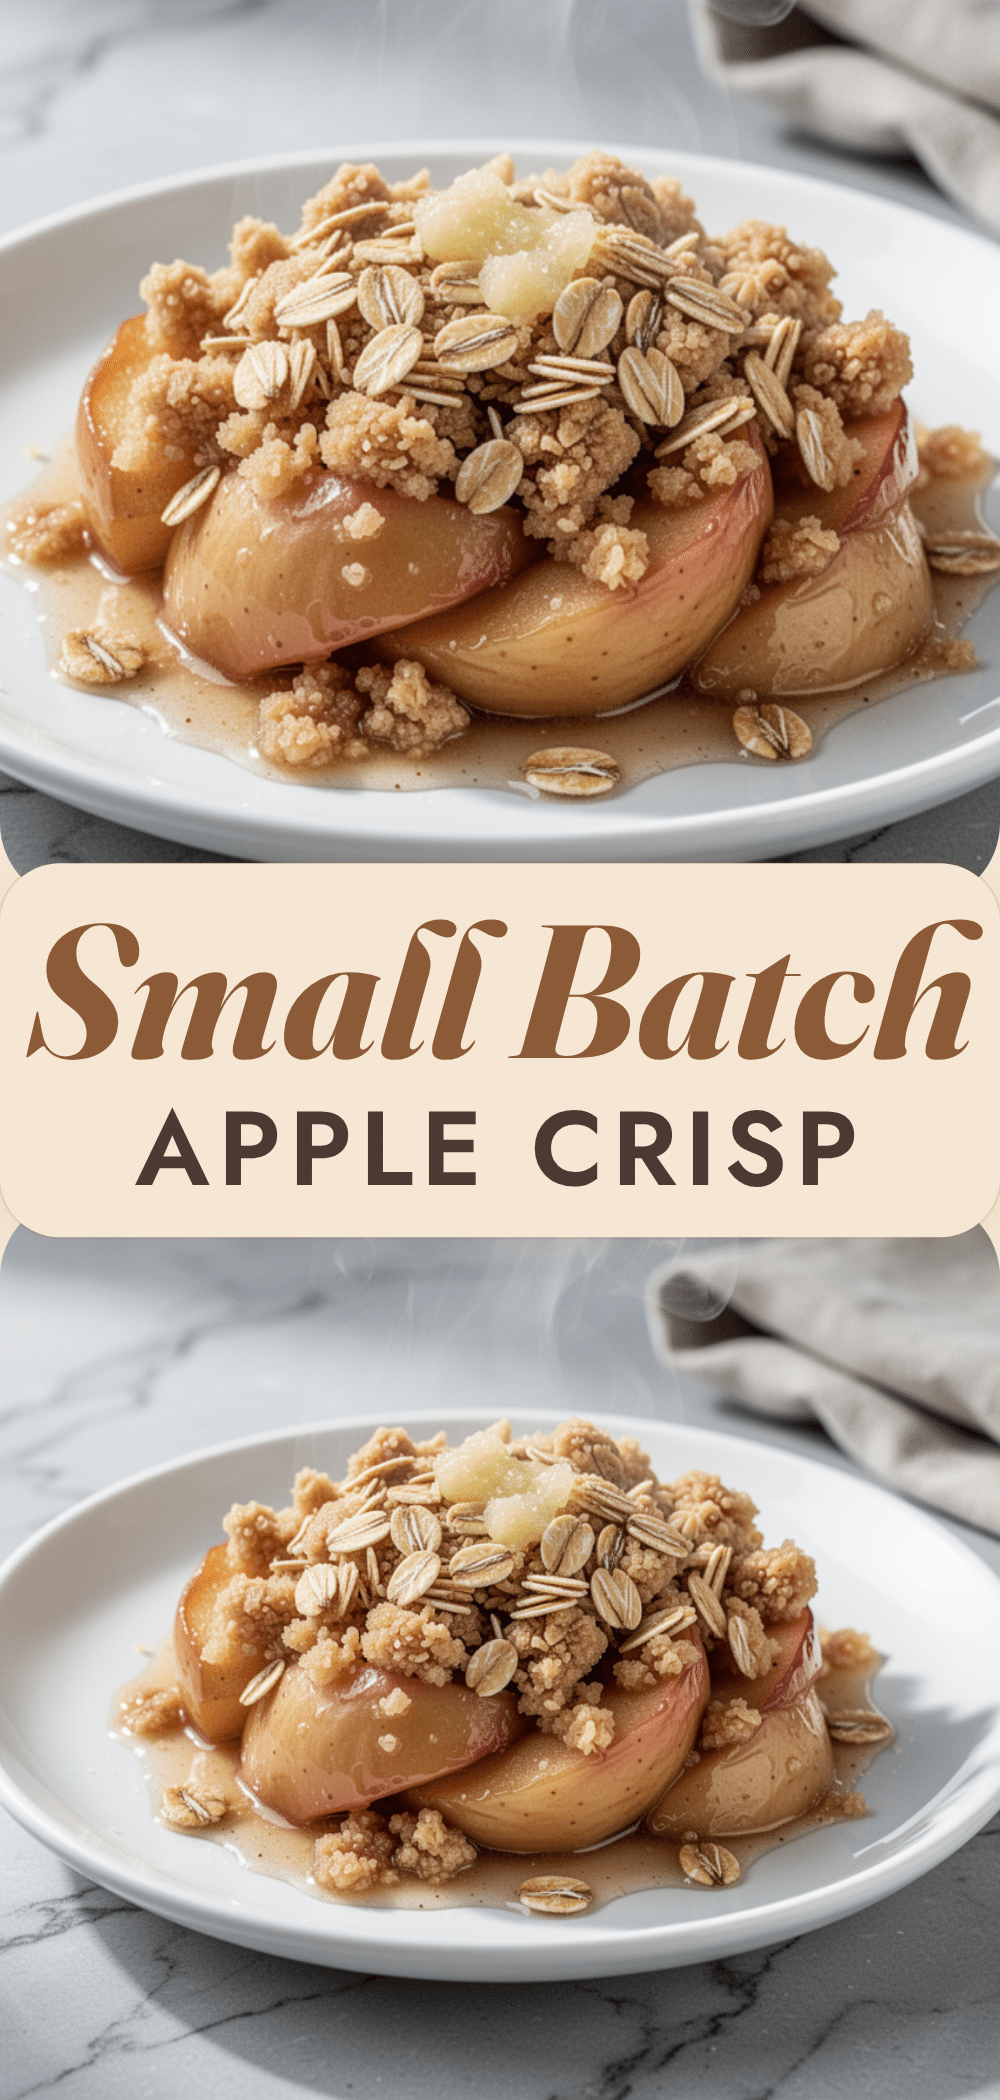

Small Batch Apple Crisp with Buttery Oat Streusel
- Total Time: 30 minutes
- Yield: 2-3 servings 1x
Description
A quick, 15-minute prep dessert perfect for busy weeknights, yielding just 2-3 servings of warm, caramelized apples topped with a crunchy, buttery oat streusel.
Ingredients
- 3 medium apples (about 450g), peeled and chopped into ½-inch chunks (Granny Smith, Honeycrisp, or Fuji recommended)
- 1 tablespoon lemon juice
- 1 teaspoon vanilla extract
- ½ cup old-fashioned rolled oats
- ¼ cup all-purpose flour
- 3 tablespoons unsalted butter, cold and cubed
- 3 tablespoons brown sugar, packed
- 1 teaspoon ground cinnamon
- ¼ teaspoon salt
- Optional: 2 tablespoons chopped walnuts or pecans
- Optional: 1 teaspoon extra cinnamon sugar for topping
Instructions
- Preheat oven to 375°F (190°C). Lightly grease a 6-inch baking dish or large ramekin with butter or non-stick spray.
- In a small bowl, toss the chopped apples with lemon juice and vanilla extract until evenly coated. Set aside.
- In a medium bowl, combine the rolled oats, flour, brown sugar, cinnamon, and salt.
- Using a fork or your fingers, cut the cold cubed butter into the dry ingredients until the mixture resembles coarse crumbs with some pea-sized clumps.
- Transfer the apple mixture to the prepared baking dish and spread into an even layer.
- Spoon the oat streusel over the apples and press down gently to help it adhere.
- Bake for 20-25 minutes, or until the topping is deep golden brown and the apples are bubbling.
- If the topping browns too quickly, cover loosely with foil for the last 5 minutes.
- Let cool for 5 minutes before serving to allow juices to thicken.
Notes
Use cold butter for a crunchy streusel texture. Avoid Red Delicious apples as they turn to mush. For a gluten-free version, use certified gluten-free oats and flour. For a vegan version, substitute butter with vegan butter sticks. Store leftovers in an airtight container in the fridge for up to 3 days; reheat in the oven to restore crispness.
- Prep Time: 5 minutes
- Cook Time: 25 minutes
- Category: Dessert
- Cuisine: American
Nutrition
- Serving Size: 1 serving (approx. 1
- Calories: 280
- Sugar: 28
- Sodium: 150
- Fat: 12
- Saturated Fat: 7
- Carbohydrates: 42
- Fiber: 4
- Protein: 3
Keywords: small batch dessert, apple crisp, quick dessert, weeknight baking, oat streusel, gluten-free option, vegan option


