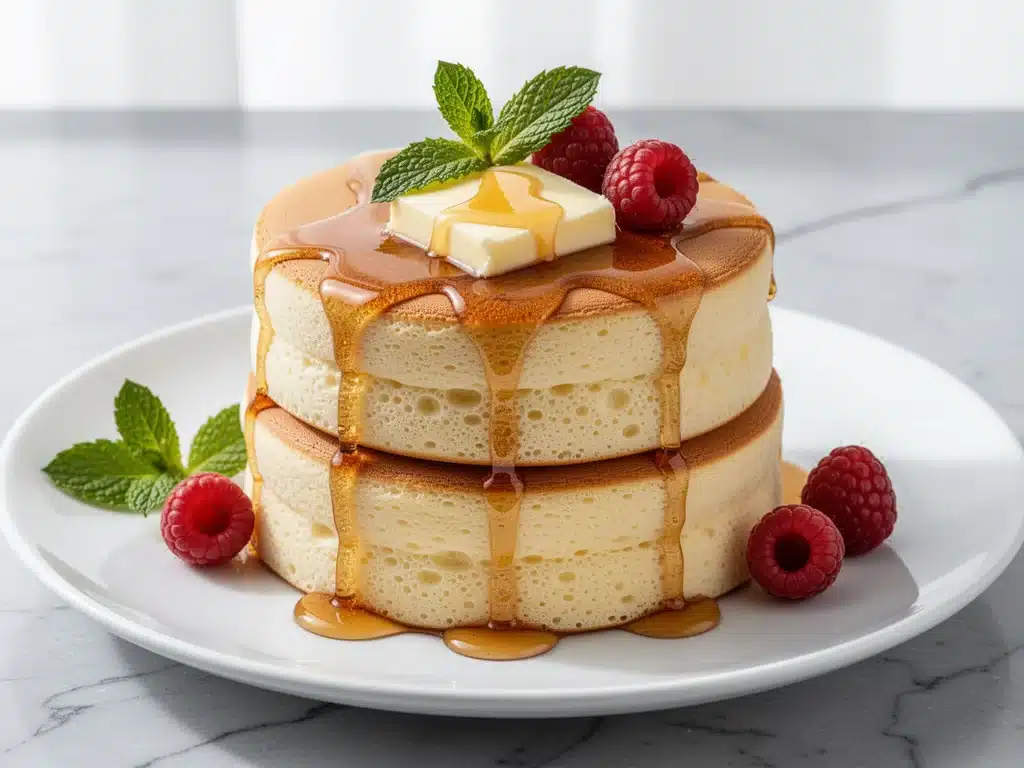
Last Saturday, I stood in my kitchen watching a stack of pancakes rise like they were possessed. Not in a scary way, but in that “wait, is this physics or magic?” kind of way. My partner walked in, saw the towering golden mounds jiggling in the pan, and asked if I’d accidentally ordered a circus tent instead of breakfast ingredients. That was the moment I knew I had finally cracked the code on Japanese soufflé pancakes.
For years, I was a purist. I liked my pancakes flat, dense, and drowned in butter. The idea of something that tasted like a cloud seemed pretentious and impossible to replicate at home. I tried a few recipes online that promised “fluffiness” and ended up with rubbery discs that deflated before I could even pour the syrup. I was ready to give up. I was ready to stick to my trusty buttermilk stack.
But then I stumbled upon the technique used in tiny, hole-in-the-wall cafés in Tokyo. It wasn’t about adding more baking powder or beating the eggs for an hour (though that helps). It was about patience. It was about separating eggs, whipping the whites to stiff peaks, and folding them in with the gentlest touch imaginable. And then, the most counterintuitive part: cooking them low and slow, covered, in a steamy environment.
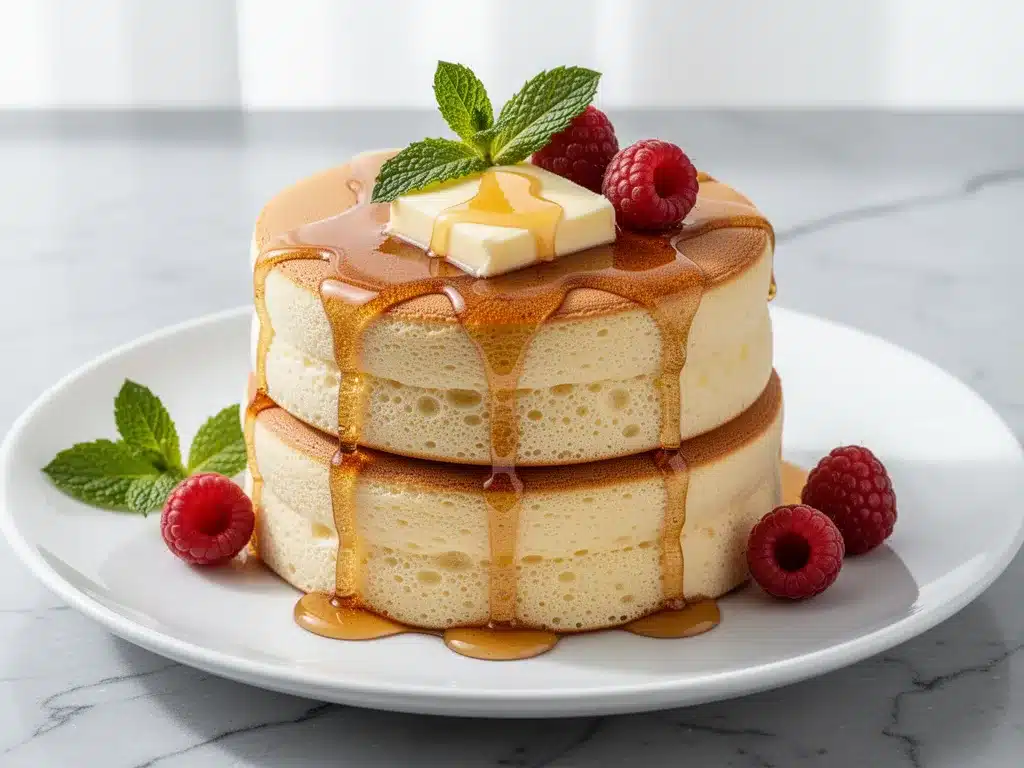
When I pulled that first perfect, jiggly pancake off the stove, it didn’t just look like a pancake. It looked like a dessert. It was tall, airy, and so light it practically melted on my tongue. The maple syrup didn’t just sit on top; it soaked into the nooks and crannies, creating little pockets of sweet, buttery heaven. My brunch guests didn’t just eat them; they stared at them in awe. One friend asked if I was charging admission. (I wasn’t, but it felt close.)
These aren’t just pancakes. They’re an experience. They’re the kind of dish that makes people stop scrolling on their phones and actually look at each other across the table. They’re the reason I now plan my weekends around brunch. If you’ve ever wanted to impress your friends, treat yourself to a luxury, or just understand why Japanese cooking techniques are so revered, this is the recipe for you. It’s technical, yes. But once you get the hang of it, it’s also surprisingly forgiving. Let me show you how to make the fluffiest Japanese soufflé pancakes your brunch guests will love.
Why You’ll Love This Recipe
There are plenty of pancake recipes out there. You could make the standard box mix, you could whip up some classic buttermilk, or you could try these Japanese soufflé pancakes. Here’s why the latter deserves a spot in your regular rotation.
They’re Visually Stunning — Seriously, these things are Instagram gold. They stand tall, they jiggle when you poke them, and they have that perfect golden-brown crust. When you serve these, people will ask for photos before they take a bite. It’s not just breakfast; it’s a presentation. I’ve served these at holiday mornings and brunch gatherings, and the reaction is always the same: gasps, then silence, then enthusiastic chewing.
The Texture is Unmatched — We’ve all had pancakes that are too dense or too dry. These are different. The interior is soft, custard-like, and incredibly airy. It’s like eating a sweet, fluffy cloud that has a slight crispness on the outside. The contrast between the tender interior and the slightly caramelized edges is what makes this recipe special. It’s a texture you won’t forget.
They’re Surprisingly Approachable — I know, I know. “Soufflé” sounds intimidating. It sounds like something that requires a degree in pastry arts and a steady hand. But here’s the truth: it’s mostly just folding and waiting. The hardest part isn’t the cooking; it’s resisting the urge to peek under the lid too often. If you can whisk and fold, you can make these. I’ve taught my teenage niece to make them, and she did a better job than I did on my first attempt.
Perfect for Special Occasions — Whether it’s Mother’s Day, a birthday, or just a lazy Sunday where you want to feel fancy, these pancakes fit the bill. They elevate a simple breakfast into a celebration. Plus, they pair beautifully with fresh berries, whipped cream, or, as I prefer, a generous drizzle of warm maple syrup. They’re versatile enough to be dressed up or kept simple.
Makes You Feel Like a Pro — There’s a specific kind of pride that comes from mastering a technique that looks difficult. When you serve these and your guests are amazed, you feel like a culinary magician. It’s a confidence booster in the kitchen. You’ll walk away thinking, “I can do anything.” Spoiler: You can.
Ingredients You’ll Need
Before we get to the fun part (the cooking), let’s talk about what you need. The ingredient list for Japanese soufflé pancakes is short, but precision matters. You don’t need fancy equipment, but you do need quality basics.
Eggs (4 large, room temperature) — This is the engine of the recipe. Room temperature eggs whip up better and create a more stable meringue. I know I always forget this and end up with slightly smaller peaks, but it’s worth the 15-minute wait. Use large eggs for consistency. If your eggs are small, you might need an extra one.
Cake Flour (3 tablespoons / 25g) — Why cake flour? Because it has less protein than all-purpose flour, which means less gluten development. Less gluten means a tender, softer crumb. If you only have all-purpose, you can substitute, but the texture will be slightly denser. Sift it to remove lumps—it makes folding easier.
Granulated Sugar (3 tablespoons / 40g) — Split this between the yolks and the whites. The sugar stabilizes the egg whites and adds sweetness. Don’t skip it or reduce it too much; the structure relies on the sugar to hold the air bubbles.
Milk (2 tablespoons / 30ml) — I use whole milk for richness, but any milk works. It helps bind the yolk mixture and adds moisture. Room temperature is best so it doesn’t shock the eggs.
Vanilla Extract (1 teaspoon) — Just a touch to enhance the flavor. Don’t go overboard; you want the egg and butter flavor to shine. Pure vanilla is better than imitation here.
Cream of Tartar (½ teaspoon) — This is the secret weapon. It stabilizes the egg whites, helping them hold their shape and preventing them from deflating. You can use lemon juice instead, but cream of tartar is more reliable. It’s cheap and lasts forever in your pantry.
Unsalted Butter (1 tablespoon, melted) — Adds flavor and helps with browning. Let it cool slightly before mixing it in so you don’t cook the yolks.
Maple Syrup — For serving. Real maple syrup is non-negotiable. The fake stuff is too thin and overly sweet. Get the good stuff. It’s worth the extra few dollars.
Optional Toppings — Fresh strawberries, blueberries, or a dollop of whipped cream. I like to keep it simple with just syrup, but berries add a nice tartness that cuts through the richness.
Equipment Needed
You don’t need a fancy kitchen to make these, but having the right tools will make your life easier. Here’s what I actually use.
Two Large Bowls — One for the yolks, one for the whites. Make sure they are completely clean and dry. Any trace of grease or yolk will prevent the whites from whipping up properly. I use glass bowls because I can see the peaks better.
Electric Hand Mixer or Stand Mixer — You *can* use a whisk, but it takes forever and your arm will fall off. A hand mixer is perfect for this. If you have a stand mixer, use the whisk attachment. It’s faster and more consistent.
Silicone Spatula — Essential for folding. You need a flexible spatula that can get into the corners of the bowl without tearing the air out of the meringue. I have a few; keep them clean and dry.
Non-Stick Skillet — A 8-inch or 10-inch non-stick pan works best. I prefer cast iron with a good non-stick coating, but a standard non-stick skillet is fine. Avoid stainless steel; these pancakes will stick and tear.
Lid — You need a lid that fits your pan snugly. If your pan doesn’t have a lid, you can use aluminum foil, but a glass lid is nice so you can peek without losing too much steam. The steam is crucial for cooking the inside.
Pancake Rings (Optional) — These help keep the pancakes tall and round. If you don’t have them, you can just spoon the batter into the pan, but they’ll spread more. I use rings because they make the presentation look professional.
How to Make It: Step-by-Step
Alright, let’s make these fluffy Japanese soufflé pancakes. I’m walking you through exactly how I do it, including the little tricks I’ve picked up along the way. This process takes about 30-40 minutes, but most of that is waiting.
Step 1: Separate the Eggs
Separate your four eggs, placing the yolks in one bowl and the whites in another. Make sure no yolk gets into the whites. Even a tiny drop can ruin the whipping process. Set the yolks aside.
Step 2: Make the Yolk Mixture
Add 1 tablespoon of sugar to the egg yolks. Whisk them together until pale and creamy. Then, add the milk, vanilla extract, and melted butter. Whisk until fully combined. Finally, sift in the cake flour and whisk until smooth. There should be no lumps. Set this aside. It will look like a thick, yellow batter.
Step 3: Whip the Egg Whites
Add the cream of tartar to the egg whites. Using your electric mixer, beat them on medium-high speed. Once they start to foam, add the remaining 2 tablespoons of sugar, one tablespoon at a time. Continue beating until you have stiff, glossy peaks. This means when you lift the beaters, the peaks stand straight up without drooping. This usually takes 3-5 minutes with a hand mixer. Do not under-whip; this is the most critical step.
Step 4: Fold the Batter
This is where the magic happens. Take about one-third of the egg whites and mix them vigorously into the yolk mixture. This lightens the dense yolk batter. Then, gently fold in the remaining egg whites. Use a silicone spatula and a cutting motion: slice down through the center, scrape the bottom, and fold over the top. Rotate the bowl and repeat. You’re looking for a uniform pale yellow color. Stop as soon as you see no more white streaks. Over-mixing will deflate the air you worked so hard to create.
Step 5: Cook the Pancakes
Heat your non-stick skillet over very low heat. Add a small pat of butter to grease the pan. If using pancake rings, place them in the pan. Spoon the batter into the rings, filling them about ¾ full. If not using rings, spoon two mounds per pancake.
Immediately cover the pan with a lid. Add a tablespoon of water to the side of the pan (not on the pancakes) to create steam. Cook for 7 minutes. Do not peek! The steam is cooking the inside. After 7 minutes, flip the pancakes carefully. This is the tricky part. Use a spatula to lift them gently. If they’re ready, they’ll release easily.
Step 6: Finish Cooking
Once flipped, cover the pan again and cook for another 5-7 minutes. Check one pancake to ensure it’s cooked through. It should be golden brown on both sides and spring back when touched. Remove from heat and serve immediately.
Expert Tips & Tricks
Here’s everything I’ve learned from making these dozens of times. These tips will save you from my mistakes.
Room Temperature Eggs are Non-Negotiable
Cold eggs don’t whip up as high. Take them out of the fridge 30 minutes before you start. If you forget, you can warm the shells in a bowl of warm water for 5 minutes.
Clean Bowls are Crucial
Any grease or yolk in the white bowl will stop the whites from whipping. Wipe your bowls with a little vinegar or lemon juice to ensure they’re grease-free.
Don’t Rush the Whipping
If your peaks aren’t stiff, the pancakes will collapse. Take the time to whip them properly. They should look like marshmallow fluff—shiny and holding their shape.
Low Heat is Key
These pancakes cook slowly. If the heat is too high, the outside will burn before the inside is cooked. Use the lowest setting on your stove. If your stove runs hot, use a heat diffuser.
Be Gentle When Folding
You’re trying to keep the air in the batter. Fold slowly and deliberately. It’s a dance, not a fight.
Don’t Peek Too Much
Every time you lift the lid, you lose steam. Trust the process. Set a timer and wait.
Variations & Substitutions
Once you’ve nailed the basic version, here’s how you can mix it up.
Berry Pancakes
Gently fold in fresh or frozen berries after folding in the whites. Be careful not to crush them too much. They add a nice burst of flavor.
Chocolate Pancakes
Add 1 tablespoon of cocoa powder to the yolk mixture. It turns them into chocolate soufflé pancakes. Delicious with whipped cream.
Gluten-Free
Use a 1:1 gluten-free flour blend instead of cake flour. The texture might be slightly different, but they’ll still be fluffy.
Dairy-Free
Use a dairy-free milk alternative and coconut oil instead of butter. They’ll still turn out great.
Flavor Boosters
Add a teaspoon of lemon zest or orange zest to the yolk mixture for a bright, citrusy twist.
Serving & Storage
How to Serve
Serve these immediately while they’re still jiggly. Stack them high and drizzle with warm maple syrup. Add fresh berries on top for color. The contrast of the warm pancakes and cool fruit is amazing.
Storage
These pancakes are best eaten fresh. They deflate quickly as they cool. If you must store them, let them cool completely and place them in an airtight container in the fridge for up to 2 days. Reheat them gently in a toaster or oven to restore some of the texture. They won’t be as fluffy as fresh, but they’re still good.
Freezing
You can freeze them, but the texture will change. Freeze them in a single layer on a baking sheet, then transfer to a freezer bag. Reheat in the oven. They’ll be denser, so I recommend eating them fresh whenever possible.
Nutrition Information
I’m not a nutritionist, but here’s the breakdown if you’re tracking. These are richer than standard pancakes due to the egg whites and butter, but they’re also lower in carbs if you skip the syrup.
Per Pancake (approximate):
- Calories: 120
- Protein: 6g
- Carbs: 10g
- Fat: 6g
- Sugar: 6g
Keep in mind that the syrup adds significant sugar and calories. A tablespoon of maple syrup adds about 50 calories and 12g of sugar. Use sparingly if you’re watching your intake. But honestly? It’s brunch. Enjoy it.
Final Thoughts
So that’s my go-to fluffy Japanese soufflé pancake recipe! It took me a few tries to get it right, but now it’s my favorite way to start the day. There’s something special about the process—the whipping, the folding, the waiting—that makes the final result feel earned. And the taste? Unbeatable.
I hope you try this recipe. I hope your kitchen smells like vanilla and butter. I hope your guests are amazed. And I hope you feel that same pride I felt when I pulled that first perfect pancake off the stove. Happy cooking!
Frequently Asked Questions
Why did my pancakes deflate?
This usually happens if the egg whites weren’t whipped stiff enough, or if you over-mixed the batter when folding. Make sure your peaks are stiff and glossy, and fold gently and quickly. Also, serve them immediately; they naturally settle as they cool.
Can I use all-purpose flour instead of cake flour?
You can, but the pancakes will be slightly denser. Cake flour has less protein, which creates a softer texture. If you only have all-purpose, you can substitute it, but expect a firmer bite. For the best results, stick to cake flour.
How do I flip them without breaking?
Use a wide, thin spatula. Slide it under the pancake carefully. If they’re cooked properly, they should release easily from the pan. If they stick, they probably need more time. Be gentle and confident in your flip.
Can I make these ahead of time?
Not really. The magic of soufflé pancakes is their immediate jiggly texture. They’re best served right after cooking. If you’re feeding a crowd, cook them in batches and keep them warm in a low oven (200°F) for a few minutes.
Why do I need cream of tartar?
Cream of tartar stabilizes the egg whites, helping them hold their shape and preventing them from collapsing. It’s a small ingredient that makes a huge difference. You can use lemon juice as a substitute, but cream of tartar is more reliable.
Pin This Recipe!
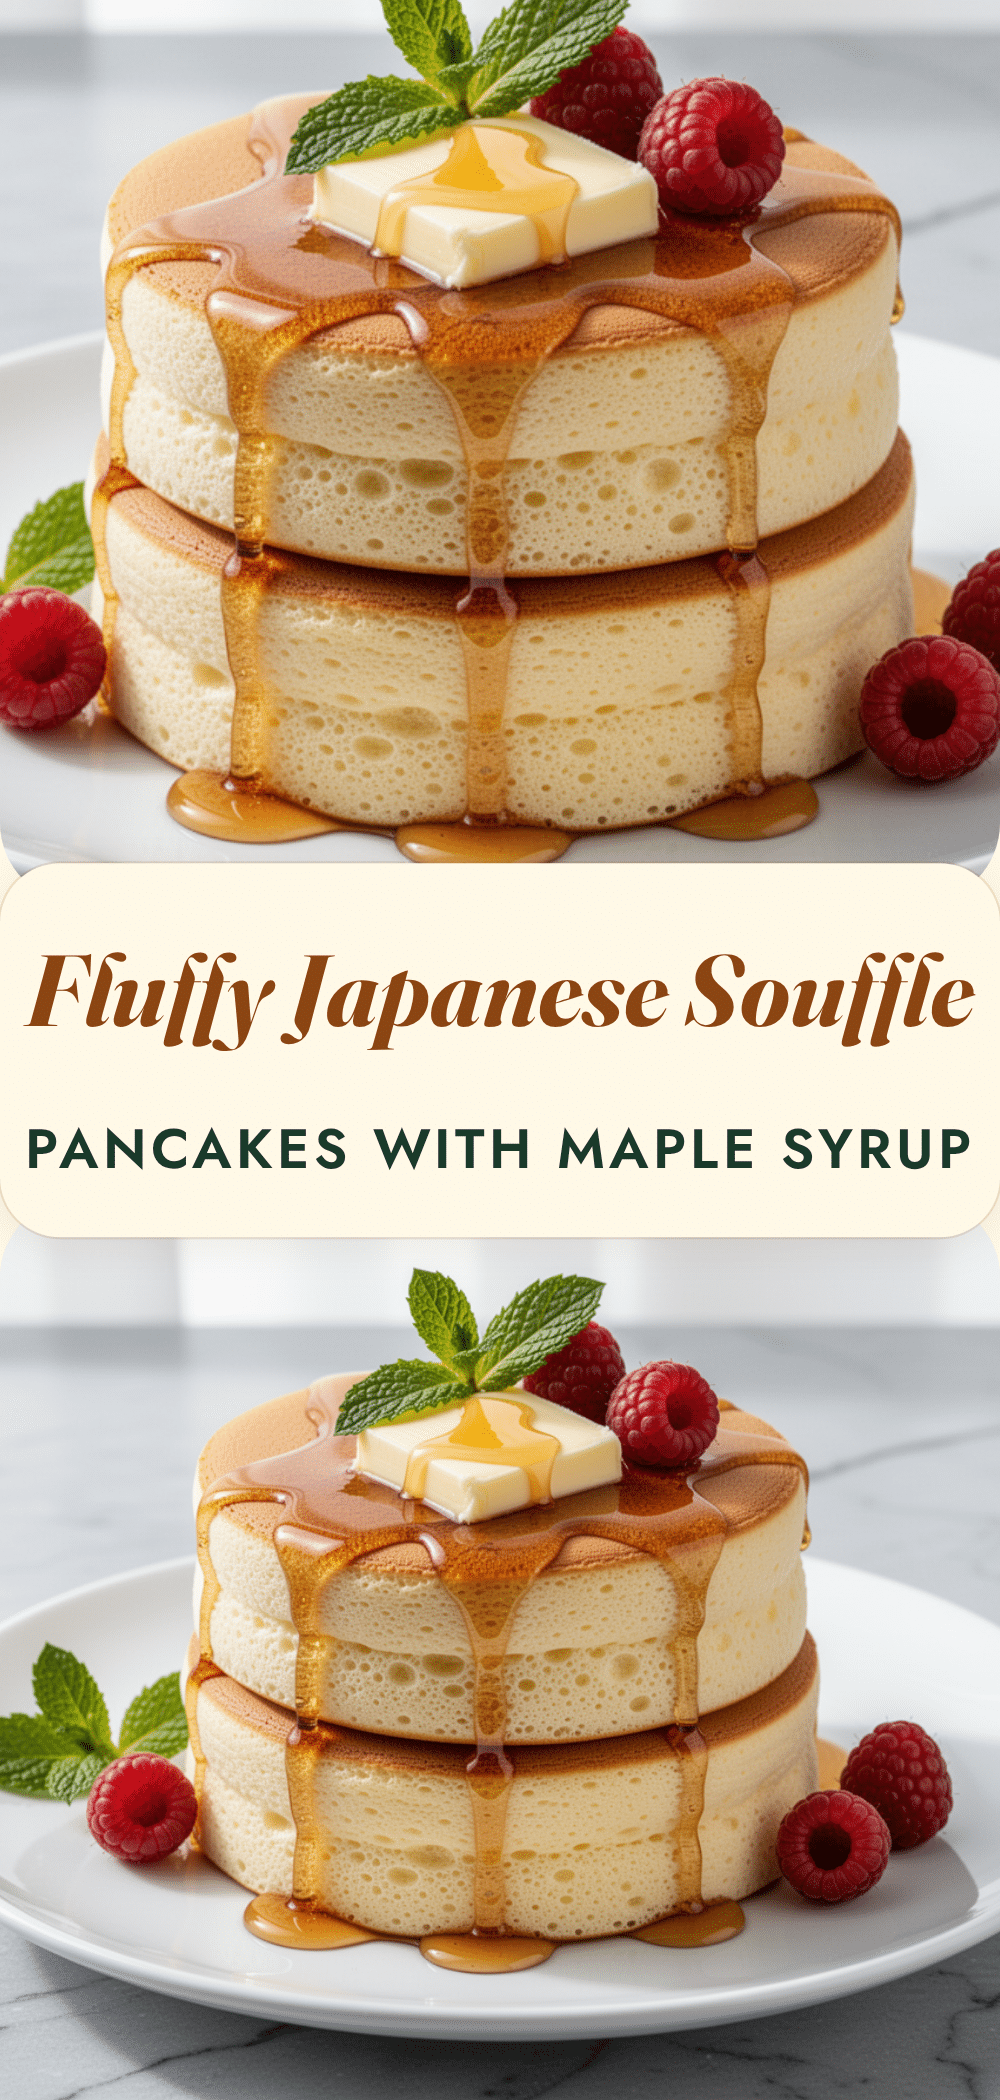
Fluffy Japanese Souffle Pancakes: Best Easy Brunch Recipe
- Total Time: 30 minutes
- Yield: 4 servings 1x
Description
Master the art of making tall, airy, and jiggly Japanese soufflé pancakes with this step-by-step guide. These cloud-like pancakes are perfect for impressing brunch guests.
Ingredients
- 4 large eggs, room temperature
- 3 tablespoons (25g) cake flour
- 3 tablespoons (40g) granulated sugar
- 2 tablespoons (30ml) milk
- 1 teaspoon vanilla extract
- 1/2 teaspoon cream of tartar
- 1 tablespoon unsalted butter, melted
- Maple syrup, for serving
- Optional toppings: fresh strawberries, blueberries, whipped cream
Instructions
- Separate the eggs, placing yolks in one bowl and whites in another. Ensure no yolk gets into the whites.
- Add 1 tablespoon of sugar to the egg yolks and whisk until pale and creamy.
- Whisk in the milk, vanilla extract, and melted butter until combined.
- Sift in the cake flour and whisk until the batter is smooth with no lumps.
- Add cream of tartar to the egg whites. Beat on medium-high speed until foamy.
- Add the remaining 2 tablespoons of sugar one tablespoon at a time while beating.
- Continue beating until stiff, glossy peaks form (about 3-5 minutes).
- Vigorously mix one-third of the egg whites into the yolk mixture to lighten it.
- Gently fold in the remaining egg whites using a silicone spatula until just combined and no white streaks remain.
- Heat a non-stick skillet over very low heat and grease with a small pat of butter.
- Spoon batter into the pan (using rings if desired), filling about 3/4 full.
- Cover the pan with a lid and add a tablespoon of water to the side to create steam.
- Cook covered for 7 minutes without peeking.
- Carefully flip the pancakes.
- Cover again and cook for another 5-7 minutes until golden brown and cooked through.
- Serve immediately while jiggly.
Notes
Room temperature eggs are essential for whipping. Ensure bowls are completely clean and grease-free. Cook on low heat to prevent burning before the inside is set. Do not peek under the lid during cooking. Serve immediately as they deflate quickly.
- Prep Time: 15 minutes
- Cook Time: 15 minutes
- Category: Breakfast
- Cuisine: Japanese
Nutrition
- Serving Size: 1 pancake
- Calories: 120
- Sugar: 6
- Sodium: 50
- Fat: 6
- Saturated Fat: 3
- Carbohydrates: 10
- Protein: 6
Keywords: Japanese pancakes, soufflé pancakes, fluffy pancakes, brunch recipe, easy breakfast, homemade pancakes


