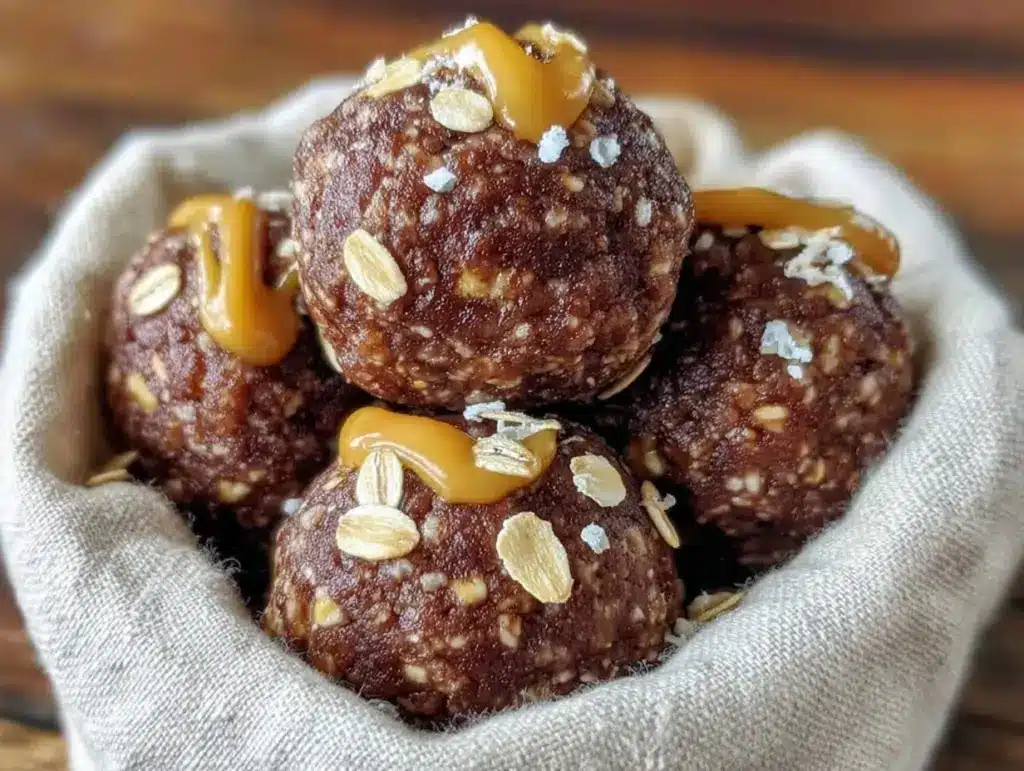
Three years ago, I stood in the snack aisle of a fancy grocery store, staring at a $7 bag of “premium” energy bites. They were basically oat balls with a hint of peanut butter and a dusting of sugar. I felt ripped off. I knew I could make something better for less than a dollar, but I’d never actually tried. I assumed it would be a mess of sticky hands and failed attempts.
I was wrong. So wrong.
That Tuesday, I threw together a batch of what I now call my Simple No-Bake Chocolate Peanut Butter Energy Balls. It took 15 minutes. Actually, less. I mixed the ingredients in a bowl, rolled them into little spheres, and popped them in the fridge. By the time I’d finished folding laundry, I had a container full of pure, concentrated fuel that tasted like dessert but worked like breakfast.
Here’s the thing about this Simple No-Bake Chocolate Peanut Butter Energy Balls recipe: it is incredibly forgiving. You don’t need to measure everything perfectly. You don’t need special equipment. You just need five ingredients and a bowl. I’ve made these so many times that I can do it with one hand while holding my coffee with the other. They are my secret weapon for busy mornings, mid-afternoon slumps, and pre-workout boosts.
If you’ve been looking for a way to cut down on processed snacks without spending hours in the kitchen, this is it. These Simple No-Bake Chocolate Peanut Butter Energy Balls are the epitome of “if you can only make one thing, make this.” They’re chewy, rich, and satisfying. Once you try them, you’ll wonder why you ever bought those overpriced bags from the store.
Why You’ll Love This Simple No-Bake Chocolate Peanut Butter Energy Balls Recipe
Let’s be real. Most “healthy” snacks taste like cardboard. Or they require a stand mixer and three hours of chilling time. This Simple No-Bake Chocolate Peanut Butter Energy Balls recipe flips the script entirely. It’s designed for real life, for beginners, and for anyone who wants results without the fuss.
- Five Ingredients Only — That’s it. No obscure superfoods you have to order online. Just oats, peanut butter, honey, chocolate chips, and vanilla. I keep all of these in my pantry right now.
- Zero Baking Required — You literally don’t turn on the oven. This means no preheating, no waiting for the timer, and no dirty baking sheets. It’s the ultimate low-effort win.
- Forgiving Ratios — I’ve made these when I was out of honey and used maple syrup. I’ve made them with almond butter when I was out of peanut butter. The texture holds up every time. You really can’t mess this up.
- Meal Prep Friendly — Make a double batch on Sunday, and you’re set for the week. They stay fresh in the fridge for up to two weeks, or you can freeze them for months. It’s the ultimate “set it and forget it” snack.
- Protein-Packed Fuel — Unlike those sugary granola bars, these actually keep you full. The combination of oats, peanut butter, and honey provides slow-burning energy. I eat two before a long walk, and I don’t get hungry until dinner.
This is my go-to when I want something sweet but nutritious. It’s not just a snack; it’s peace of mind in a little ball.
Key Ingredients for Simple No-Bake Chocolate Peanut Butter Energy Balls
You don’t need fancy stuff. You need stuff that works. Here is exactly what I use and why it matters.
Old-Fashioned Rolled Oats
1 ½ cups (120g) — Do not use instant oats. They are too fine and will make your balls mushy. Do not use steel-cut oats; they are too hard and won’t soften in the fridge. Old-fashioned rolled oats provide the perfect chewy texture. If you need gluten-free, make sure your oats are certified gluten-free, as oats are often processed in facilities with wheat.
Peanut Butter
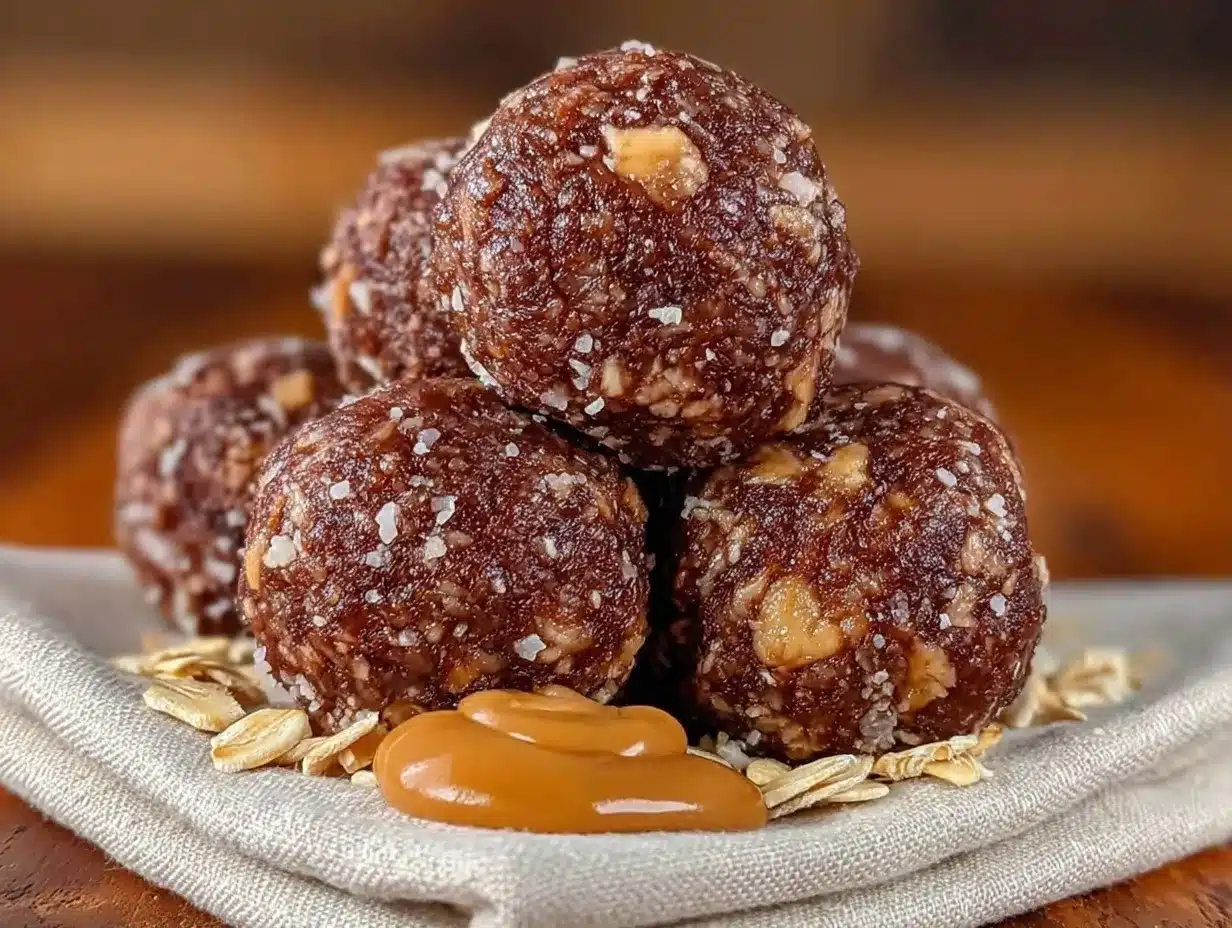
1 cup (250g) — This is the binder. I use natural creamy peanut butter where the oil separates. You *must* stir that jar until it’s completely homogeneous before measuring. If you use pre-emulsified peanut butter (the kind with hydrogenated oils), it might be too stiff. Natural peanut butter gives the best flavor and texture. Almond butter works too, but it’s more expensive and has a slightly different taste.
Honey
½ cup (170g) — Honey acts as the sticky glue. It’s sweeter than maple syrup, which is good because the oats and peanut butter are savory. If you want a vegan version, use agave nectar or maple syrup, but note that the mixture will be stickier and might need more oats. Raw honey is my preference for flavor, but any clear honey works.
Chocolate Chips
½ cup (85g) — Mini chocolate chips are my secret weapon. They distribute evenly throughout the ball. If you use large chips, you might get a giant chunk in one bite and none in another. Semi-sweet chips keep it from being too sweet. Dark chocolate chips work if you want less sugar, but they might be a bit bitter against the sweet honey.
Vanilla Extract
1 teaspoon (5ml) — This sounds small, but it’s crucial. It rounds out the peanut butter flavor and makes it taste like a dessert rather than a health food. Don’t skip it. Pure vanilla extract is best; imitation vanilla will taste chemical.
Salt (Optional but Recommended)
¼ teaspoon (1g) — A pinch of salt enhances the chocolate and peanut flavors. If your peanut butter is already salted, you can skip this. If it’s unsalted, definitely add it.
Tools Needed for Simple No-Bake Chocolate Peanut Butter Energy Balls
You don’t need fancy equipment. Here’s what I use, and what you can swap.
Mixing Bowl — I use a medium-sized stainless steel bowl. Anything that’s big enough to hold 1 ½ cups of oats plus the wet ingredients. Glass is fine too.
Spatula — A silicone spatula is best for scraping the bowl. You want to get every bit of sticky peanut butter and honey mixture. A spoon works, but it’s messy.
Measuring Cups and Spoons — Standard dry and liquid measuring tools. Since this recipe is forgiving, you don’t need precision scales, but accurate measuring helps if you’re new to this.
Baking Sheet or Plate — You’ll need a flat surface to roll the balls on. A rimmed baking sheet lined with parchment paper is easiest because you can just pop the whole tray in the fridge. A large dinner plate works in a pinch.
Storage Container — An airtight container, preferably glass, for keeping them in the fridge. Plastic Tupperware works too, just make sure it seals well.
How to Make Simple No-Bake Chocolate Peanut Butter Energy Balls
Let’s get into the kitchen. This part is easy. Seriously.
Step 1: Combine Dry Ingredients (2 minutes)
Pour your 1 ½ cups (120g) of old-fashioned rolled oats into your mixing bowl. If you’re adding salt now, add it here. Stir it around a bit so it’s loose. This step doesn’t take much time, but it ensures your oats are ready to absorb the wet ingredients evenly.
Step 2: Mix Wet Ingredients (2 minutes)
In the same bowl, add your 1 cup (250g) of well-stirred peanut butter, ½ cup (170g) of honey, and 1 teaspoon (5ml) of vanilla extract. Now comes the mixing. Use your spatula to mash the peanut butter and honey together. It will look lumpy at first. Keep stirring. You’re looking for a smooth, glossy paste. If the peanut butter is cold from the fridge, it might be stubborn. Just keep pressing against the side of the bowl.
Step 3: Combine Everything (3 minutes)
Once the wet ingredients are smooth, add your ½ cup (85g) of mini chocolate chips. Stir everything together. The mixture will look thick and sticky. It should hold together when you pinch a small piece between your fingers. If it’s too crumbly, you need more honey or peanut butter. If it’s too runny, add a splash more oats. This is where your intuition comes in. Add the oats gradually, half a cup at a time, until it feels right.
Step 4: Chill the Mixture (15-30 minutes)
This is the step beginners skip, and I don’t recommend it. Cover the bowl with plastic wrap or a plate and put it in the fridge for at least 15 minutes. Chilling firms up the peanut butter and honey, making it much easier to roll. If you’re in a huge rush, you can skip this, but your hands will get very sticky. 15 minutes is enough. 30 minutes is better.
Step 5: Roll the Balls (10 minutes)
Take the bowl out of the fridge. Scoop out about 1 tablespoon of the mixture. Roll it between your palms to form a smooth ball. Place it on your parchment-lined baking sheet. Repeat until all the mixture is used. You should get about 15-20 balls, depending on how big you make them. Don’t worry if they aren’t perfect spheres. They’re energy balls, not macarons. They just need to be bite-sized.
Total Time Breakdown: Prep: 7 minutes. Chill: 15-30 minutes. Roll: 10 minutes. Total active time: under 20 minutes.
Expert Tips for Simple No-Bake Chocolate Peanut Butter Energy Balls
Here’s everything I learned from making this too many times. These tips will save you from common pitfalls.
The Peanut Butter Stir
Stir your natural peanut butter until it’s liquid. I can’t stress this enough. If there are streaks of dry peanut powder left in your jar, your mixture will be dry and crumbly. It needs to be completely uniform. If you’re lazy and the oil has separated, just microwave the jar (lid off) for 30 seconds to loosen it up, then stir.
Handling Stickiness
Wet your hands. If the mixture is sticking to your palms, dip your hands in cold water for a second before rolling. The water creates a barrier so the sticky honey doesn’t cling to your skin. Keep a small bowl of water nearby if you’re making a big batch.
Texture Adjustments
Too dry? Add liquid. Too wet? Add oats. The ratio depends on your brand of peanut butter and humidity. If your balls fall apart, add more honey. If they won’t hold shape, add more oats. Keep a small stash of oats nearby while you’re rolling.
Chocolate Chip Alternatives
Chopped nuts or seeds. If you’re out of chocolate chips, chopped peanuts, sunflower seeds, or even dried cranberries work great. They add crunch and flavor. Just keep the volume the same (½ cup).
Common Problems & Solutions
Problem: Balls are too soft to eat. Solution: You didn’t chill them long enough. Or you used too much honey. Next time, chill for 30 minutes or reduce honey by 2 tablespoons.
Problem: Mixture is too hard to mix. Solution: Your peanut butter was too cold. Warm it up slightly in the microwave for 15-20 seconds before mixing.
Recipe Variations for Simple No-Bake Chocolate Peanut Butter Energy Balls
Once you’ve nailed the basic version, here’s how to mix it up. These variations keep things interesting.
Protein Power
Add 1 scoop of vanilla protein powder to the dry ingredients. This makes them more filling and boosts the protein count. You might need an extra tablespoon of honey to counteract the dryness of the powder.
Coconut Crunch
Replace ¼ cup of the oats with ¼ cup of shredded coconut. Toasted coconut is even better. It adds a nice tropical flavor that pairs well with the peanut butter.
Trail Mix Style
Add ¼ cup of dark chocolate chunks and ¼ cup of chopped walnuts. This turns your energy ball into a miniature trail mix. Great for hiking.
Dairy-Free Option
Use vegan chocolate chips and ensure your honey is vegan (some vegans avoid honey, so use maple syrup instead). The rest of the recipe is naturally dairy-free.
Nut-Free Version
Swap the peanut butter for sunflower seed butter or soy nut butter. These have similar textures and work perfectly in this recipe. Just make sure the kids at school allow seed butters.
Serving & Storage for Simple No-Bake Chocolate Peanut Butter Energy Balls
Serving
I eat these straight out of the container. They’re perfect for breakfast on the go, a mid-morning snack, or a pre-workout boost. They pair well with a glass of cold milk or a black coffee. If you’re serving them at a party, put them in little paper liners so people can grab them easily. They look elegant enough for a dessert table, especially if you roll them in a little extra cocoa powder.
Storage
Fridge: Store in an airtight container for up to 2 weeks. They stay firm and fresh. This is my preferred method.
Freezer: These freeze beautifully. Place them on a baking sheet in the freezer until solid, then transfer to a freezer bag. They last for 3 months. Thaw them in the fridge for 10 minutes before eating. They taste like frozen treats, which is surprisingly good.
Room Temp: I don’t recommend keeping them out for more than 2 hours. The peanut butter and honey can spoil or get too soft in warm weather. Better safe than sorry.
Nutrition Information for Simple No-Bake Chocolate Peanut Butter Energy Balls
I’m not a nutritionist, but here’s the breakdown based on my calculations. These are approximate.
| Nutrient | Per Ball (approx. 15g) |
|---|---|
| Calories | 90 |
| Protein | 3g |
| Carbs | 10g |
| Fiber | 1.5g |
| Fat | 5g |
| Sugar | 6g |
My Take: These are calorie-dense because of the peanut butter and oats. They’re not “diet food,” but they are nutrient-dense. They provide sustained energy rather than a sugar crash. Two balls are a perfect snack size. Don’t eat the whole batch in one sitting… unless you’re me. I’ve been known to eat six in one go.
Final Thoughts on Simple No-Bake Chocolate Peanut Butter Energy Balls
There is something deeply satisfying about making your own snacks from scratch. It gives you control over what goes into your body, and it tastes infinitely better than anything from a box. These Simple No-Bake Chocolate Peanut Butter Energy Balls are my testament to the power of simplicity. Five ingredients. No bake. Pure deliciousness.
If you make this, drop a comment! I love hearing how it turns out in your kitchen. Did you add extra chocolate? Did you use almond butter? Let me know. And if you need more easy, no-fuss recipes, check out my game-day fudgy peanut butter brownie bites for another peanut butter fix, or try my crispy baked zucchini fries for a savory snack option.
Happy cooking!
FAQs About Simple No-Bake Chocolate Peanut Butter Energy Balls
Can I use crunchy peanut butter?
A: Yes! Crunchy peanut butter adds a nice texture. Just be aware that the balls might be slightly less cohesive, so you might need to chill them a bit longer. I actually prefer crunchy because it feels more like a real peanut butter cup.
Why are my energy balls crumbly?
A: This usually happens if the peanut butter was too dry or if you didn’t mix it enough. Natural peanut butter can separate, leaving dry solids at the bottom. Make sure you stir the jar until it’s completely liquid and smooth before measuring. Also, adding a tiny bit more honey or maple syrup can help bind them.
Can I make these gluten-free?
A: Absolutely. Just ensure your oats are certified gluten-free. Oats are naturally gluten-free but are often cross-contaminated with wheat during processing. All other ingredients in this recipe are naturally gluten-free.
How long do these last in the fridge?
A: They last up to two weeks in an airtight container. After that, they might start to dry out or lose their fresh texture. If you want them to last longer, freeze them. They’ll stay good for up to three months.
Can I substitute honey with maple syrup?
A: Yes, you can. Use an equal amount of maple syrup. Keep in mind that maple syrup is thinner than honey, so the mixture might be stickier. You may need to add an extra tablespoon of oats to get the right consistency. The flavor will be slightly more robust and earthy.
Do I have to use mini chocolate chips?
A: No, but they are easier to mix in. If you use large chocolate chips, chop them in half or third first. This ensures you get a chocolate piece in every bite rather than one huge chunk in the middle of the ball.
Pin This Recipe!
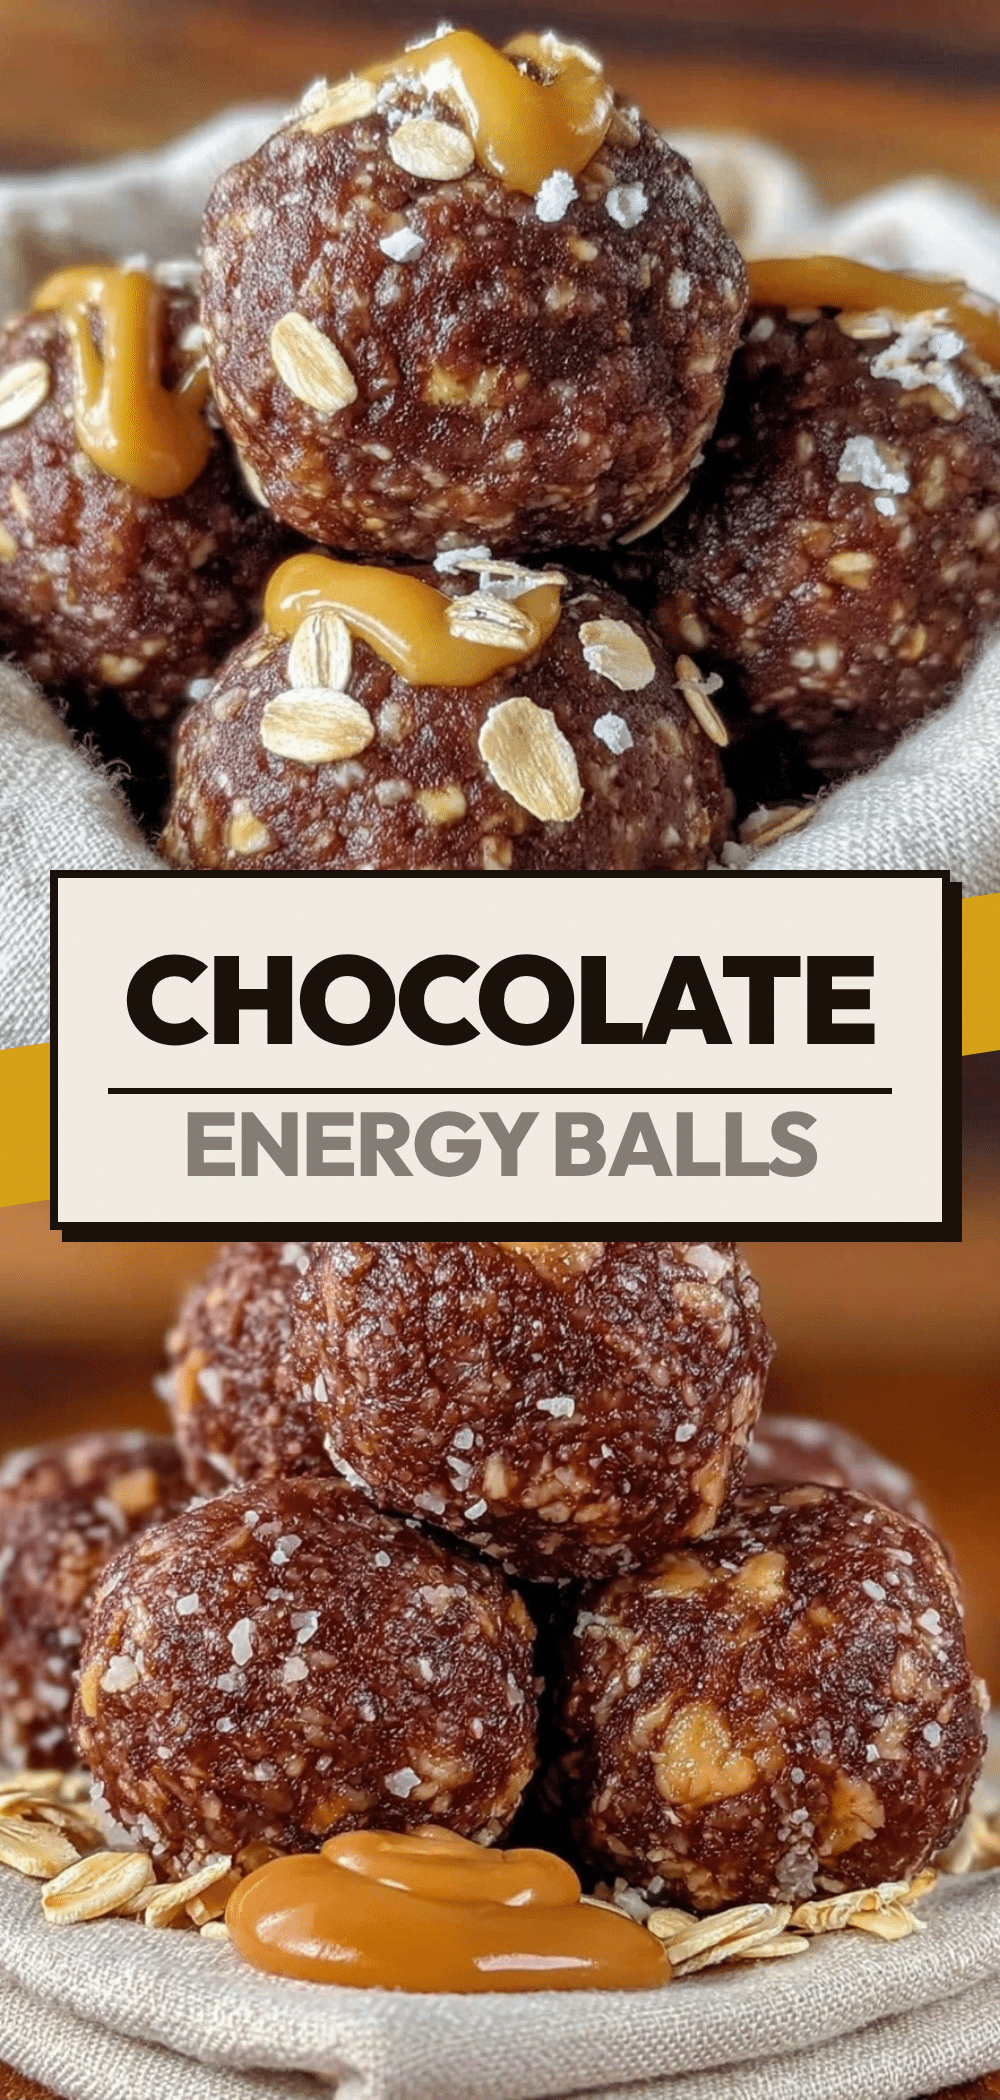
Simple No-Bake Chocolate Peanut Butter Energy Balls
- Total Time: 20 minutes
- Yield: 15-20 servings 1x
Description
A forgiving, five-ingredient no-bake snack made with oats, peanut butter, honey, chocolate chips, and vanilla. These energy balls provide sustained fuel and are perfect for meal prep.
Ingredients
- 1 ½ cups (120g) old-fashioned rolled oats
- 1 cup (250g) natural creamy peanut butter
- ½ cup (170g) honey
- ½ cup (85g) mini chocolate chips
- 1 teaspoon (5ml) vanilla extract
- ¼ teaspoon (1g) salt (optional)
Instructions
- Pour 1 ½ cups of old-fashioned rolled oats into a medium mixing bowl. If using salt, add it now and stir to loosen.
- Add 1 cup of well-stirred natural peanut butter, ½ cup of honey, and 1 teaspoon of vanilla extract to the bowl.
- Use a spatula to mash and mix the wet ingredients until a smooth, glossy paste forms.
- Stir in ½ cup of mini chocolate chips. The mixture should be thick and sticky, holding together when pinched.
- Cover the bowl and chill in the refrigerator for 15-30 minutes to firm up the mixture.
- Scoop about 1 tablespoon of the mixture and roll between palms to form smooth balls.
- Place balls on a parchment-lined baking sheet or plate.
- Store in an airtight container in the fridge for up to 2 weeks or freeze for up to 3 months.
Notes
Ensure natural peanut butter is stirred until completely homogeneous before measuring. If the mixture is too crumbly, add more honey; if too runny, add more oats. Wet hands slightly if the mixture sticks during rolling. For a vegan version, substitute honey with maple syrup or agave nectar.
- Prep Time: 7 minutes
- Cook Time: 0 minutes
- Category: Snack
- Cuisine: American
Nutrition
- Serving Size: 1 ball (approx. 15g)
- Calories: 90
- Sugar: 6
- Sodium: 15
- Fat: 5
- Saturated Fat: 1.5
- Carbohydrates: 10
- Fiber: 1.5
- Protein: 3
Keywords: energy balls, no-bake, peanut butter, chocolate, healthy snack, meal prep, gluten-free option, vegan option


