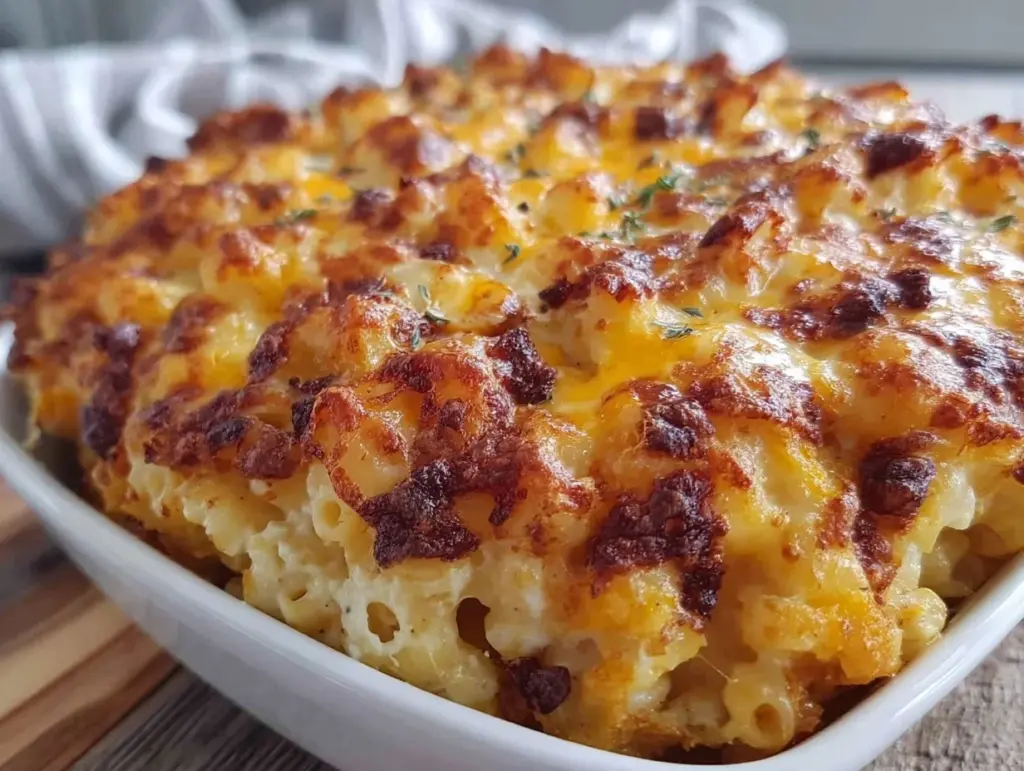
It’s 4:30 PM on a Tuesday. The clock is ticking, the kids are hungry, and the fridge is mostly empty except for some wilting spinach and a block of cheddar that’s been staring at me for three days. In the old days, I would have panicked. I’d have scrambled for a takeout menu or settled for cereal because “we’ll just eat something.” But last week, I opened the freezer and pulled out a container of Make-Ahead Baked Three-Cheese Mac and Cheese. I popped it in the oven while helping with math homework. Forty minutes later, we sat down to a meal that tasted like it had been simmering all day, and my husband actually asked for seconds.
This isn’t just pasta with cheese. This is the holy grail of meal prep. I’ve spent the last six months testing, failing, and tweaking this specific make-ahead baked three-cheese mac and cheese recipe until it was perfect. The secret isn’t fancy ingredients; it’s technique. It’s about building a sauce that won’t break when it sits in the fridge for three days, and a pasta base that stays firm instead of turning into mush when you reheat it.
When I say this recipe is a game-changer, I mean it literally changed my Tuesday nights. I made a double batch on Sunday. I froze half in a glass loaf pan and kept half in the fridge. By Wednesday, I was eating it for lunch, cold (yes, cold mac and cheese is a thing, and yes, it’s delicious), and by Friday, the frozen portion was ready for dinner without me even thinking about it. If you’re tired of the daily dinner dilemma, this is your answer. Let’s get into how you can master this make-ahead baked three-cheese mac and cheese once and for all.
Why You’ll Love This Make-Ahead Baked Three-Cheese Mac and Cheese
There are a lot of mac and cheese recipes out there. Some are stovetop-only. Some require a water bath. Some take hours to prepare. This make-ahead baked three-cheese mac and cheese is different because it’s designed for real life. It’s built for the person who wants comfort food but doesn’t have the energy to cook it every single night. Here’s why this specific version has earned a permanent spot in my weekly rotation:
- It Actually Freezes Well — Most baked pasta dishes turn grainy or separate after freezing. Not this one. I’ve tested freezing portions for up to a month, and the texture remains creamy. The key is the béchamel base and the specific cheese blend I’ll share below.
- Zero Weeknight Stress — Imagine coming home from work, opening the oven, and having a hot, golden, bubbling dinner ready in 35 minutes. No chopping, no sautéing, no standing over the stove. Just pull, bake, eat. This make-ahead baked three-cheese mac and cheese is the ultimate low-effort, high-reward meal.
- Portion Control Made Easy — Because you’re making it in advance, you can divide it into individual servings before you freeze or refrigerate. No fighting over the last bite at the dinner table. You can grab a container, heat it up, and go. It’s perfect for lunchboxes or quick dinners.
- Flavor Deepens Over Time — This is counterintuitive for some, but mac and cheese often tastes better the next day. The flavors meld together, the pasta absorbs the sauce, and it gets richer. I’ve found that this make-ahead baked three-cheese mac and cheese is actually tastier on day two than on day one.
- Customizable for Any Diet — Whether you’re feeding picky eaters, gluten-sensitive friends, or just want a lighter version, this base recipe is flexible. You can swap the pasta, change the cheese, or add veggies without breaking the dish.
Once you try this method, you’ll never go back to making a fresh batch every night. It’s efficient, it’s delicious, and it’s reliable. This is my go-to when I need dinner to just work.
Key Ingredients for the Best Make-Ahead Baked Three-Cheese Mac and Cheese
You don’t need a truckload of specialty items to make this work. In fact, simplicity is the point. But you do need the right ingredients to ensure the sauce holds up during storage and reheating. Here’s exactly what you need, with exact measurements so you don’t have to guess.
Pasta
Elbow Macaroni (16 oz / 450g) — Stick with elbows. They hold sauce better than long noodles. For a gluten-free version, use a brown rice or corn-based elbow pasta, but be careful not to overcook it initially, as GF pasta breaks down faster. I prefer Barilla or Jovial brands for their durability.
The Cheese Blend
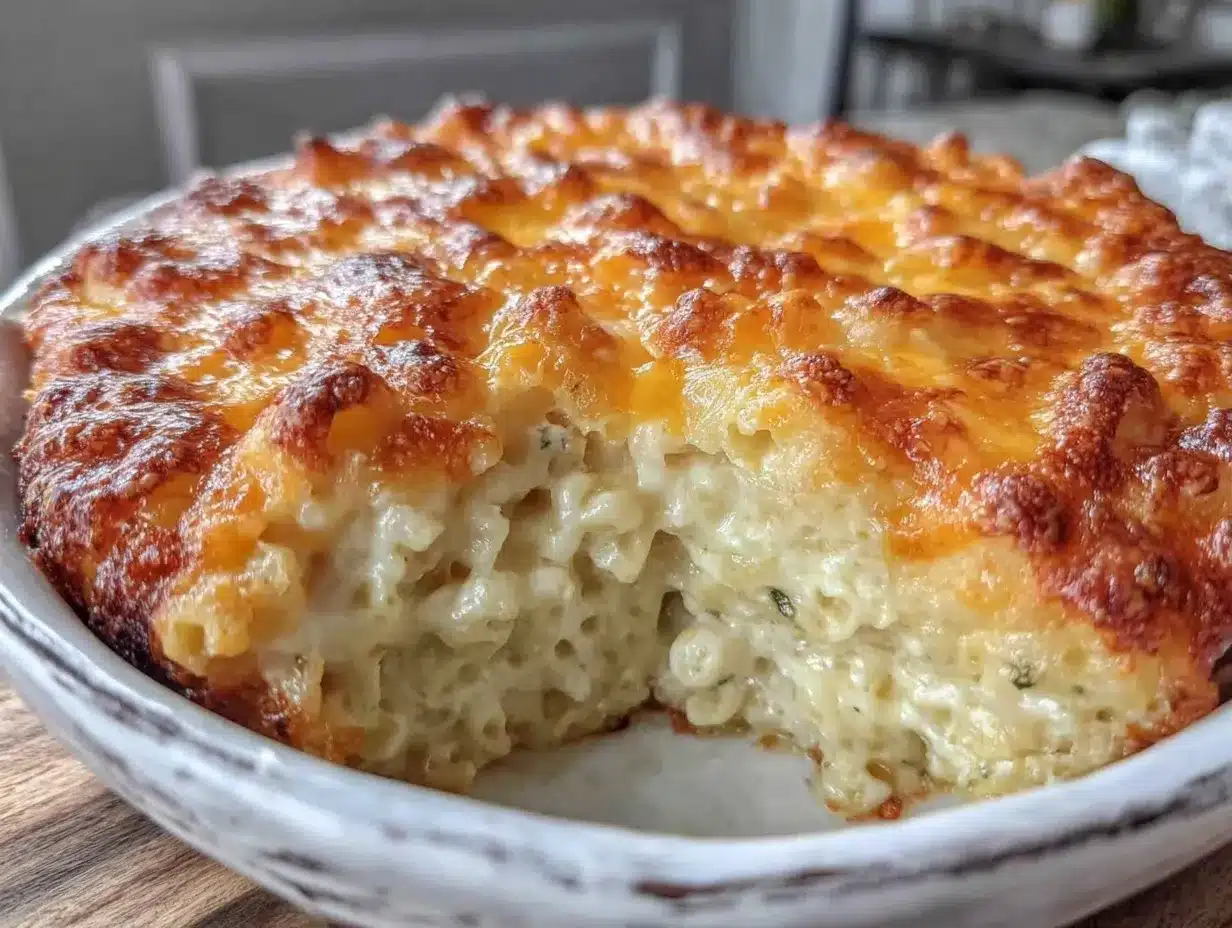
Sharp White Cheddar (8 oz / 225g) — This provides the punchy, tangy flavor. Buy a block and grate it yourself. Pre-shredded cheese contains cellulose, which prevents it from melting smoothly. In a make-ahead dish, you want smooth, not grainy.
Gruyère (4 oz / 115g) — This is the flavor secret. Gruyère adds a nutty, complex depth that cheddar alone can’t achieve. It melts beautifully and stands up well to freezing. If you can’t find Gruyère, Fontina is a good alternative.
Mozzarella (4 oz / 115g) — We use mild mozzarella for meltability and stretch. It doesn’t add much flavor, but it ensures that gooey, stringy texture that makes mac and cheese satisfying.
The Sauce Base
Unsalted Butter (4 tbsp / 56g) — This creates the roux, the foundation of the béchamel sauce. Unsalted gives you control over the final salt level.
All-Purpose Flour (4 tbsp / 32g) — Equal parts butter and flour by weight (roughly) create a smooth roux. Don’t skip this; it thickens the sauce so it doesn’t become watery when reheated.
Whole Milk (3 cups / 720ml) — Whole milk creates the creamiest sauce. Skim milk will result in a thin, less indulgent dish. For a lighter option, half-and-half works, but adjust expectations.
Heavy Cream (1 cup / 240ml) — This is the make-ahead secret. The higher fat content helps stabilize the sauce during freezing and reheating, preventing separation.
Seasonings & Toppings
Dijon Mustard (1 tsp / 5g) — Just a teaspoon. It doesn’t make the dish taste like mustard; it brightens the cheese flavor and cuts through the richness.
Garlic Powder (1 tsp / 2g) — Fresh garlic can burn or become overpowering in a baked dish. Powder distributes evenly.
Smoked Paprika (1 tsp / 2g) — Adds a subtle warmth and color. If you want a crust, this is essential.
Breadcrumbs (1 cup / 80g) — Panko breadcrumbs give the best crunch. Toss them with 1 tbsp melted butter before sprinkling on top for extra crispiness.
Tools Needed for Make-Ahead Baked Three-Cheese Mac and Cheese
You don’t need fancy equipment. Here’s what I use to keep things organized and efficient.
Large Stockpot — I use a 6-quart pot. You need enough room for the pasta to boil freely. If your pot is too small, the pasta will stick and cook unevenly.
Medium Saucepan — For making the béchamel sauce. A heavy-bottomed pan prevents scorching. I use a 3-quart saucepan.
9×13 Inch Baking Dish — Standard glass or ceramic. Glass heats evenly and lets you see the browning. If you’re freezing individual portions, use 8×4 inch loaf pans.
Box Grater — For grating your cheese blocks. A microplane works for finer grating, but a standard box grater is faster and gives nice shreds.
Whisk — Essential for the roux. A silicone whisk is great because it scrapes the sides of the pan.
Silicone Spatula — For folding the pasta into the sauce. It ensures every noodle is coated.
How to Make Make-Ahead Baked Three-Cheese Mac and Cheese
Let’s walk through the process. I’ve broken this down into clear steps with timing so you can plan your Sunday prep efficiently.
Step 1: Prep the Pasta (10 minutes)
Bring a large pot of salted water to a boil. Add 16 oz of elbow macaroni. Cook the pasta for 2-3 minutes less than the package directions say. It should be al dente but still quite firm. This is crucial. The pasta will continue to cook when you bake it later, and if you start with fully cooked pasta, it will turn to mush. Drain the pasta and rinse it under cold water to stop the cooking process. Toss with 1 tsp of olive oil to prevent sticking. Set aside.
Step 2: Make the Roux (5 minutes)
In your medium saucepan, melt 4 tbsp of butter over medium heat. Once foamy, add 4 tbsp of flour. Whisk constantly for 2 minutes. You’re cooking out the raw flour taste. The mixture should look like wet sand and turn slightly golden. Do not let it burn. If it gets too dark, start over.
Step 3: Create the Béchamel (10 minutes)
Slowly pour in 3 cups of whole milk and 1 cup of heavy cream, whisking constantly. Whisking is non-negotiable here. If you stop, lumps will form. Keep the heat at medium-low. The sauce will thicken as it simmers. Cook for 5-7 minutes, stirring every minute, until it coats the back of a spoon. If you run your finger across the spoon, the line should hold. Remove from heat.
Step 4: Season and Cheese (5 minutes)
Stir in 1 tsp Dijon mustard, 1 tsp garlic powder, 1 tsp smoked paprika, 1/2 tsp salt, and 1/4 tsp black pepper. Now, add 3/4 of your cheese blend (about 8 oz). Stir until melted. The remaining cheese will go on top later to prevent a greasy layer.
Step 5: Combine (5 minutes)
Add the cooked, cooled pasta to the sauce. Fold gently with a silicone spatula until every noodle is coated. Taste and adjust seasoning. It should taste slightly salty because the pasta will absorb some flavor.
Step 6: Assemble for Make-Ahead (5 minutes)
Transfer the mixture to your 9×13 baking dish. Spread evenly. Sprinkle the remaining cheese on top. If you’re adding breadcrumbs, sprinkle them now. Cover tightly with plastic wrap, then foil. Label with the date and reheating instructions.
Step 7: Bake (35-45 minutes)
If baking immediately: Preheat oven to 375°F (190°C). Bake uncovered for 25 minutes until bubbly and golden. If baking from frozen: Do not thaw. Bake at 375°F for 45-50 minutes, covering with foil for the first 30 minutes to prevent burning, then uncover to crisp the top. If baking from refrigerated: Add 10 minutes to the bake time.
Total active time: 30 minutes. Total bake time: 35-45 minutes. You can make this entire process in under an hour, and you’ll have dinner for the next four days.
Expert Tips for Perfect Make-Ahead Baked Three-Cheese Mac and Cheese
Here’s everything I learned from making this too many times. These tips are the difference between good mac and cheese and great make-ahead mac and cheese.
Undercook the Pasta
This is the #1 mistake. People cook pasta to al dente, but for a bake, it needs to be undercooked. I aim for “very al dente” or even “barely tender.” The pasta will absorb sauce and finish cooking in the oven. If you overcook it initially, it will be mushy by dinner time.
Grate Your Own Cheese
I cannot stress this enough. Pre-shredded cheese is coated in potato starch or cellulose to keep it from clumping. These additives prevent smooth melting. In a make-ahead dish, you want a silky sauce, not a grainy one. Buy blocks and grate them yourself. It takes 5 minutes and makes a huge difference.
Don’t Skip the Roux
Some recipes just mix cheese and milk. That works for stovetop, but for baking and freezing, you need a stable emulsion. The roux (butter + flour) creates a thick, stable base that won’t separate when reheated. It’s the science behind the creaminess.
Common Problems & Solutions
Sauce is too thick: Add a splash of milk or water when reheating. The pasta will absorb liquid, so you need extra moisture.
Sauce is too thin: You likely didn’t cook the roux long enough. Next time, let the béchamel simmer longer to reduce.
Top is burning: Cover with foil for the first half of baking. If the top is browning too fast, tent it loosely.
Pro Tricks
Freeze in Portions: Instead of one big dish, freeze individual servings in 8×4 loaf pans or airtight containers. This is perfect for single dinners or lunches.
Add Crunch Later: If you’re freezing the dish, add the breadcrumbs only when you’re ready to bake. Breadcrumbs get soggy in the freezer. Sprinkle them on fresh for the best texture.
Recipe Variations for Make-Ahead Baked Three-Cheese Mac and Cheese
Once you’ve nailed the basic version, here’s how to mix it up. This base recipe is a blank canvas.
Spicy Jalapeño Mac
Add 1 diced jalapeño to the roux step. Use Pepper Jack cheese instead of 2 oz of cheddar. The heat cuts through the richness perfectly.
Broccoli and Bacon
Steam 2 cups of broccoli florets and fold them in. Add 1 cup of cooked, crumbled bacon. This turns it into a complete meal. It’s like a deconstructed broccoli cheddar soup.
Gluten-Free Version
Use gluten-free elbow pasta and swap all-purpose flour for a 1:1 gluten-free baking flour. The result is nearly identical. Just be extra careful with pasta cooking times, as GF pasta varies wildly by brand.
Vegan Option
Use vegan butter and plant-based milk. For cheese, use a high-quality vegan cheddar and nutritional yeast for flavor. It won’t melt exactly like dairy, but it’s close enough.
Seafood Mac
Stir in 1 cup of cooked shrimp or crab meat at the end. Use Gruyère and Parmesan instead of cheddar for a more sophisticated flavor profile.
Serving & Storage for Make-Ahead Baked Three-Cheese Mac and Cheese
Serving
I serve this straight from the dish. It’s rich enough to be a main course. Pair it with a simple green salad to cut the richness, or roasted asparagus. For a complete meal, add some crispy air fryer chicken thighs on the side. The lemon herb flavor brightens up the heavy cheese. You could also serve it with smoked chorizo queso dip if you want an extra spicy kick, though that might be overkill!
Storage
Refrigerator: Store covered in the fridge for up to 4 days. The flavor actually improves on day 2 and 3.
Freezer: Freeze for up to 3 months. Wrap tightly in plastic and foil. Thaw in the fridge overnight before baking. Do not bake from frozen without adjusting time.
Reheating: Reheat in the oven at 350°F (175°C) until hot in the center. This takes about 20-30 minutes for a single portion. Microwave reheating is possible but can make the sauce oily. If you must microwave, add a splash of milk and cover with a damp paper towel.
Nutrition Information
I’m not a nutritionist, but here’s the breakdown per serving (assuming 1/8th of the 9×13 dish):
| Nutrient | Amount |
|---|---|
| Calories | 450 |
| Protein | 18g |
| Carbs | 42g |
| Fiber | 2g |
| Fat | 22g |
| Sodium | 650mg |
My Take: This is comfort food. It’s rich, creamy, and indulgent. It’s not a salad. But it’s better than takeout, and you know exactly what’s in it. Enjoy it as a treat, not a daily staple. If you’re looking for lighter sides, check out these crispy baked zucchini fries to balance out the meal.
Final Thoughts
This make-ahead baked three-cheese mac and cheese has saved my weeknights. It’s proof that you don’t need to spend hours in the kitchen to eat well. It’s about planning ahead, using the right techniques, and trusting the process. Once you make it once, you’ll understand why I’m obsessed. It’s creamy, it’s cheesy, and it’s ready whenever you are.
If you make this, drop a comment! I love hearing how it turns out in your kitchen. Did you add bacon? Did you freeze it in portions? Let me know. And if you need more meal prep inspiration, check out my smoked BBQ pulled pork sliders for another make-ahead favorite.
Happy cooking!
FAQs About Make-Ahead Baked Three-Cheese Mac and Cheese
Can I freeze this mac and cheese without the breadcrumbs?
Yes! In fact, I recommend it. Breadcrumbs can get soggy in the freezer. Add them fresh when you’re ready to bake. The mac and cheese itself freezes perfectly without them.
Why did my sauce separate when I reheated it?
This usually happens if the sauce was overheated or if you used low-fat dairy. The fat in the heavy cream and full-fat cheese helps emulsify the sauce. Also, reheat slowly. High heat can break the emulsion. Add a splash of milk when reheating to help bring it back together.
Can I use gluten-free pasta?
Absolutely. Just be sure to undercook it even more than regular pasta, as GF pasta breaks down faster. I recommend rinsing it well to remove excess starch.
How do I reheat individual portions?
Let the portion thaw in the fridge overnight. Then, bake at 350°F (175°C) for 20-25 minutes, or until hot. You can also microwave it for 2-3 minutes, stirring halfway through, adding a splash of milk to keep it creamy.
Can I make this in a slow cooker?
Not for the make-ahead version. Slow cookers don’t brown the top, and the long cooking time can make the pasta mushy. This recipe is designed for oven baking, which gives you that crispy, golden crust.
What other dishes pair well with this?
Because it’s so rich, I like light, acidic sides. A simple arugula salad with lemon vinaigrette, roasted broccoli, or even some sweet and spicy grilled corn work beautifully. The contrast keeps the meal from feeling too heavy.
Pin This Recipe!
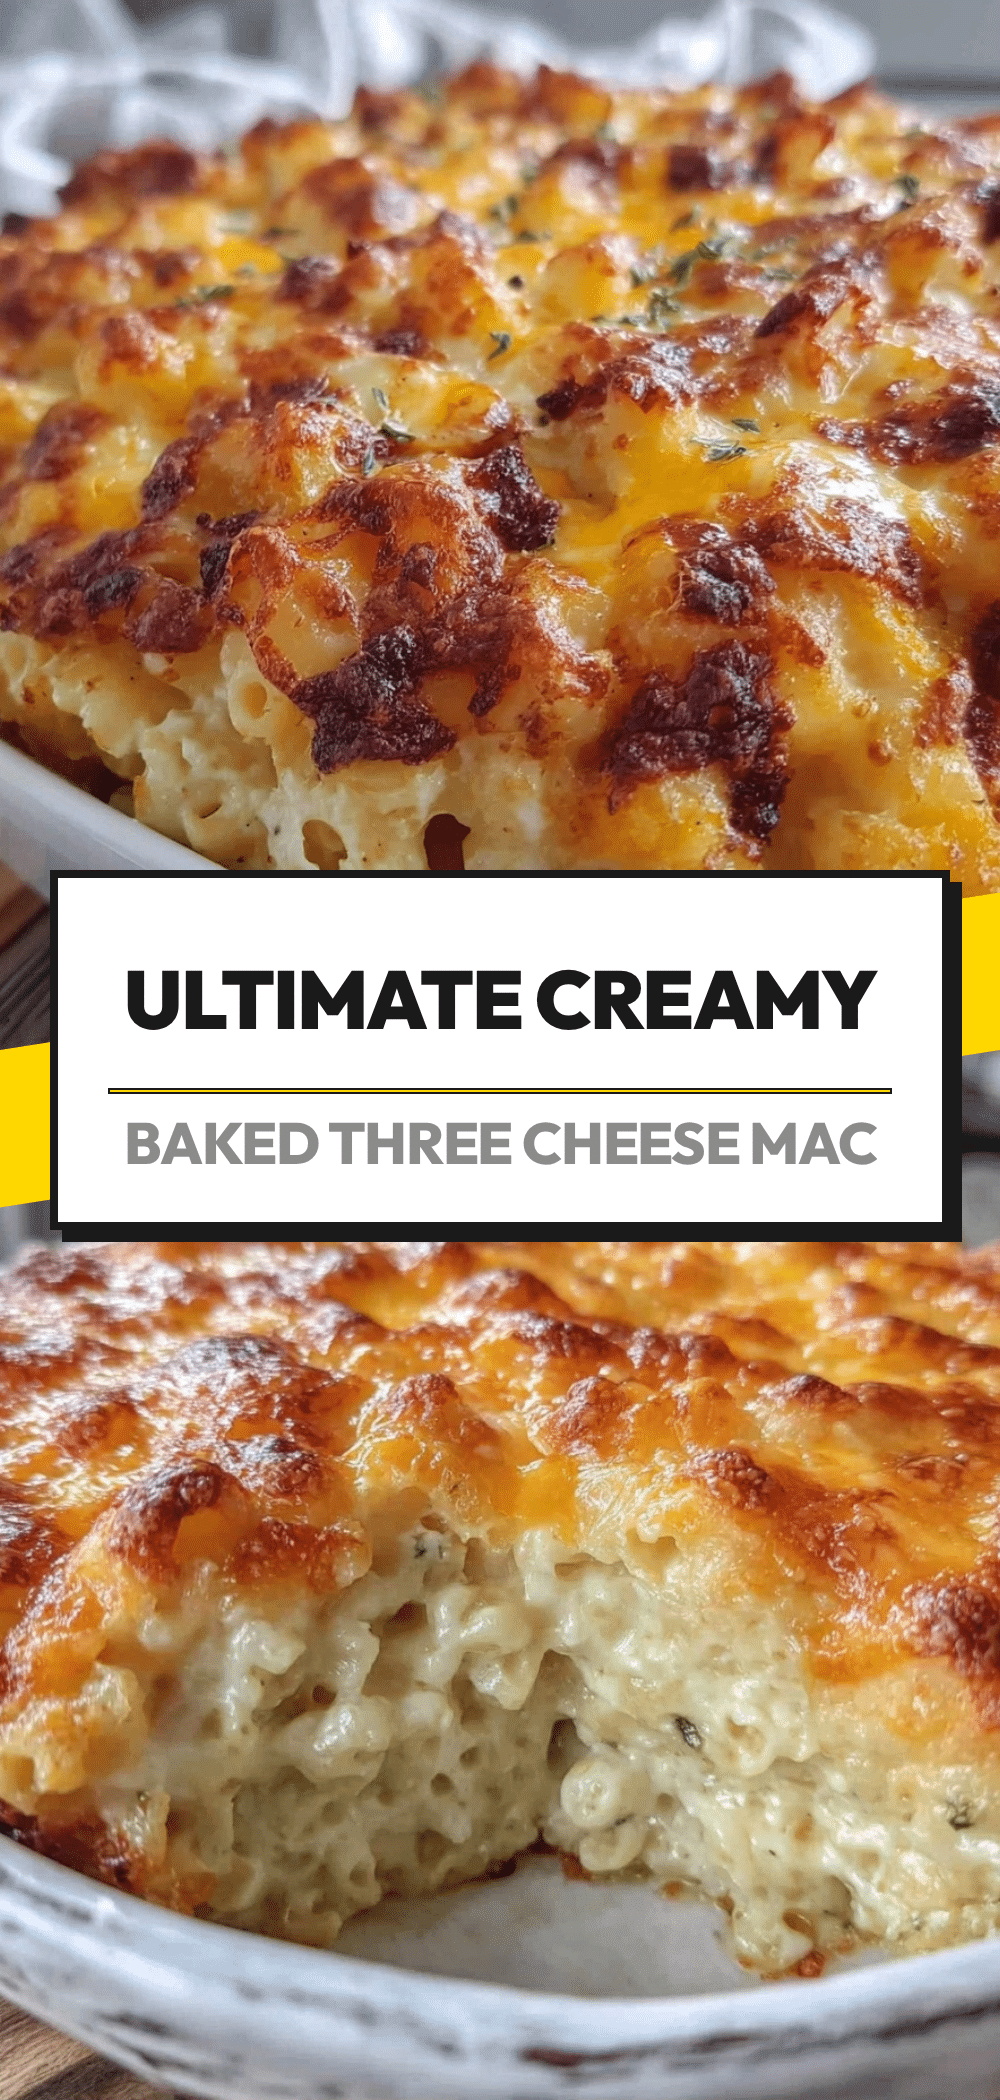
Make-Ahead Baked Three-Cheese Mac and Cheese: 5-Day Meal Prep
- Total Time: 1 hour 15 minutes
- Yield: 8 servings 1x
Description
A creamy, stable baked mac and cheese designed for meal prep that freezes well and reheats perfectly. Using a béchamel base and specific cheese blend, this dish stays smooth and delicious for up to 5 days.
Ingredients
- 16 oz elbow macaroni
- 4 tbsp unsalted butter
- 4 tbsp all-purpose flour
- 3 cups whole milk
- 1 cup heavy cream
- 8 oz sharp white cheddar, grated
- 4 oz Gruyère, grated
- 4 oz mozzarella, grated
- 1 tsp Dijon mustard
- 1 tsp garlic powder
- 1 tsp smoked paprika
- 1/2 tsp salt
- 1/4 tsp black pepper
- 1 cup Panko breadcrumbs
- 1 tbsp melted butter (for breadcrumbs)
- 1 tsp olive oil (for pasta)
Instructions
- Bring a large pot of salted water to a boil. Cook elbow macaroni for 2-3 minutes less than package directions until very al dente. Drain, rinse with cold water, and toss with 1 tsp olive oil to prevent sticking.
- In a medium saucepan, melt 4 tbsp butter over medium heat. Add 4 tbsp flour and whisk constantly for 2 minutes until the mixture looks like wet sand and turns slightly golden.
- Slowly pour in 3 cups whole milk and 1 cup heavy cream while whisking constantly. Cook over medium-low heat for 5-7 minutes, stirring frequently, until the sauce thickens enough to coat the back of a spoon.
- Remove sauce from heat. Stir in Dijon mustard, garlic powder, smoked paprika, salt, and black pepper. Add 3/4 of the cheese blend (approx. 8 oz) and stir until melted.
- Add the cooked pasta to the sauce and fold gently with a silicone spatula until every noodle is coated. Taste and adjust seasoning.
- Transfer mixture to a 9×13 inch baking dish. Sprinkle remaining cheese on top. If adding breadcrumbs, sprinkle them now (or save for baking day if freezing).
- To serve immediately: Preheat oven to 375°F (190°C). Bake uncovered for 25 minutes until bubbly and golden.
- To bake from frozen: Do not thaw. Bake at 375°F for 45-50 minutes, covering with foil for the first 30 minutes, then uncover to crisp the top.
- To bake from refrigerated: Add 10 minutes to the bake time.
Notes
Undercook the pasta significantly as it will continue to cook in the oven. Grate your own cheese to avoid anti-caking agents that prevent smooth melting. The roux is essential for a sauce that doesn’t separate when frozen and reheated. If freezing, add breadcrumbs only when ready to bake to maintain crunch.
- Prep Time: 30 minutes
- Cook Time: 35-45 minutes
- Category: Main Course
- Cuisine: American
Nutrition
- Serving Size: 1/8th of the 9x13 di
- Calories: 450
- Sugar: 6
- Sodium: 650
- Fat: 22
- Saturated Fat: 12
- Carbohydrates: 42
- Fiber: 2
- Protein: 18
Keywords: mac and cheese, meal prep, make ahead, baked mac and cheese, three cheese, freezer friendly, comfort food, easy dinner


